6 Ways to Get Better Pictures from Your Phone

The cameras in cell phones (and tablets) are a popular way to take photos, no matter how much pro and semi-pro photographers may shudder at the thought. These photos often really need some editing before they get posted on social networks. What are the common sore spots?
1) Tilted Horizons
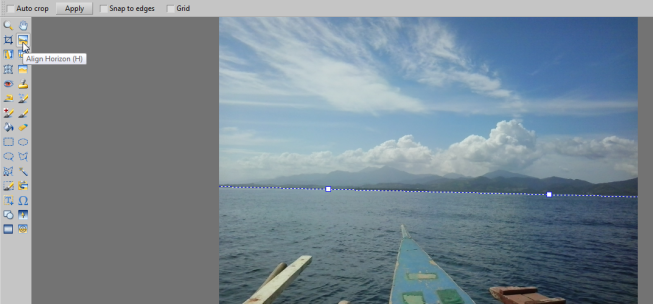
When shooting with one hand, a tilted horizon is no exception; it’s the rule. To straighten it out, use Align Horizon (H) in Zoner Studio.
2) Bad Color Temperature
To fix an off-balance white balance (color temperature), use the Adjust Color Temperature tool (Ctrl+2). Try the tool’s automatic correction first; if that doesn’t suffice, set a neutral color with the eyedropper or set lighting temperatures. 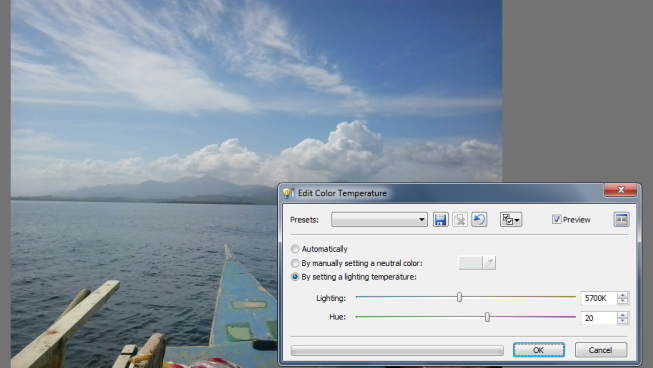
3) Bad Exposure And Low Contrast
Exposure may also turn out wrong. Phone pictures are especially prone to very weak contrast. To remedy these troubles, use Enhance Exposure (Ctrl+3) in the Adjust menu. Or instead use the tab of the same name in the Quick Edits tab of the side pane. 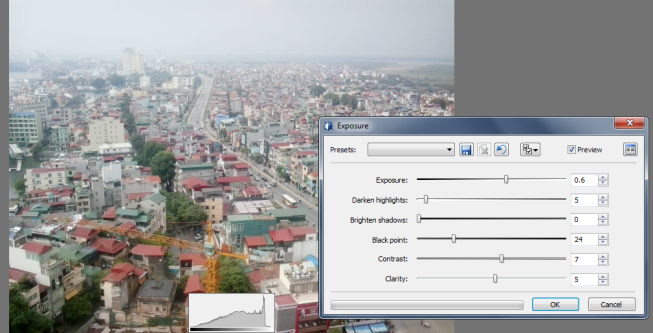
4) Saturation
Besides the exposure, the saturation may also be off. To fix this, use Enhance Colors (Ctrl+1) and go to the Saturation slider. That sets the overall saturation; to adjust the saturation of unsaturated colors instead use Vibrance. 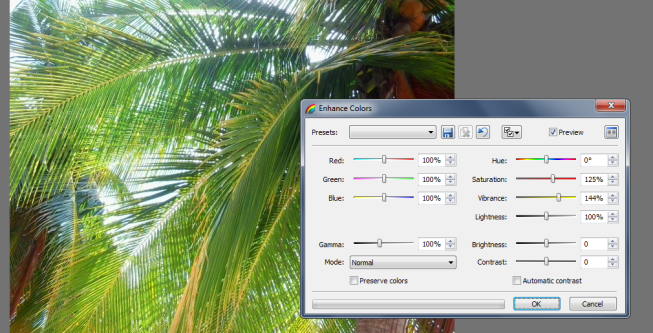
5) Poor Sharpness
A cell phone picture will often be blurry. Use Sharpen to fix this. Keep the zoom level at 100% (Num *) and take care that your sharpening isn’t giving objects in the picture “glowing” contours. 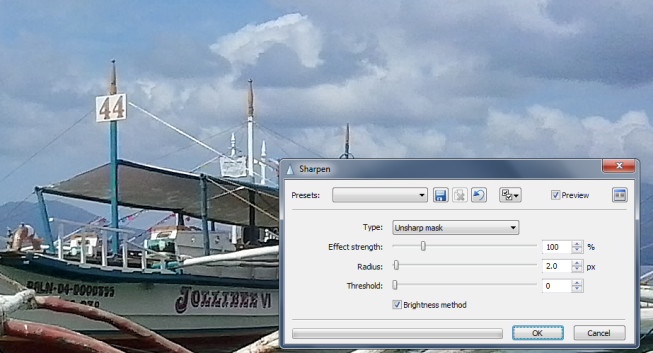
6) Cropping
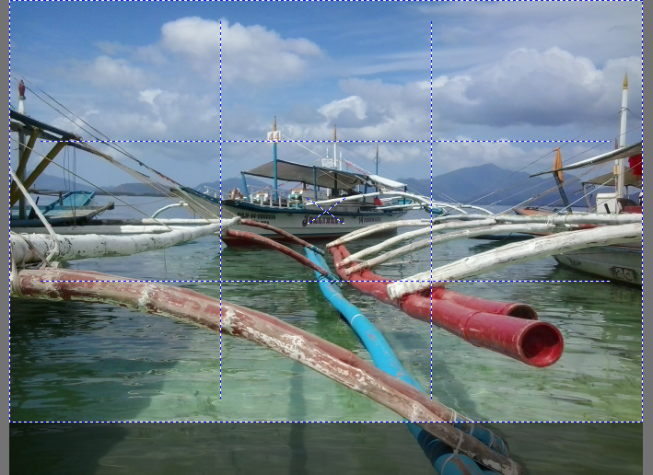
Crop! Because if nothing else, you may not be happy with all your cellphone pictures staying in a 4:3 ratio. Why stick with that all the time when an Instagram-like square or a dynamic 3:2 is just a crop away? So get to it. To start cropping, activate the Crop (C) tool, on the left toolbar in the Editor. 