Capturing Motion in Photos

The first successful photograph of motion was taken by photographer and inventor Eadweard Muybridge in 1878, using a technique called chronophotography. This was part of his study called “The Horse in Motion”. In this article we’d like to talk about how to freeze motion, and also how to highlight it by blurring certain parts of a picture.
Stopping time—and with it, motion—is fundamental for photography. This gives audiences a window into individual instants that will never be repeated. But on top of this, cameras and creative photographers can also emphasize, or simulate, motion instead of freezing it.
Freezing Motion
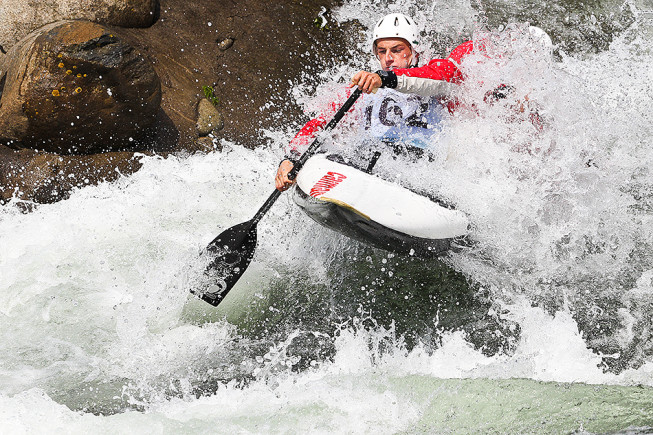
There is just one way to stop or freeze motion in a photograph. Shoot with the shortest exposure time possible for the given type of motion. For example, 1/200 s is enough to freeze a jumping kid—but not enough to freeze a ski jumper.
In general we can state that the shorter the exposure time, the better. But don’t go too far into the extremes. It’s pointless to shoot on ISO 6400 with a speed of 1/8000 s. Also note that the exposure time needed for stopping motion also depends on the direction that the object is moving, and its distance.
For example for a car that’s 200 meters away and moving towards you, you don’t need as short an exposure as on a car driving right by you. If you’d like to experiment with stopping motion, I’d recommend e.g. photographing slalom waterskiing. Athletes in this sport aren’t so fast, but freezing the wild splashing water will get you some wonderful pictures.

Blurring Motion
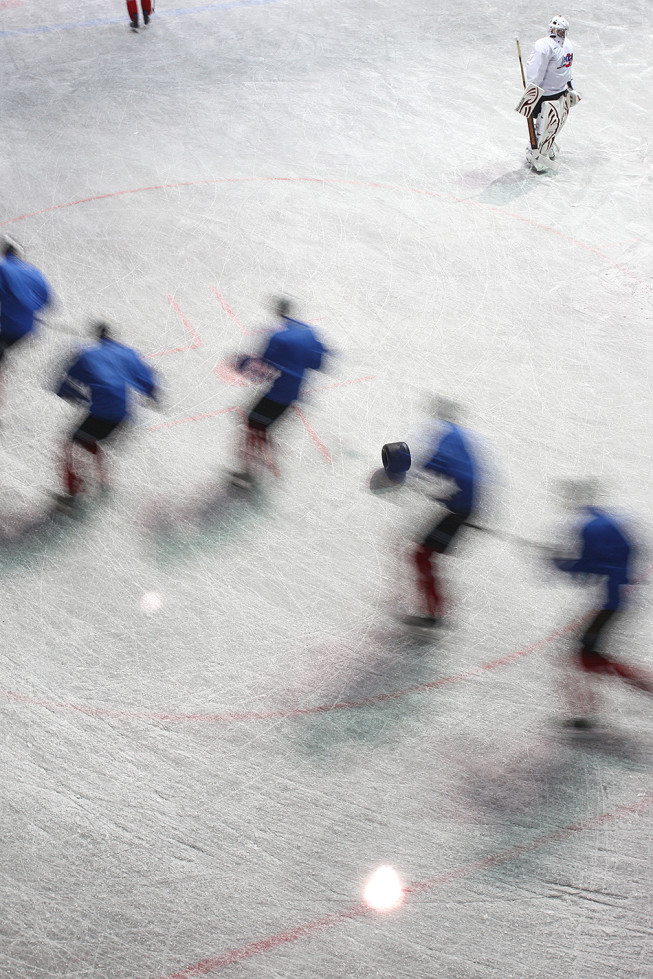
Then there’s the opposite—blurring motion. In practice this means using motion blur to smudge a moving object or objects.
Here the exact opposite rules apply.
If you want to blur a quickly moving automobile moving past you, an exposure time of 1/125 s is enough. Don’t go too far! If you set too long a time, the photo will contain nothing but an unidentifiable smear.
On the other hand, when you want to photograph something slower-moving (like water in a stream or the motion of the clouds), you will need a time long enough to capture that motion. A time on the order of several seconds.
For this type of photograph it’s important for all the motionless objects to be sharp, because you’re only trying to capture motion blur—not to make things blurry overall. That means that to take pictures with long exposure times, you need a tripod. Panning is another interesting option.

Manufacturing Motion
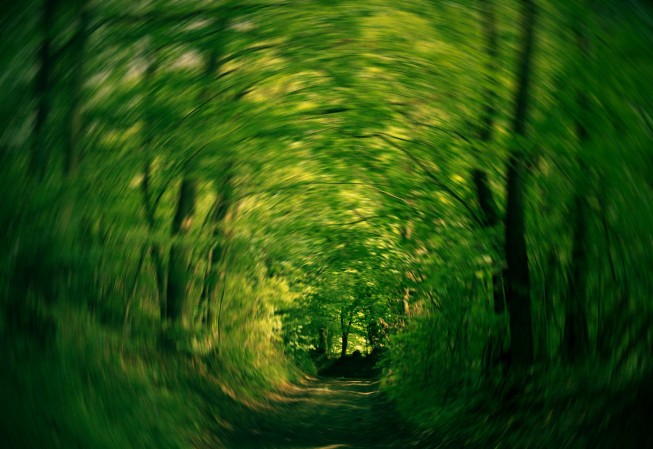
You can also artificially create a sense of motion. For example, by moving the camera—you can simply turn the camera during the shot. This trick is best done with an exposure time of around 1/40 s. This is a long enough time for blurring, but short enough that the object in its center will remain sharp.
Another option is to turn the zoom ring on your lens during exposure. Keep in mind, though, that you’ll need a DSLR or mirrorless camera for this experiment. That’s because most compacts don’t let you change zoom during exposure. In many cases you’ll also want to use a tripod.
Or after all, you can do also the digital panning in Zoner Studio.
