Choosing Gear for Sports Photography III: How Should You Choose Your Accessories?
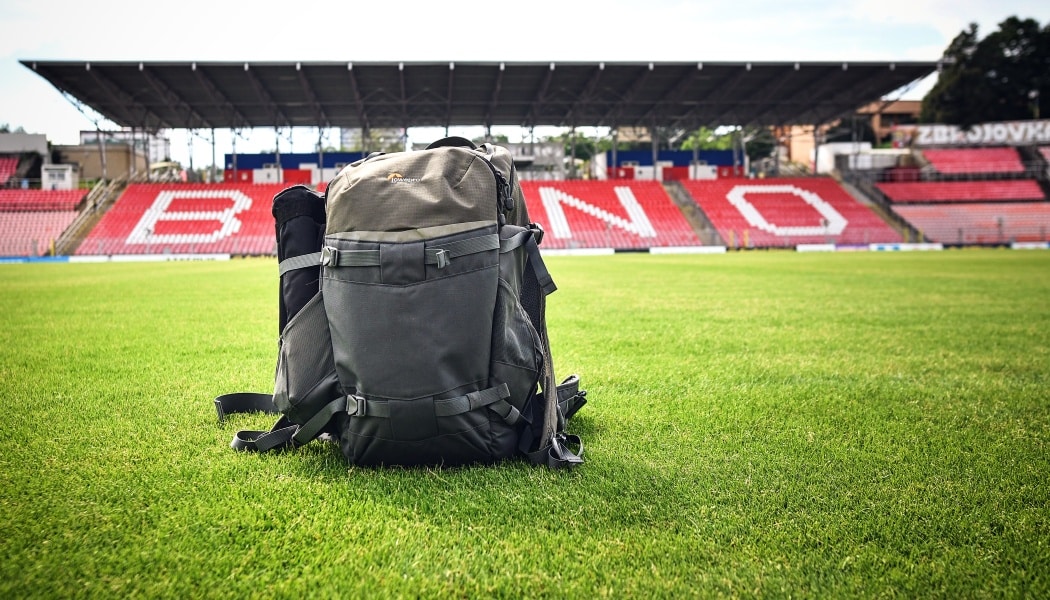
Just a camera and a lens won’t be enough for your sports photography. And if you’re serious about this genre, you’ll quickly learn that just an memory card or two won’t suffice either. Here’s some advice on useful accessories you can choose for sports photography. It can help you avoid problems with bad or absent gear in the situations where you’ll need it the most.
In our previous parts, we went over what to stress when choosing a camera and suitable lenses for sports photography. To close out this series, we’ll go over what to keep in mind when buying accessories—from backpacks to memory cards to portable seats.
A Fast Memory Card Is Key
There’s cards and then there’s cards, so don’t underestimate the task of choosing them. For sports photography, data transfer speed is fundamental, but don’t let advertising numbers fool you. Most cheap cards advertise a high transfer speed, yet can only achieve that speed during the reading of data from the card. The speed when writing to the card tends to be considerably slower.
So always look out for memory cards’ write speeds. The SanDisk Extreme PRO, for example, is a very popular card; it can offer read speeds of up to 170 MB/s and write speeds of up to 90 MB/s.
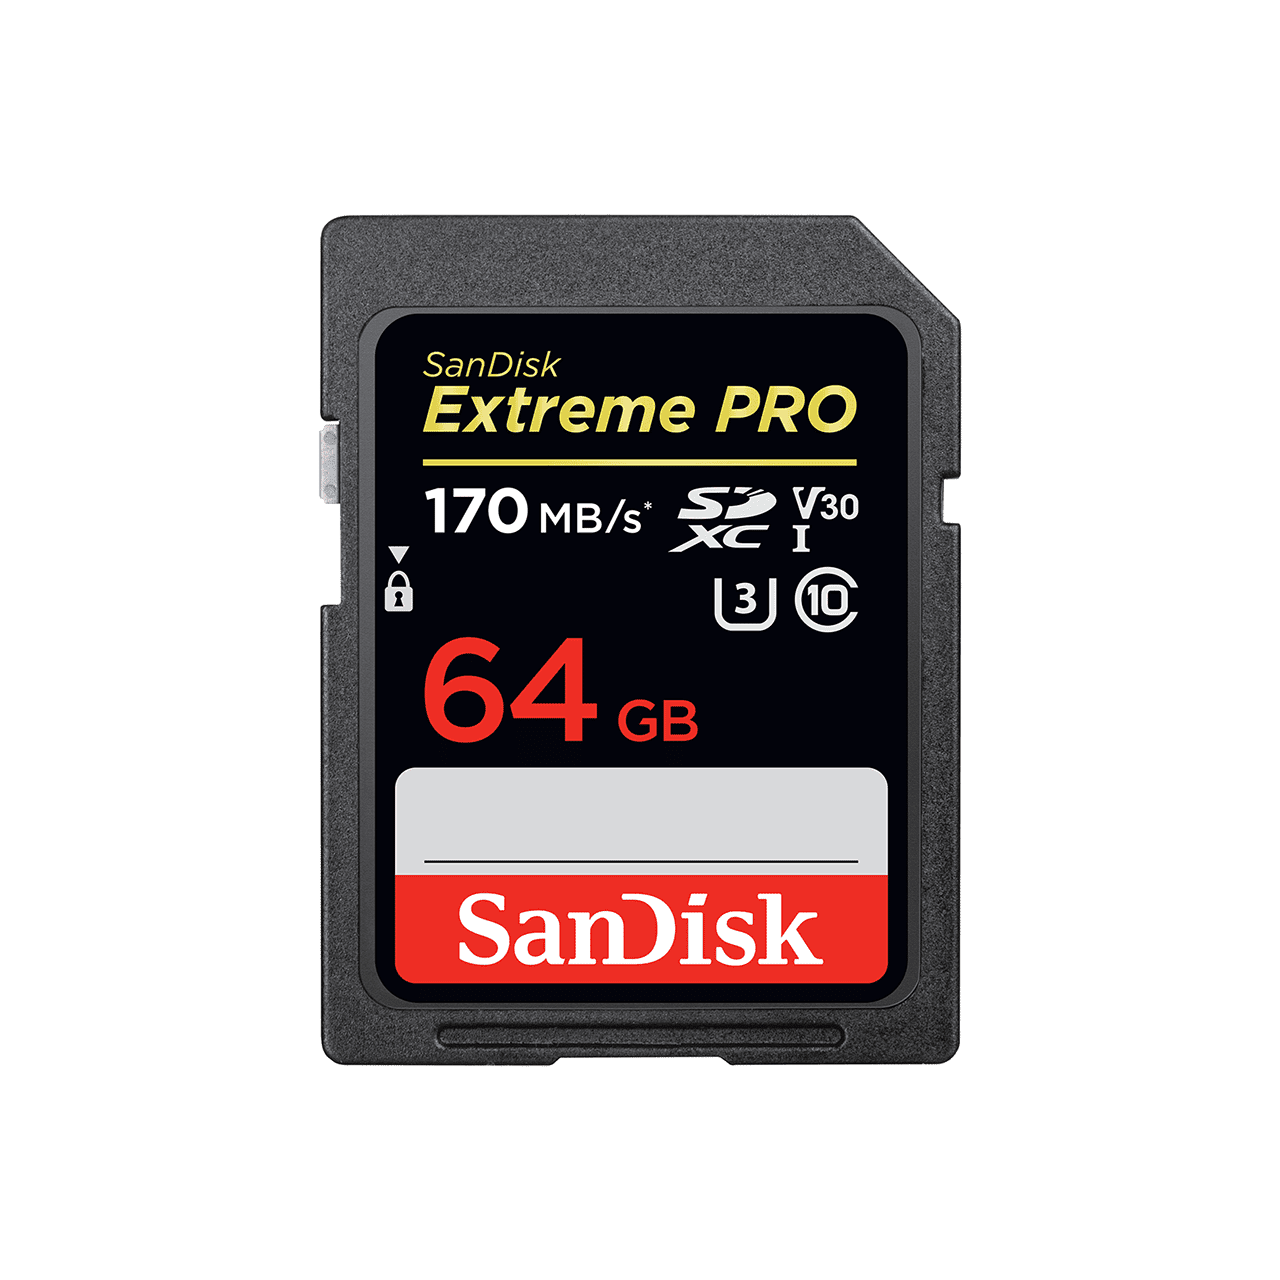
Speed classes will also help you find your bearings among memory cards and make it easy to choose the right card.
One frequent question is whether it’s better to buy an SD card or a MicroSD card with an adapter. I personally would recommend an SD card. If you use a MicroSD card with an adapter, you’re lengthening the transfer path with additional mechanical contacts that can fail. Also, the adapters are sometimes made from lower quality and softer plastics than the cards themselves and thus are easily damaged.
Naturally for cameras you can find more than just SD cards. Also worth mentioning are XQD cards, which Nikon has been using for some time. They are on a higher level when it comes to transfer speed, reliability, and ruggedness, and in my view. this is a step in the right direction. On the other hand, they are significantly more expensive than SD cards, but for sports photography, they’re simply better.
One Battery Is Not Enough
The second essential thing that you should pick up right after your fast memory card is at least one backup battery. I’ve frequently had situations where one battery was not enough. By the way, if you’re taking pictures in winter, your battery’s endurance drops, and it doesn’t hold out as long as in summer. So in winter it’s good to keep your replacement battery close to your body, where it will be warm. For example in your jacket’s breast pocket.
Replacement batteries are available from many manufacturers, but personally, I don’t pinch pennies here; I buy originals only, because I’ve heard plenty of stories about low-quality replacement batteries. I don’t mean to say that good unofficial batteries don’t exist, just be sure to obtain as much information and experience from other users about them as possible, to avoid disappointment.
A battery grip is a great thing to have as well. Here you just drop in a second battery and then don’t have to worry about switching during the shoot. A battery grip makes a camera a little bit bigger, but for many people, that’s as much good as bad, because it makes it easier to hold the camera. But keep in mind that an original battery grip costs hundreds of dollars.
Cleaning Kit Always at Hand
Sports photography often takes place outdoors—in bad weather, in the mud, in the dust, and who knows what else. So it’s very easy for dust (or worse) to get into your lens assembly. For these situations, you should have something at hand to clean the lens with.
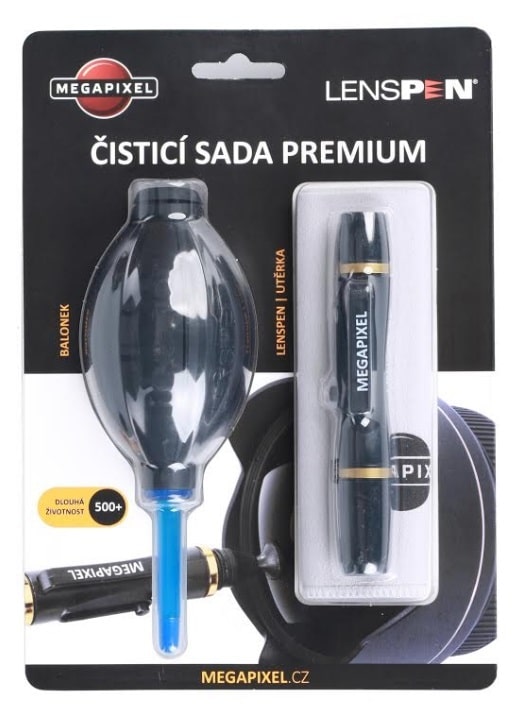
There’s a variety of lens cleaning cloths and brushes out there. I like the set that includes a Lenspen for cleaning large dirty and greasy areas, a microfiber wipe for standard quick cleaning, and a rubber air blower. I use the blower on my sensor in a clean environment before a shoot.
Where Do You Put the Kit?
Maybe a backpack. Maybe a shoulder bag. This is a question that perhaps every photographer asks themselves—and the answer depends on one’s preferences. I personally I wouldn’t scoff at either variant, but it highly depends on what sport you’ll be photographing.
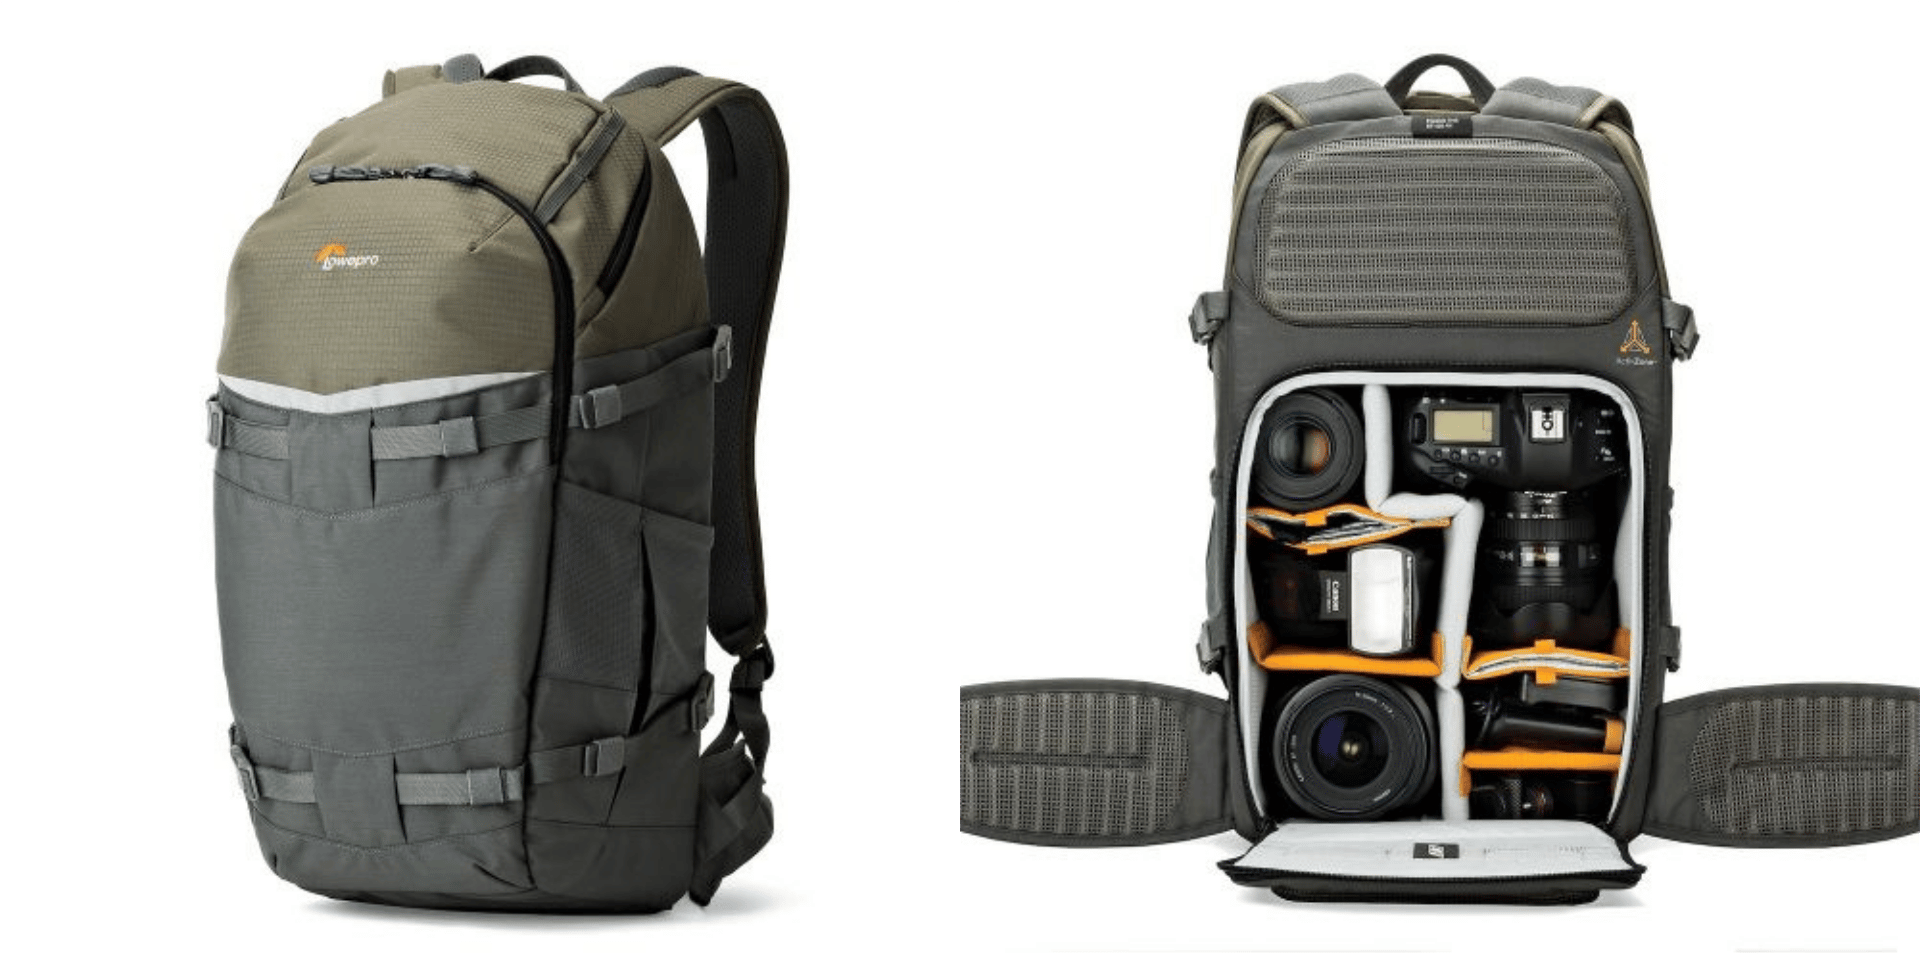
If it’s indoor or stadium sports, where you can leave most of your gear at the press center, it’s basically all the same. But if you’re heading out to photograph, for example, motor sports, you’ll be trekking greater distances, so a backpack will come in handier. For some time now, for sports and hiking, I’ve been using a Flipside Trek BP 450 AW from Lowepro, which I’ve appreciated because of its separate sections for gear and any other items.
The only limitation of this backpack—for me—is that a 13” laptop won’t fit into it. It may seem like an inconsequential thing, but in sports photography, they’ll often request photos right during a match. And if you don’t use a mobile app for editing, your only other choices are a laptop or a tablet. And dragging a laptop bag along isn’t really ideal either.
Cover Bad Weather With a Rain Cover
You also shouldn’t underestimate bad weather. You have to protect yourself, but above all your gear. There are lots of kinds of camera and lens rain covers out there that you can buy on the internet and on sites like Ebay. I’ve picked up one of these myself. My experience with it has been less than ideal. For one thing, that rain cover leaks through its seams, so I’ve had to tape over them. For another, it makes my hands sweat, then the sweat condenses onto the transparent part of the cover, and so I can’t see anything in the viewfinder.
On the other hand, under the pouring rain, I really just couldn’t take pictures in good conscience “coverless” or with a poorly waterproofed camera. After all, a rain cover is still better than a cut-up plastic bag, like some of my colleagues use.
What Else You Might Want
I’d like to close by listing some items that are practical, but might not occur to everyone. For sports especially, it can be good to use UV filters and lens hoods—especially to protect the lens assembly. I’ve had my share of experiences where rocks were flying or a ball directly hit the lens, and it’s always easier to replace $50 worth of accessories than deal with an expensive lens replacement.
My second tip is about camp stools—those three-legged seats. It might sound silly, but in my eyes those have been the best five-dollar investments I’ve made for certain sports.
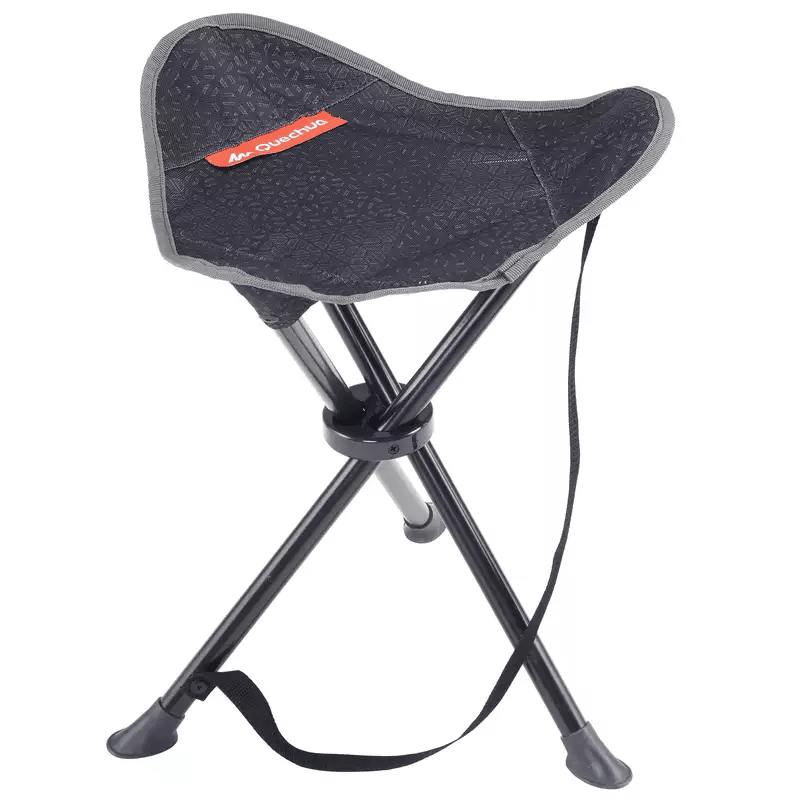
I prefer to take my photos slightly from below, and so for example at soccer games, where I’m not changing positions every minute, I sit on this very cheap tripod seat. Even I’m not very old yet, it’s more comfortable for traditional soccer. And even when I’m quickly editing photos during halftime, it’s better to be seated.
For sports where you’ll be using heavy telephoto lenses—for example motor sports or stadium sports—it’s sometimes good to acquire a monopod. There are lots of types and manufacturers, so it’s no problem to find a monopod that fits your needs. For example, I’ve picked up a tripod where one leg can be unscrewed and used as a monopod. Even though it’s very practical, because it’s two items in one, this kind of monopod is usually fairly thin and not really built for the truly heavy lenses, where it’s better to use a sturdy single-purpose monopod.
I also wouldn’t rely on always receiving a reflective safety vest, which you do have to wear when you’re in and around the field. And so every sports photographer really should carry one universal reflective safety vest.
If you plan to carry two sets of photography gear (two cameras and two lenses), then you’ll need to work out how to conveniently keep them at hand. There are various harnesses, belt clips, etc. you can buy. And again it depends on what suits you. I personally tend to use one set with a telephoto lens and a second set with a wide-angle lens that’s not very heavy. Because of this, the Peak Design Capture, a small and light clip that can be used on a belt or on a backpack strap, suits me well. This could be problematic if I ever need to attach a heavy telephoto lens to it, but for most sets, it’s sufficient.
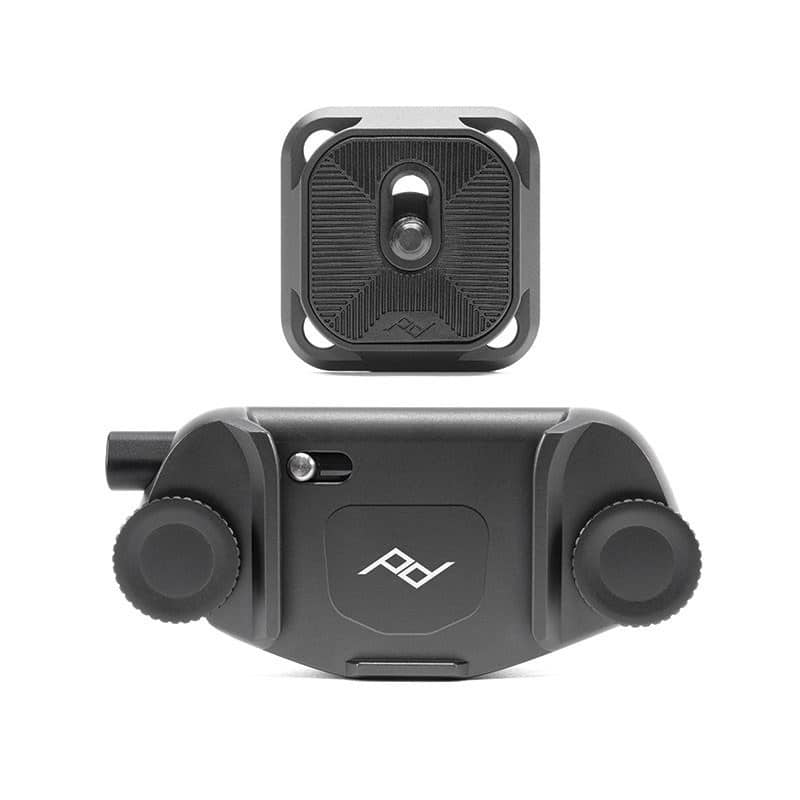
As far as ease of use goes, straps seem to be the fastest option in any case. You just grab the camera and start shooting, but it does make it a bit more likely you’ll bang up your cameras. For the Capture clip, it takes noticeably longer to put the camera back, and when your reflective vest is in the way too, sometimes you’ll… struggle.
Tools for Photo Submissions and Lens Protection
If you’re using a phone for quick photo edits and submissions, you definitely won’t want to rely on a wireless connection alone; make sure to always carry a backup—an OTG cable and a memory card reader. This can keep you out of trouble someday, and it’s dirt cheap.
The last area I’d like to mention is a lens protector and similar protection. Many photographers pick up a protector for their lenses, some kind of silicon protective camera cover, or a cover for the LCD display, but I don’t use these things, so I can’t relay my personal experience. It’s not that I reject them; I just don’t use them. But it’s true that a few photographers I know use them, so I’m sure they have their uses.
With this I’d like to wrap up this series of articles aimed at helping mainly beginning sports photographers with their choices. Not everything is clear right at the start, and you’ll still have to arrive at some of the answers by yourself, but if I’ve helped you at least partially, I’m very glad. I’ll also be glad if you share in the comments about tools you use in sports photography as well.
