Create Your Own Light Tent for Small Product Photography

A photo tent—also frequently called a light tent—is an essential aid for every photographer interested in good-quality product photography, for their own purposes or commercially. Speaking of commercially, there is a wide range of photo tents and accessories you can purchase. If you’re thinking of buying one, but you’re not sure if it will pay off, then maybe this article is for you. Because here we’ll be making our own.
To make your own photo tent, you’ll need a little dexterity, and otherwise just these things:
- a box (choose its size based on the sizes of the objects you’ll be wanting to photograph)
- a pencil
- a ruler
- tracing paper
- white paper (size based on the size of the box)
- glue
- a sharp knife or a scalpel
- 2 or 3 flashes or small lamps
Production Steps
Lay the box on a table with the open side facing towards you. On the two sides to your right and left, and if you wish on the top side as well, mark cutting holes using a pencil and a ruler. You will be lighting your photographed products through these holes. Use the scalpel to cut the holes into the box.
With the holes made, you now have the “draft version” of your tent ready. Finalize it by pasting the white paper into it. That will serve as your photographic background. The paper does not have to be white; you can paste in blue or green paper instead. These background colors are classics for “keying.” On the other hand, you do run the risk that the colors will be reflected in your photographed products, and so I recommend white for your first homemade tent. Once you’ve pasted the paper into the box, you have an endless background (one with no horizon), and it will also soften your light even more.
Now paste over the holes with tracing paper. You can even paste multiple layers over them. With e.g. two or three you’ll get better light diffusion.
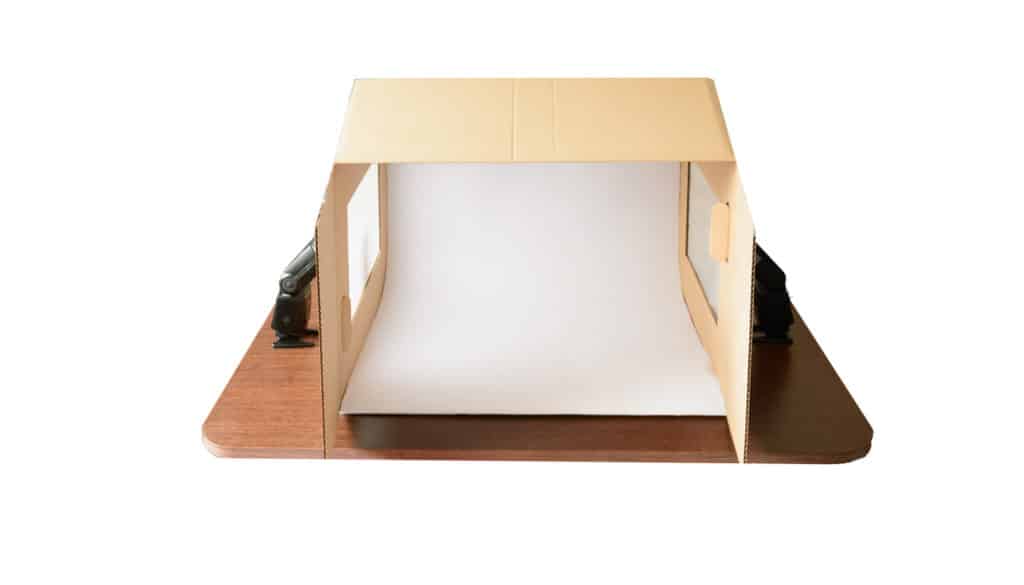
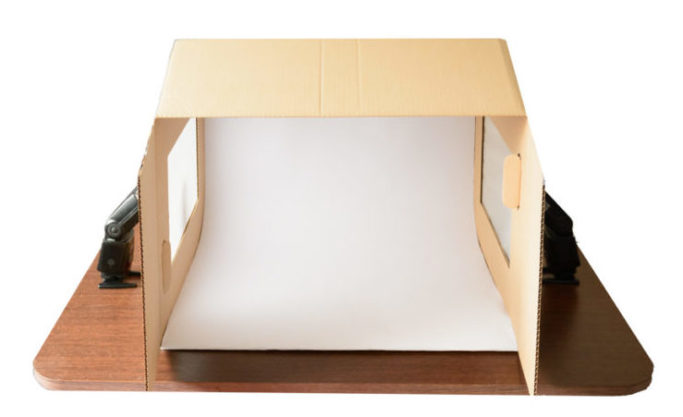
Now your tent is ready, and you can start some test runs of lighting and shooting your products. The photo tent in this picture has dimensions of 59 × 39 cm. I made it a few months back.
Using the Photo Tent
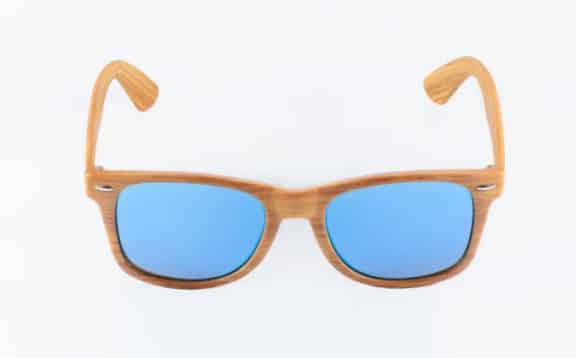
You can use a tent like this for e.g. photographing jewelry. The bigger the tent, the bigger the products that you can photograph. I personally use a photo tent to photograph items for articles, and sometimes, indeed, jewelry. A large photo tent can also come in handy for food photography.
I light my products using the internal flash on my Nikon D7100 camera, along with two manual-mode flashes placed alongside the sides of the box in the way that you see in the picture. How you light a product is purely up to you.
Advantages and Disadvantages
A big advantage, and the main one, is the low price. My first photo tent was 59×39 cm (23×15 inches), and I made it for far less than ten dollars. The vastly improved product lighting is a major positive. With this setup you don’t need to be shy about selling to photobanks.
A homemade photo tent like this does have its disadvantages too. Its main disadvantage is its bulkiness. It’s strictly just a box, which has to sit somewhere—ideally in a place where your partner won’t despise it. In my case the winning location was a cabinet. I’ve put the tent in there, and it’s not in anyone’s way. Store-bought photo tents, on the other hand, can just be folded up, like a car sun shade. Another disadvantage of a “homemade” photo tent is its lack of mobility. It’s very hard to relocate.
So here again it’s purely up to you whether the advantages or the disadvantages of such a photo tent matter more for you. In my case the advantages win out, because I don’t need to carry or transport the tent anywhere, and it serves me just as well as a commercial one.


