

Depth of Field in Landscape Photography: How to Get Sharp Landscapes and Creative Blur
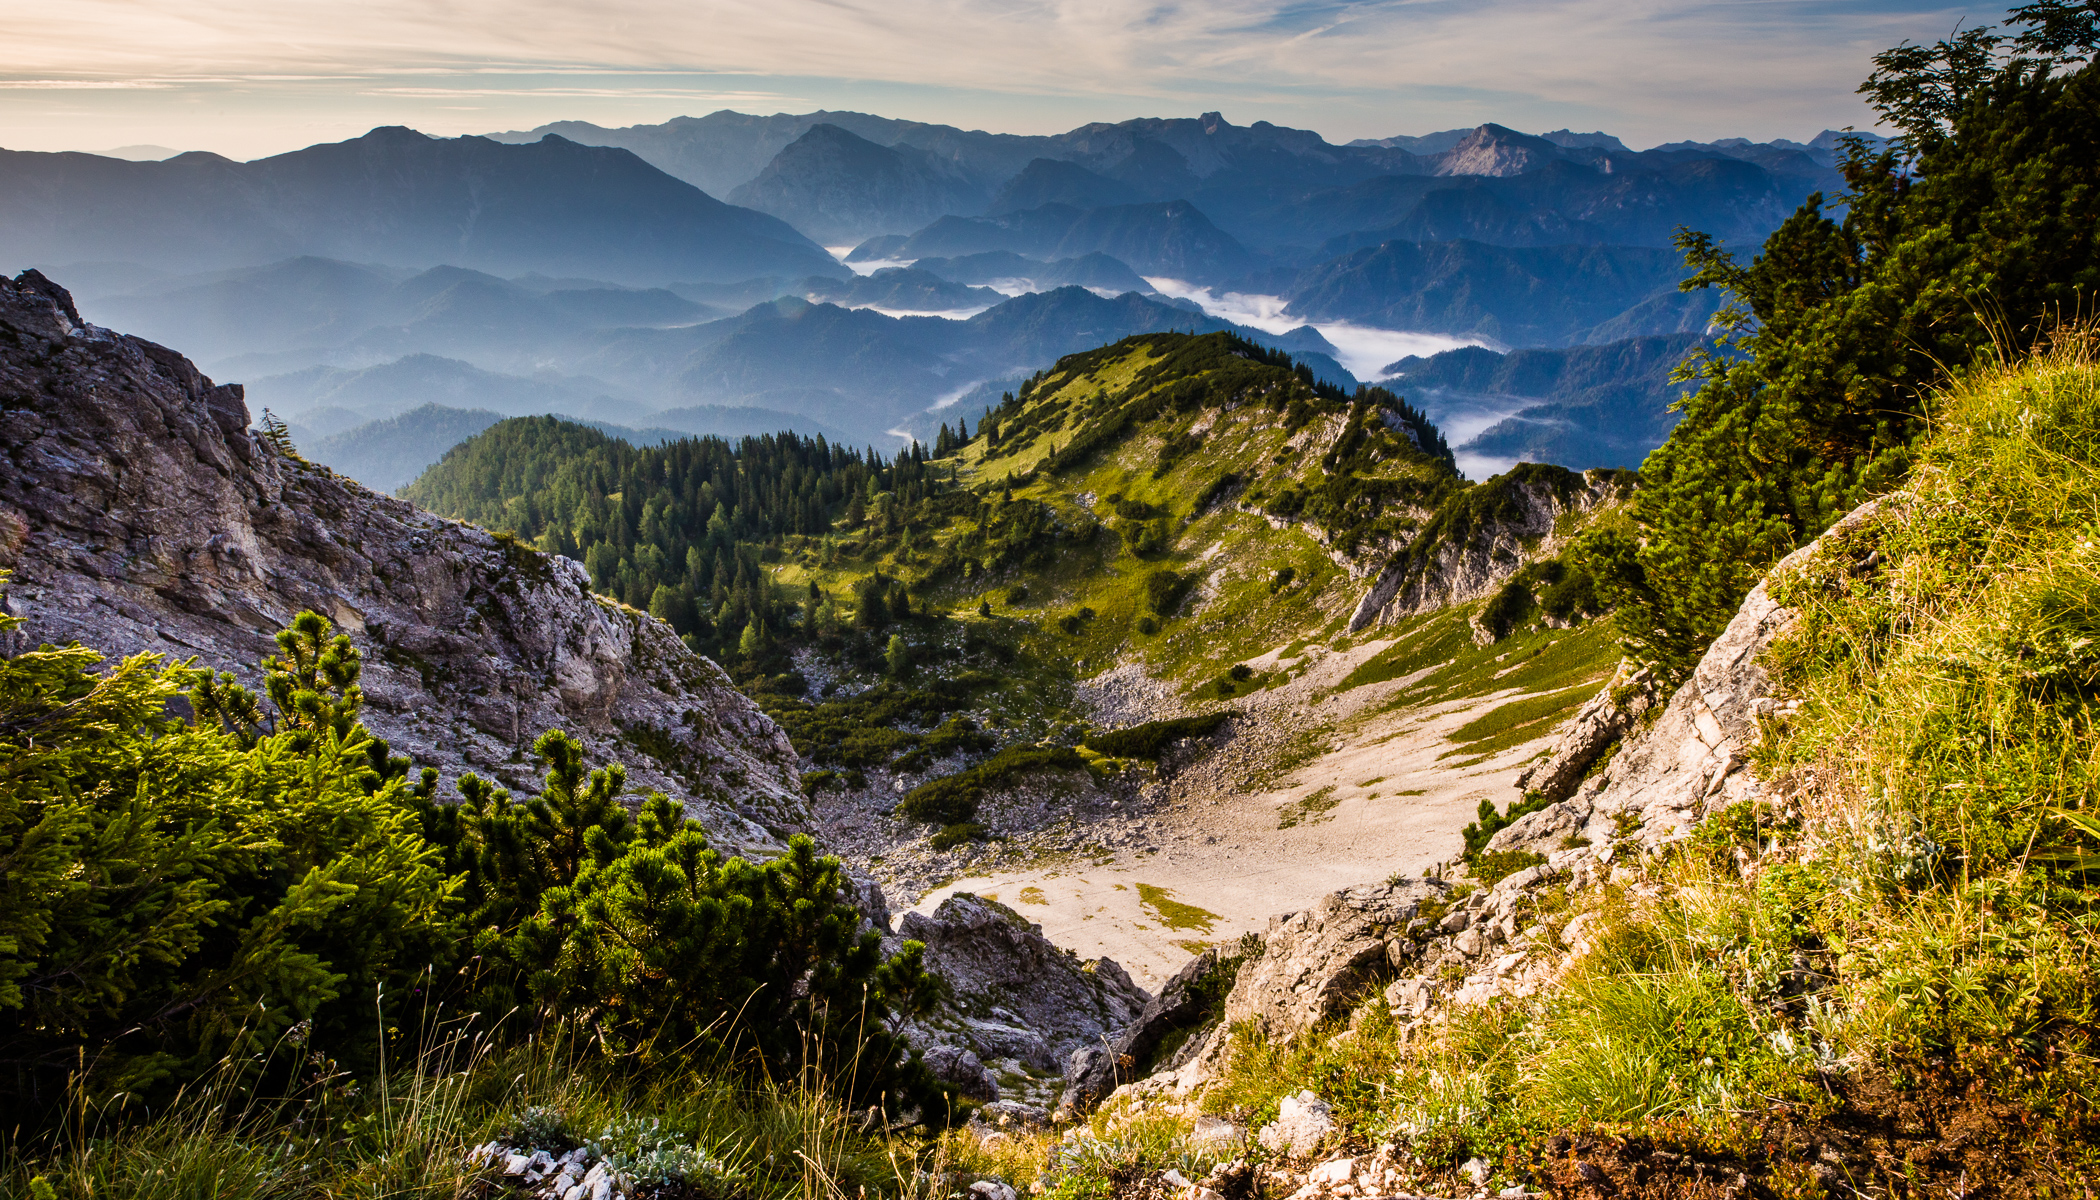
Do you want your landscape photos to be sharp from the foreground all the way to the horizon? Achieving the right depth of field depends not only on the f-number, but also on the lens focal length and where you focus. In this article, I show you how to achieve maximum sharpness and when a shallow depth of field can become a powerful creative tool.
In this article, you’ll learn:
- What depth of field is and how your f-number affects it.
- What f-number to use for landscape photography.
- How to calculate hyperfocal distance and when to use it.
- How lens focal length affects depth of field.
- How focus stacking can help you achieve maximum sharpness.
- When a shallow depth of field can be used as a creative tool.
When shooting landscape photography, you usually want to achieve the greatest depth of field possible—in other words, a sharp image from the foreground all the way to the horizon. Depth of field is something you should consider for every photo, meaning there are usually compromises you have to make between depth of field, shutter speed, and ISO. In landscape photography, sharpness is usually the priority, and the other settings must be adjusted to achieve this goal.
What is depth of field?
We covered the basics of depth of field in another article, so here’s a quick recap: depth of field is the part of an image that is acceptably sharp.
The illustration below shows two cameras photographing the same row of flowers focused on the same point. The bottom camera uses a higher f-number, resulting in greater depth of field.
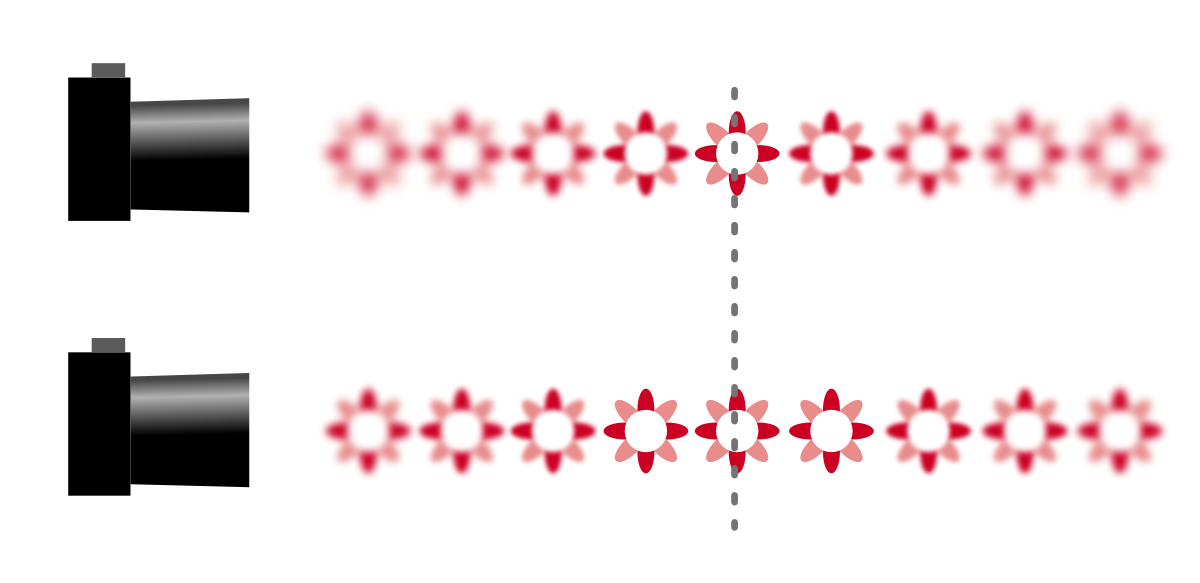
In landscape photography, you want everything to be as sharp as possible. In practice, depth of field is never infinite, but there are various ways you can maximize it.
Choosing an f-number for landscape photography
Depth of field is most influenced by the f-number. You might assume that using the highest possible f-number is always best, but there’s a catch. As you gradually stop down, depth of field increases, but at very high f-numbers, diffraction can make the entire image blurry.
For this reason, the ideal f-number for landscape photography is usually somewhere between f/8 and f/16. These values are based on full-frame cameras. For cameras with smaller sensors, you need to multiply your f-number by the crop factor. Smartphones can produce sharp landscapes even with apertures of f/1.8. The crop factor here might be around 5. So in reality, 1.8 × 5 means the aperture is around f/9, which is just right.
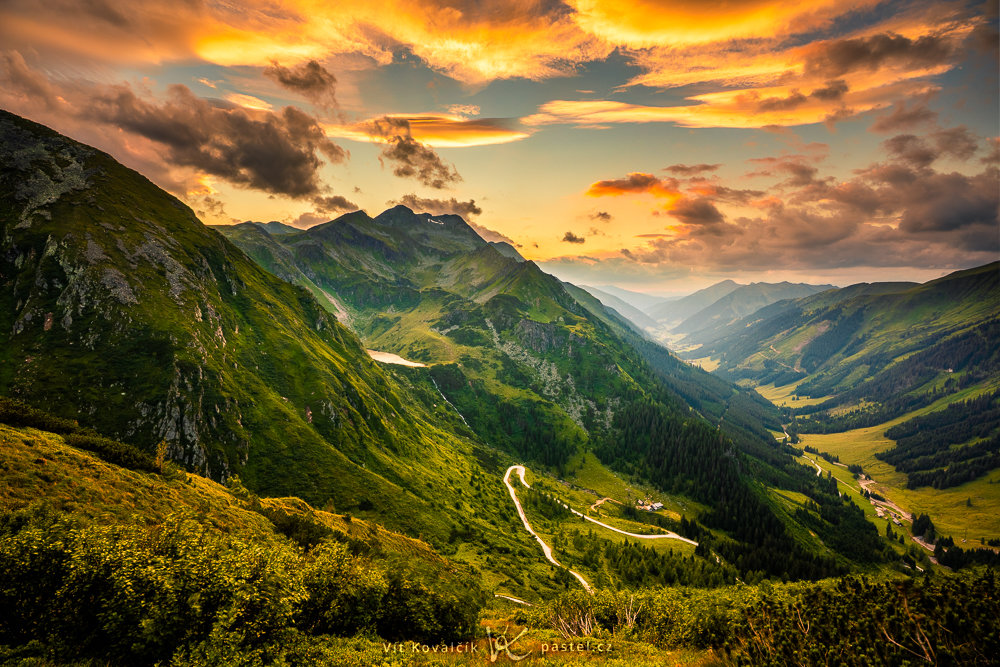
Canon 5D Mark IV, Canon EF 16-35/2.8 III, 1/40s, f/10, ISO 100, focal length 16mm
For the highest image quality, photographers typically use the lowest possible ISO, usually around ISO 100. Combined with a higher f-number, this often results in slower shutter speeds. In low light or when using a telephoto lens, you often need a tripod.
Hyperfocal distance: Where to focus for maximum sharpness
Even an f-number of f/16 doesn’t guarantee everything will be sharp. Proper focusing is just as important.
If you simply focus on an object on the horizon, it will be perfectly sharp, but the flowers in the foreground may appear blurry. Then if you focus on the flowers instead, the distant hills may lose sharpness.
The ideal focus point is somewhere between the two. This is where hyperfocal distance comes in. Hyperfocal distance calculators determine the focus point where the far limit of depth of field reaches infinity while the near limit is as close to the camera as possible. Imagine getting a result that tell you something like this: Focus 8 meters (26 ft) away and everything from 4 meters (13 ft) to infinity will be sharp.
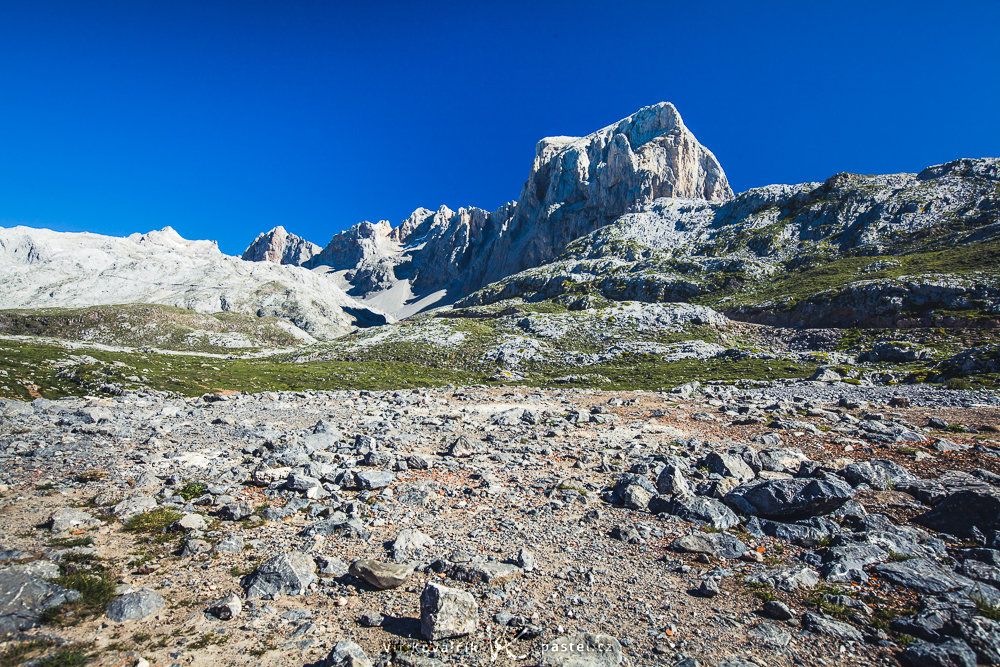
Canon 5D Mark III, Canon EF 16-35/2.8 II, 1/50s, f/10, ISO 100, focal length 23mm
Many hyperfocal distance calculators are available online. One of my favorites is the DOF simulator, which provides a visual representation of depth of field (hyperfocal distance is discreetly shown in the lower right corner). It only works for distances up to 25 m (82 ft). Text-based calculators are more versatile, and you can get similar results on sites like DOF Master or Hyperfocal Distance Calculator. Mobile apps offer the same functionality when you’re photographing in remote locations without internet access.
The calculated distance depends on the f-number and sensor size, which is why these factors are also included in the calculators. The focal length is also very important, as it significantly affects the depth of field.
If you want maximum precision, factors such as image resolution, print size, and viewing distance can also be considered, although most calculators ignore them. Regardless of what a calculator says, it’s always worth testing your own equipment and checking image sharpness in the field.
How focal length affects depth of field
The longer the focal length, the shallower the depth of field. I recommend trying this out with the focal lengths you use in the calculators above.
For example, with an ultra wide-angle lens equivalent to 12mm on a full-frame camera at f/8, you only need to focus approximately 62 cm (24 in) away to achieve acceptable sharpness from 31 cm (12 in) to infinity.
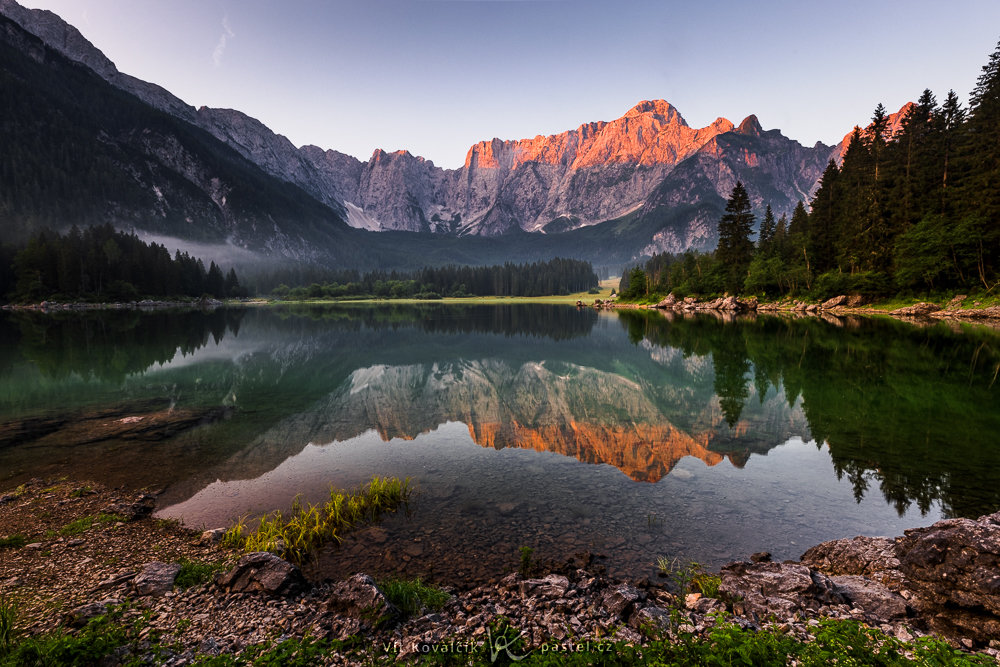
Canon R5, Canon EF 16-35/2.8 III, 1/10s, f/14, ISO 100, focal length 16mm
On the other hand, with a 300mm telephoto lens at the same f-number, you may need to focus nearly 400 m (1,312 ft) away. This gives you an acceptable level of sharpness from 200 m (656 ft) to infinity.
This is why wide-angle lenses are often more forgiving in low light. You can use lower f-numbers and relieve other settings (shutter speed and ISO) and still maintain sufficient depth of field. In many cases, you can get by without a tripod.
Telephoto lenses are far less forgiving and often require higher f-numbers unless you’re intentionally isolating a distant subject.
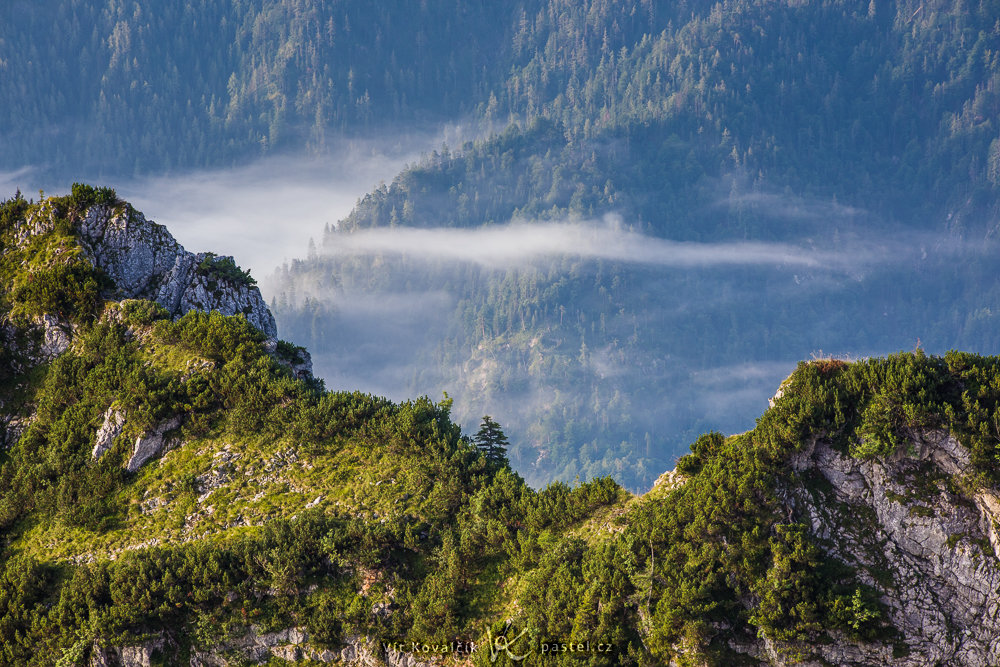
Canon 5D Mark IV, Canon EF 70-300/4-5.6, 1/30s, f/11, ISO 400, focal length 180mm
Focus stacking for maximum depth of field
There’s a solution for maximizing depth of field even with a telephoto lens: Use a tripod to take several shots that are basically identical but have slightly different focus points. Then combine them into a single image with maximum sharpness. This technique is called focus stacking. You can do focus stacking automatically using Zoner Studio.
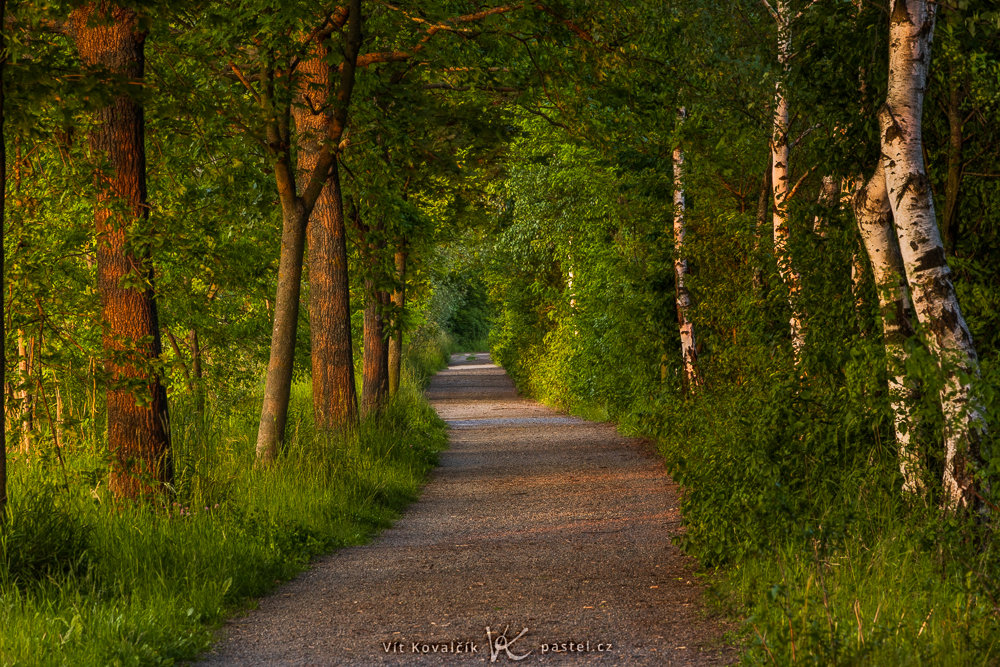
Canon R5, Canon EF 70-300/4-5.6, 1/6s, f/18, ISO 800, focal length 244mm
Even focus stacking can’t solve all the problems. Strong wind is a challenge, as are scenes where nearby objects in the photo are at extremely different distances.
When maximum depth of field isn’t possible
This brings us to one of the biggest challenges in landscape photography—wind. Even with a sturdy tripod, moving flowers or tree branches make long exposures difficult.
You can compensate by increasing ISO, but in low light, even that might not be enough. In those situations, you need to accept a shallower depth of field and use a wider aperture.
This applies to all types of motion, including choppy seas or moving trains and cars.
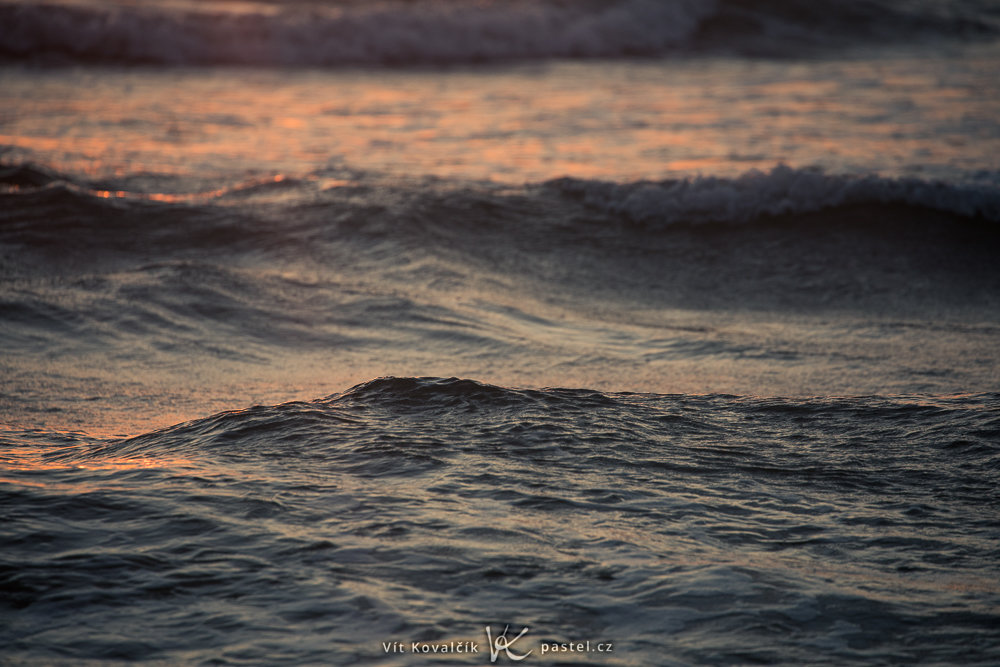
Canon 5D Mark IV, Canon EF 70-300/4-5.6L, 1/400s, f/5.6, ISO 400, focal length 300 mm
When to use a shallow depth of field
A wide aperture can be used creatively to produce more distinctive landscape photos.
Wide-angle lenses bring almost everything into focus, and with the aperture opened up just a little, the result can look more like a mistake, with some part of the image slightly out of focus. To create a stronger effect, move closer to your subject. This allows a foreground detail to stand out and the overall effect to appear intentional.
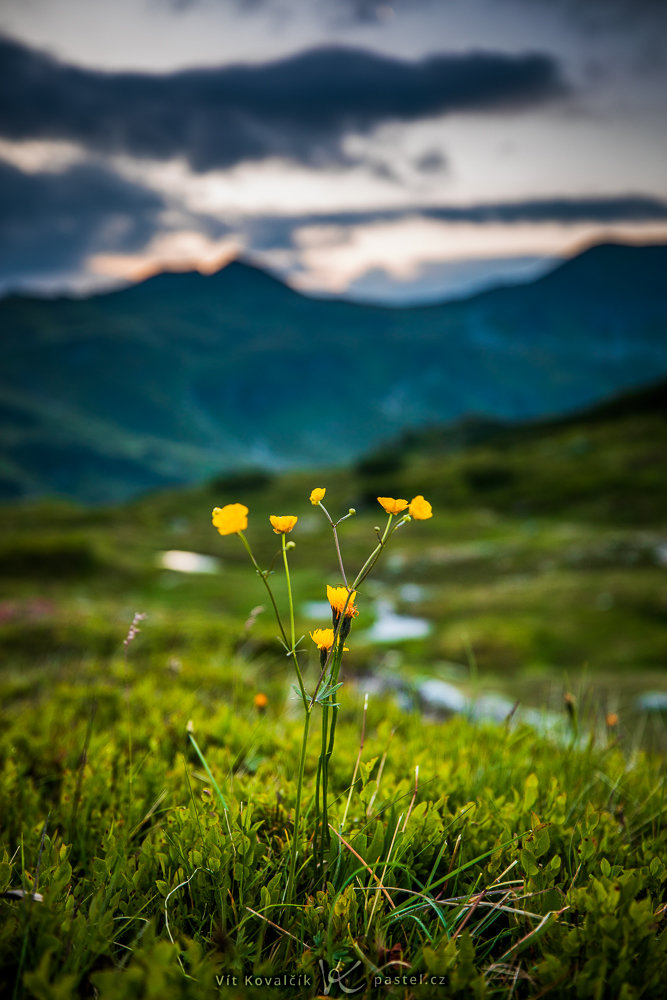
Canon 5D Mark IV, Canon EF 16-35/2.8 III, 1/4s, f/2.8, ISO 100, focal length 35mm
With telephoto lenses, a shallow depth of field comes naturally. The challenge is usually finding foreground elements to include in the shot. Standing close to a rock or other landscape feature and intentionally including it in the frame can create a stronger sense of depth throughout the image.
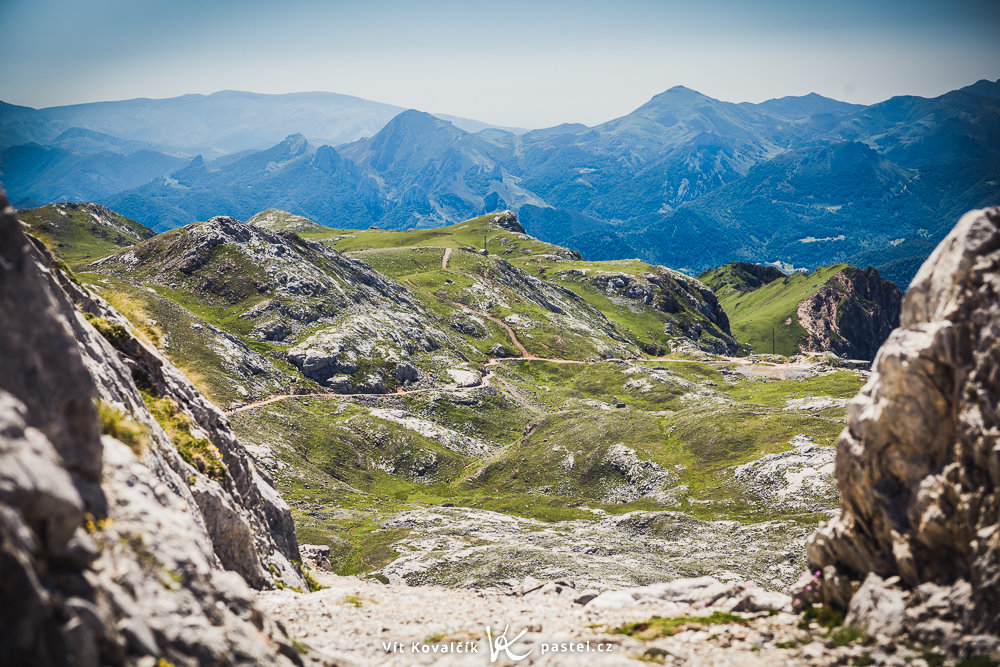
Canon 5D Mark II, Canon EF 70-200/2.8 II, 1/100s, f/5, ISO 125, focal length 102mm
Longer focal lengths can also capture larger sections of the scene while still blurring the background.
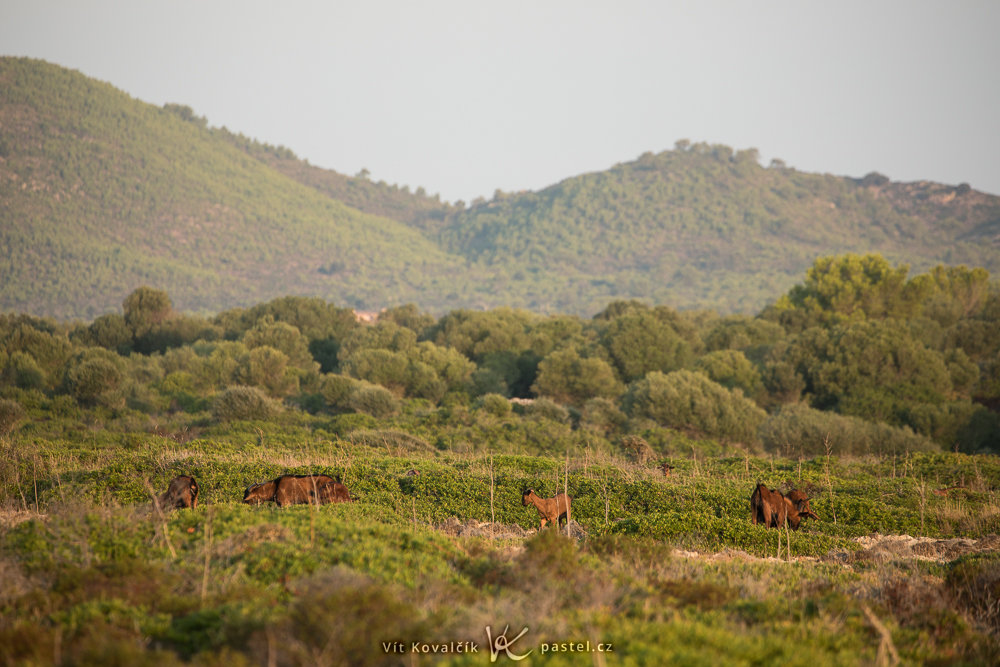
Canon 5D Mark IV, Canon EF 70-300/4-5.6L, 1/160s, f/5.6, ISO 100, focal length 300mm
Achieving sharp landscapes: Summary
In landscape photography, a greater depth of field is usually the safest approach. Hyperfocal distance calculators can be extremely helpful, but with experience can develop an intuitive sense of where to focus and how the result will turn out. And when you’re ready to experiment, try using a shallow depth of field—you might discover entirely new ways to photograph the landscape.
FAQs
What f-number should I use for landscape photography?
You get the best balance between depth of field and image quality using an f-number roughly between f/8 and f/16 (on a full-frame camera). At higher f-numbers, diffraction begins to reduce image sharpness, causing the photo to appear blurry.
What is hyperfocal distance and what is it used for?
Hyperfocal distance is the focus distance at which everything from half that distance to infinity appears acceptably sharp. You can calculate it using online calculators or mobile apps based on your f-number, focal length, and sensor size.
How does lens focal length affect depth of field?
The longer focal length you use, the shallower the depth of field is at the same f-number. Wide-angle lenses make it easier to capture a scene that is sharp from the foreground to the horizon, while this is a greater challenge with telephoto lenses.
What is focus stacking and when does it come in handy for landscape photography?
Focus stacking is a technique that combines several photos with the same composition but different focus points into a single final image with maximum depth of field. It is particularly useful when using telephoto lenses or shooting scenes where a single exposure can’t capture enough sharpness from foreground to background.
When is it better to use a shallow depth of field?
A shallow depth of field can be a creative tool when you want to emphasize a specific detail in the foreground and blur the background. It can also be useful when low light or movement in the scene (such as wind or waves) prevents you from using a long exposure with a high f-number.

There are no comments yet.