Edit Your Photos in Zoner Studio with the XP-PEN Graphics Drawing Tablet
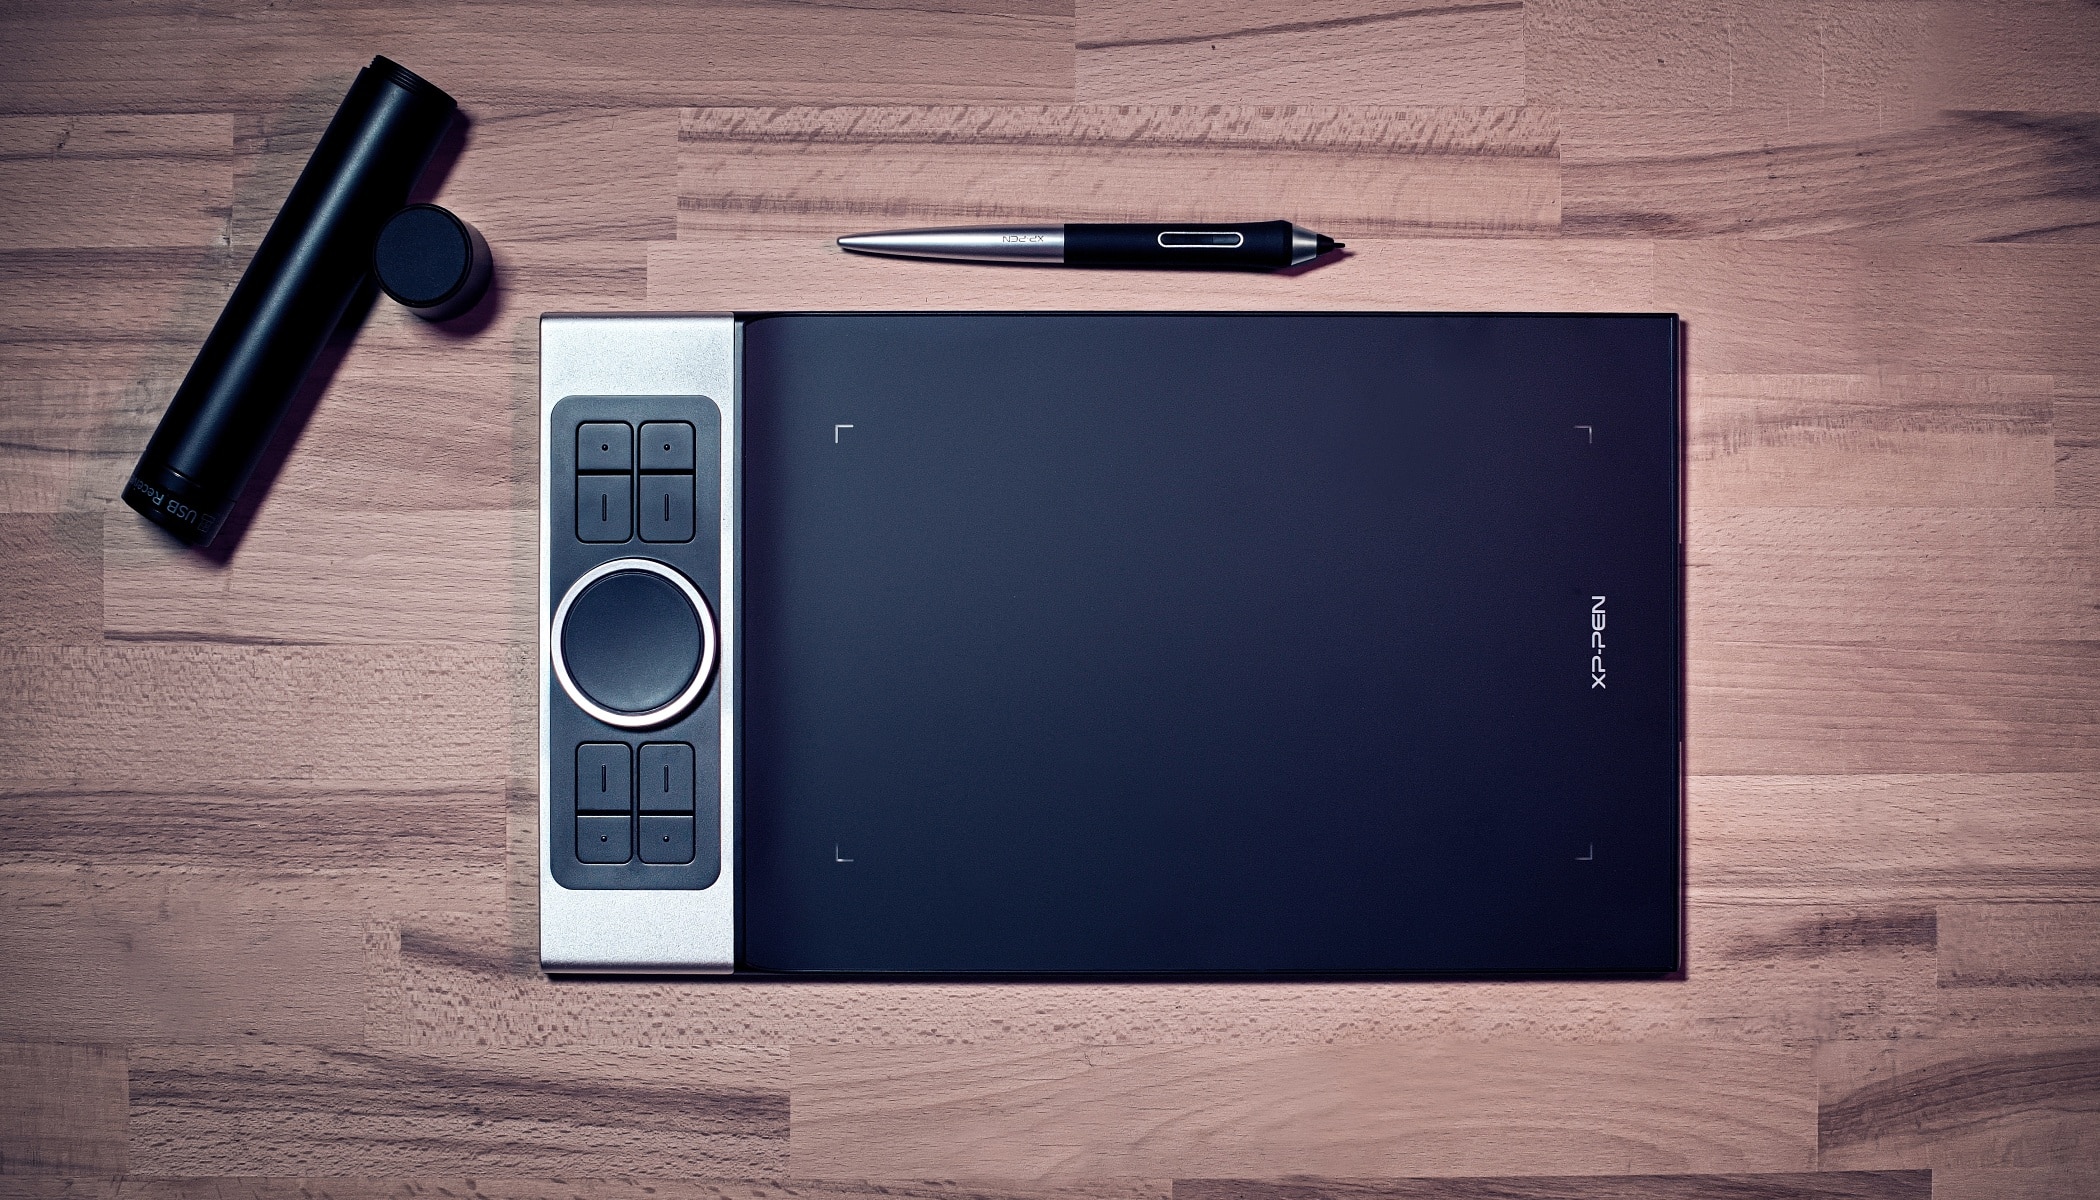
For some photographers, a mouse and keyboard aren’t always enough for photo editing. Graphics tablets are a great alternative. We’ve teamed up with tablet manufacturer XP-PEN to bring you tips and tutorials for editing your photos using their graphics tablet on our YouTube channel. In this article, you’ll learn how to set up Zoner Studio on an XP-PEN and what kind of editing you can do with it.
We experimented with editing on the XP-PEN Deco Pro SW, but XP-PEN produces various models to meet the varying demands of its users. If you’re considering purchasing a graphics tablet this holiday season, check out www.xp-pen.com and you might find something you like.
What makes graphics tablets better?
Graphics drawing tablets offer a more organic way of working than with a mouse and keyboard. You treat it just like you would a pencil and paper. You draw directly on the photograph, which is much easier for many photographers than editing with a mouse. It may take some getting used to in the beginning, but before you know it, you’ll swear by the graphics tablet for much of your photo editing.
Setting up Zoner Studio on the tablet
Connect the tablet to your computer via USB. Zoner Studio knows exactly what to do. All that’s left is to set up what each button will do.
The tablet is not merely a surface that you draw on using a stylus. It also includes buttons and sometimes a handy scroll wheel. You can set up the functions of these buttons according to your needs. The tablet’s buttons can replace not only individual keys but also various keyboard shortcuts. You can use them to change the size of the paintbrush, zoom in, copy and paste a selection, and other functions.
Tablets generally come with downloadable software that can be used to set everything up. The XP-PEN includes a convenient program called Pentablet. Use it to program the buttons on your tablet and stylus.
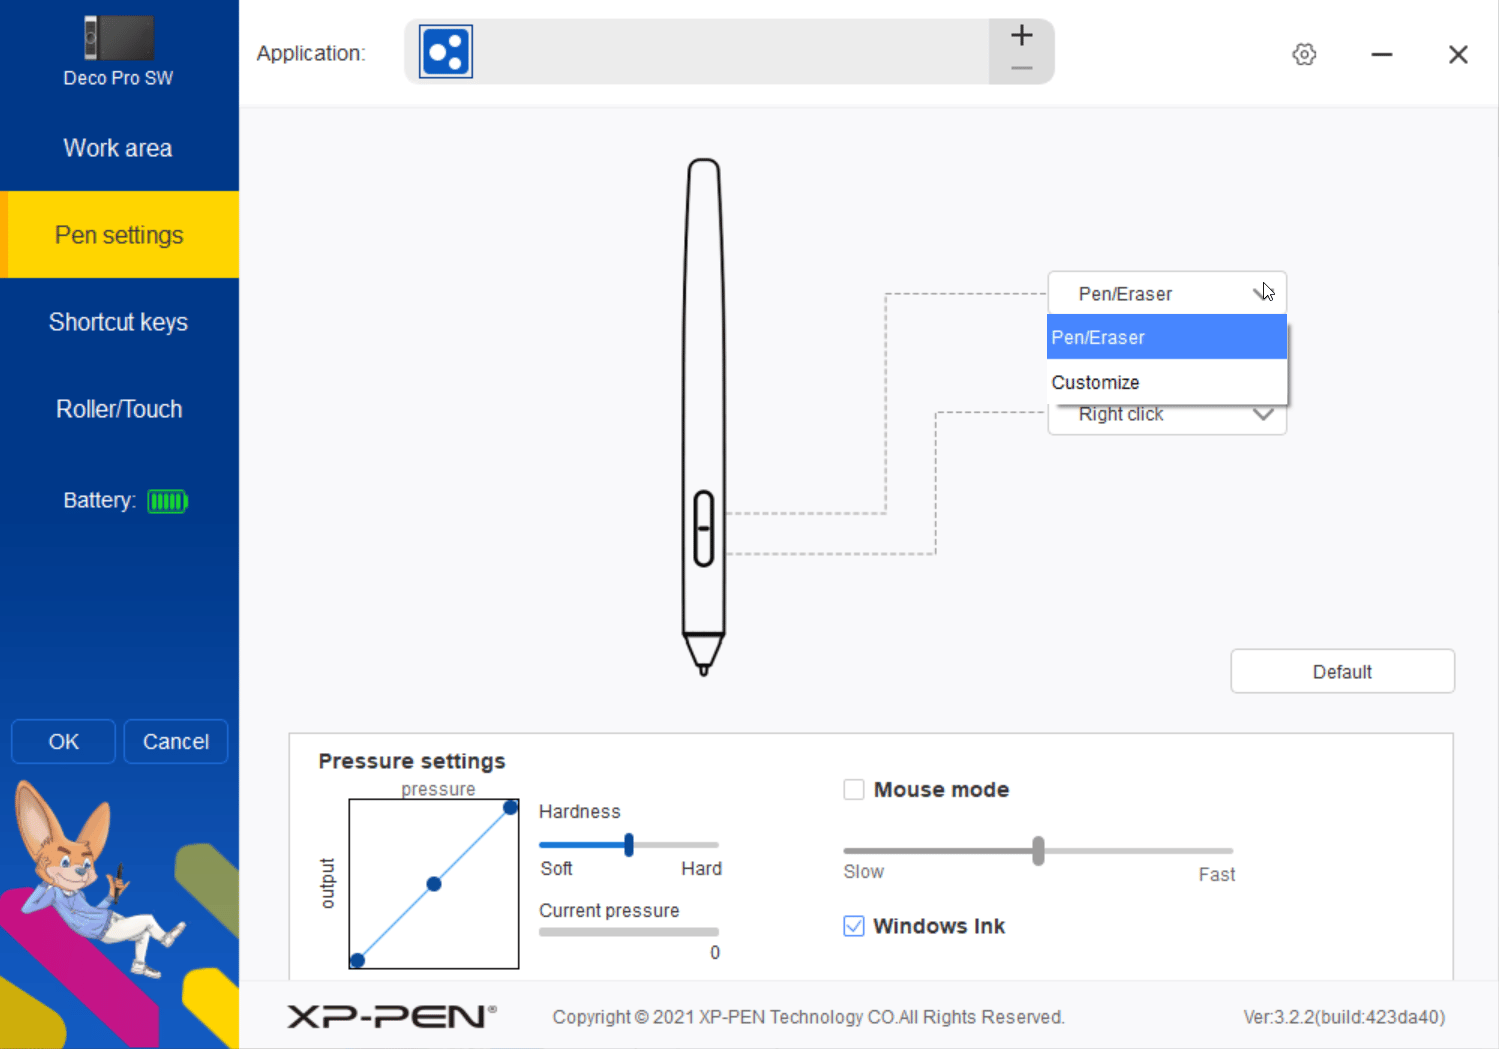
There are no universally correct settings. Every user utilizes Zoner Studio differently and prefers different functions for the buttons. We recommend trying editing with temporary settings first and adjusting the buttons as needed. You will soon find a configuration that works great according to your needs.
Confused about connecting and setting up your tablet? Don’t be. Watch our video where Zdeňka guides you through setup and shares a few useful tips:
Editing tips
The graphics tablet comes in handy whenever great precision is required. We found it most useful when performing local edits. For instance, working with the Filter Brush (B) in the Develop module, or controlling selection tools in the Editor module. It is also very useful when retouching in both modules. Portrait photographers in particular will enjoy its many useful functions.
Selective brightening
A graphics tablet is a great tool for editing using the Filter Brush (B) in the Develop module. Masking with the tablet is much faster and more precise than with the mouse. You’ll especially appreciate the tablet’s accurate masking when editing portraits. Sometimes your subject’s face is covered in shadows and you must selectively brighten it by masking using a paintbrush and increasing exposure.
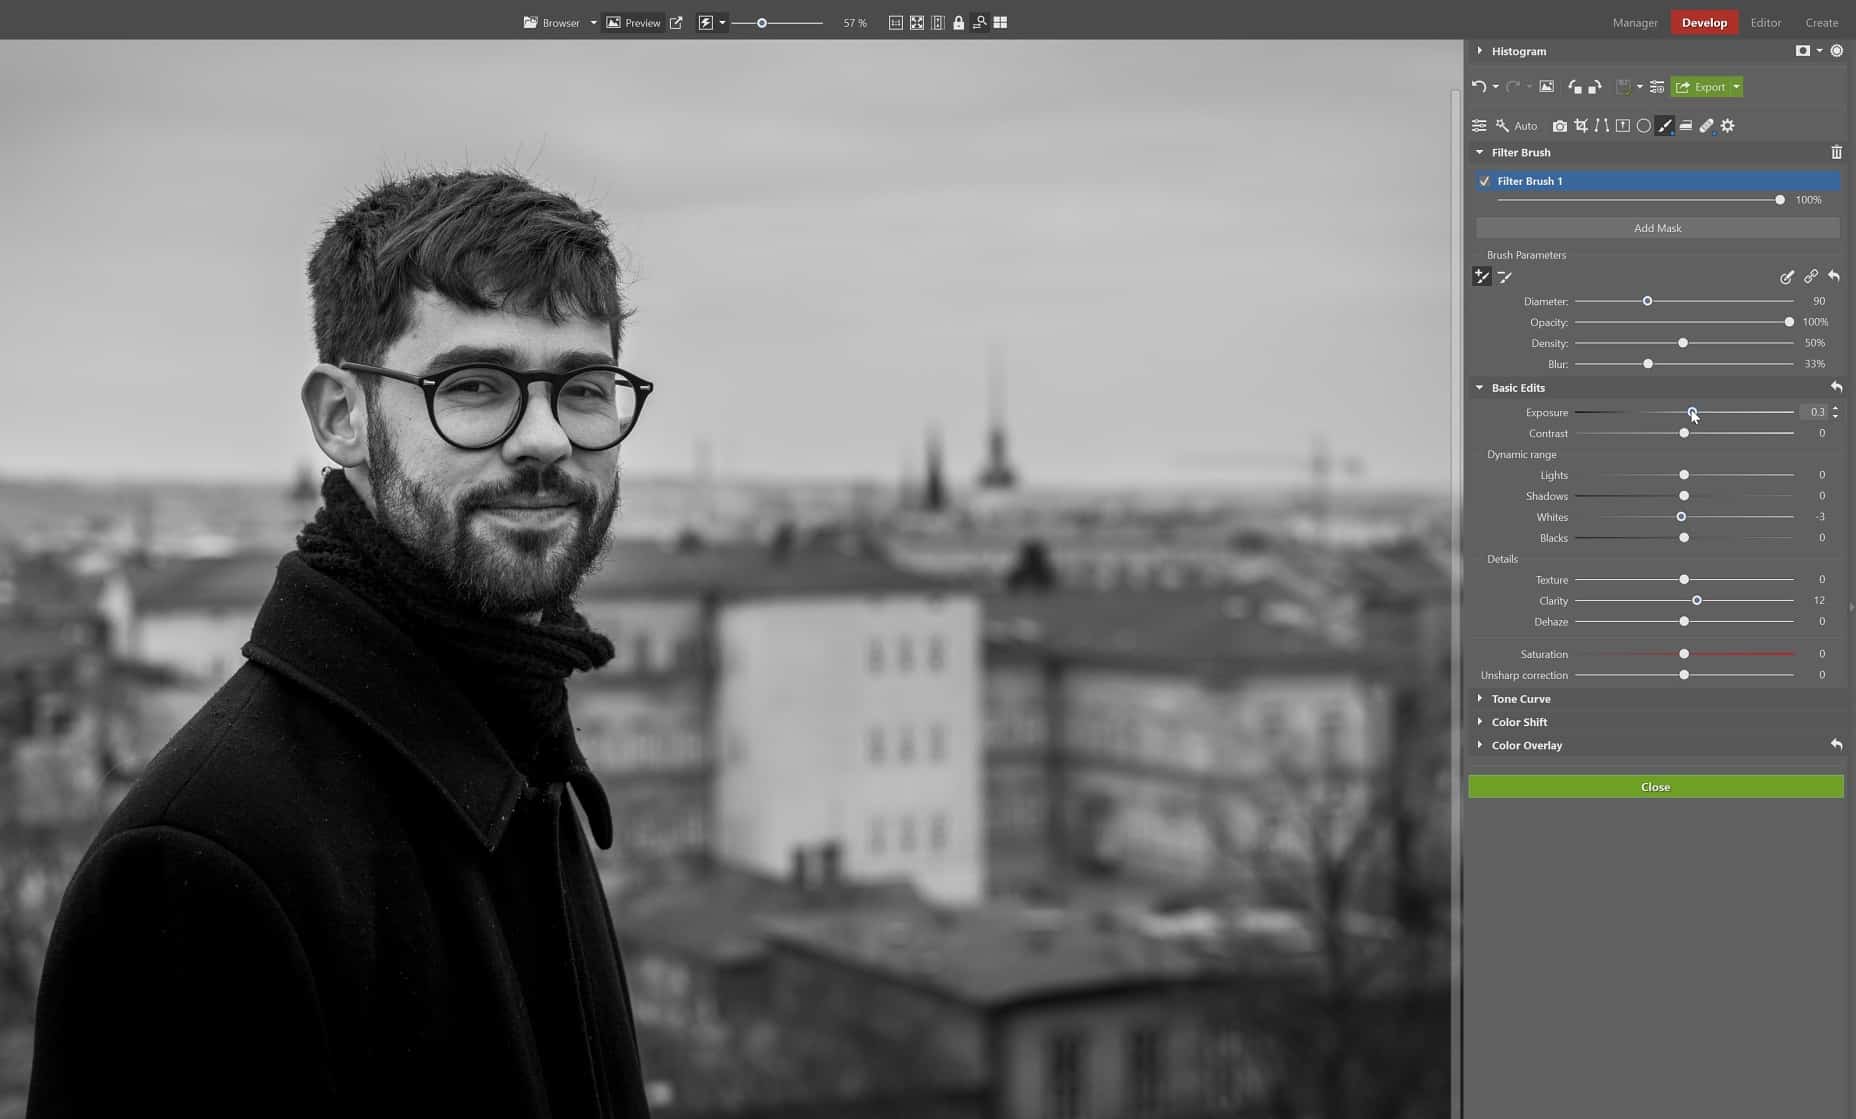
Learn more about editing using the Filter Brush (B) in the article The Filter Brush: Have Complete Control Over Every Part of Your Photo.
Selective desaturation
There are many techniques that can be used to emphasize the main subject of your photograph. One of them is selective desaturation. For example, use the Filter Brush (B) to precisely add a mask over the main subject, invert it with care, and lower Saturation of the surrounding areas. This will help the main subject stand out. The drawing tablet makes masking faster and more precise.
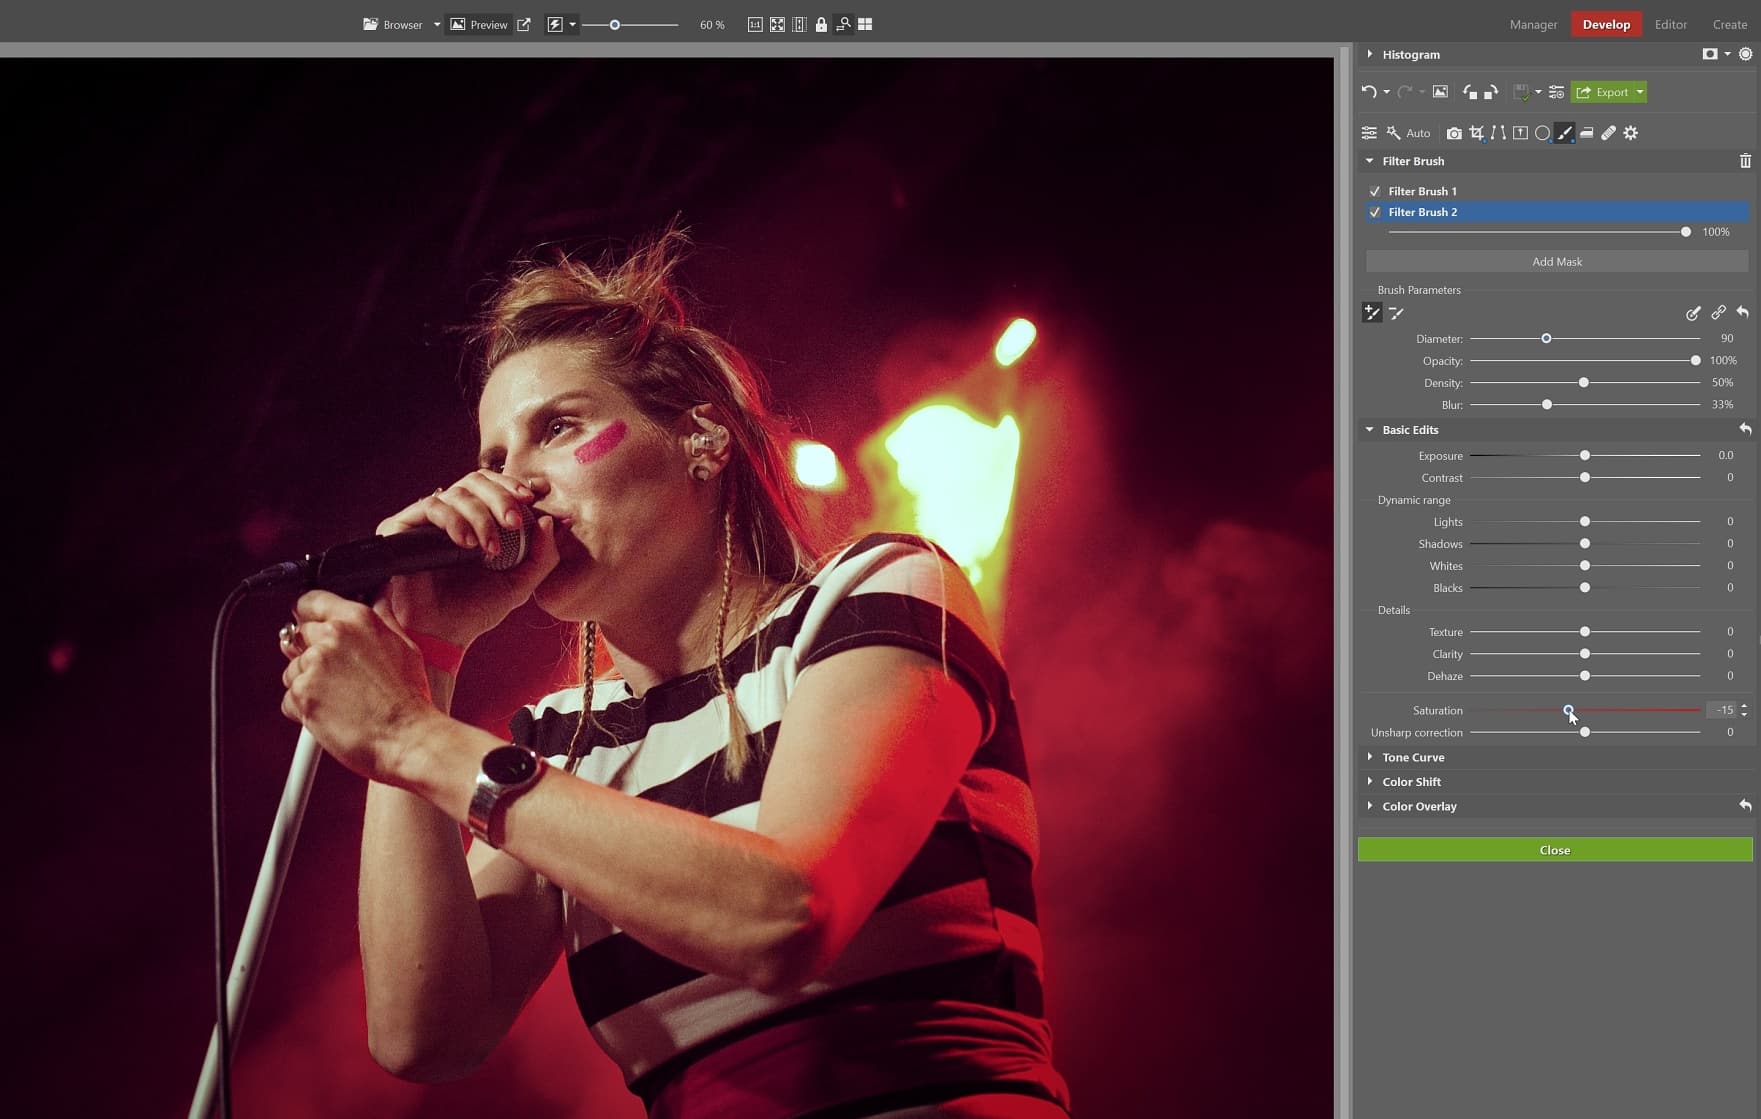
Read more about selective desaturation in the article A Photographer’s Worst Nightmare or Indispensable Tool? Three Ways You Can Use Selective Color and Decide for Yourself.
Working with selection tools
Here, the power of the tablet is seen in all its glory. Thanks to the option to draw directly on the photo, creating selections is much simpler and more precise. You can take advantage of this when creating a photo montage.
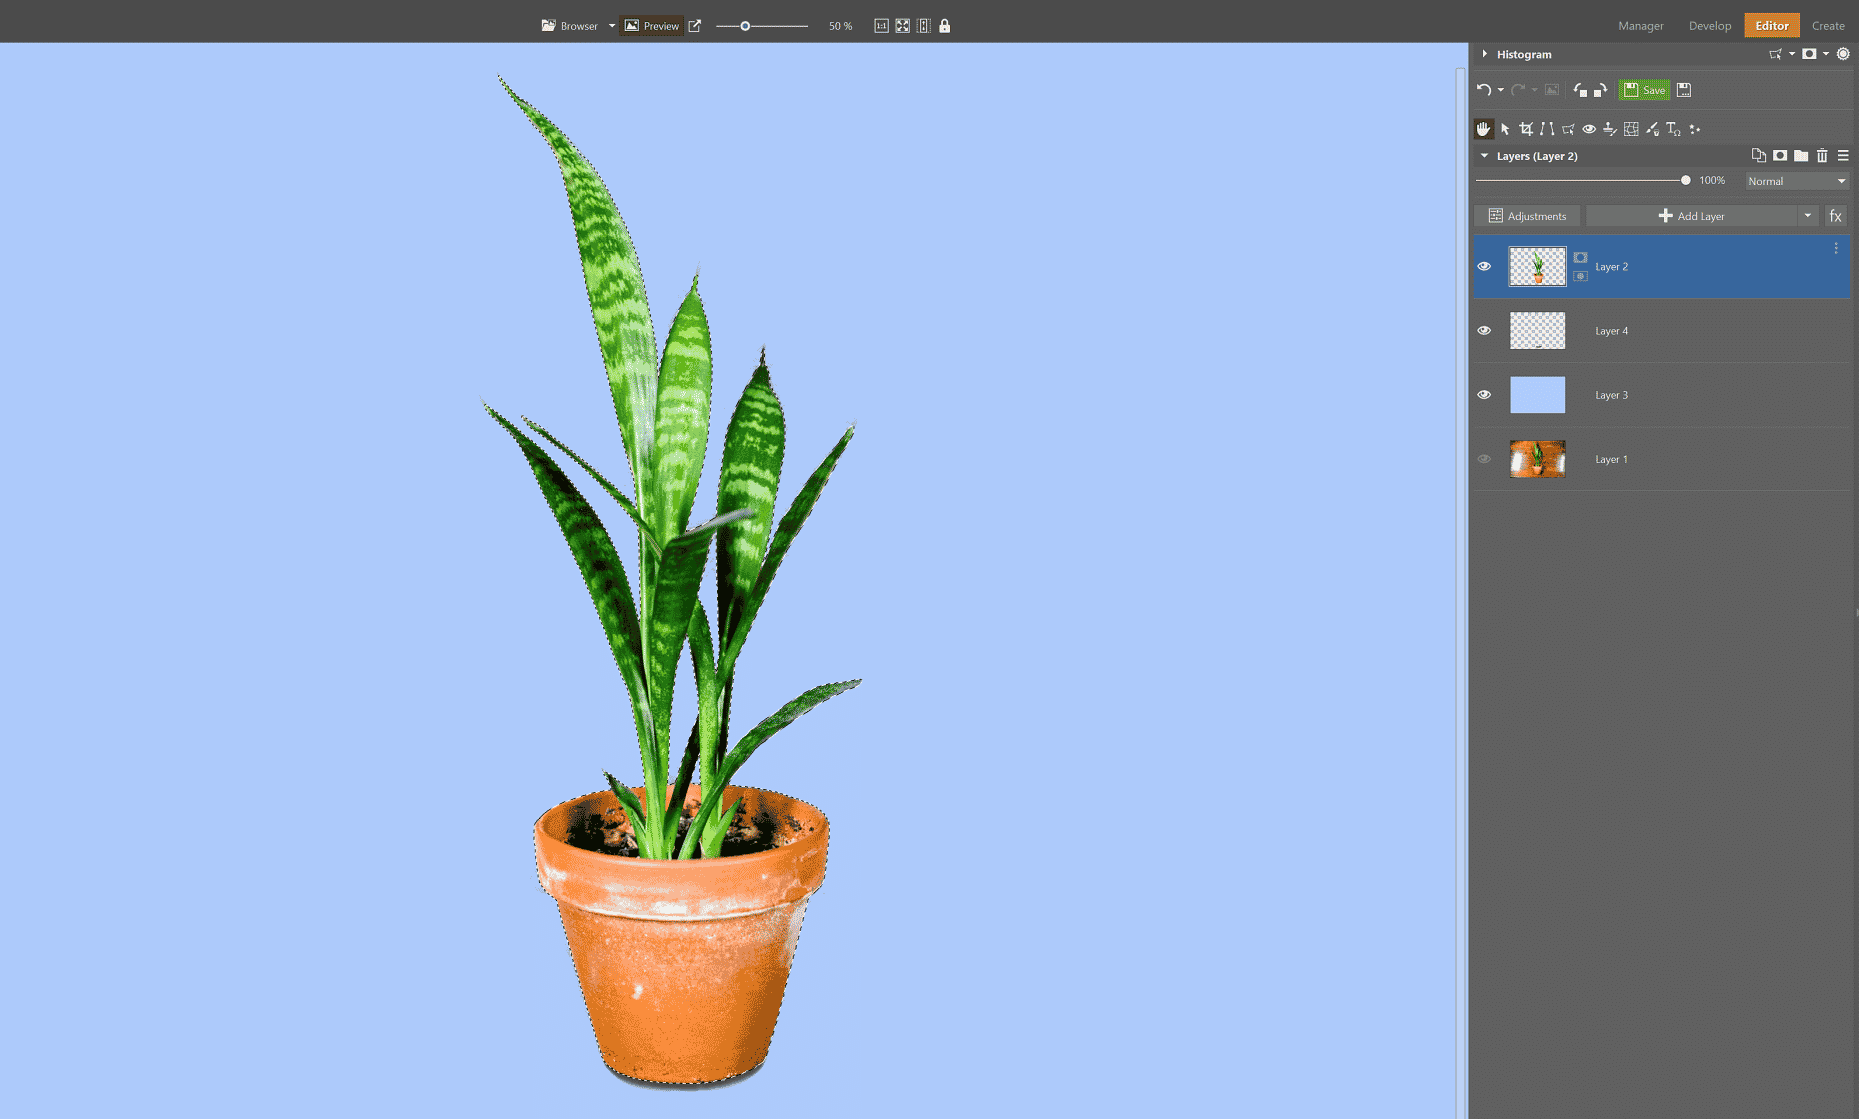
Learn how to add parts of an image to other photos in our article How to Place One Photo Inside Another: Create Your Own Photo Montage Using Layers.
Retouching in the Develop and Editor modules
Retouching using a drawing tablet is much faster than with a mouse. If you do a large amount of retouching, then the graphics tablet is certainly worth it. Working with the Clone Stamp and Healing Brush on the graphics tablet is lightning fast.
It is also very easy to use the Dodge and Burn technique. Emphasizing light and dark contours by simply drawing on the photo is not only quick and intuitive, but it’s much more fun!
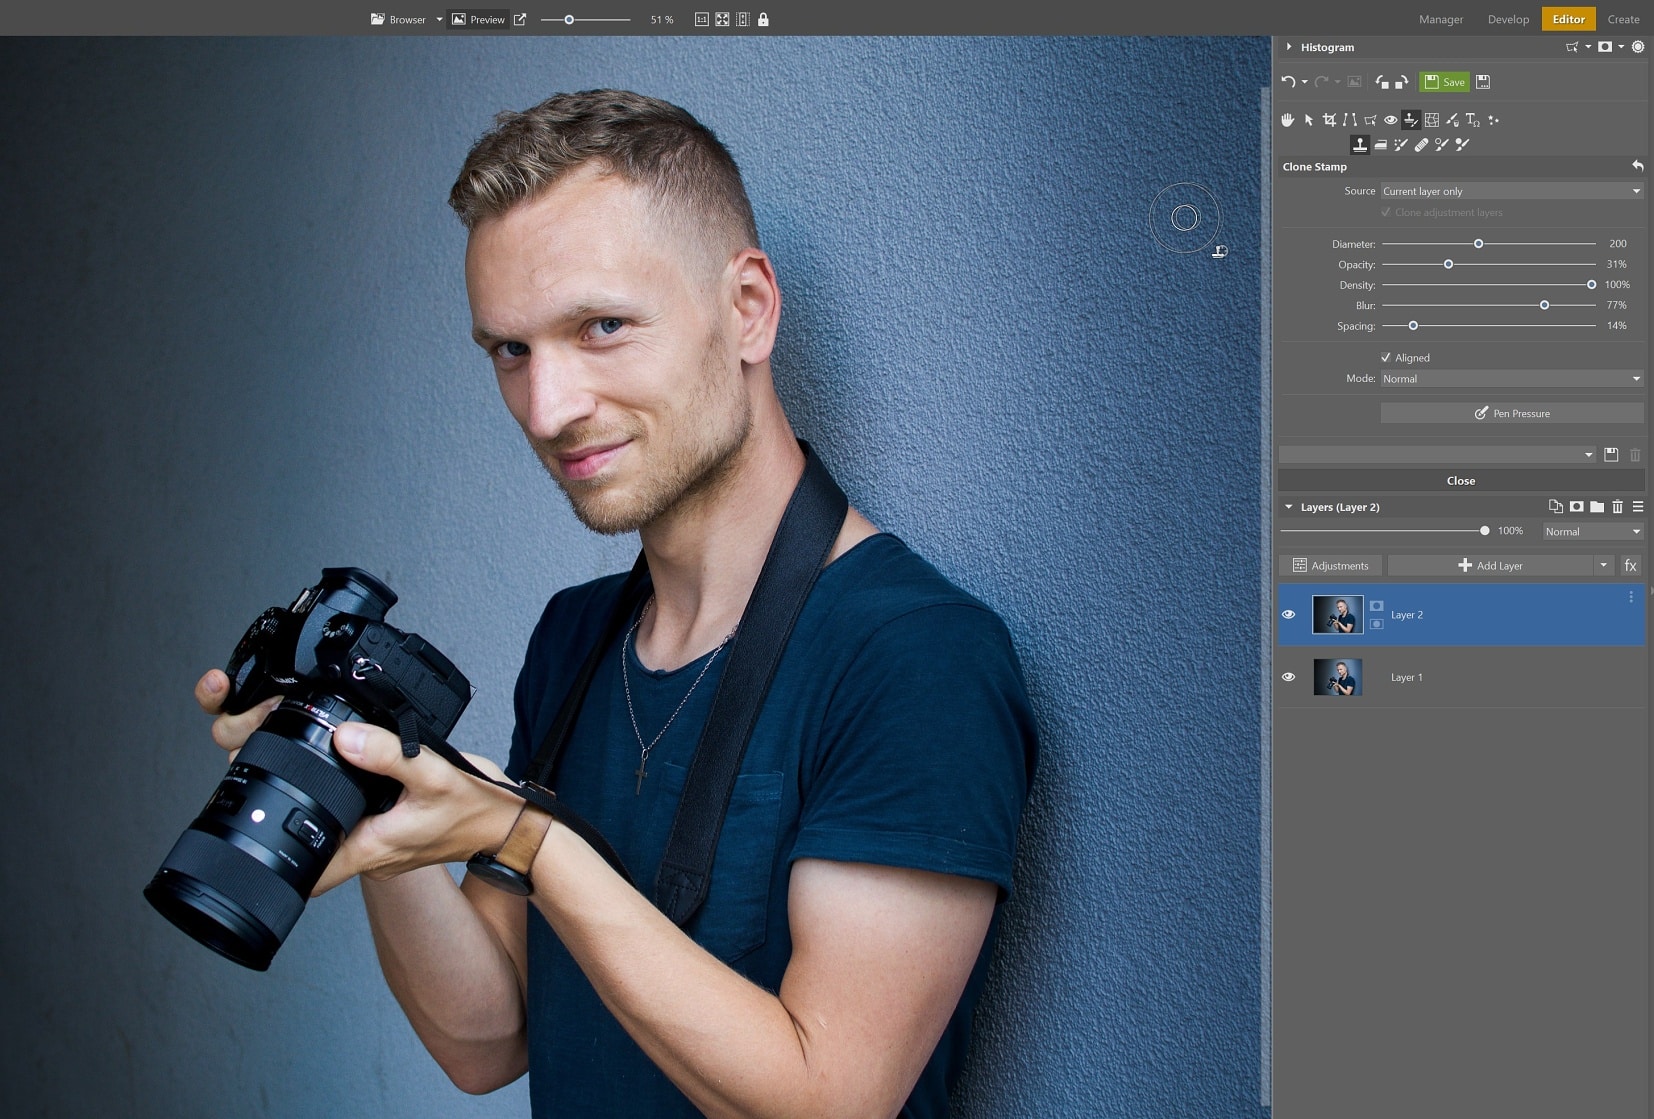
Learn how to retouch portraits. Check out the article Portrait Retouching: How to Perfect Your Portraits.
Faster workflow?
Replacing the mouse and keyboard with a graphics drawing tablet is not for everyone. It’s a question of habit and what type and number of adjustments you need to make. For instance, when performing global edits in the Develop module, the tablet could get a bit cumbersome. For organizing your photos, the mouse and keyboard are more practical.
A graphics drawing tablet is worth considering if you do a large amount of retouching or frequently use local edits. If you often find yourself needing to “draw” on your photo, then the tablet will significantly speed up and simplify your workflow. The amount of time you’ll save is significant, especially when processing a large number of photos.