Edit Like a Pro with Zoner Studio and the Loupedeck+ Editing Console
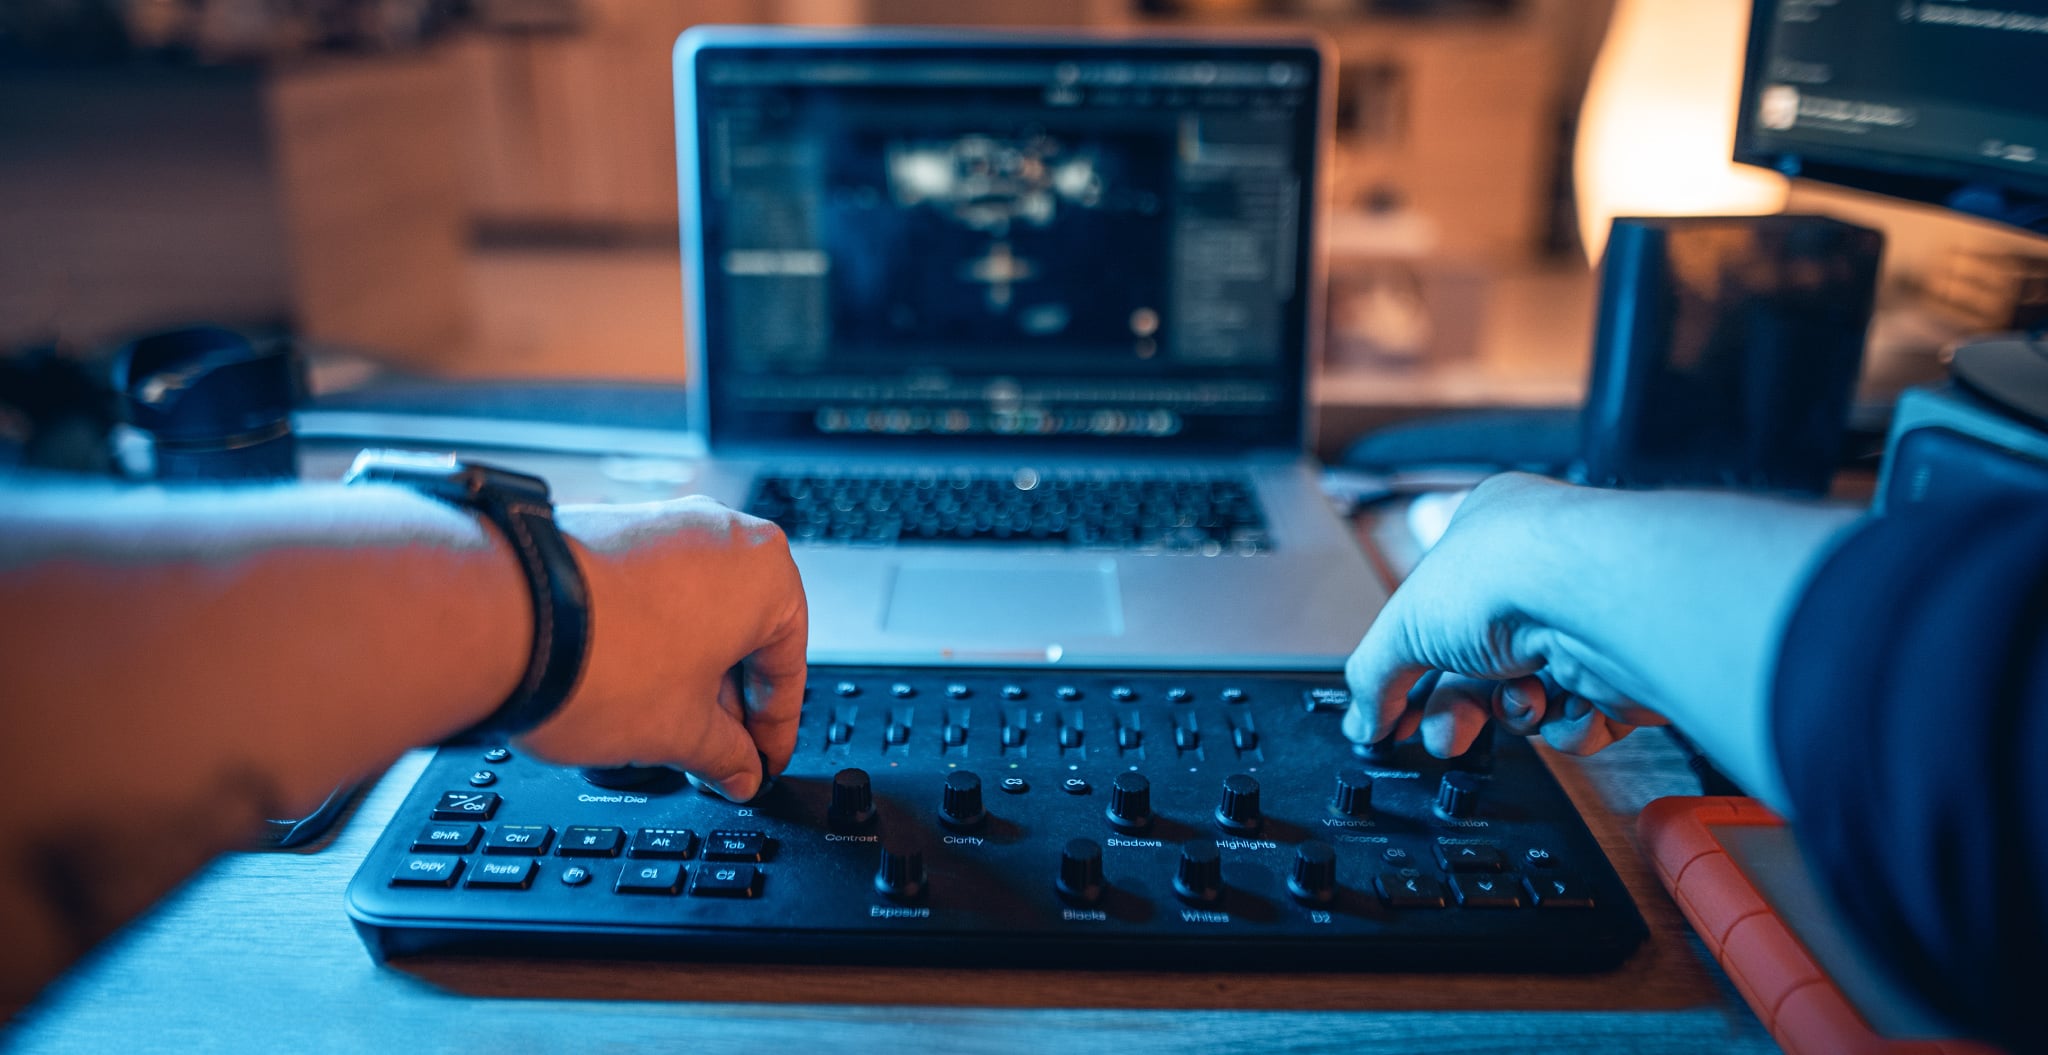
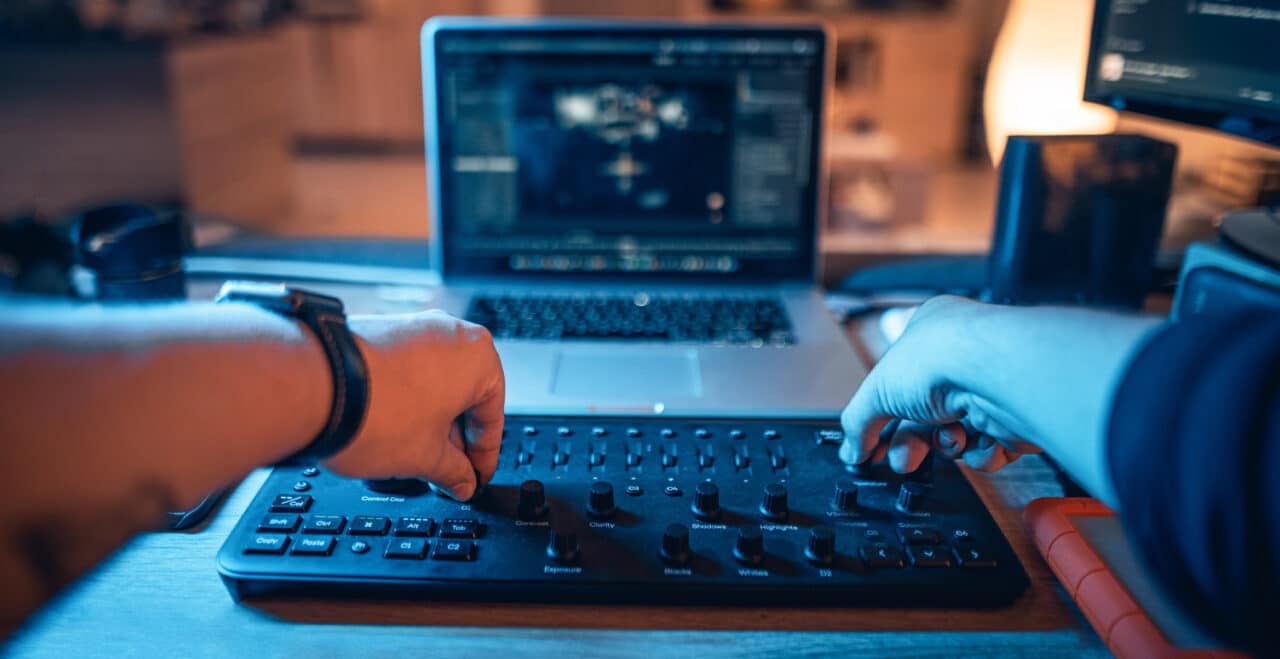
Editing photos and videos with Loupedeck is fun and saves you time. Zoner Studio now supports these editing consoles and offers a plugin with predefined parameters for Loupedeck+.
Since the spring 2025 update, Zoner Studio supports not only Loupedeck+ but also the following devices:
- Logi MX Creative Console and their integration in the Logi Options+ application
- Loupedeck CT
- Loupedeck Live
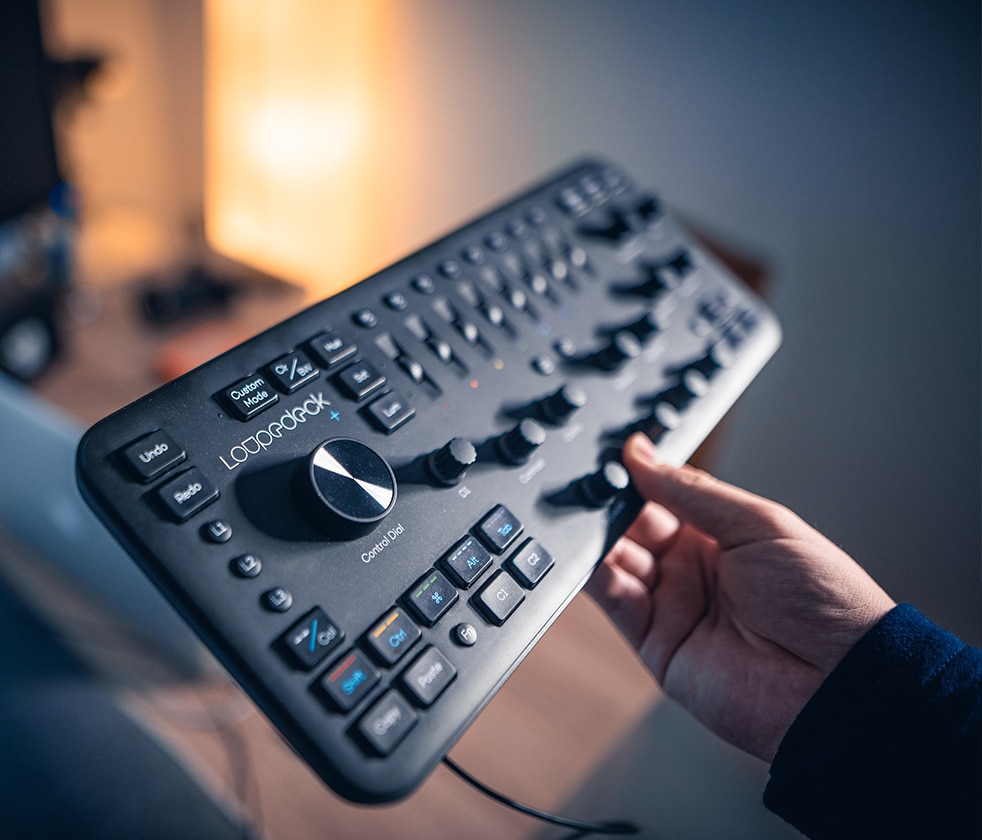
Loupedeck is essentially a keyboard. However, unlike traditional keyboards, which are designed mainly for typing text, Loupedeck+ is designed for photo editing. It has buttons and dials with editing parameters instead of letters and keys. The advantage of dials is that you can turn them left and right to adjust intensity. Pressing the dials resets the values.
Install Loupedeck
To begin using Loupedeck+ for your photo editing, you need to do more than plug it in, open Zoner Studio, and start turning dials. You need to install the Loupedeck application first. Within the application, download our Zoner Studio plugin from the Loupedeck marketplace, and it will activate automatically.
Organizing photos
In the Manager module, you will likely sort your photos using the arrows and colored labels found in the bottom left part of Loupedeck+. There is probably no difference in convenience when compared to a classic keyboard. Since it’s impractical to switch between keyboard and console, sorting and editing on one device is great.
Use the u002du002d/Col button above the colored row of keys to switch between using stars or colored labels.
Basic adjustments
After switching to the Develop module, you will experience the full potential of Loupedeck+.
Basic exposure settings are written in English and are quite clear.
Basic adjustments are done by scrolling through the photos using the arrow keys and holding the Exposure dial. This dial is used most often. Next, you’ll most likely use the Control Dial. If you turn it, you change the Rotation of the photo and can beautifully level the horizon in your photos. This dial is very intuitive and faster than using the mouse. Once you’ve rotated your photo, confirm by pressing the dial.
On the other hand, I’m not used to cropping using the D1 dial. I find the mouse more practical for precise cropping.
Customize Loupedeck to meet your needs
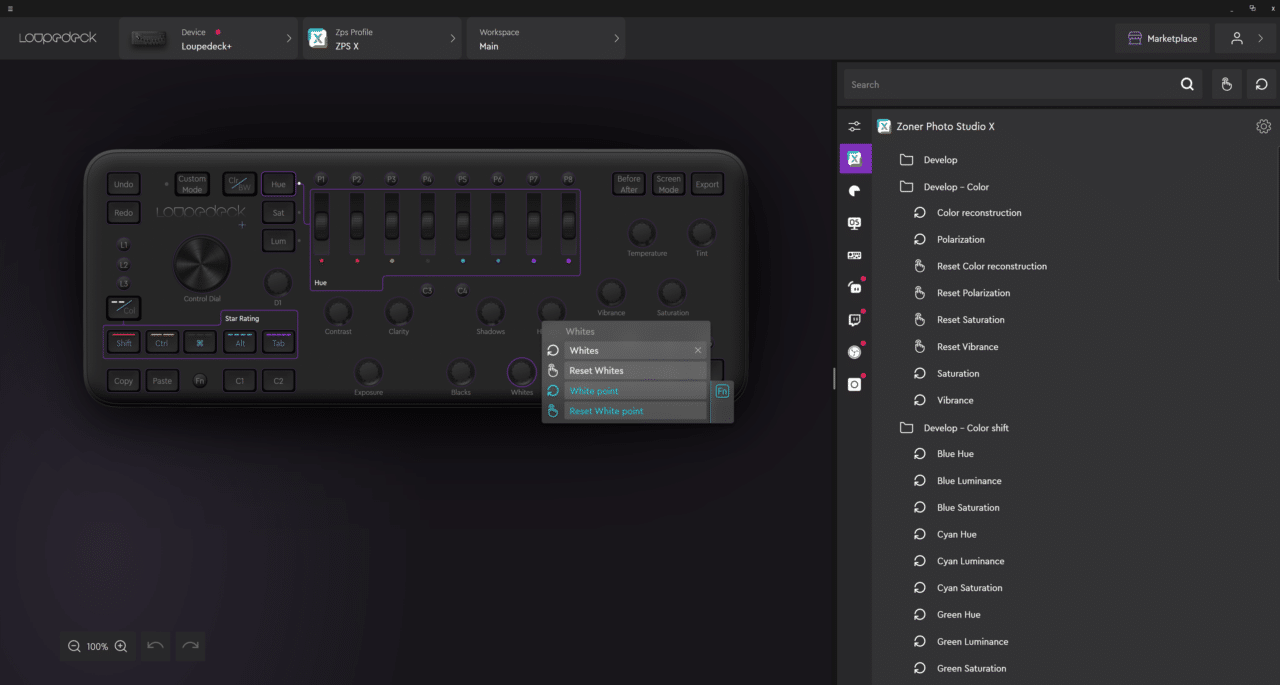
Zoner Studio has more sliders than Loupedeck+ has dials. That’s why there is, among other things, the D1 and D2 dial. You can set whatever is missing in the Loupedeck application with these dials. All other dials can also be reconfigured. For example, you can change White Point to Highlights.
To configure the settings, open the Loupedeck app, click the dial, and drag from the right panel to set what pressing and turning the dial should do.
Simplify working with presets
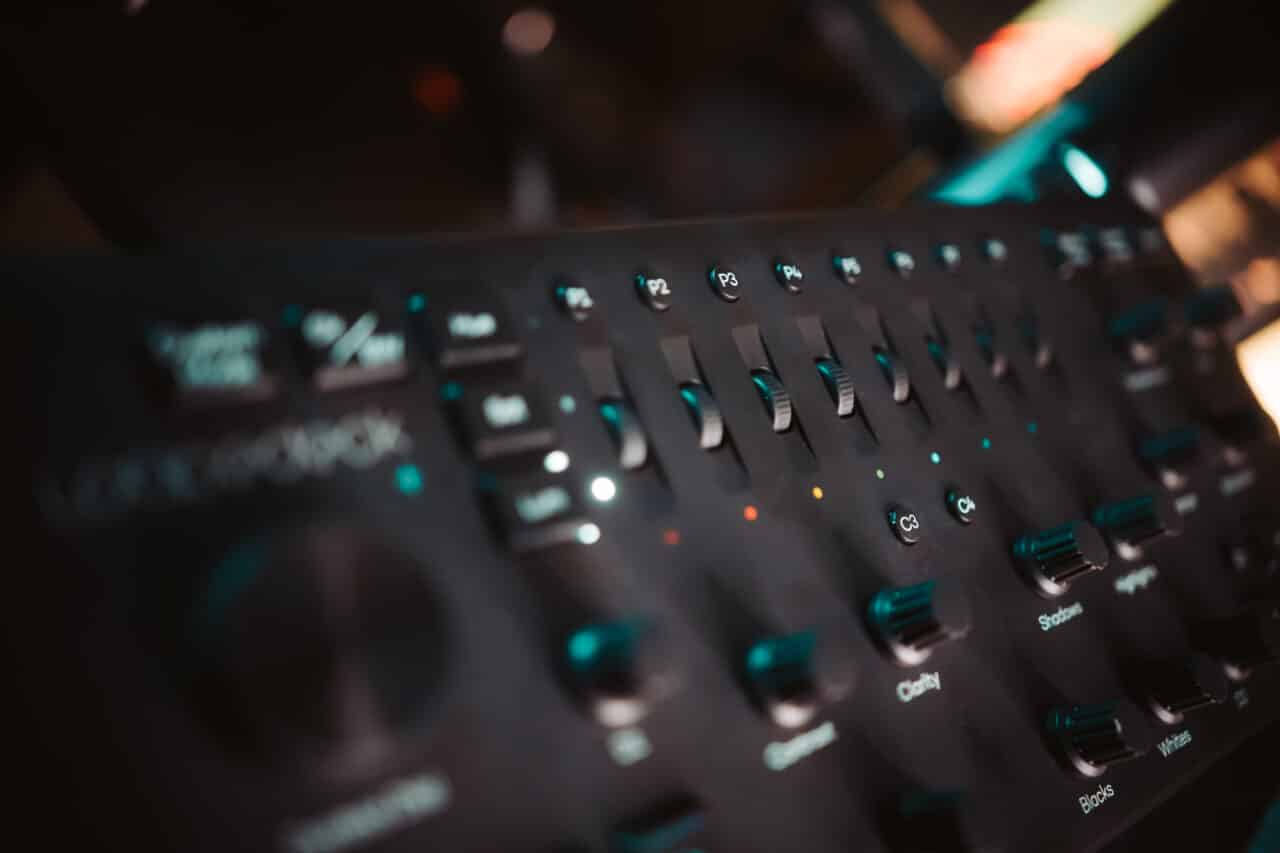
If you use presets, you’ll appreciate the P1-P8 row of buttons. You can assign these buttons to various presets. If you don’t use presets, now’s the time to start. They can significantly speed up your entire workflow.
Simply, presets allow you to edit your photos with the press of a button. This works even for presets that you use only occasionally, such as with local tools. For example, you can set P1 as a Tool Actions preset that includes a Gradient Filter to bring out the sky. Then, just open the photo, press P1, and your sky is darker. This can save you a lot of time.

Use a button for one of your favorite black and white presets for when you want to add a few black and white photos to a series of color photos.
Add a large radial filter to your quick access so you can bring out your subject by brightening the center of the photo.
Color correction
The Loupedeck+ has a large area taken up by various colors. These are found under the row of preset buttons and essentially replicate the Color Correction panel. The difference is that they are in a row instead of in a column. To the left of this row, you can switch between adjusting colors‘ Hue, Saturation (Sat), or Luminance (Lum).
I usually have color corrections set as presets so they are the same for all photos. I personally don’t use this row of buttons very often.
More buttons to simplify your workflow
On the bottom left, you can find the Copy and Paste buttons for copying and pasting adjustments. The Undo and Redo buttons are at the top left.

The Before and After button is found in the top right. Use it to quickly check how your photo looked before and after editing.
Try Zoner Studio free for 7 days. If you choose to rent or purchase a Loupedeck+, editing your photos can be a lot more fun and faster.
