Get to Know Your First Camera

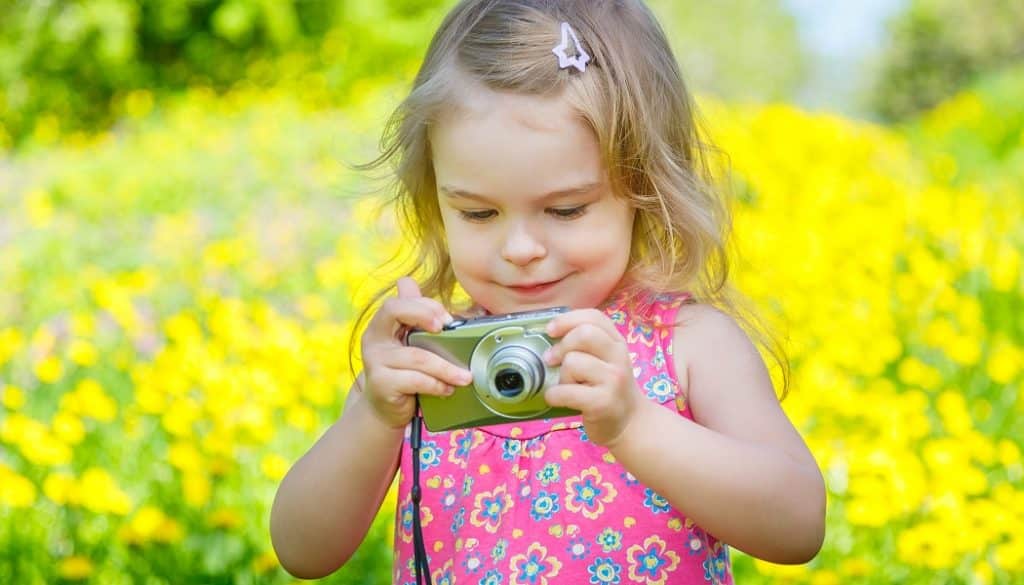
Have you just started using your first camera? Are you but still at the stage where you don’t really know your camera—but you’re already sure that you love photography? Then this article is for you. The camera in your hands is probably a nice compact or a beginner DSLR. Read on for some beginners’ tips that will help you to get to know your camera.
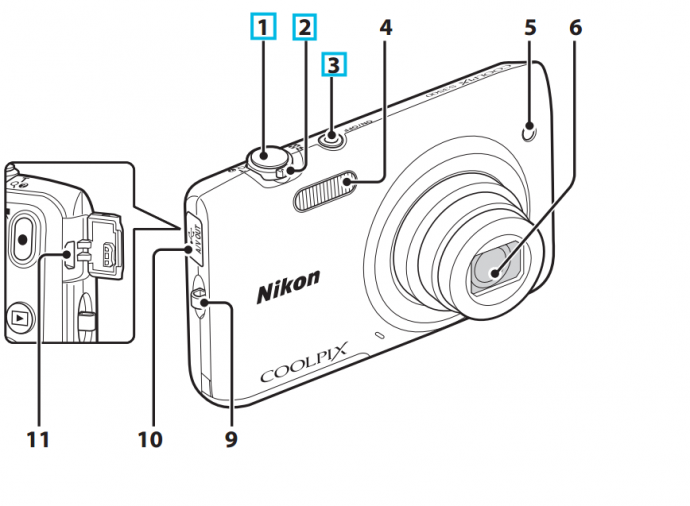
The tips below are mainly intended for brand-new owners of compact digital cameras. While preparing these tips, I kept two specific compacts at my side: the Nikon COOLPIX S6900 and COOLPIX P3500.
But again, if you own an entry-level DSLR, you won’t miss out. This article will be useful for you too. If nothing else because it’s a crossroads full of links to other articles with great beginners’ tips.
Read the Manual
I know what you’re thinking—“thank you, Captain Obvious”—but no, this is not an empty suggestion. In every (well-written) camera manual, there are countless pieces of smart advice just waiting to be read. Not only advice on using your camera, but also advice on photography itself.
But now back to the tips.
The Five Basic Camera Controls
The on/off button, the viewfinder/display, the trigger, the “play” button for viewing pictures you’ve taken, and the zoom. You can get by with just these. At least at first.


- Turn on the camera by pressing the button or lever marked On/Off.
- Look into the viewfinder or—more likely—the display, and fill it with the scene you want to photograph.
- Press the trigger, then wait until the camera makes a “click.”
- Voilá. Picture taken.
- Press play to view the photo and verify that it looks good. Use the zoom for checks like making sure that faces aren’t blurry, so that if you need to retake a picture, you find out now and not later. Delete any bad pictures immediately.
Got It? Let’s take a closer look at the steps described above. The various functions and the camera settings are closely related to the basics of photography, so I’ll also give a lightning refresher on those.
Make Sure You Get Composition Right
The foundation of good photography is good composition. That is: which parts of a picture contain which persons or objects. There are certain basic principles that can help you ensure that you’re getting a pleasing picture. You may have a born eye for composition and thus not need to think too much about it. But even then, take some time to study composition anyway. Go over the fundamentals like the Golden Crop and learn to avoid basic composition errors.
These include things like center composition and photographing children and pets from above instead of at their eye level. Likewise don’t forget to hold the camera straight and to focus correctly.
Careful with the Trigger
The basic approach for taking pictures on digital compacts is simple. There are two steps:
- First you press the trigger halfway.
- Then you gently press it the rest of the way.
What happens during the initial press? And what happens afterwards?
When you first press down the trigger, the camera quickly sets up the shutter speed and the aperture (more on these below) and auto-focuses. Once it finishes those tasks, you can press the trigger the rest of the way down, and it will take the picture.
Don’t use force while pressing the trigger; that makes the camera shake, leading to a blurry picture.
Some compacts may need some time to take the picture after you finish pressing the trigger. So don’t move the camera or tilt it towards the ground until you’ve heard the shutter snap. The same goes when the camera decides for a long shot time because of low-light conditions.
On compacts with a touchscreen display, you don’t have to press the trigger; you can also just touch a point on the display, and the camera will immediately focus and take the shot. This probably cuts down on camera shake, but it can also cause you to take pictures accidentally.
Get to Know Exposure
If you want high-quality photos, then get to know the Exposure Triangle. To be more specific: get to know the three basic parameters—aperture, shutter, and ISO sensitivity—that you use to adjust your camera for the light conditions in a scene.
The cheapest and simplest compacts set all this up for you and basically don’t give you any option to set it yourself, but DSLRs and the more advanced compacts let you set everything up as you wish. So if you’re planning to move up in photography in the future, then you should learn the basics of exposure and aperture, shutter, and ISO.
Shutter speed is the amount of time that light falls on the sensor. Fast speeds are good for photographing motion, while slow speeds are needed in bad light conditions and let you do things like expressing motion in photography.
The aperture setting regulates the size of the hole through which light “flows” into the camera. It works practically the same as a faucet on a tap. The more you open the faucet on the tap, the more water flows through. And similarly the more you open the aperture on the lens, the more light flows through. The aperture also lets you influence the depth of field, which determines how large a part of a scene will be sharp and which part will be blurred. (But on most compact cameras, the smallest available aperture is still so large that you won’t really be able to blur a background with it.)
You’ll mainly appreciate increased ISO when you’re photographing in low light, although you’ll pay for it with increased noise and graininess. In very bad light conditions, turn to the built-in flash instead, although even that won’t give you the same photo quality as you’d get from an external flash.
Use Scene Modes Instead of Automatic
Aperture, shutter, and ISO all have a decisive impact when you choose an exposure mode (in DSLRs and advanced compacts), which you use to determine how which and how many exposure decisions are left to the camera’s automated systems. Fully automatic modes set everything up for you.
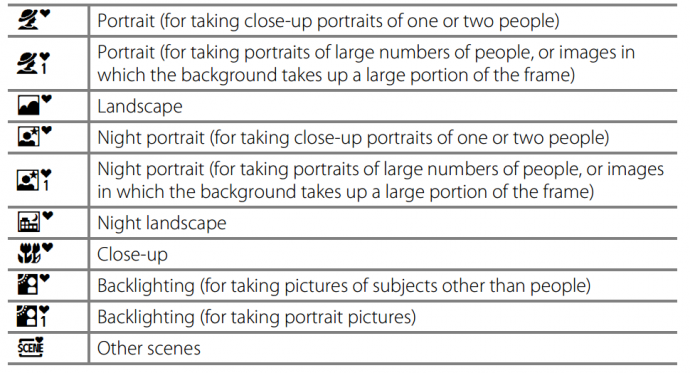
Scene modes let you be more creative even when you don’t know the relationships between aperture, shutter, and ISO. You simply choose a scene mode, such as Beach, Portrait, Night Portrait, or Sports, and the camera sets all these parameters in a way that’s appropriate for the given scene.
It “knows” that, for example, when you’re shooting at night, you need to raise the ISO, and when you’re photographing motion, you need fast shutter speeds—the shutter will close after perhaps a hundredth of a second, ensuring that motion in your photos is frozen, not blurred. If you photograph a quickly moving object like a car such with a long exposure time such as 1/10 second, you’ll get a blurry picture.
Don’t rely on scene modes 100%; double-check your photos to make sure the camera chose well. But if it did choose well, make a mental note of the values it used. Over time this will help you learn what kinds of settings to use yourself when you move on to using Av (Aperture Priority) and Tv (Shutter Priority) in program mode, and even what settings to use in the M mode—full manual, where you set everything yourself.

Discover Your Camera’s Possibilities
Today’s digital compacts have a variety of new functions and options. You can control them remotely from your phone or tablet, share photos and full HD video over WiFi straight to social networks, and even fine-tune photos right on these cameras via quick-editing tools. You can also use a self-timer or create panoramas straight from your compact.
Be sure to discover your compact’s capabilities. You never know when they might come in handy.
What Will I Do with All These Photos?
Copy your photos to your computer using Zoner Studio’s “Import” module, and then organize them, and as needed edit them. Learn how to fix problems like red eye and to upload photos at full quality to Facebook. You can also upload them for free to the Zonerama web gallery service.
What Can’t My Compact Do?
Here’s one piece of good news about what it won’t do: it won’t stop you from learning photography. You don’t need a DSLR for that. Yes, a DSLR can do more things, but without understanding composition and exposure, and without developing some artistic feeling, a better camera won’t make you a better photographer. Still, there are a few things you need to know about the limits of compacts.
No Luscious Blurred Backgrounds
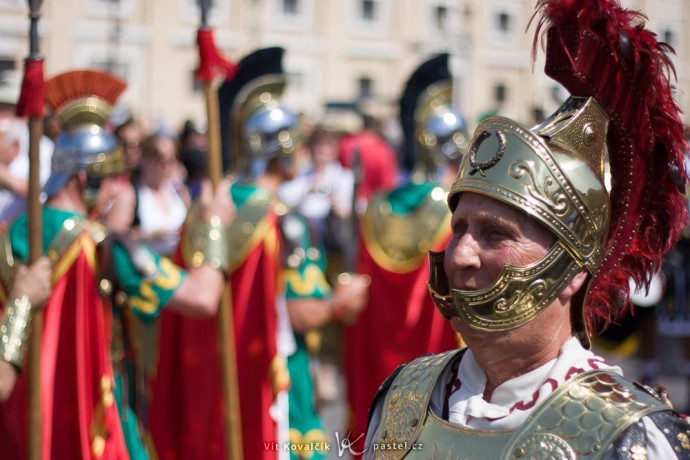
Photos from a digital compact will generally have sharp backgrounds, so you won’t be able to take a photo like this one:

Smaller Resolution, Display, and Flash
Another disadvantage of compacts is their relatively low photo resolution, which can be a problem when you want to crop a photo or print to a large format (such as A4).
Compacts also have less battery life, because you’re using a digital display instead of a viewfinder—and that display is a major battery drain. You might find it a little harder to compose on a display than on a viewfinder, although you’ll probably do fine. Be warned that your compact’s flash tends to light up the foreground of your photos more than would be ideal.
On a DSLR you have more control over the camera. But you might not make full use of that control.
For any old-timers reading this: Do you remember your first photograph? Or at least the first one you were proud of? And do you remember your first camera?