How Do You Take on Smoke and Fire Photography? With an Eye to Safety—And the Wind.
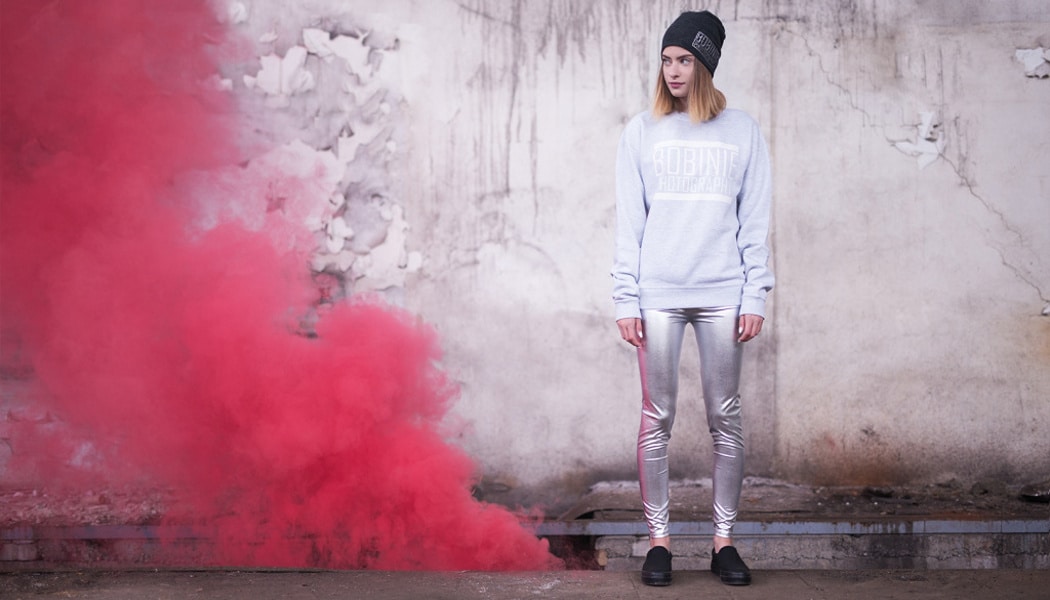
Pictures that make use of colored smoke are very popular at the moment. And it’s no wonder! Colored smoke produces an impressive atmosphere that will keep people’s eyes glued to your photos. And how about trying fire in your photography? No matter whether you’re a photographer or a model, try something new and get some smoke and flames involved in your shoots. We’ll show you how.
You can pick up smoke bombs (also called smoke sticks or smoke grenades) at any fireworks shop, or on the internet. There’s a variety of smoke colors out there; you just have to choose. The typical smoke bomb runs in the $5 to $10 range and burns for about a minute. But you can also find smoke bombs that emit smoke for up to four minutes. However, these tend to cost more. You’ll want to buy more than one, because it’s rare that your shoot will turn out right the very first time.
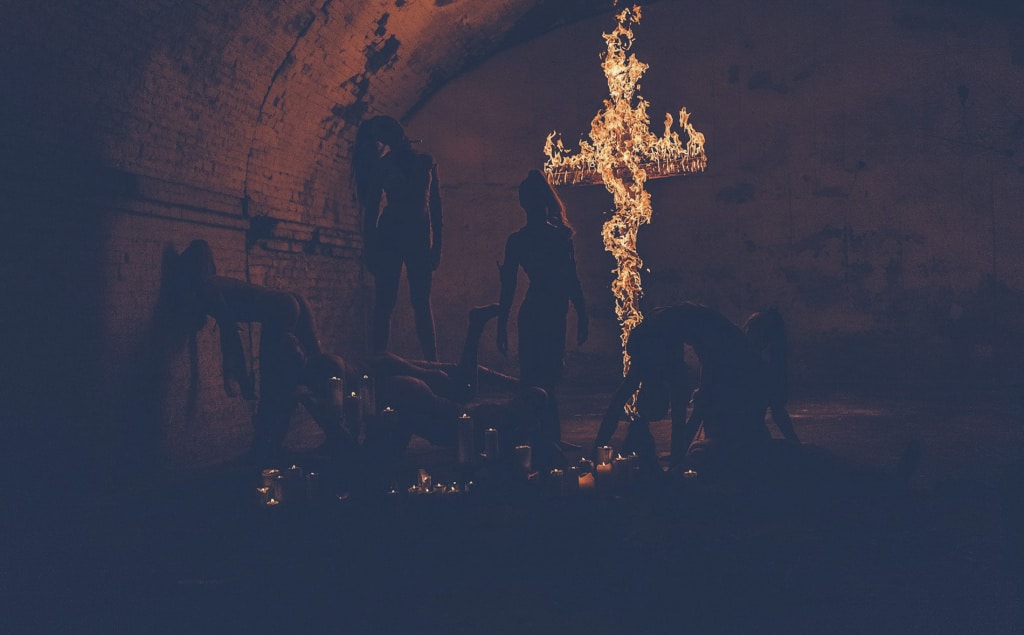
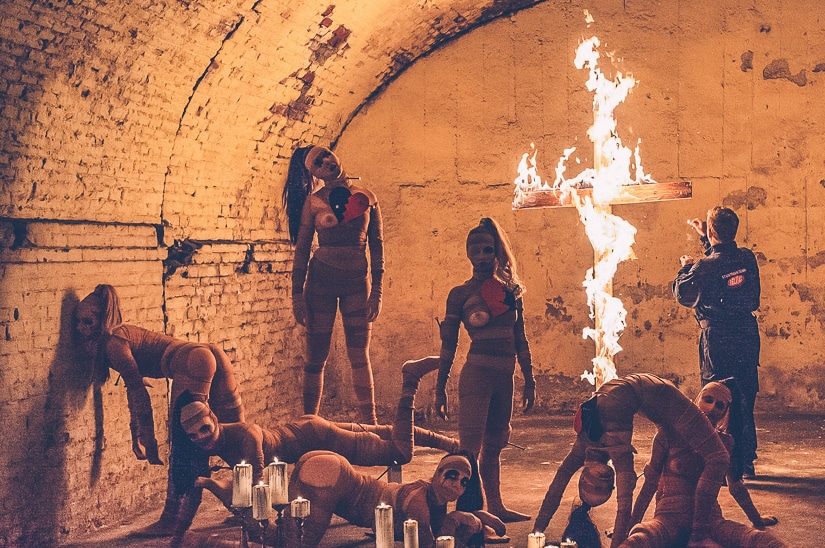
When planning your shoot, it’s good to get in touch with professionals. The kind who can work with fire special effects. They work with special gels that keep the fire in only the spaces and shapes where you want it. Another advantage of cooperating with experts is that they’ll be on-site nonstop. They start the fire, watch it, and tend it. And they always have a fire extinguisher at hand. I consider cooperation with professionals to be the safest option.
Where Should You Do Your Shoot?
If you’ll be taking your pictures in a public space, it’s good to announce the time and place to both the police and firefighters. That will prevent possible problems and might even save you considerable fines. If you’ll be lighting a fire, you absolutely have to consult your shoot with a professional. They’ll tell you what is and isn’t possible. The right fire special effects, meanwhile, expand what’s possible, as they have no combustion products, and so you can even use them indoors.
Warning! Unlike with fire special effects, definitely do not light smoke bombs indoors. At best, you’ll leave hard-to-remove smoke in the room and everything in it—lamps, your camera, curtains, and the walls. And at worst, you’ll literally suffocate.
Fire Photography—Expect to Need Extra Light
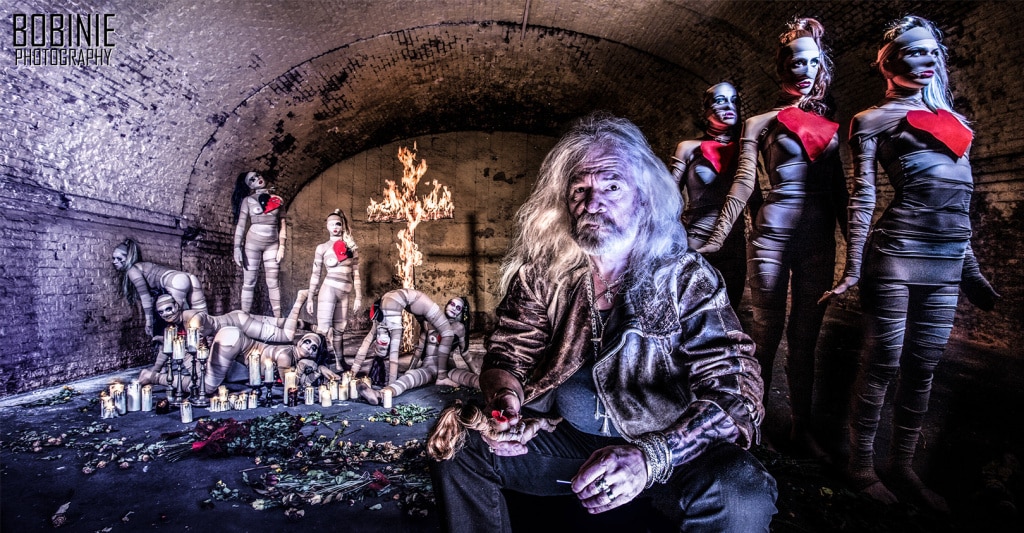
When you want to capture fire—which is essentially another light source—in pictures, you have to adapt the surrounding conditions to make the fire visible. So, logically you won’t be planning your shoot for high noon, but leaving it more for the evening or nighttime hours. If you’re shooting at a studio, it’s good to cover your windows in black cloth to keep things dark. It depends on the size of the fire, but generally a fire will give off quite a bit of light, and you don’t want to have it overexposed.
Smoke Bombs? A Struggle With Time—And Colors.
I’ve only ever taken my smoke-bomb photos outdoors. I wouldn’t dare try it indoors, and I wouldn’t recommend it to you either. Colored smoke leaves color everywhere when you’re done. Even if it’s only burning a minute, it can do damage for a long time. If anybody’s wearing expensive clothes at the shoot, they (and you) need to be very careful. Even after the bomb burns out, smoke and colored dust will remain in the space for a fairly long time. One thing you can’t tell from my photos is that smoke bombs give off a fairly strong smell. Especially the ones with white smoke.
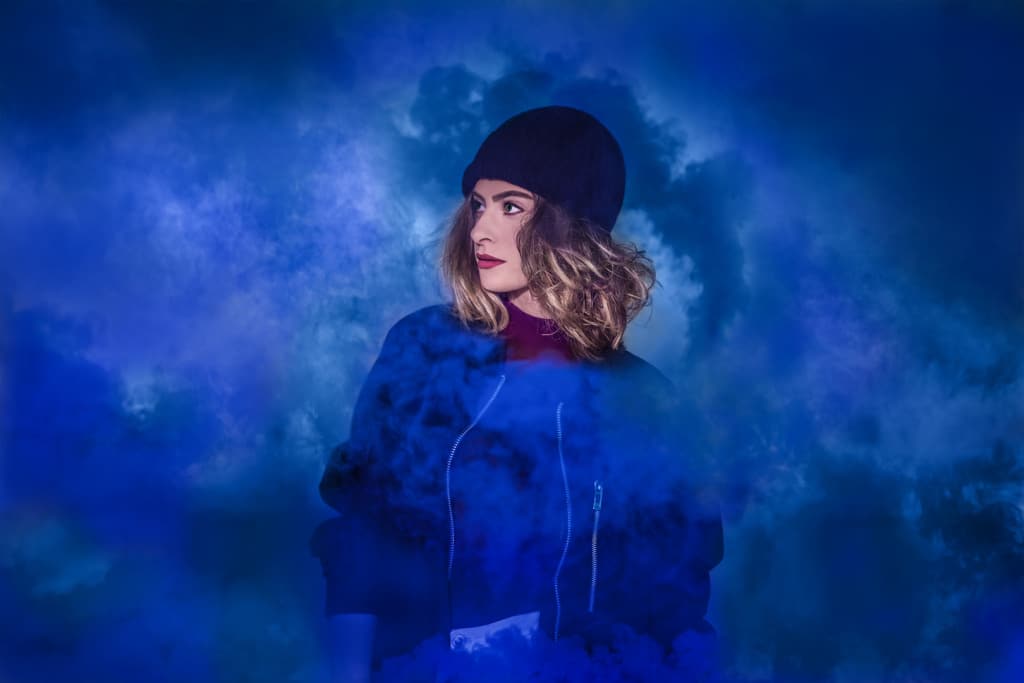
For every smoke bomb you light, you have to have an assistant who will watch over it and will let you know what’s happening if any trouble comes up.
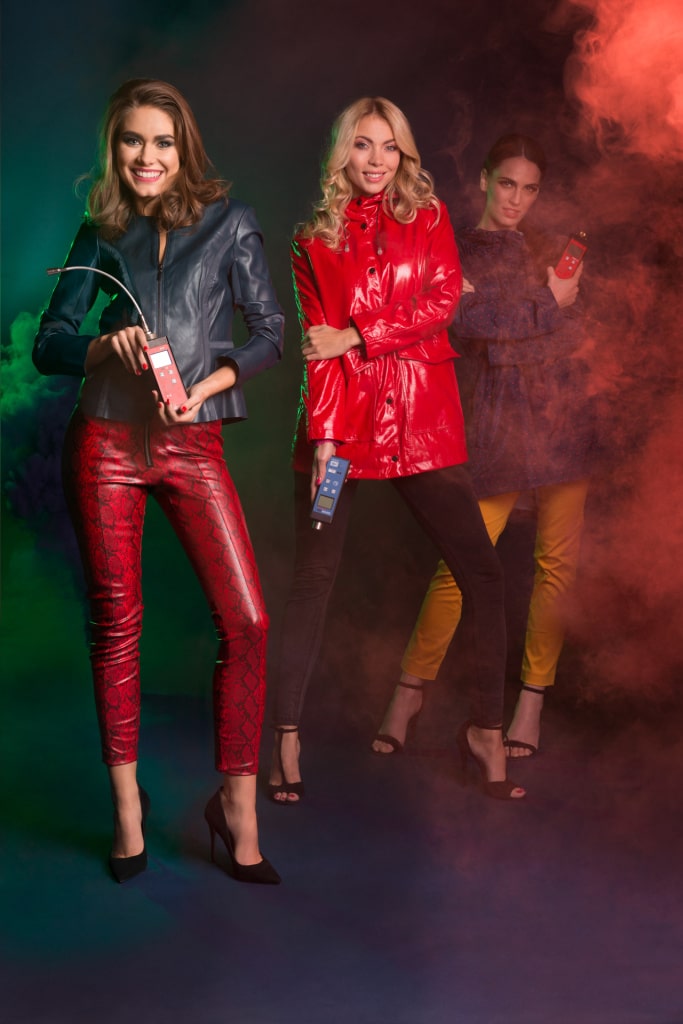
For this shoot, for example, I had six assistants. Two had to hold the paper background, because we were shooting outdoors (so that the smoke would dissipate as quickly as possible afterwards). Three others held the smoke bombs. The last one monitored the whole scene and was holding a fire extinguisher. When you’re focused on taking the pictures, it’s good to have someone there who counts down the lightings, monitors the whole event, and keeps you informed of whether everything is OK. Especially when you’re working with basic smoke bombs, you have to act very fast. You’ve only got about 60 seconds for your picture. So if one assistant lights their smoke bomb a few seconds too late, you can lose your desired effect.
What to Watch Out For
Naturally you have to keep an eye on your models during all this, and watch out for things like injuries. One time one of my models ended up with a minor leg burn, for instance. The bomb’s initial sparks were sputtering and leaping, all that instability tipped it over, and it fell straight towards her. Fortunately she acted fast and jumped away, so everything turned out all right, but you can never be too careful. Never forget that you’re working with pyrotechnics, which isn’t always safe!
Another influence that you have to take into account is the wind. Even a mild breeze can shift and dissipate your smoke towards places where you don’t want it. That’s why I recommend buying enough smoke bombs for at least three takes, so that you can repeat your experiment. When your photo still doesn’t turn out perfectly, don’t despair. You can bring it the rest of the way to perfection in Zoner Studio.
Give Fire Photography a Try
If you’re hesitating on whether to try pictures with smoke or fire, my recommendation is: go for it! It will be an experience. And if you’re safety-conscious, it’s sure to be a good one.
Like the idea of smoke-bomb photography and eager to give it a try in a large photo project? Our next article will cover how to prepare and plan precisely these projects. You’ll learn about everything you need to arrange and prepare, as well as how to get ready for the shoot.