How to Do Your First Studio Photoshoot
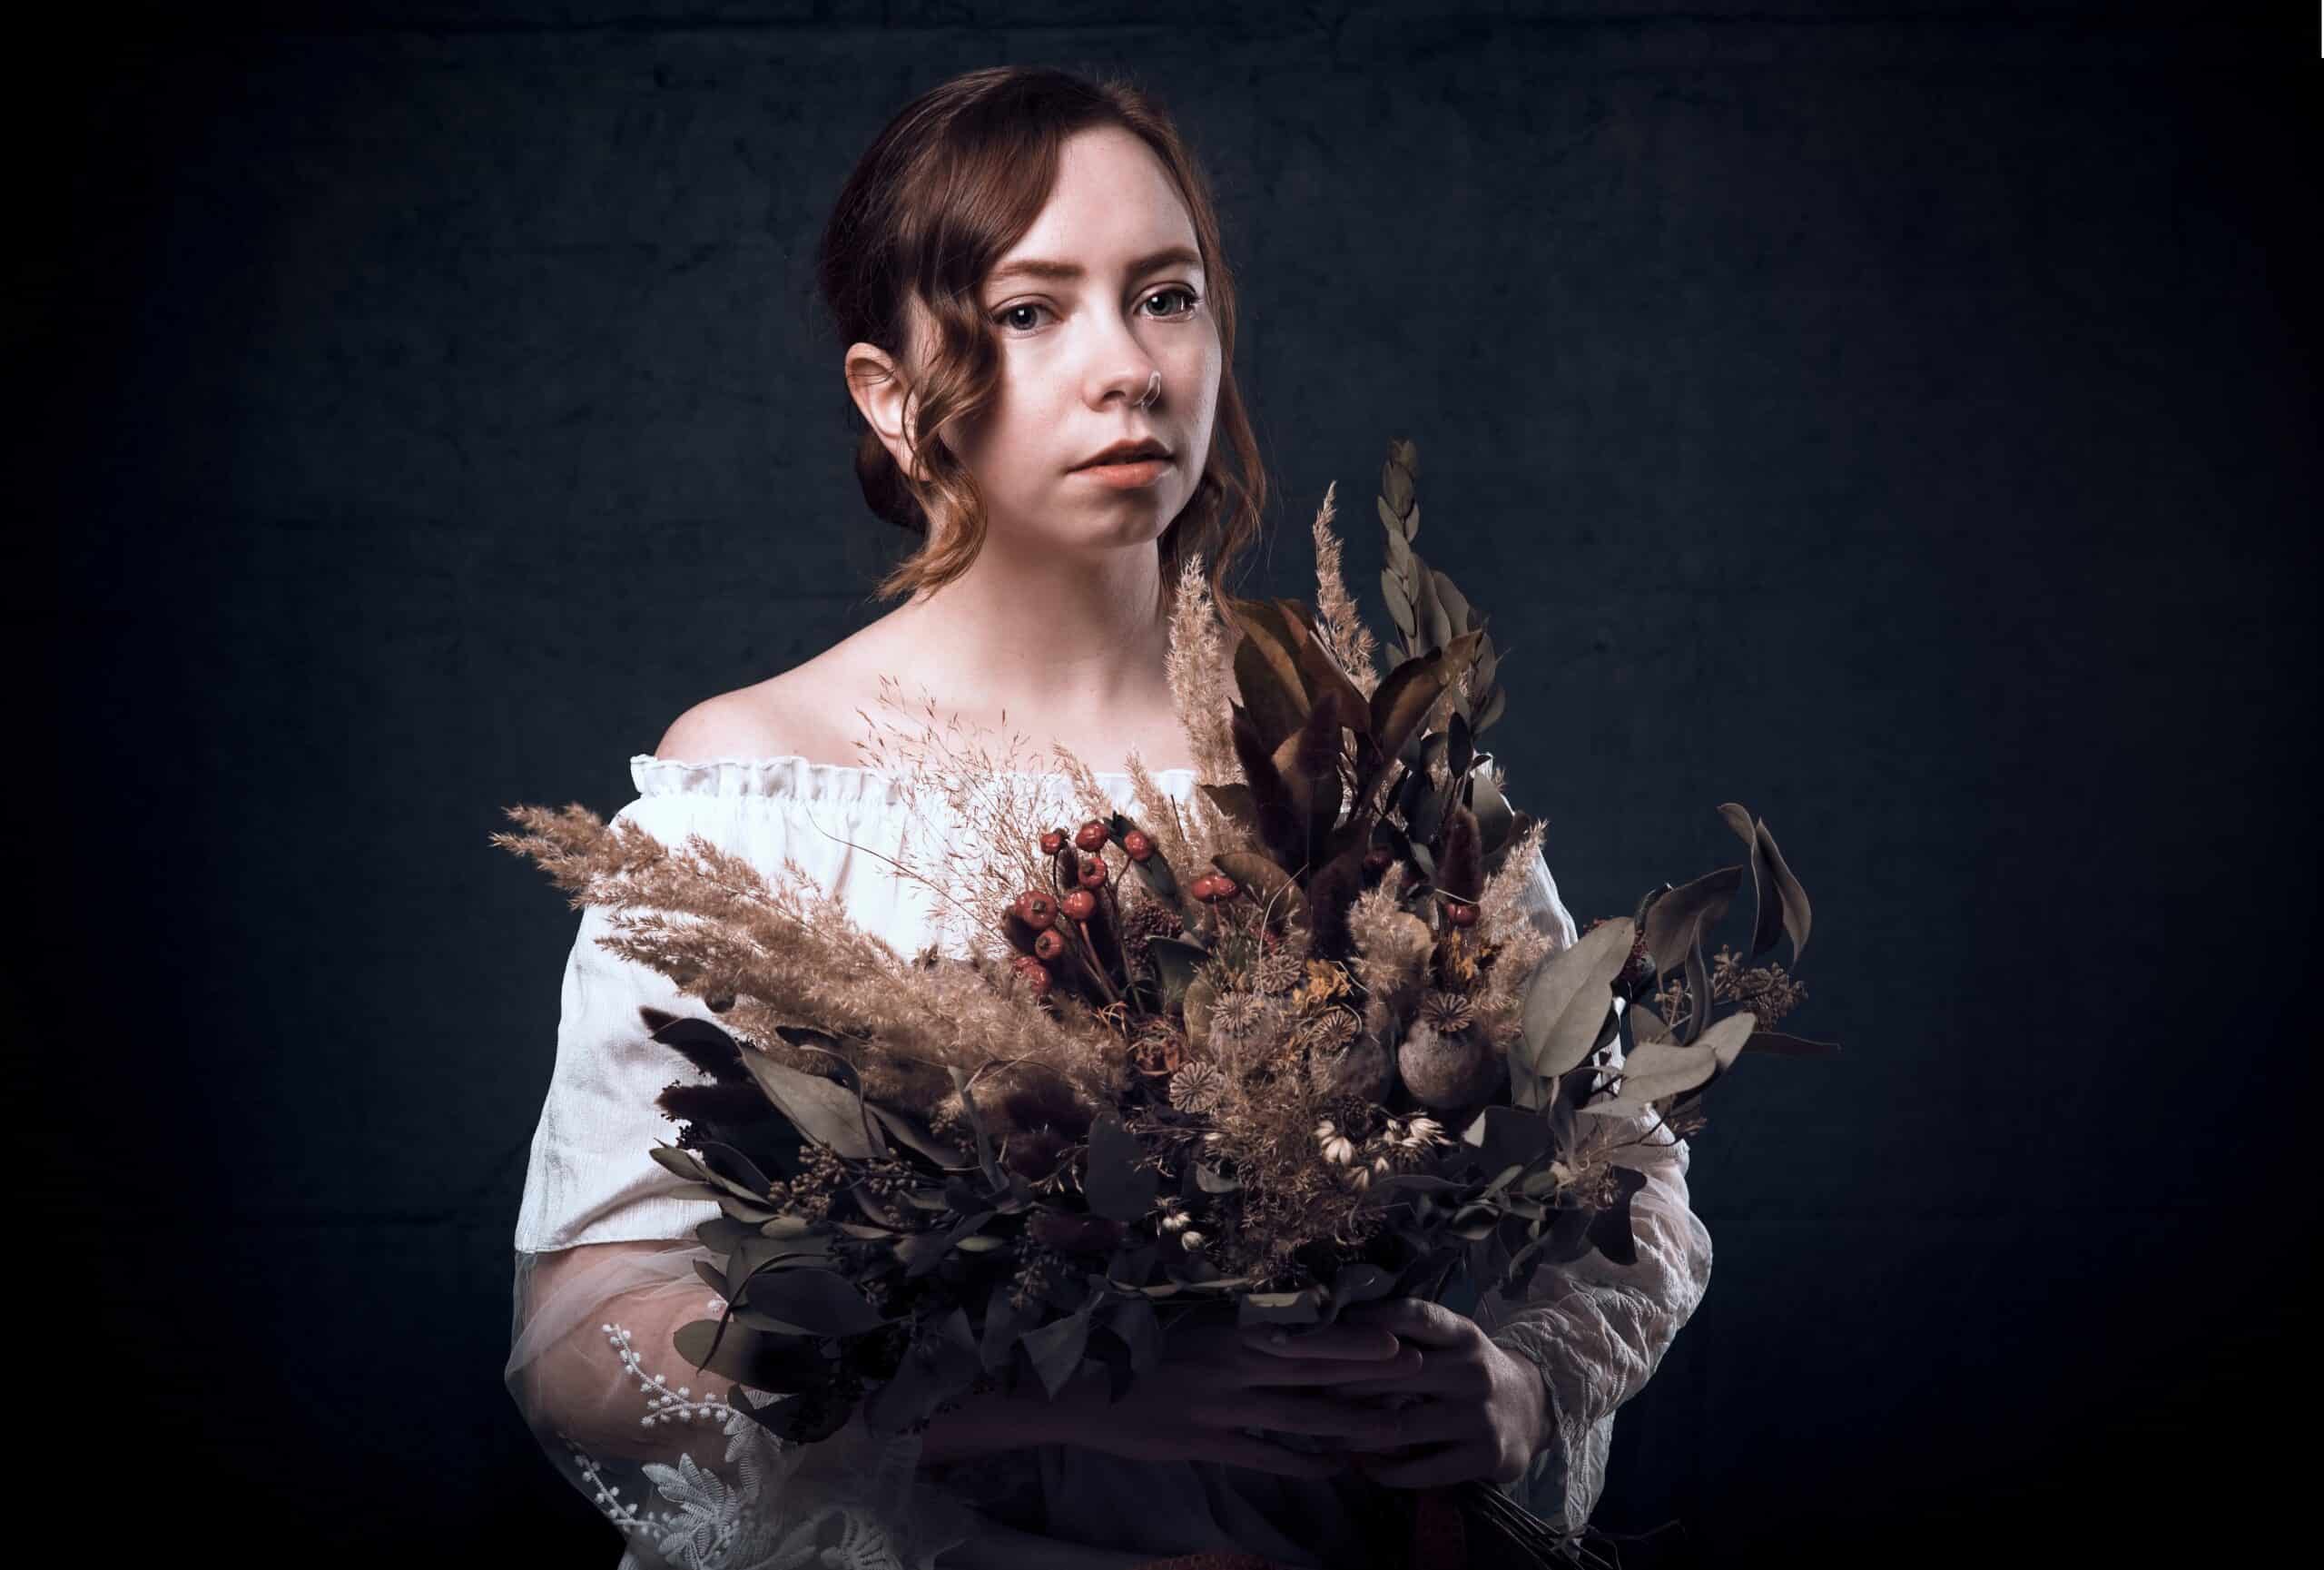
Shooting in the studio may seem much scarier than it actually is. If you don’t have a friend who’s a photographer to tell you how it’s done, or don’t have an upcoming class, we’ll share the basics of a studio photoshoot. What is a daylight lamp? What is a honeycomb or a snoot? Is any of it necessary? Learn the answers to these questions and more.
You’ll need a model or some type of product, and your camera for your studio shoot. Grab some shorter lenses and the studio will take care of the rest. The studio usually provides lighting, remote flashes, backdrops, and other equipment. You don’t need anything else, just some solid advice for getting started.
Terminology for getting started
To start discussing studio photography, we need to understand some basic terminology along with what it can do.
- A studio strobe light is a type of lighting that works similarly to a flash and emits bursts of light. You can attach several different types of umbrellas, softboxes, and other accessories. It can be mounted on a tripod, hung from the ceiling, or placed on the photographer’s shoulder.
- A daylight studio lamp is similar, but the difference is that it emits continuous light. It tries to simulate natural daylight. It is a much weaker light source than a strobe light and more subtle, allowing for softer bokeh. A strobe has a lot of power, meaning you have to compensate with a higher aperture. A daylight studio lamp is simpler in terms of setup.
- A softbox is mounted on a strobe light and, thanks to the translucent material that goes between the light and the model, beautifully diffuses and softens the light. There are different types of softboxes such as an octabox or stripbox.
- A honeycomb grid can be attached to your softbox. It regulates, directs, and focuses light.
- A remote flash is mounted in the same place where you usually put your flash and is used to fire off studio strobes. Remote flashes are set to frequencies that are commonly used in studios to communicate with strobe lighting. Don’t let yourself get confused by their settings (just yet).
- An umbrella is a lighting attachment that looks like an umbrella and comes in multiple styles – gold, silver, or white. The inner part of the umbrella faces the model. The light is directed into the umbrella and the umbrella diffuses and softens the light before sending it back.
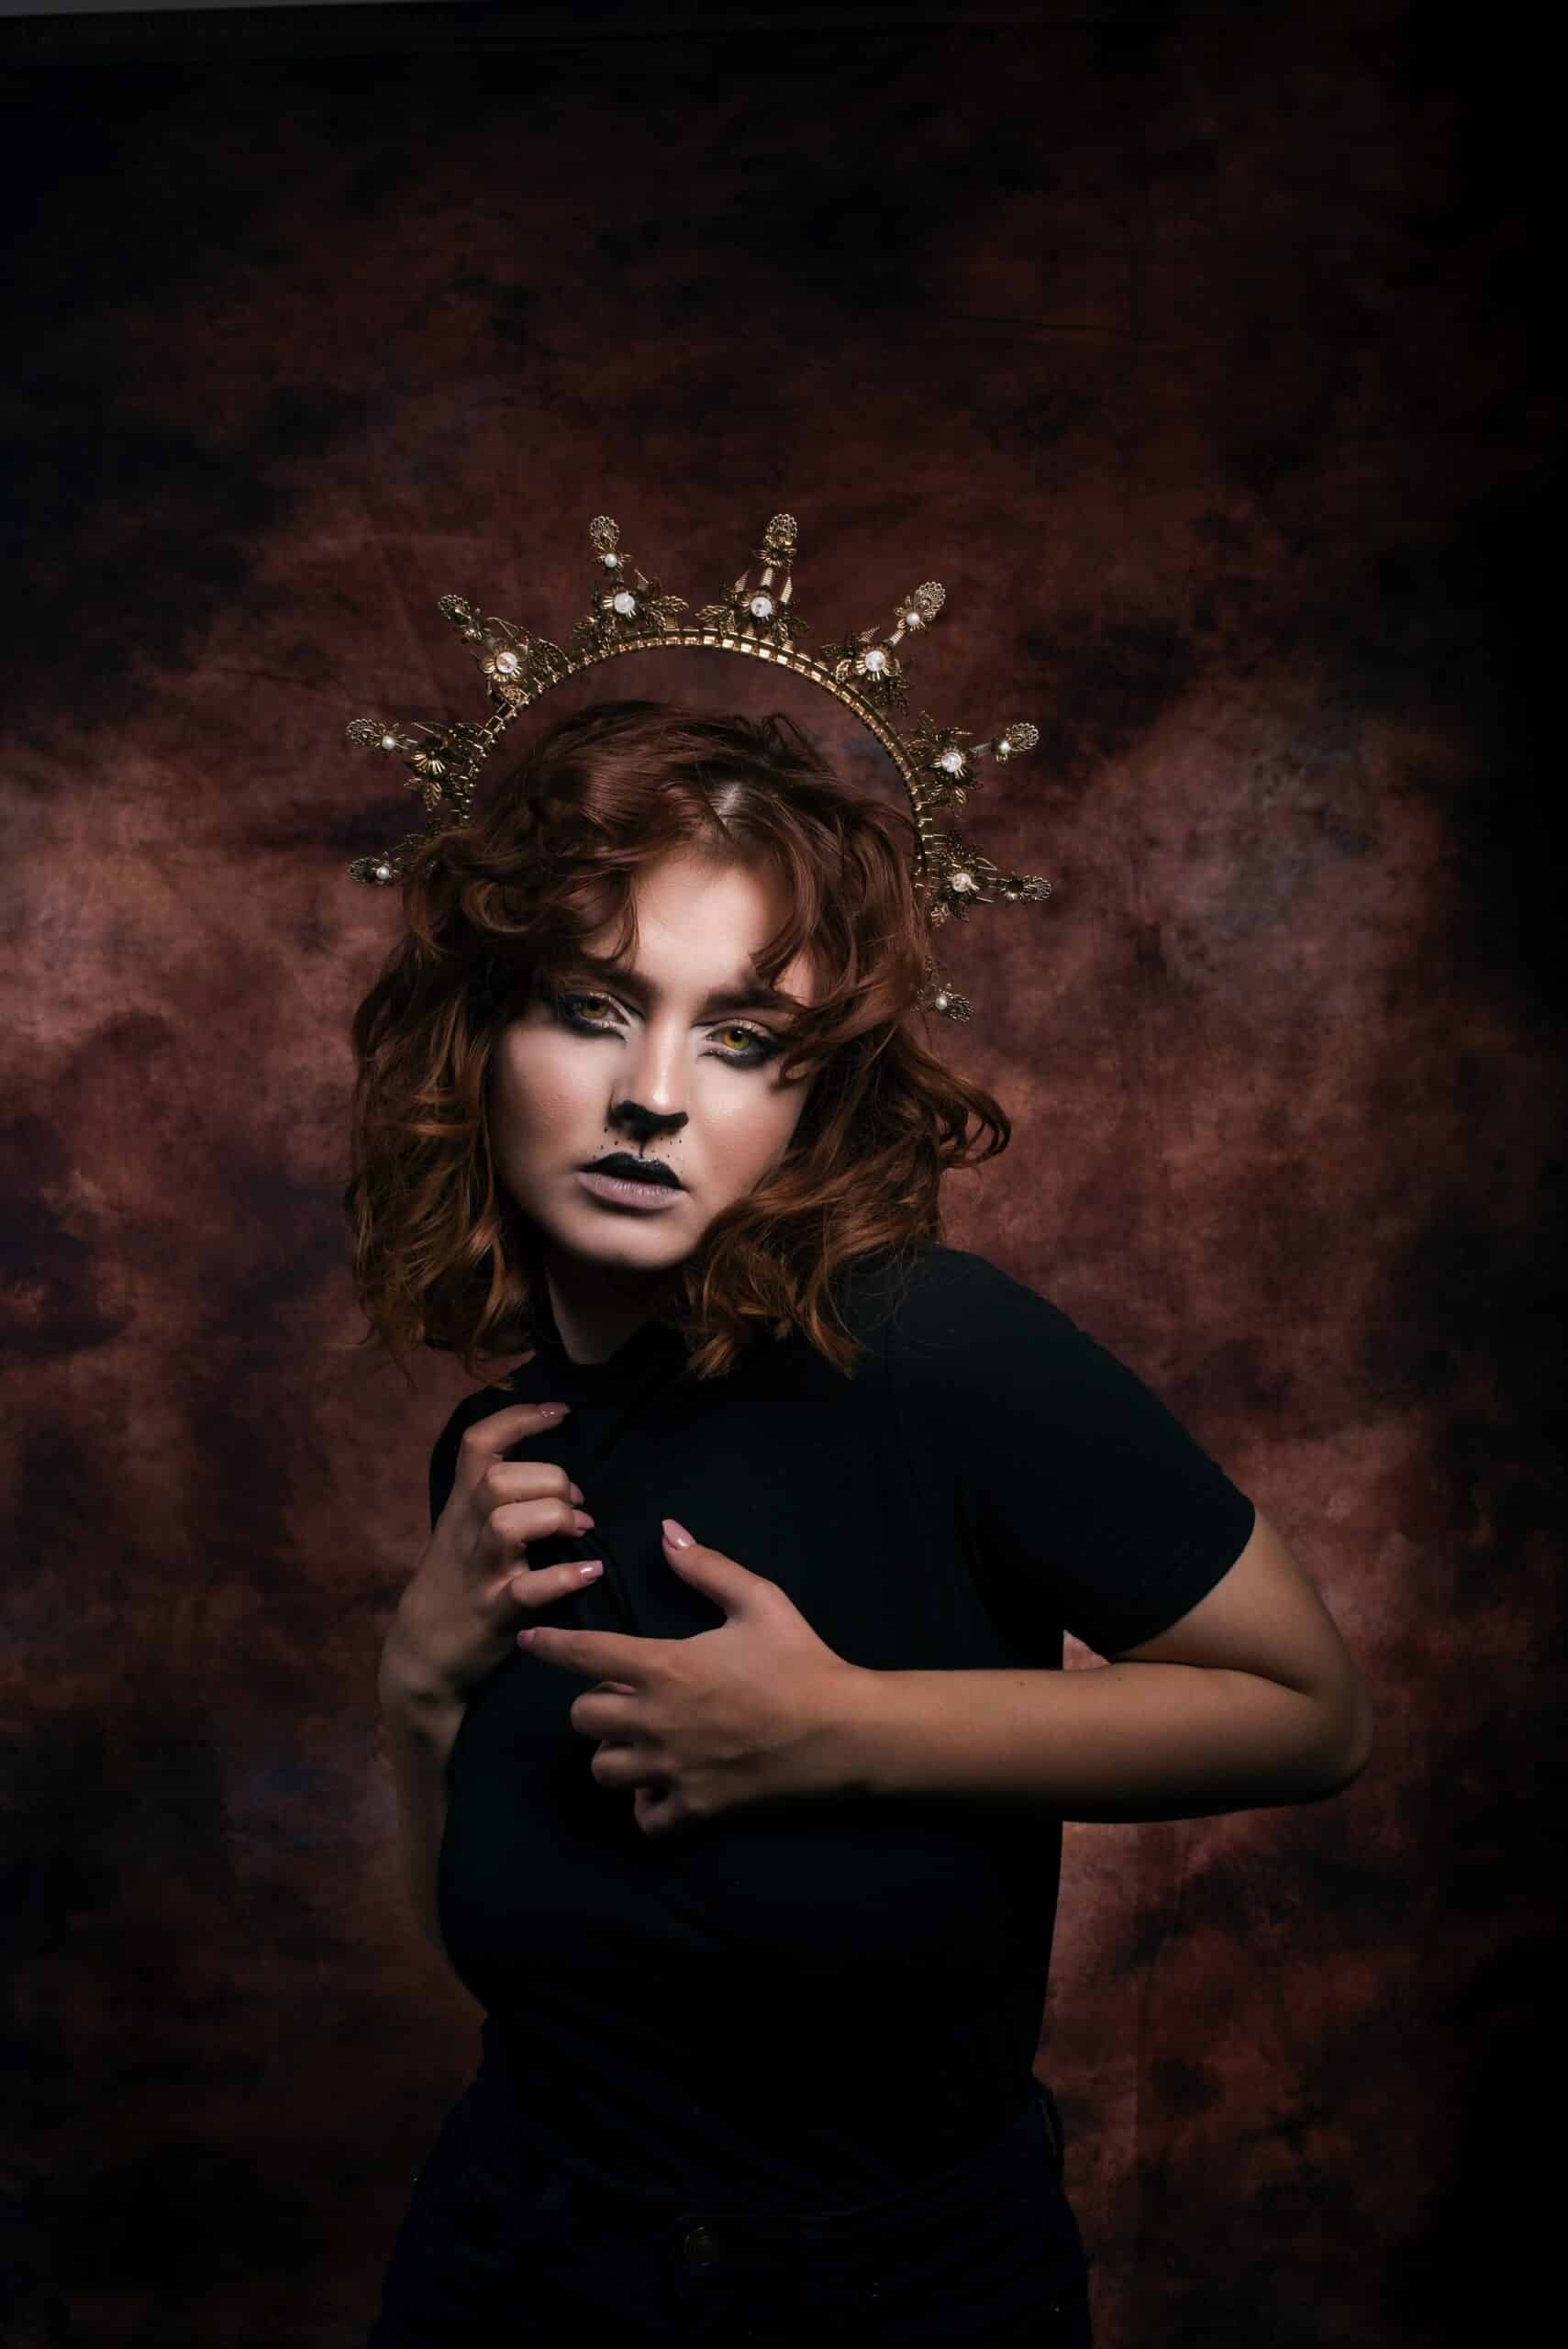
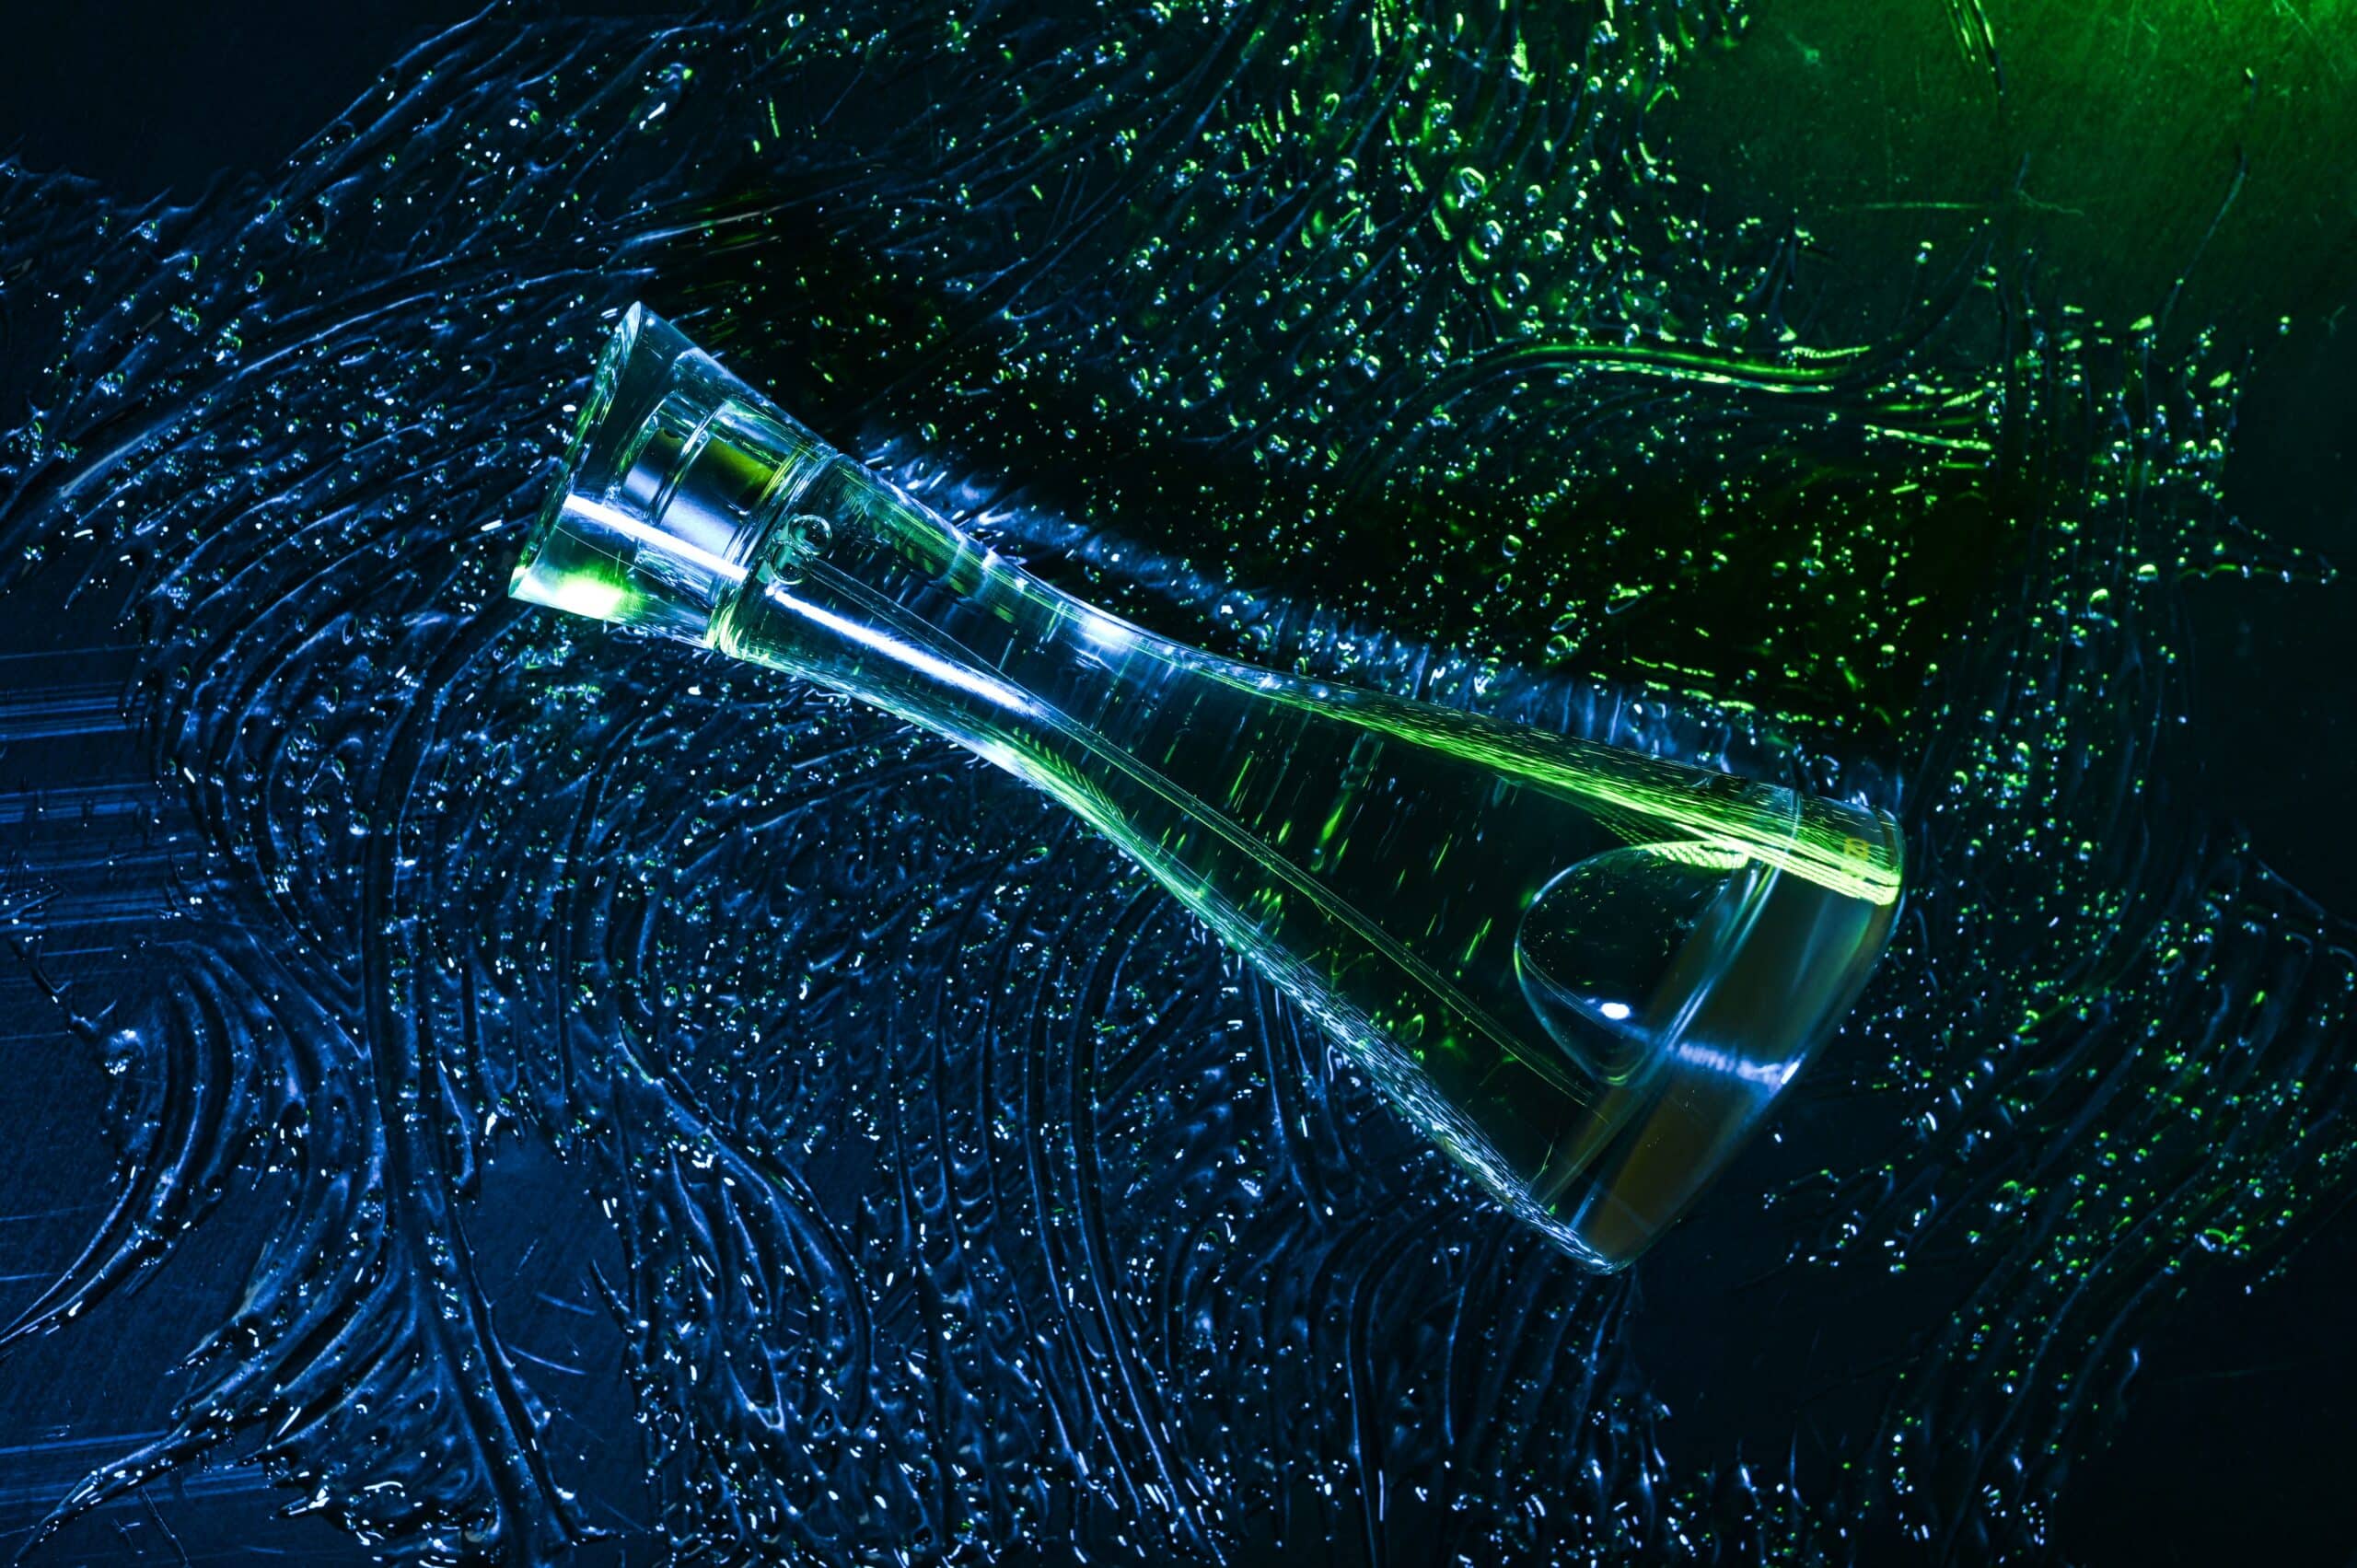
- A snoot is a specific accessory that can create a very narrow beam of light. It is used for close ups, product photography, and more obscure portraits. You can usually add color filters to get some interesting lighting. It is also a great source of backlight.
- A beauty dish is attached to a strobe and creates highly dramatic, contrasting light. It’s a nice tool for portraits but doesn’t have enough diffusion for full-body portraits.
While this is just the tip of the iceberg when it comes to studio terminology, it should be enough to get you started.
Let’s get to it
When you enter a photography studio, keep in mind that it will take some time to get everything ready. My recommendation for the length of time to rent a studio is 3 hours. The preparation can be tedious and takes time. You don’t want to feel rushed, especially if it’s your first time shooting in a studio.
Upon arrival, do the following:
- Choose the backdrop you want to use for the shoot. A studio usually has different types of backdrops. Your backdrop can be a permanent backdrop like a brick or painted wall, or different types of paper roll backdrops. These come in different colors and can be pulled all the way to the ground for the model to stand on. Feel free to pull the backdrop to yourself so that the floor isn’t visible in the shot.
- Locate your remote flash and mount it to the hot shoe of the camera. If necessary, tighten the wheel to ensure stable contact with the camera.
- Prepare your lighting. This depends on your preferences. I recommend working with two studio lights. Try different positioning of your lighting, keeping in mind that they must be connected to electricity.
What lighting setup should you try?
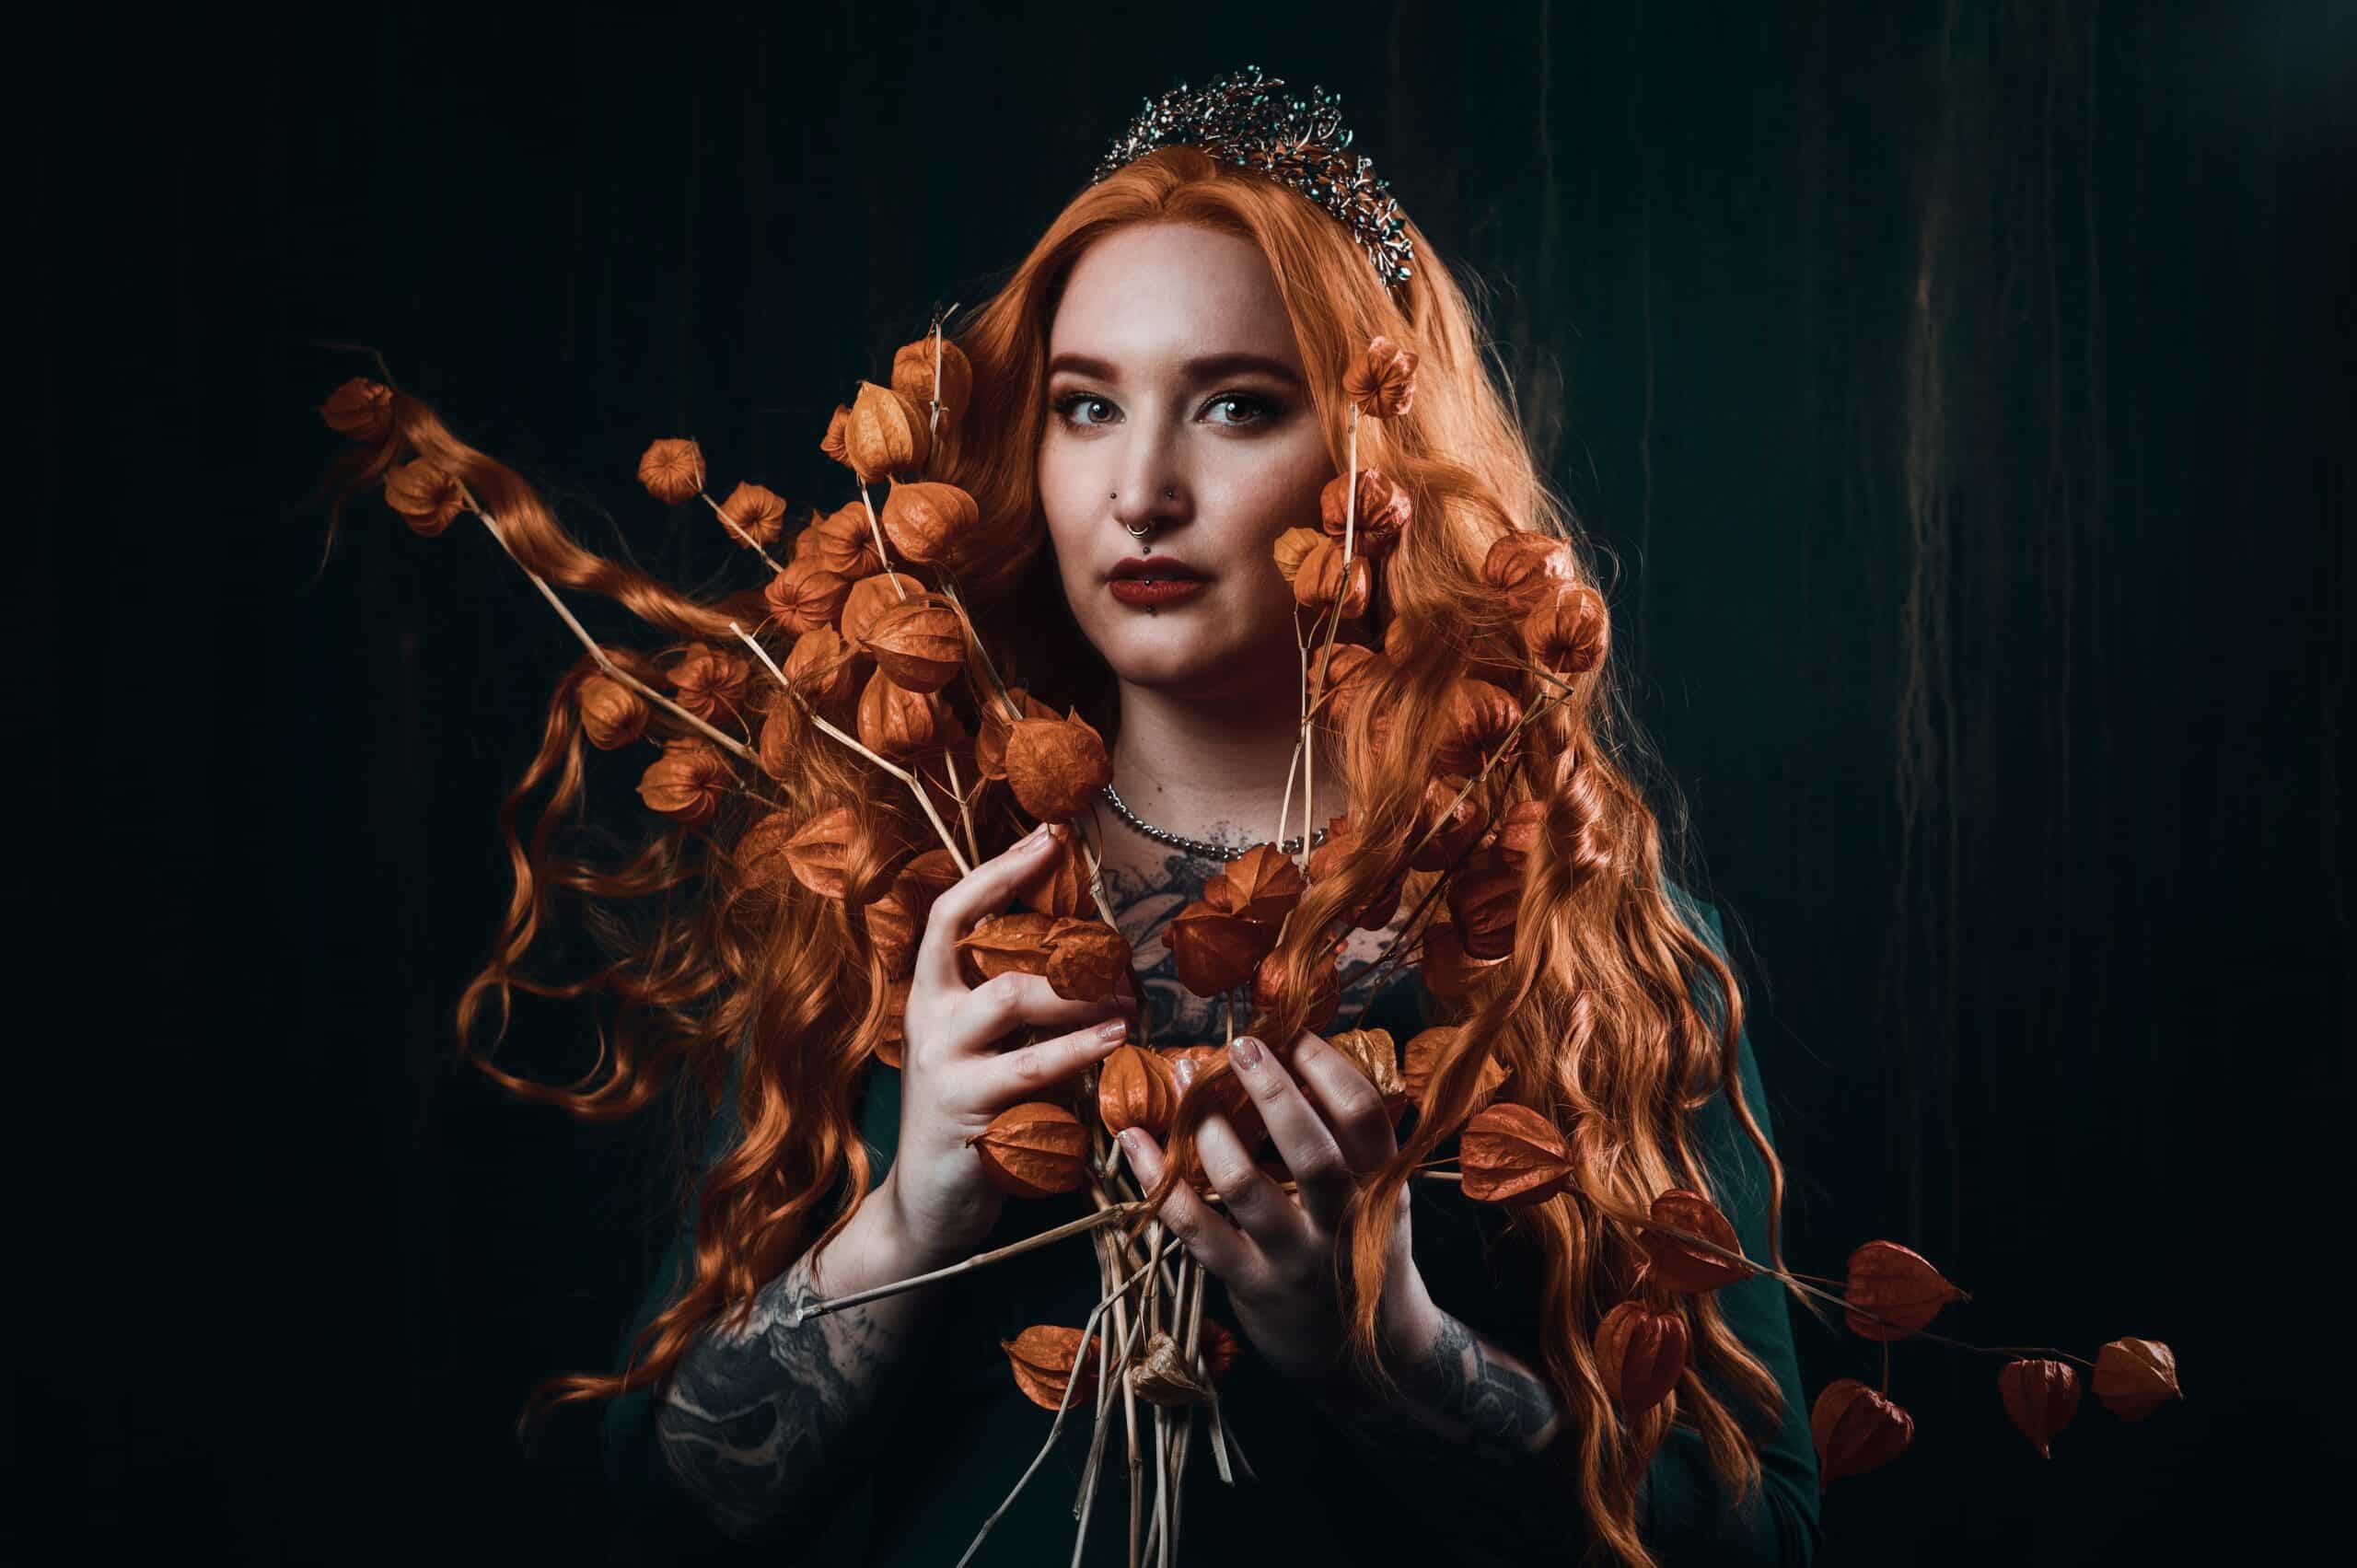
To start, I recommend placing one light in the background for backlight, and one light facing the model. But not directly in front of them. For one thing, the tripod will get in the way (for this, use lighting suspended from the ceiling or a tripod with arms). Secondly, lighting from the front gives you relatively flat lighting. It’s very clean but somewhat boring. Try lighting from the side and from above.
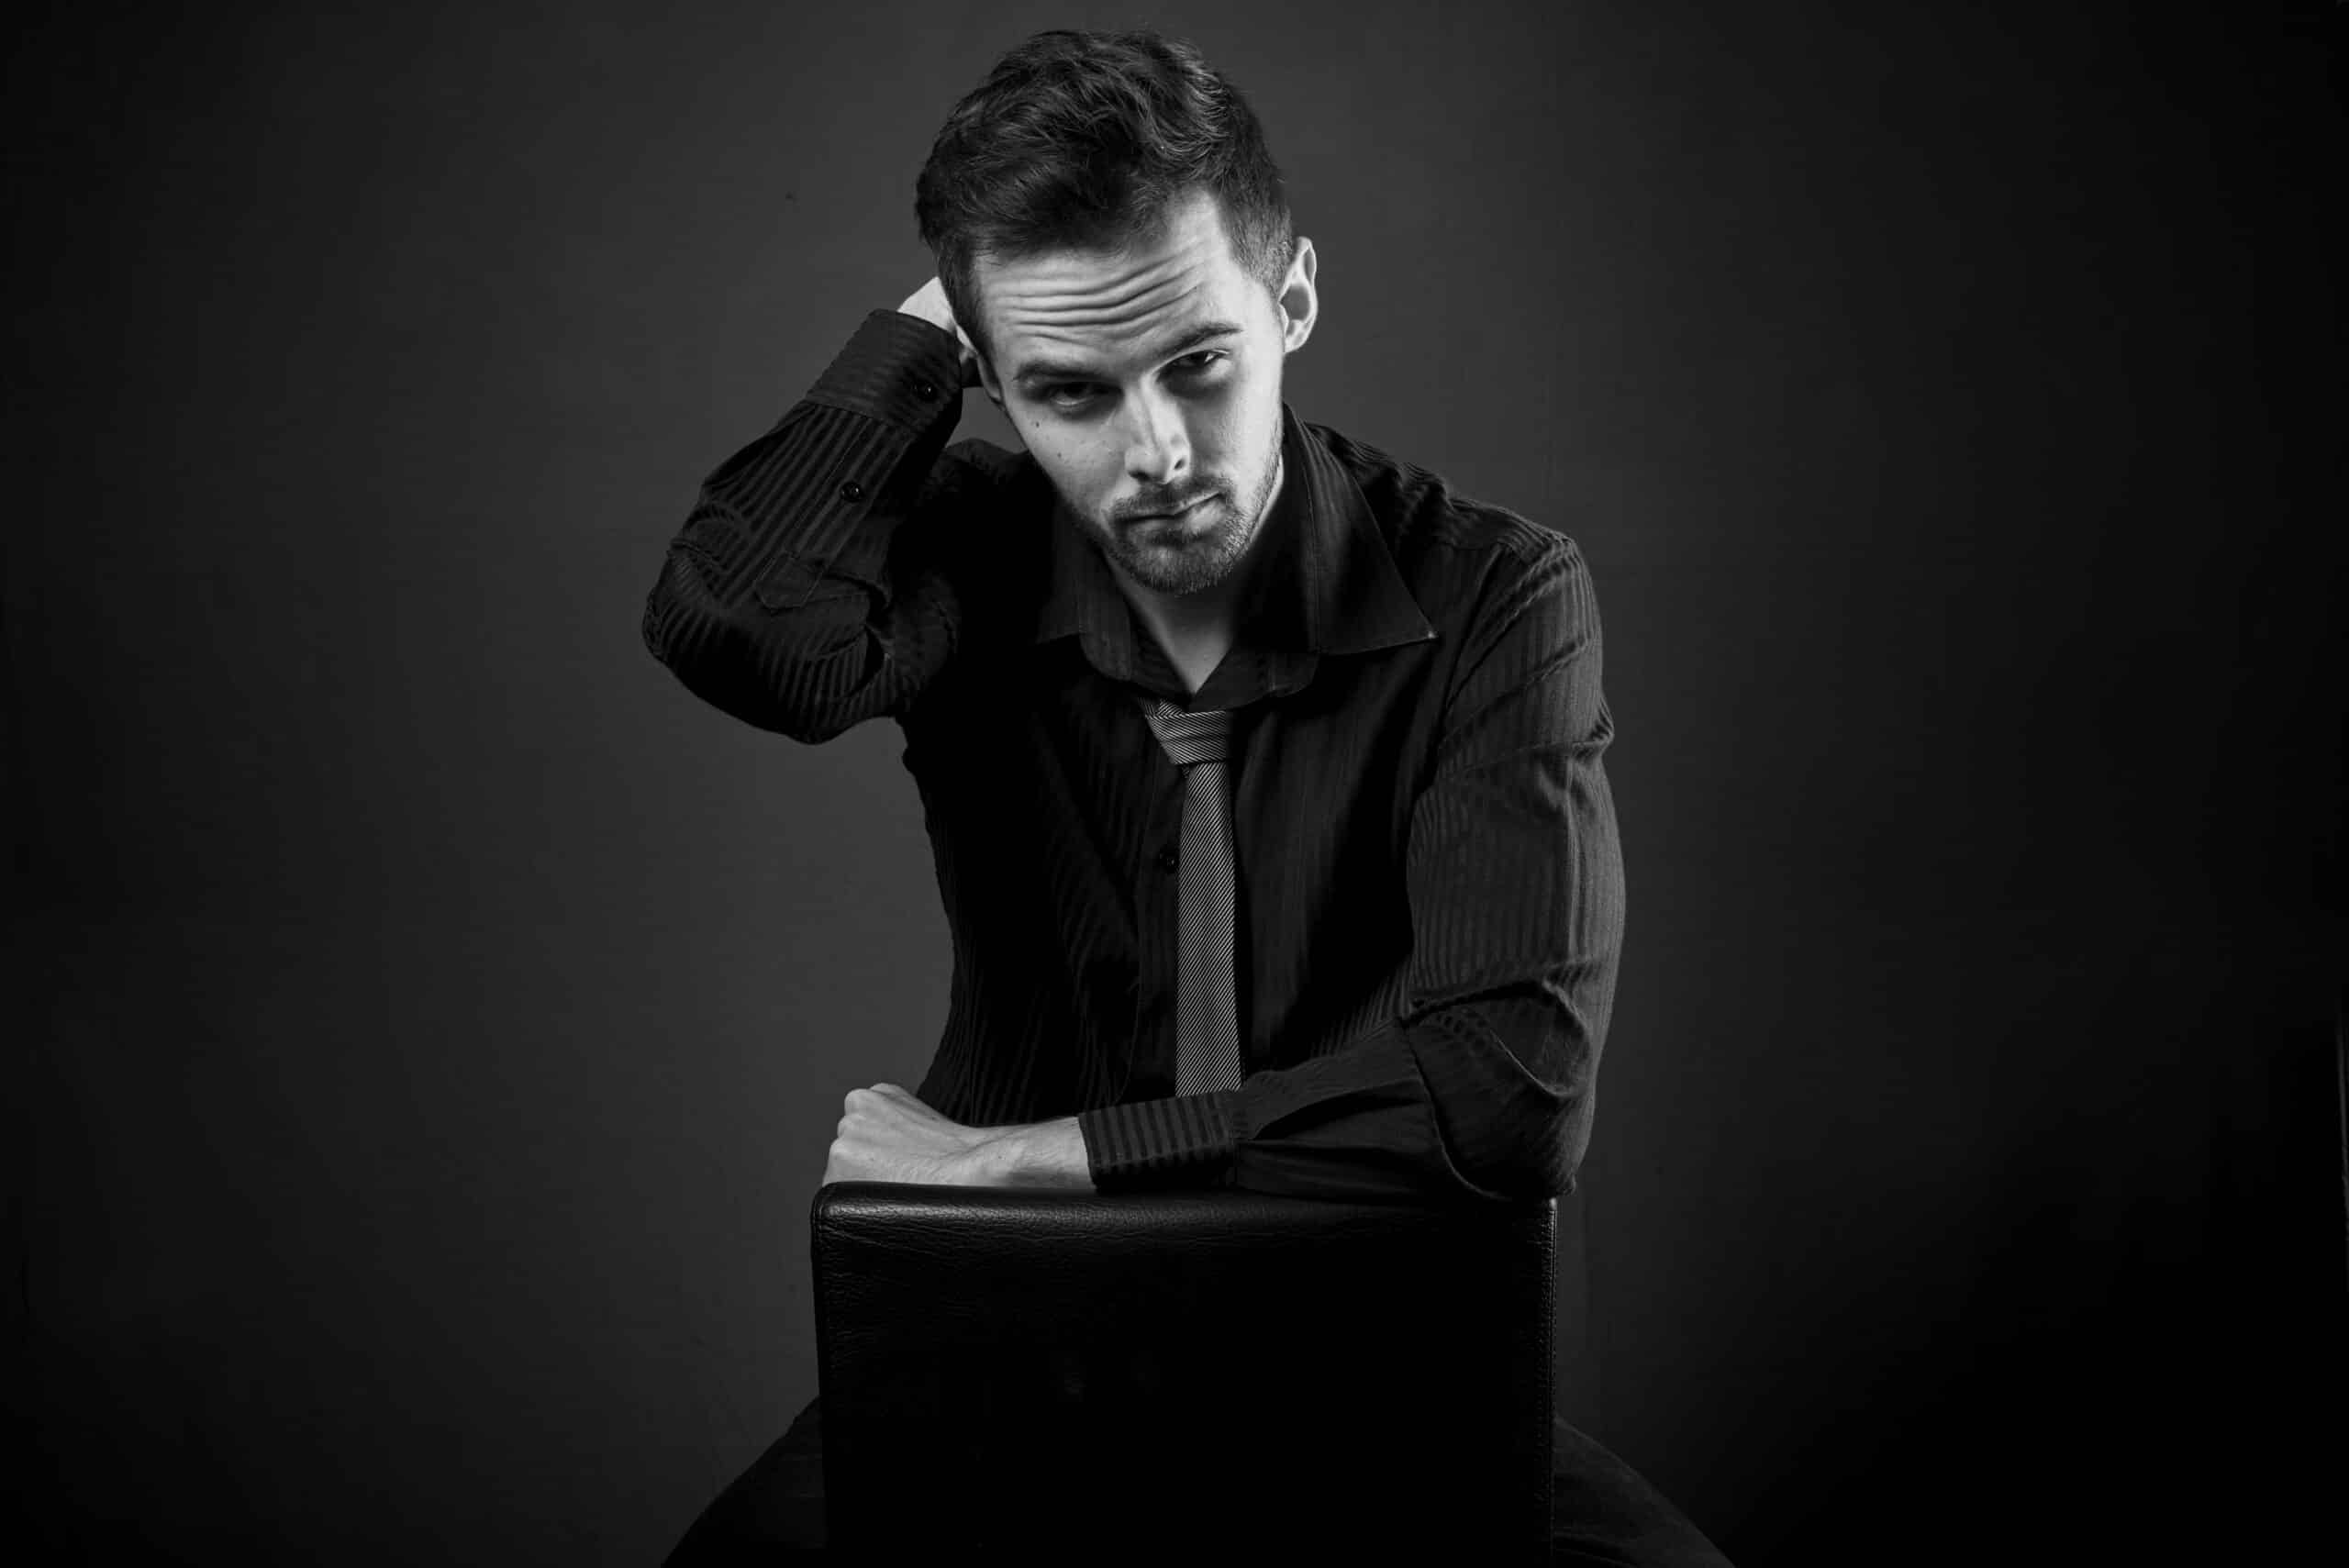
You can also try working with only one studio strobe light and try placing both lights from the front. Or, try using softboxes, an umbrella, or a beauty dish. You can add colored lighting using a snoot. The options for playing with different positioning of lighting and its settings are endless.
If your studio has a daylight lamp, try using it. Daylight lamps don’t require a remote flash. Set the desired power and shoot as if your model is sitting by a window.

General setup
How to set up your camera and lighting? Studio lighting usually has its own light intensity settings that will be combined with your camera settings. When using a studio strobe, plan for a high f-number. Leave your ISO low, ideally around 100, and keep your shutter speed around 1/150s.
When your camera settings are ready, try a medium light intensity for your strobe light and see how it looks.
- Too bright? You can manually reduce the strobe light or raise the f-number even more.
- Too dark? Add light. Unfortunately, we can’t tell you an exact number, so you’ll have to figure it out yourself. What in photography doesn’t take a little trial and error?
Don’t bring lenses that are too long. There’s usually little space in studios. Ideally, up to 50mm and longer only if you’re a risk taker.
In closing
This is a very quick and concise introduction to studio photography. Don’t be afraid to try it, but also don’t expect miracles on your first try. It’s a matter of hard work and practice. All that lighting is sure to make you break a sweat. However, even on your first try, I think you’ll end up with something that you’re happy with and gets you excited for the next time you’re in the studio.