How To Get a Blurry Background with a Basic Lens
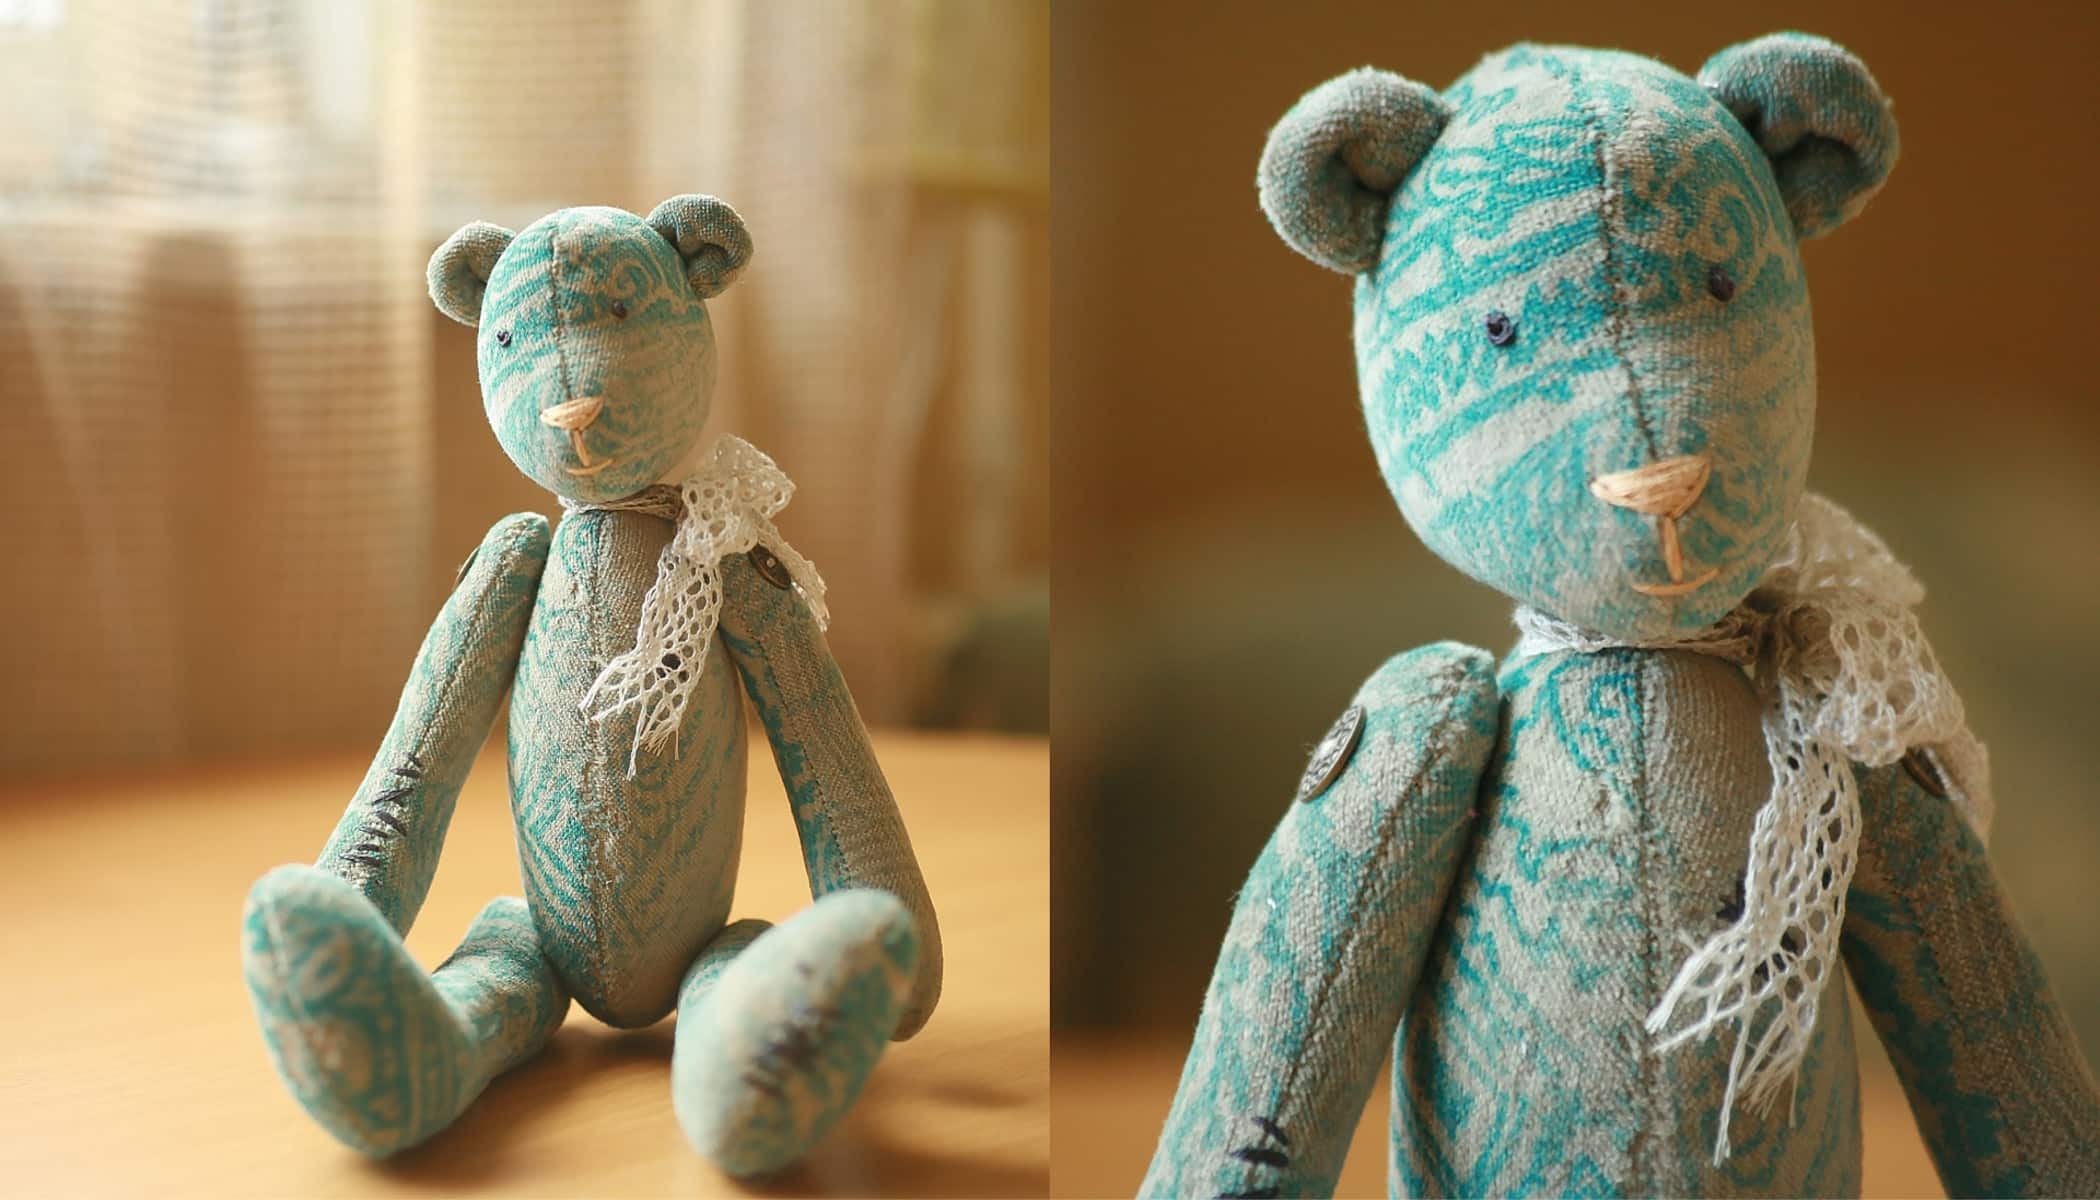
Do you have a camera with a basic lens (like an 18–55 mm), love taking portraits, but still can’t seem to get that beautiful blurry background you see in other portraits? Let’s be honest—a portrait with a nicely blurred background just looks more professional than one where everything is in sharp focus. Don’t worry, you don’t need to rush out and buy an expensive lens. To start with, you can work with the gear you already have.
It all comes down to depth of field—the “sharp area” in a photo. When the depth of field is shallow (wide-open aperture, lower f-number), you may end up with a photo where only one eye and the lips are sharp. When the depth of field is deeper (closed aperture, higher f-number), not only is your model sharp, but so is the fence behind them, and even the trash can in back. That’s usually not what you want.

Be careful: optical blur and motion blur are not the same thing! If you’re using a longer shutter speed (maybe because of low light), the whole photo can turn out blurry or out of focus. But that has nothing to do with bokeh (soft blurred background), which we’re discussing in this article.
Three ways to blur backgrounds in photos
To reduce the depth of field and get a blurry background, three things matter:
- The right aperture setting
- The right distance from the subject
- The right focal length
1. Aperture settings for a blurry background
The more open your aperture is (lower f-number), the blurrier the background will be. That’s the secret of expensive lenses, which can open as wide as f/1.2. Amateur lenses are more modest. Your lens may only open to f/3.5, but you can still make it work. Set your camera to A (Av) mode and try experimenting with different values. In our example, both the focal length (50mm) and the distance from the subject stayed the same.



2. Get closer to your subject
Depth of field is affected not only by the aperture but also by how close you are to the subject. So if you’re shooting a portrait and want maximum background blur, don’t rely on cropping the image later in Zoner Studio. Move closer to your model instead. Notice what a difference this makes under otherwise identical conditions. This trick also works on mobile phones. In the following image, I used a 50mm prime lens and kept the aperture at f/3.5.


3. Play with focal length
If you have a zoom lens, perfect—you’ve got a whole range of focal lengths to work with. The more you zoom in, the longer the focal length and the blurrier the background becomes, assuming everything else stays the same. Just remember: digital zoom doesn’t count. Digital zoom is basically cropping. We’re talking about optical zoom, where the lens itself does the work.
One more detail: most zoom lenses have variable aperture. This means that if you open the aperture all the way, it closes down a bit as you zoom in. But don’t worry—even at maximum focal length, even without the widest aperture, you’ll still get nice background blur.
To make this clear, I shot the same subject at the full range of focal lengths.
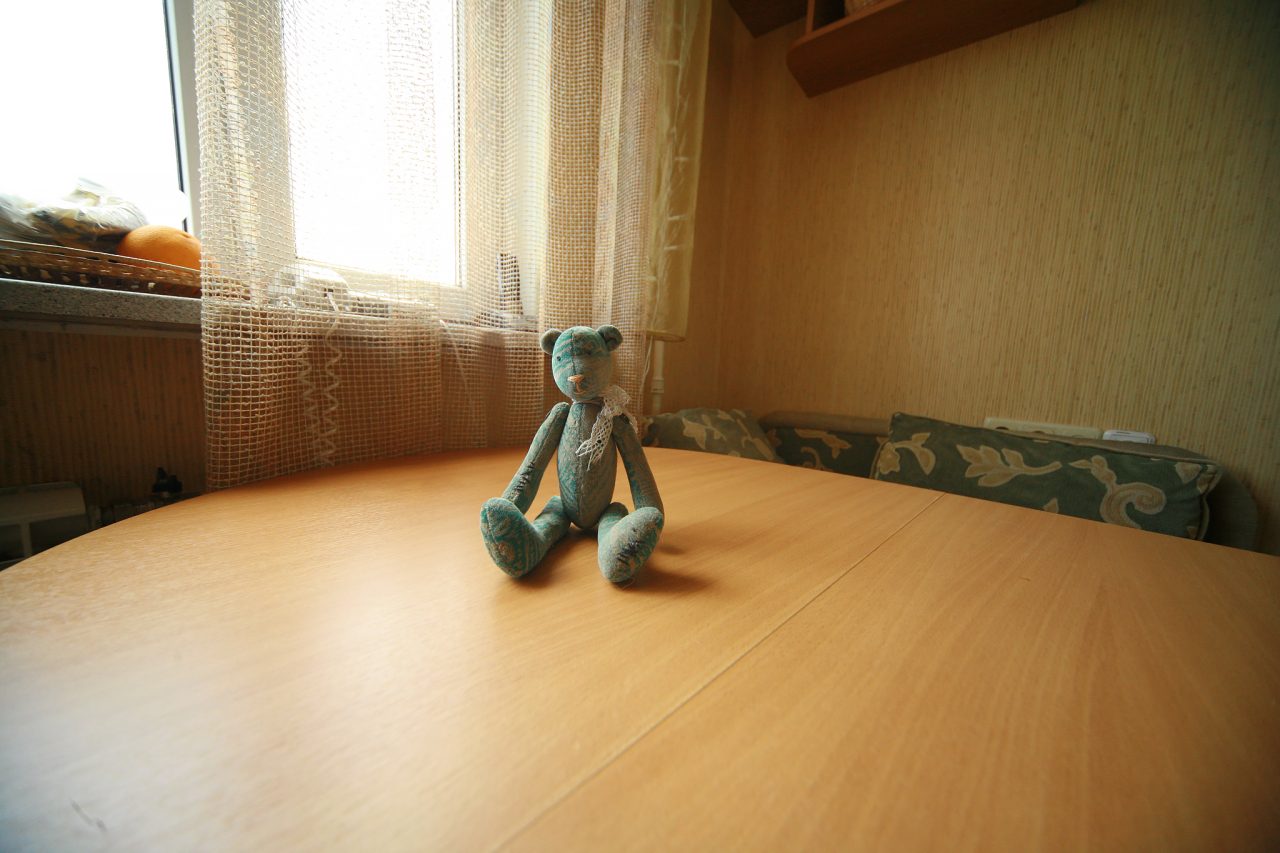




Remember: f-number, zoom, distance
To get the blurriest background possible with your lens, open the aperture wide, zoom in as much as you can, and move as close to your subject as the composition allows. And of course, don’t forget to avoid distractions like trash cans or signs that would otherwise be an eyesore in the background.