How to Make an Emergency Beanbag Tripod
We’ve all been there: that situation where you’re just about to take a nice picture, all you need is your tripod, and—it’s not there. Did you leave it at home on purpose? Sigh. What now? Improvise. In an emergency, you can create a simple and reliable tripod out of something easily available—for example, a beanbag.
Be Creative
Tripods, the eternal dilemma. Carry a tripod, and you feel like a mule. Carry it unnecessarily, and you feel like an ass. But when you leave it at home, or you can’t take it with you on an airplane due to weight restrictions, you find that you really would appreciate having it, and you can’t take good-quality photos without it.
But don’t waste time cursing your bad luck and lost photos, when you can instead easily improvise and create your own tripod using, for example, a beanbag.
A nice sturdy bag is the foundation. In a pinch you can use plastic bags, but in that case, pack multiples, since they’re not as tough as cloth bags.

For the filling, use beans, rice, lentils, or anything similar you have at hand—even sand or small stones. But the filling items should be no larger than beans. Otherwise, your “tripod” will be shapeless, making it hard to create a horizontal surface.

Fill the bag up almost all the way. That will make it easier for you to shape it. Then just place the camera atop the bag and shape it until the camera is positioned perfectly.


A Level Position
The disadvantage of this type of tripod is that it doesn’t have a level to show you when the horizon is completely straight. However, a number of cameras have this function built-in. But if yours does not, it doesn’t matter—you can level the horizon later in Zoner Studio.
Other Useful Tips
If your emergency tripod is placed on the ground, then take your pictures using the display instead of the viewfinder. That way, you won’t have to lie on the dirty ground and hurt your back too.

You may also appreciate a remote trigger so that you don’t have to press the trigger right on the camera—since that press could blur the picture or change the composition.
For long exposures, self-portraits, and time-lapse photos, use a timer to ensure a delay so that your camera has time to stabilize and return to its original position. This little trick will help to keep your photos sharp.

Your beanbag can also help you discover new perspectives that you were overlooking before. So your photos will gain a new dimension.

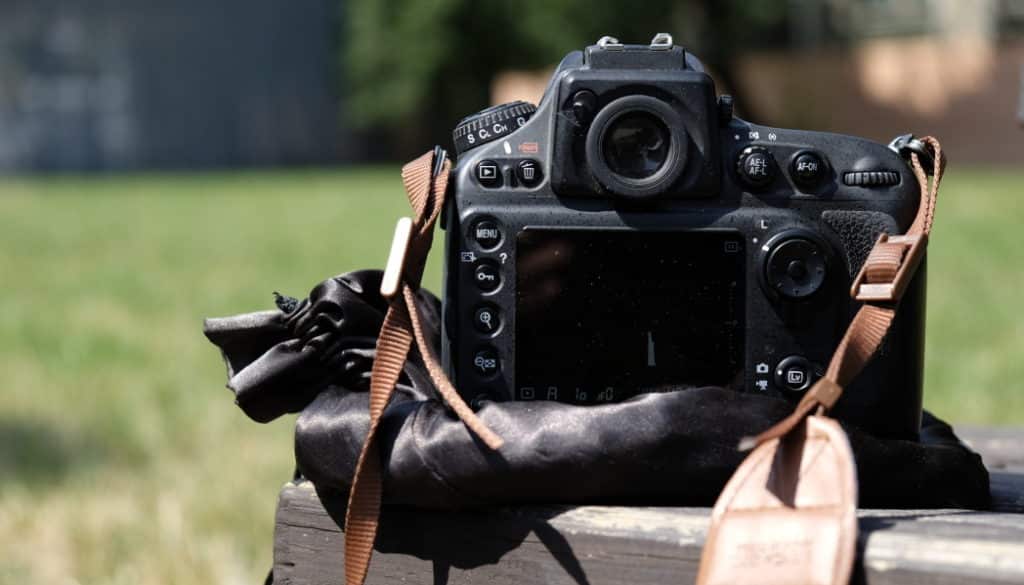
Beanbags aren’t just for shooting from the ground. You can place your makeshift tripod on a bench, table, or any other flat surface where your camera can be positioned stably.

Safari photographers will especially appreciate a beanbag tripod. Just place the beanbag on the car’s frame or window, and place the heavy camera on top of that. This gives you good stability and keeps your arms from hurting.

Even though a beanbag has many disadvantages compared to a tripod, in many cases it can be essential for even making a shot possible. After all, there are times when you just can’t take a tripod. A beanbag is a cheap, effective solution. It’s important to know how to improvise and solve photography problems that you can’t always avoid!