Bravely Face the Sun: How To Shoot With the Sun in the Frame
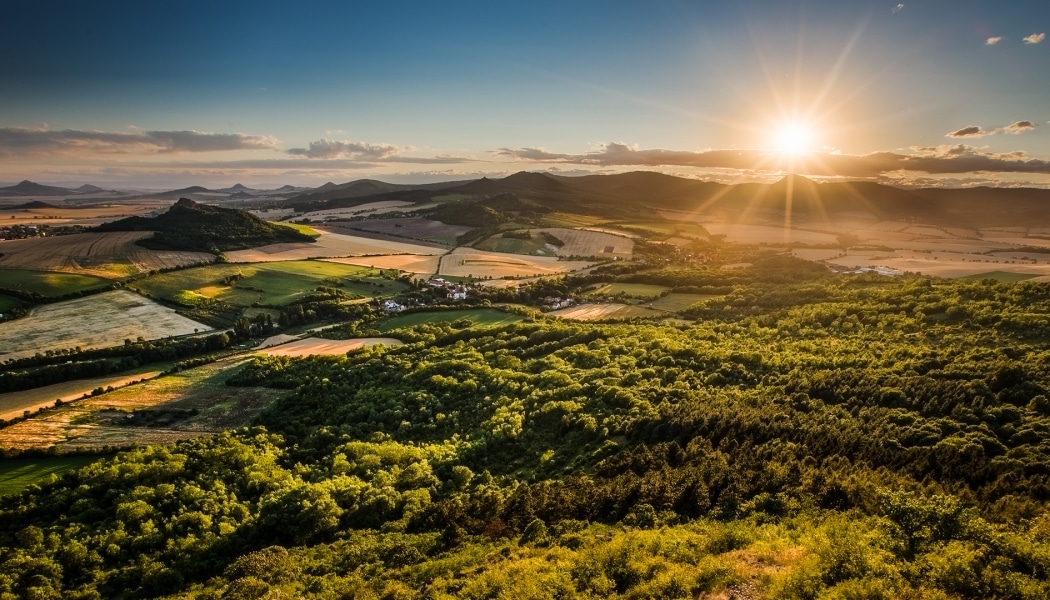
Many photographers are afraid to shoot facing the sun, for fear of either damaging their camera or producing ugly photos. But if all goes well, you can get remarkable backlit photos.
I’m really not surprised that so many photographers won’t face the sun. It makes the sky come out blinding white, and turns any objects into just black silhouettes. But these problems, like many others, can be fixed.
Take Good Care of Your Eyes and Camera
Some photographers are afraid of damaging their camera when shooting against the sun. This isn’t really a problem when you’re shooting normal landscape photos. But if you’re using a telephoto lens, there is a real risk of harming your eyes or your camera.
For a demonstration of the damage that can be caused, check out this quite interesting article showing the damage to a rental lens from LensRentals after it was used to photograph the solar eclipse in 2017.
Besides the possible dangers, it’s simply uncomfortable to look straight at the sun through a DSLR’s viewfinder. To avoid that, compose your shot as quickly as possible or switch to LiveView. However, in LiveView you can have trouble composing, because it will show the same kind of over-contrasted images as I mentioned at the start. The solution is to use exposure compensation.
Dealing With Strong Contrasts
The basic problems when shooting against the light are bright, overexposed skies and completely dark foregrounds. These effects are usually not what you want. Luckily there are plenty of ways to fight them.
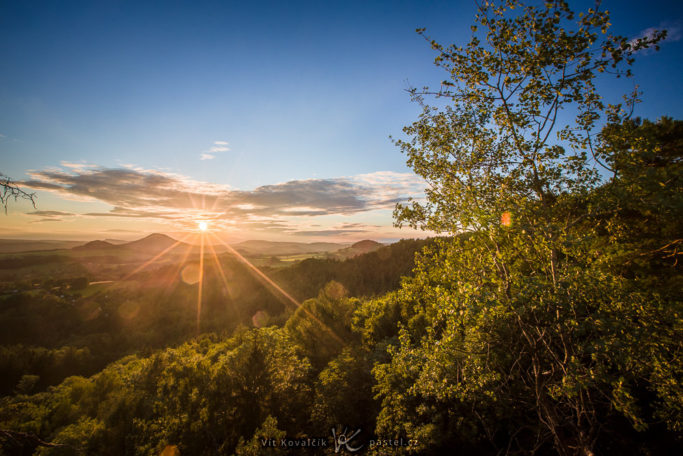
Take multiple identical shots with different exposure settings if it’s a static scene. You can then join them into one HDR photo in Zoner Studio.
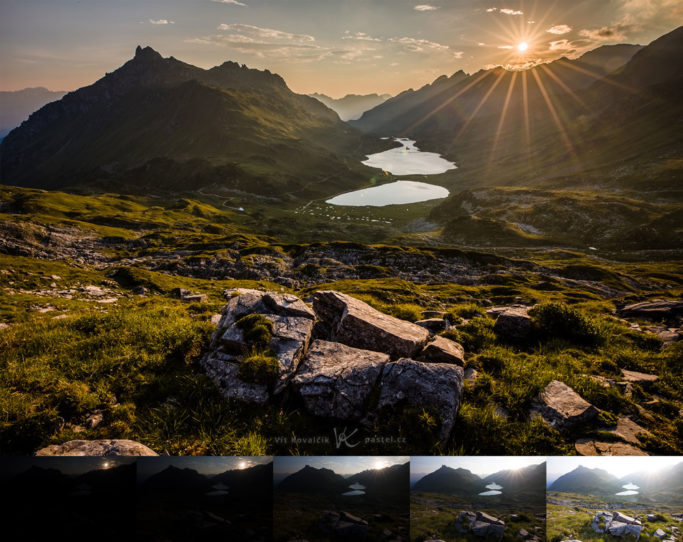
Canon 5D Mark IV, Canon EF 16-35/2.8 III, 1/1250 to 1/5 s, f/20, ISO 100, focal length 17 mm
If you have an action scene with people, animals, or other moving objects, a single dark shot is enough. You can then lighten selected spots on a computer.
However, you need to count on an increased amount of noise in these spots—but if you don’t plan to show the photo at its original resolution, this effect won’t be very noticeable.
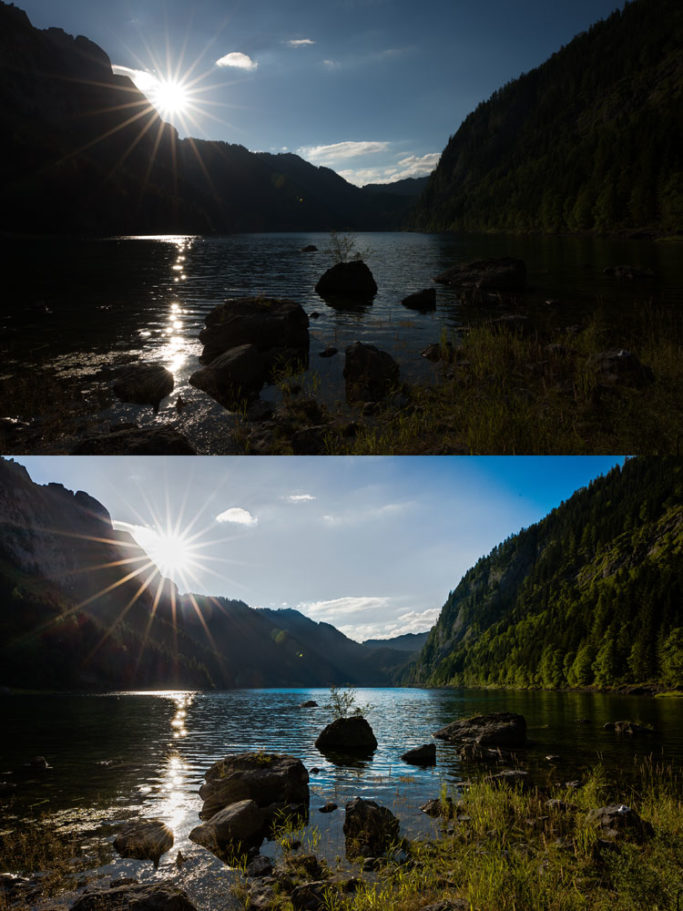
When you’re taking pictures of objects or people that are close by, you can use a flash or a reflector. That transforms those dark silhouettes into actual faces right during the shoot.
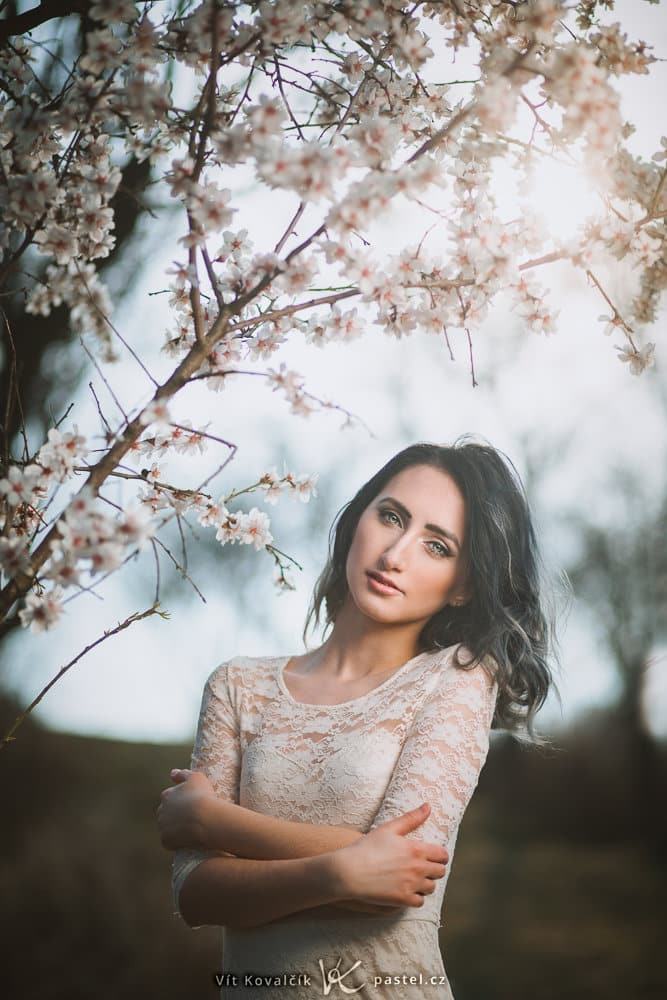
Canon 5D Mark III, Canon EF 85/1.8, 1/200 s, f/1.8, ISO 100, focal length 85 mm
Beware of Dust
Don’t forget to wipe your lens with a cloth, or at least a T-shirt, before you start. Specks of dust tend to catch light when you’re shooting against the sun, and can put light blotches in your photos.
You might not notice it during the shoot, but when you come home and find out that half of your photos turned out like this, you definitely won’t be happy.
Canon 5D Mark III, Canon EF 16-35/2.8 II, 1/125 s, f/2.8, ISO 100, focal length 16 mm
Watch Out For Bad Filters Too
You can prevent reflected sun rays with filters. Meanwhile aiming directly at the sun really highlights any flaws in UV filters, polarizing filters, or really any kind at all. Low-quality filters reflect light between the lens and the filter, creating glints of light.
So if you like backlight photography, invest a little extra into good filters, or don’t use any at all.
Another Way to Fight Reflections
Sometimes even the most expensive filters won’t get rid of reflections. That’s because some reflections can form inside the lens. Here’s a trick for when you’re using a tripod: take one photo normally and then one where you cover the sun with your hand. That prevents ugly glints of light.
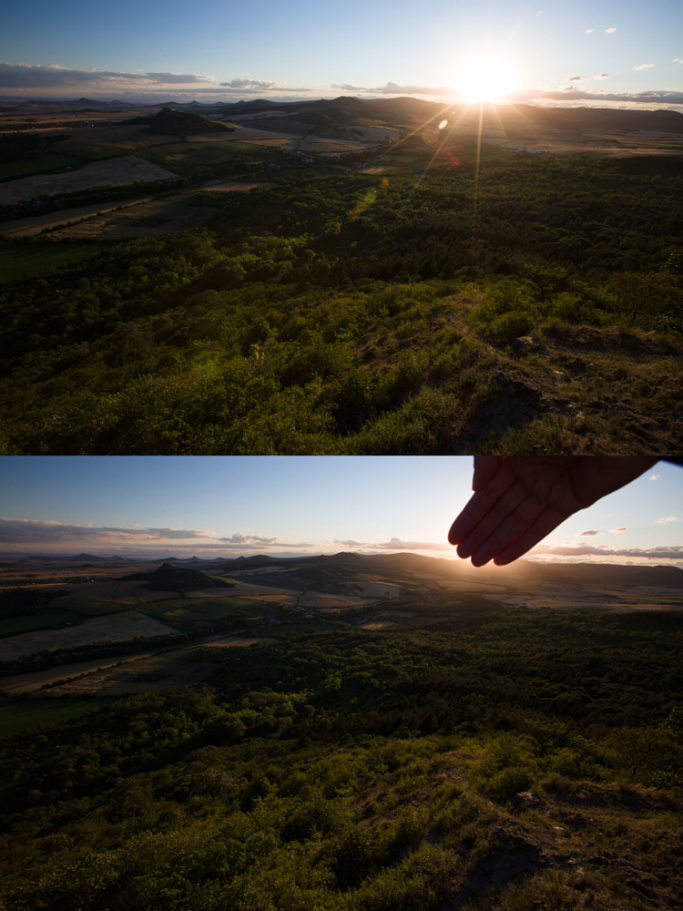
Then join the photos in Zoner Studio and edit the result as needed.
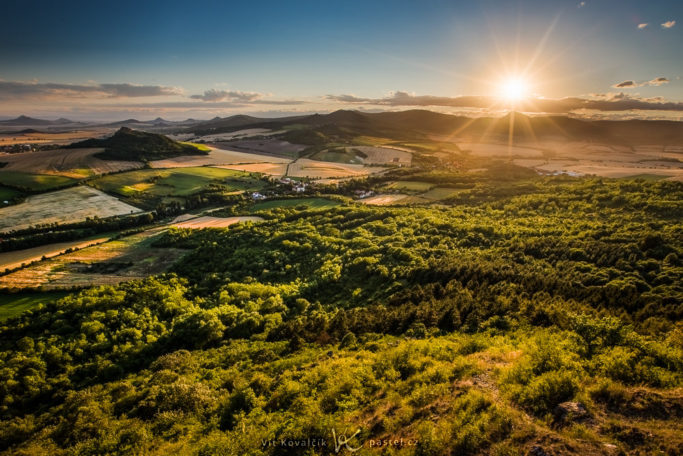
Canon 5D Mark III, Canon EF 16-35/2.8 II, about 1/1000 s, f/13, ISO 100, focal length 16 mm
An Impressive Element in Compositions
Let’s move on from execution to composition. You might have noticed that in all the preceding photos, the sun was very striking. In your approach to photography, you should think about its position in pictures, rather than going: “Hey, that’s a nice hill! Click!”. Instead, think through where you’ll put each element. Including the sun in the background.
On the other hand, you don’t to have eye-blinding sunrays in every shot. Telephoto lenses, above all, suppress sunstars strongly, and they are muted even more if the sun isn’t in focus.
Remember, the sun is always visible, but it doesn’t have to be the main theme of a shot. So even with the sun in the shot, you can direct your focus towards some other element. For example, little details around you.
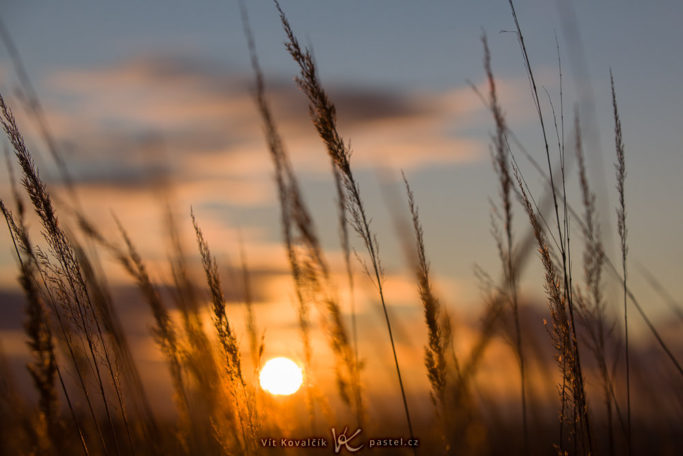
Canon 5D Mark II, Canon EF 70-200/2.8 II, 1/1000 s, f/5.6, ISO 100, focal length 70 mm
Also, make use of the shadows that a bright day creates. This is easier if you have an ultra-wide lens—you can capture both the sun and the shadows more easily.
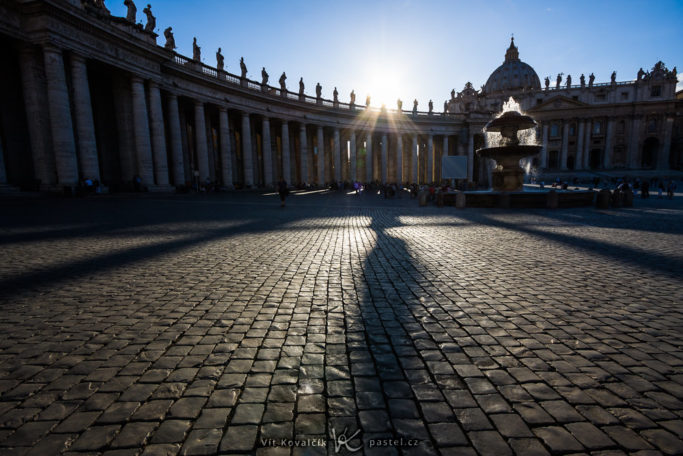
Canon 40D, Canon EF-S 10-22/3.5-4.5, 1/400 s, f/8, ISO 100, focal length 10 mm (16 mm full frame equivalent)
Play With the Sun’s Visibility
Most of the pictures above show a fully visible sun. That’s the most common case, and it looks fine.
But it can also be very interesting to depict a partly covered sun. Where it’s peeping out from behind a mountain or building. That really highlights sunstars. A good half of these sunstars will suddenly cover up the obstacle that’s the photo’s darkest part.
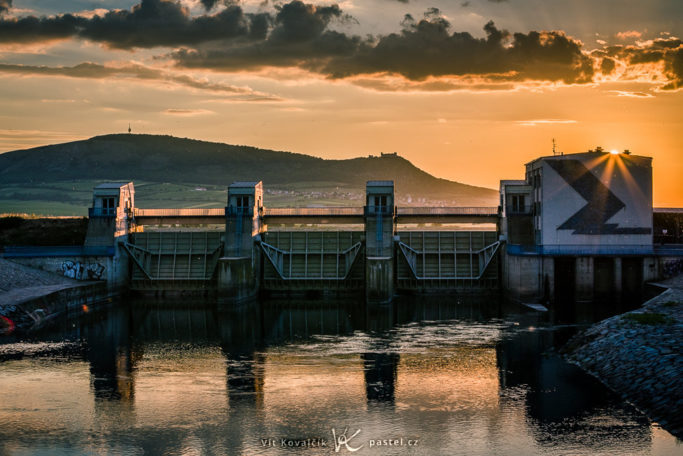
Canon 5D Mark IV, Canon EF 70-200/2.8 II, about 1/1500 s, f/11, ISO 100, focal length 70 mm
When an obstacle is nearby, you can easily influence how much it covers the sun by standing up on a rock, or kneeling down on your knees. On the other hand if it’s mountains that are blocking your view, all you can do is wait and be alert.
When the sun’s disk is creeping behind a mountain, you’ve got roughly five minutes or less before it becomes invisible, so you have to be at the right place at the right time. Or you’ll miss your shot.
And often clouds will pop up and cover the sun 15 minutes too early. That’s why I would recommend taking some photos ASAP, so you’ll have at least some shots from your venture.
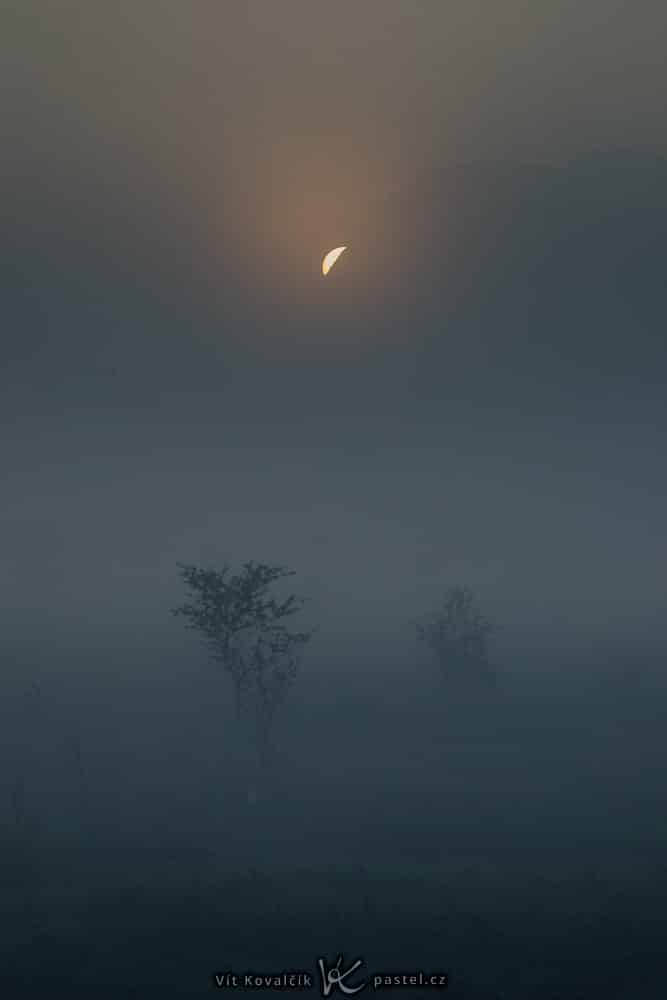
Canon 5D Mark IV, Canon EF 70-300/4-5.6 IS, 0.3 s, f/16, ISO 100, focal length 165 mm
The last option is to depict a fully blocked sun. This might sound like it just means having the sun completely out of the picture, and yet it still hooks into our theme. Just by walking a few steps left or right, you can hide the sun at a specific spot and think up a precise composition.
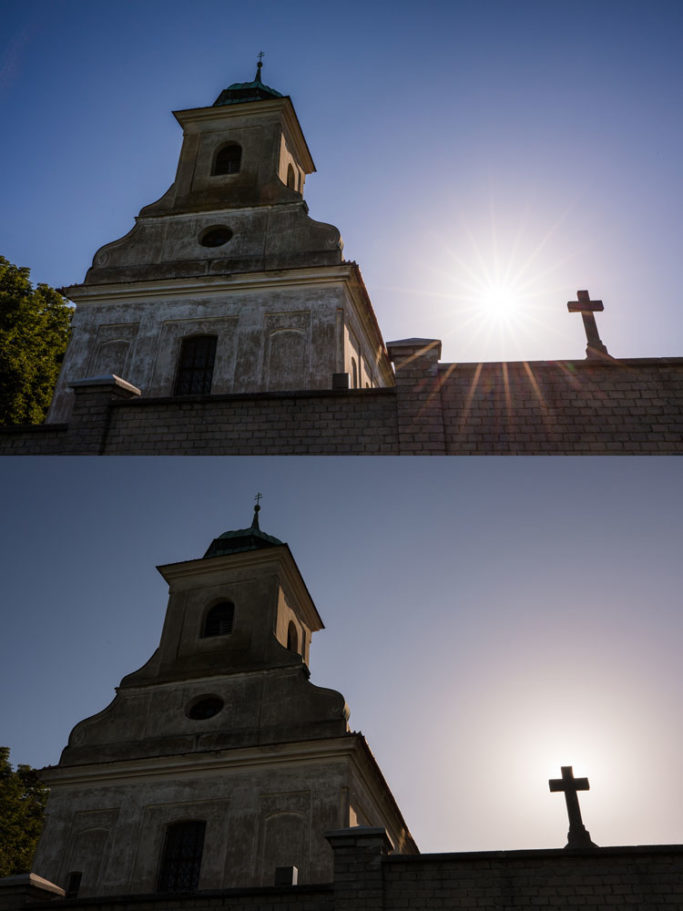
Canon 5D Mark IV, Canon EF 16-35/2.8 III, 1/250 s, f/16, ISO 100, focal length 27 mm
Make Use of Reflections
Since it’s so intense, the sun is also nicely visible in reflections. If you’re shooting above a lake or sea, you can’t avoid reflections. But you can find smaller surfaces to reflect the sun in.
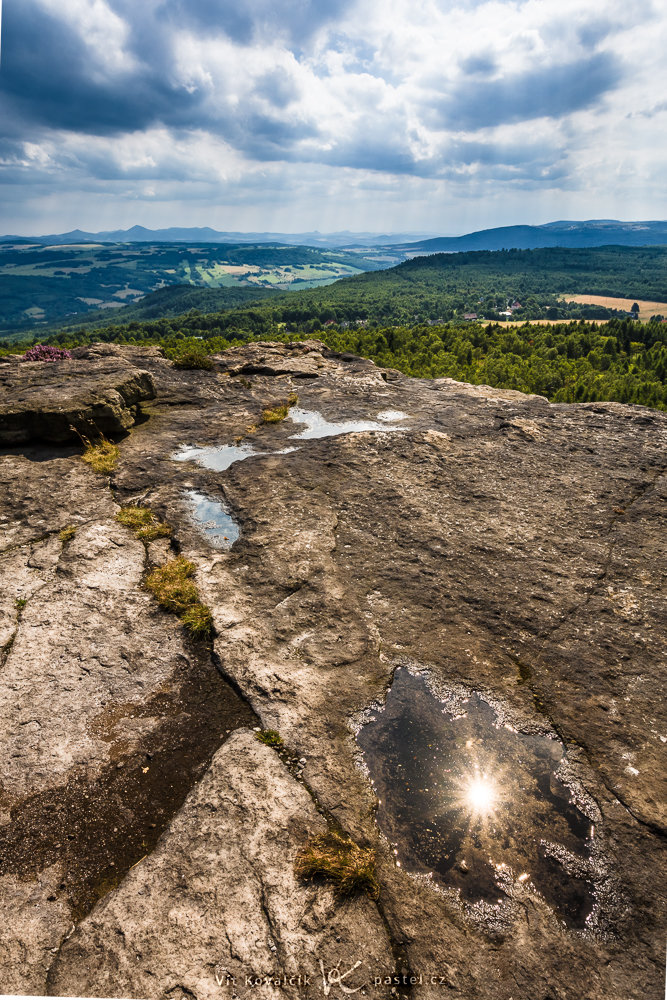
Canon 5D Mark IV, Canon EF 16-35/2.8 III, 1/500 s, f/14, ISO 400, focal length 22 mm
There’s even more opportunities waiting for you in the city. That’s because you can find windows everywhere, and with them, reflections.
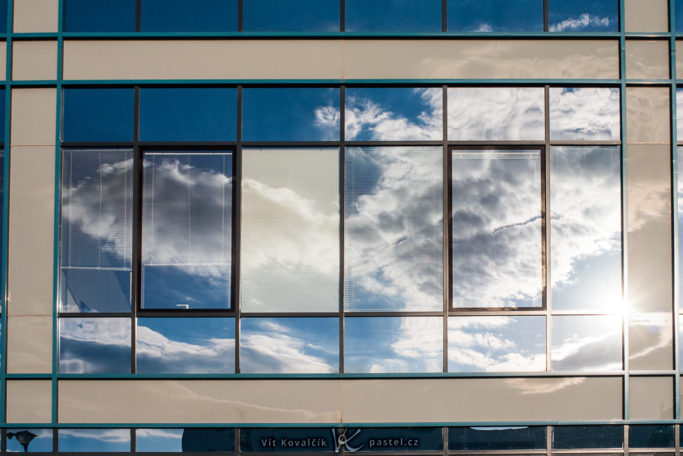
Canon 350D, Macro Revuenon 24/4, 1/500 s, about f/4, ISO 100, focal length 24 mm
Backlight Isn’t Just for Outdoors
Once you know how to take photos against the sun, you can use your knowledge on all different kinds of pictures, even portraits.
I encourage every photographer to try taking and editing pictures like these. You’ll quickly get a feeling for what you can do with your camera and how dark you can afford to go.