Improve Your Video Projects with Markers

When working on a complicated video project with multiple elements, it’s easy to get lost. The Video module now has a new feature—markers. Markers make your video editing more straightforward.
For some time now, Zoner Studio has been used for more than just photo editing. The Video module regularly expands its collection of features to make video editing easier.
Adding markers to your videos
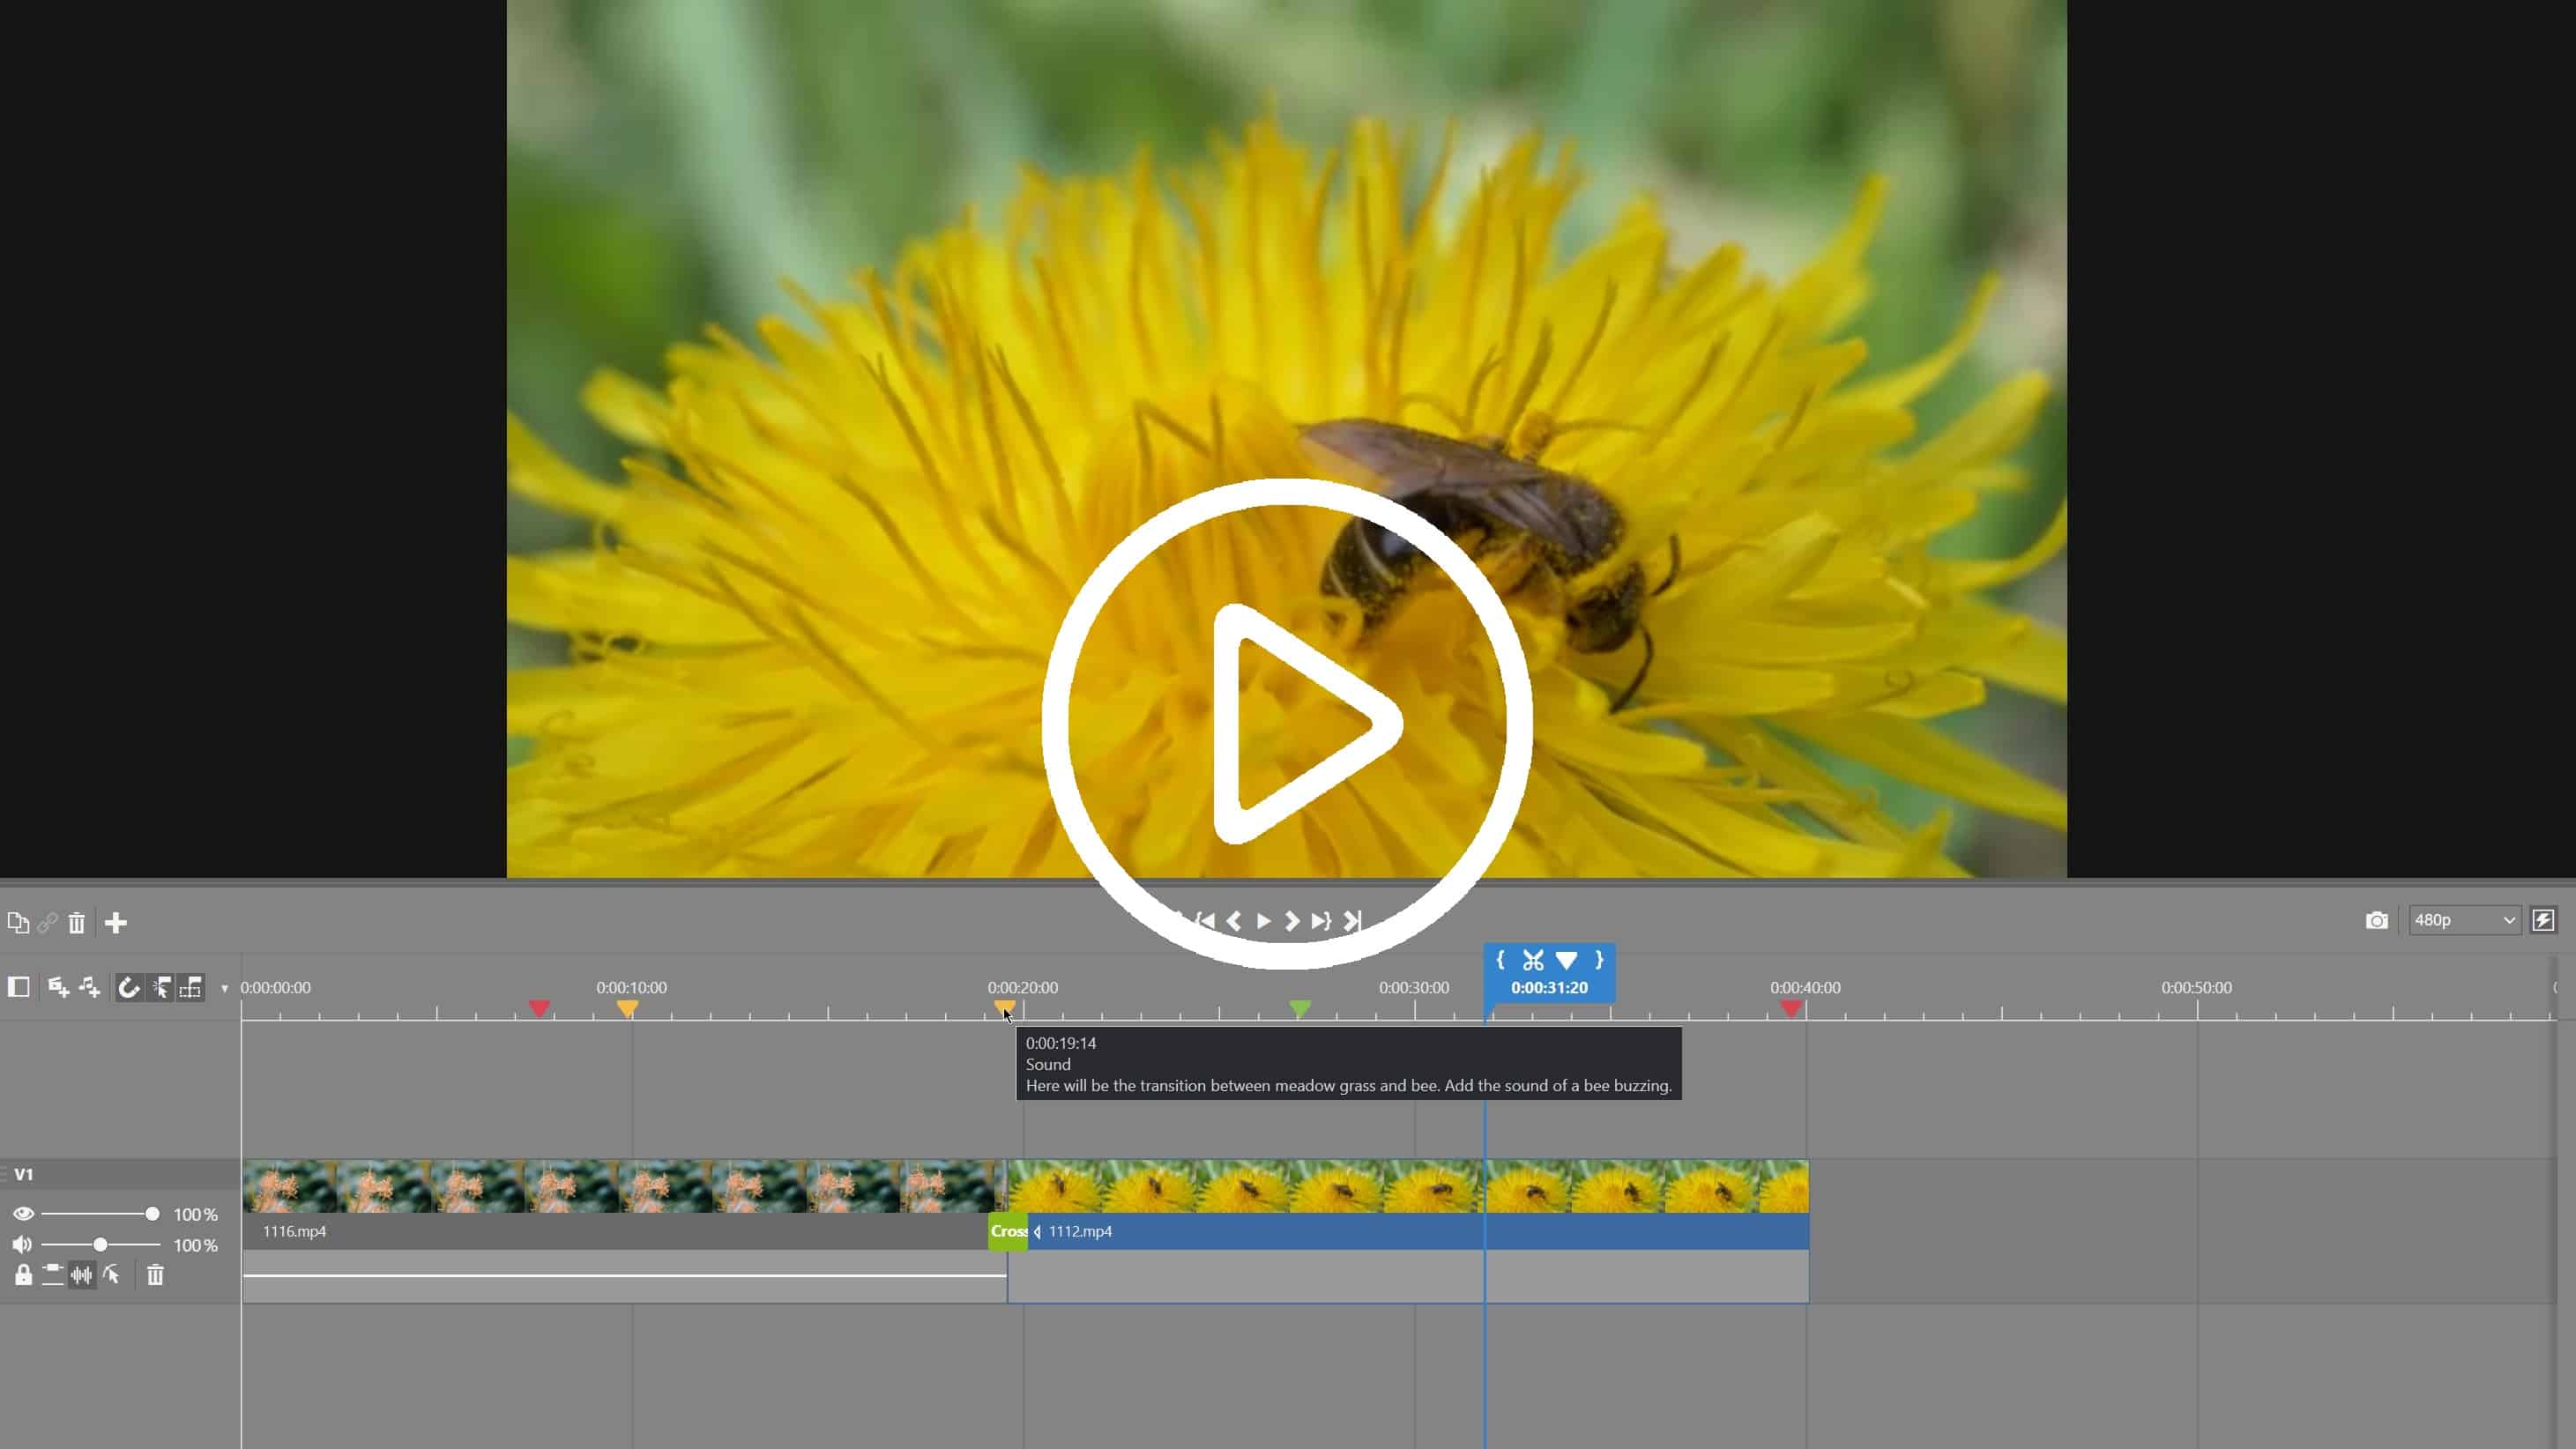
Markers are small, colorful triangles on the timeline above your video clips. Use markers to add titles or different notes to parts of your video and use colors to tell them apart.
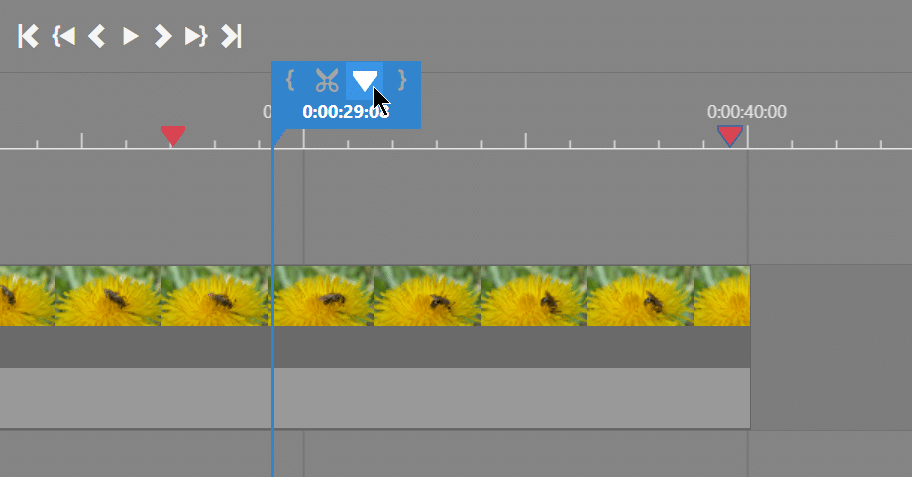
Add a marker by clicking the triangle by the playhead blue slider. Double-click the marker to open the settings.
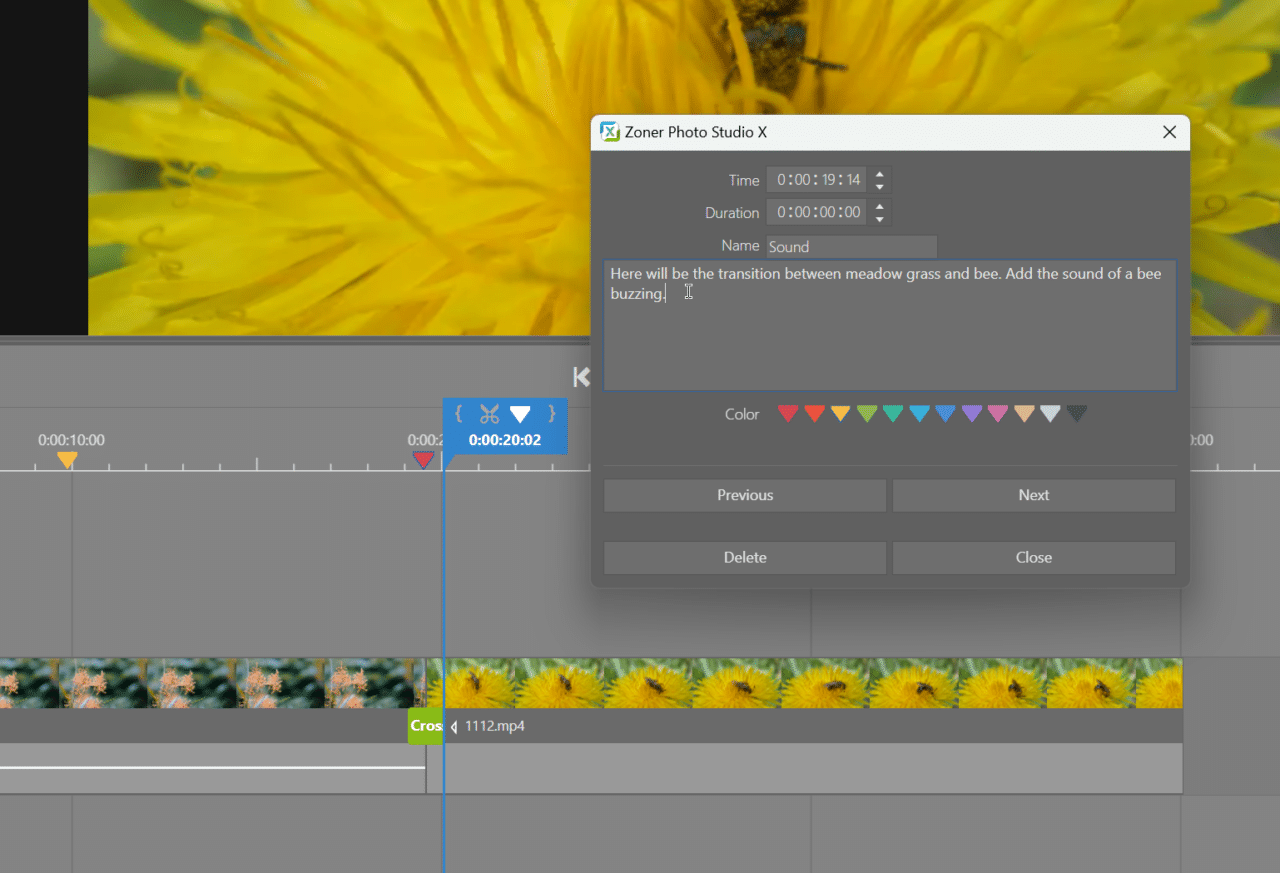
Each marker can be customized. You can change the name, color, and even add a note.
Move between markers by clicking Previous or Next. Click Close to confirm the marker settings. You can delete markers either in the marker settings or by clicking it on the timeline and pressing the Delete key.

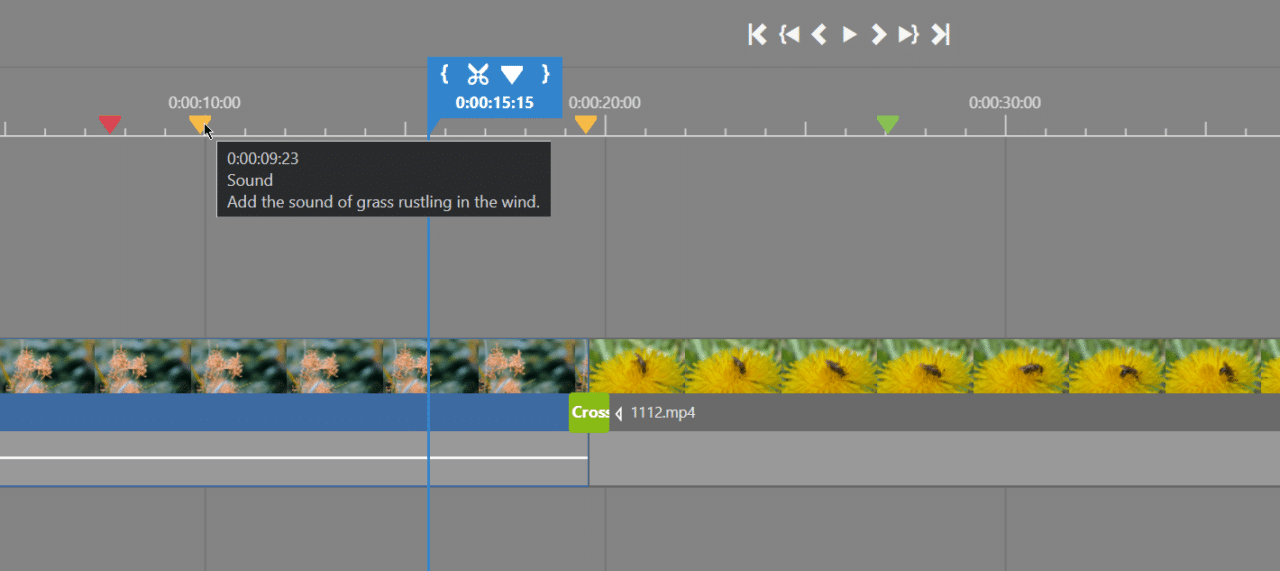
You can use markers like you would a notepad to write what you want to add to the video or use a color-coded marker to indicate where you want to add a transition or other elements.
In this example, yellow markers indicate where I want to add audio tracks and the green marker indicates where I want to add a transition.
There are now 6x more transitions in Zoner Studio than there were before. Give your video project a fresh and modern feel. Watch our video to learn more about transitions in the Video module.
Download Zoner Studio free for 7 days and try using markers in your video projects today!


