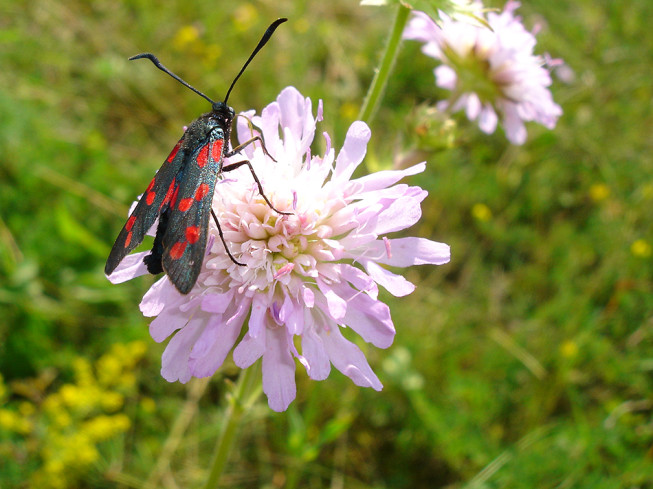
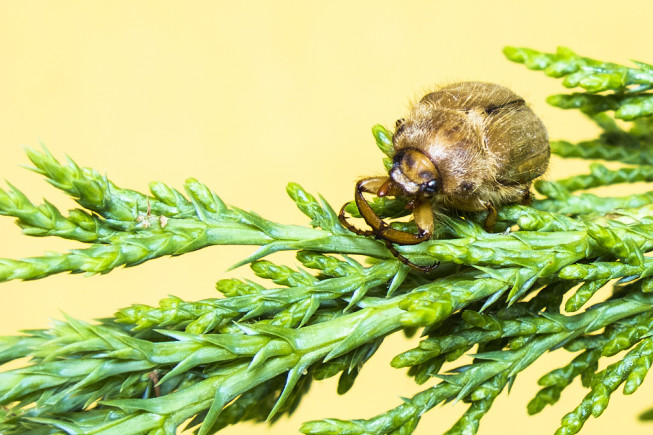
Taking Macro Photos with a Compact
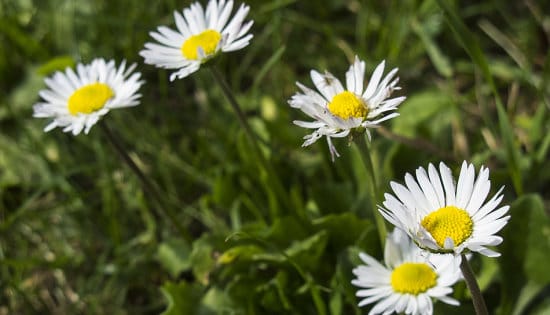
Even though professionals do macro photography using DSLRs and often high-priced lenses, you can try basic macro photography with any old compact. You just have to switch it to macro mode.
Digital compact cameras have smaller sensors than DSLRs, and due to the laws of optics—and physics—they also have a larger depth of focus. Thus to get large depth of focus, you don’t need to use as small an aperture as when taking pictures with a DSLR. Also, some compacts’ lenses can take sharp photos from even just a few centimeters away.
Getting the Settings Right
Turn on your camera’s Macro mode (marked with a flower icon). If your camera enables it, then we recommend that you zoom in as much as much as your camera will let you without automatically turning off macro mode.
This minimizes your depth of focus, although that depth will still be larger than what you would have on a DSLR. This also makes it easier to focus on a detail, and you don’t have to bring the camera in so close. A small depth of focus, that you can adjust by changing the f-stop, literally gives a whole new dimension to photography. The key principle here is: what you want to emphasize in the picture is what should be in focus.
What Should I Look for in a Compact for Macro?
There are a lot of compact cameras on the market, from simple ones, to ultrazooms, to some that are quite advanced. For macro photography choose a compact that can shoot in macro mode at every focal length of the built-in lens.
Often, photographs from cameras that only let you turn on macro mode for the wide end of the focal range have too much depth of focus. That can really be a problem for some situations. When you are shooting at the wide end, you can end up with too many unblurred objects in the background, leader viewers’ eyes away from the subject. Also, flying insects are best photographed at a bit of a distance, so you’re less likely to frighten them.
Macro Is More Than Bugs and Flowers
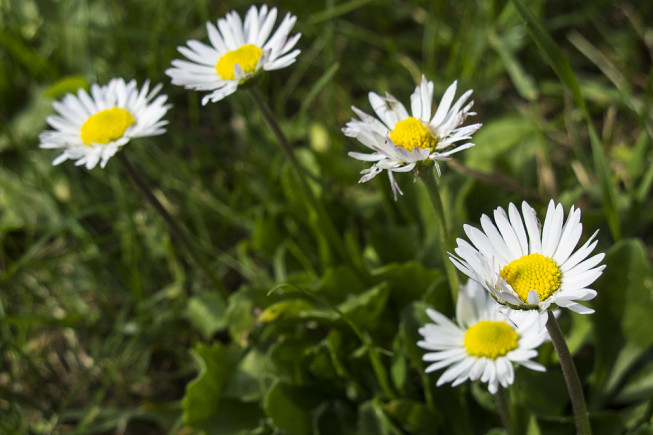
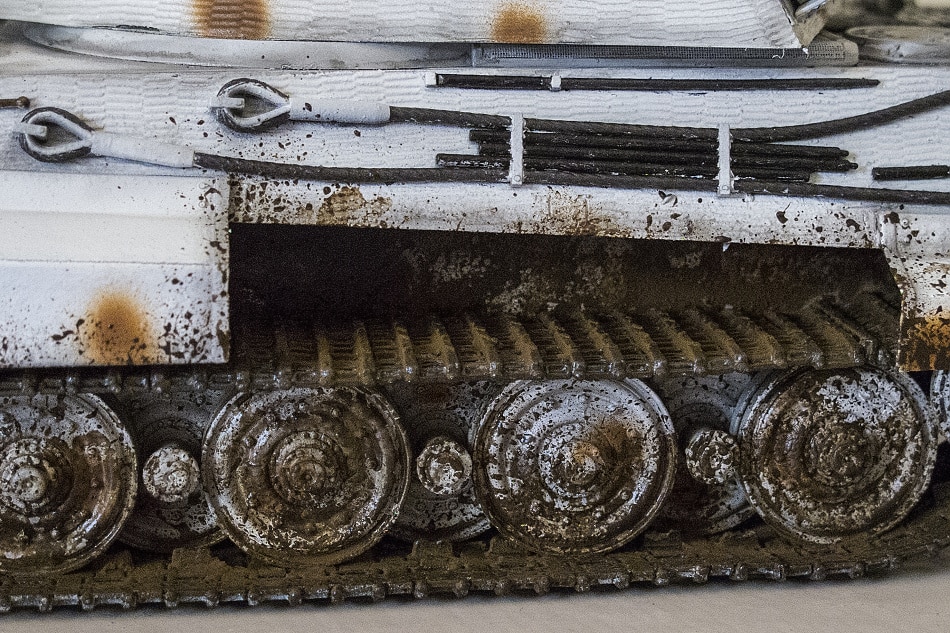
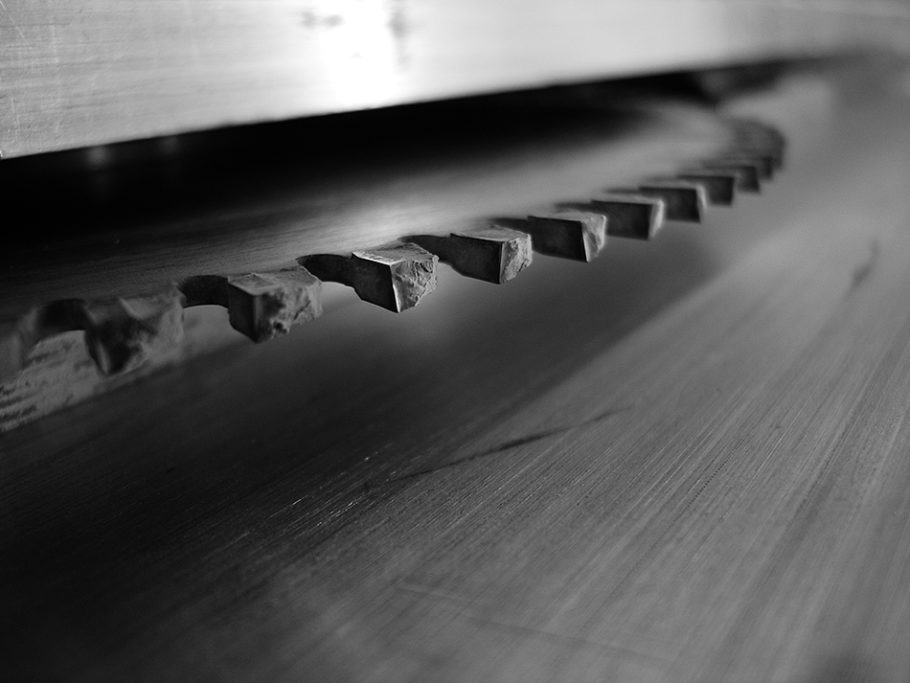
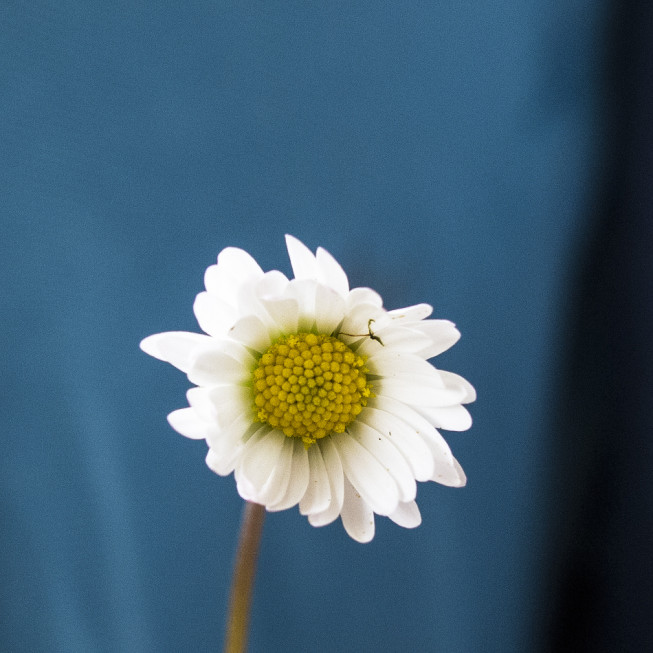
Most people, when hearing the phrase “macro photography,” think of various insects and flowers. But macro refers to any close-up, detail shot. It can be a picture of any kind of detail—you just need to hunt down the scene and capture it. There’s an endless number of details around us that are just waiting to be captured in macro.
Minimum Focal Length
There are compact cameras that let you focus on objects as close as one centimeter away. But usually such small distances aren’t really that attractive. At those distances you’ll scare away insects etc., and also your camera can end up throwing a shadow on the photograph. In the worst case you can even end up getting your lens scratched.
To Bring or Not to Bring?
As always, there’s the eternal question of whether or not to bring a tripod. Everyone has their own opinion on this. Over time you’ll form your own opinion too about which shots need it, and which do not. A tripod is definitely worth using when photographing still scenes. It lets you concentrate on composition, focus, and depth of focus. On the other hand, a tripod limits your flexibility and speed. Highly active winged insects are thus not very good topics for tripod photography.
Some Tips from Experience
When photographing insects, choose a fairly cold day. Head out early in the morning. In the early morning, your insect “models” are not as active yet, increasing your chance of a good shot.
Tip: When photographing insects, learn about the typical daily life of the species in question. In fact, most “insect specialist” photographers are actually also nature lovers. Unlike ordinary photographers, they only seek out specific species, and they also know well where to find them.
There are two ways to handle focus. Both of them make use of focusing on the center. The first, classical method: focus, compose, press the trigger the rest of the way down, take the shot. The other method is similar, but you first focus on the needed distance (usually the shortest focusing distance), then move the camera to get the right harpness, and then press the trigger.
[box]Backgrounds and Diffusers for PenniesIf you find an insect sitting against a background with lots of distracting features, try moving it somewhere else. That won’t work for winged insects, but for the ones that can’t fly, you’ll find it quite easy. Place them for example on a blade of grass with a better background than the original one. But you can also bring your own colored background for outdoor photography.
You can use ordinary colored paper as such a background. To replace a diffuser (for diffusing hard light in order to soften shadows), use typing or tracing paper. Letter or A4-sized sheets are enough for macro. They don’t take up much space, and they cost almost nothing.[/box]
The advantage of the second method is that you have everything, including the focus, prepared in advance, making the process much faster than if you test for the right distance and then focus again after each shot.
