Night Photography Tips
Though photographers have a tendency to seek the prettiest sunshine, you can take impressive nighttime pictures too. Join me in exploring some examples, and you’ll get practical advice for getting the best night photographs too.
Night photography can be a real joy, although it does demand a bit of patience. It gives totally different pictures than daytime photography, and the equipment differs too, so it’s worth its own article.
Do I Need a Tripod?
With so little light, you often need long exposure times, so every night photography article will tell you that a tripod is key. Well, that’s the ideal, it’s true, but you won’t always have a tripod with you. So what are the other options?
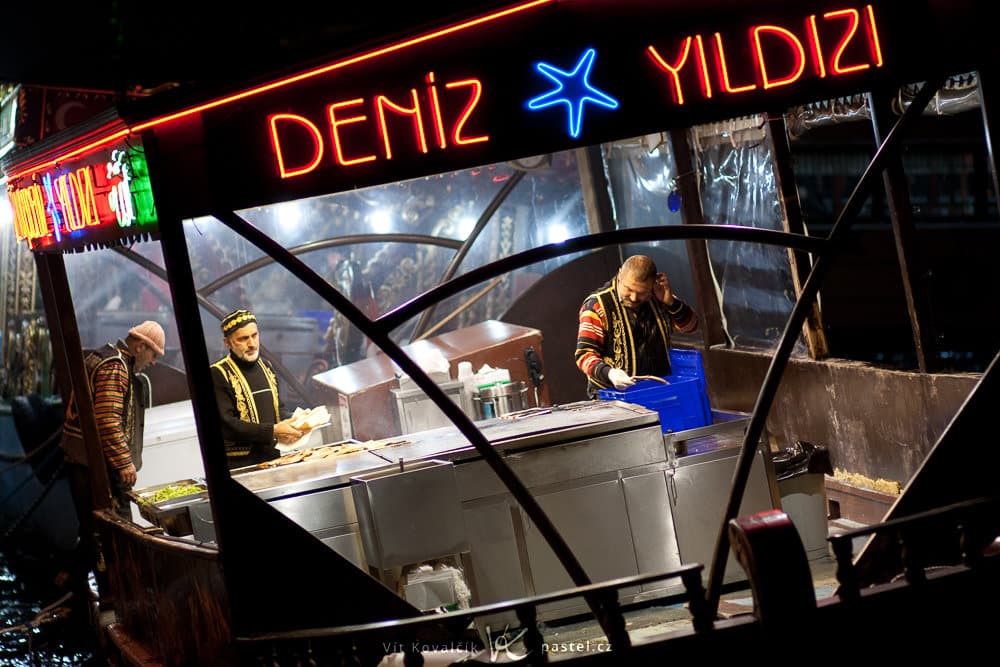
Canon 5D Mark III, Canon EF 70-200/2.8 IS II, 1.6 s, F5.6, ISO 200, focus 90 mm
I should emphasize here that how you plan to use the photo is important. If you’re only going to be sharing low-res copies on social networks, then with any decent camera, you don’t have to worry about noise or minor blurring, because no-one is going to see it anyway. You can take your pictures “by hand.”
But showing off a picture on paper or large screens brings higher demands. So let’s set higher goals… and try to get good quality while still going tripod-free.
The rule of thumb is that you can get sharp-enough pictures unaided with speeds of up to 1/[focal length] seconds. So e.g. for a 100 mm telephoto, you’re fairly safe at 1/100 s and faster. This is all for orientation. Your hands may be steadier or shakier, and meanwhile as camera resolutions grow, so does the risk of blurring, as long as we’re peering at individual pixels.
Your most easily-usable aid, if available, is the stabilization right within the camera’s lens or body. It will give us about 4 EV (exposure value), with one EV meaning doubled time. So for our 100 mm example, we can now reach 1/100 s * 24 = 1/6 s.
If we also make use of increased sensitivity, then we can get some attractive results.

Canon 5D Mark III, Canon EF 70-200/2.8 IS II, 1/60 s, F2.8, ISO 800, focus 200 mm
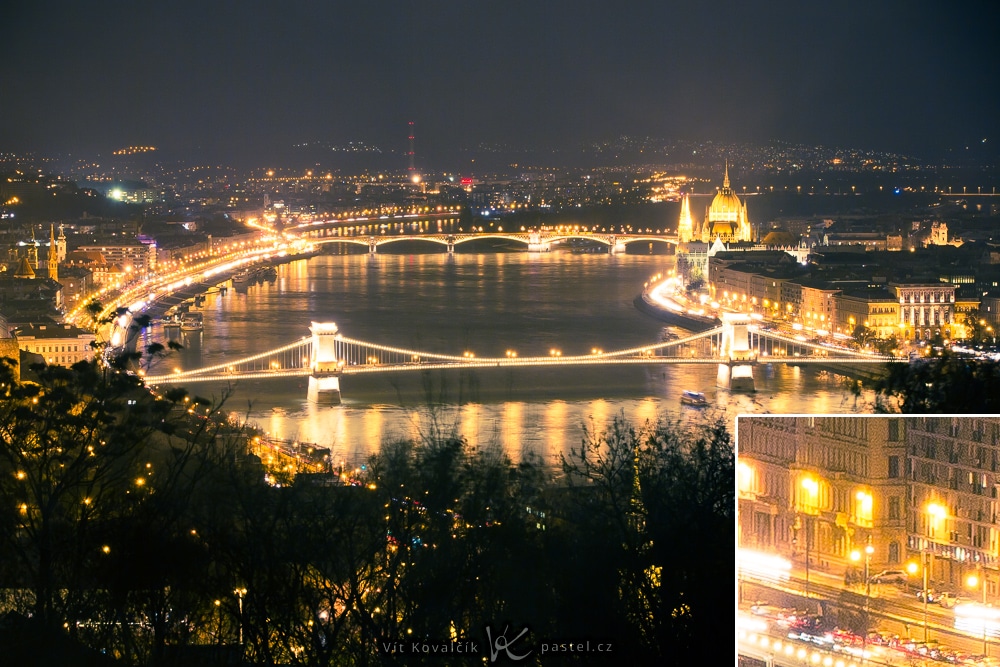
When I need even longer exposure times, I lean against a pole, a railing, or similar, and I take multiple shots. This increases the chance that at least one of them will turn out right. I only got the following picture, with an extremely long exposure of 3.2 seconds, after about 8 tries, with the help of a railing and patience:
Canon 40D, Canon EF-S 55-250/4-5.6 IS, 3.2 s, F6.3, ISO 100, focus 55 mm
White Balance
The city at night glows in rich yellows. It’s up to us to leave them be (or even emphasize them), or instead try to neutralize them. Although the lamp above was edited to match it to real white, the original also works fine:
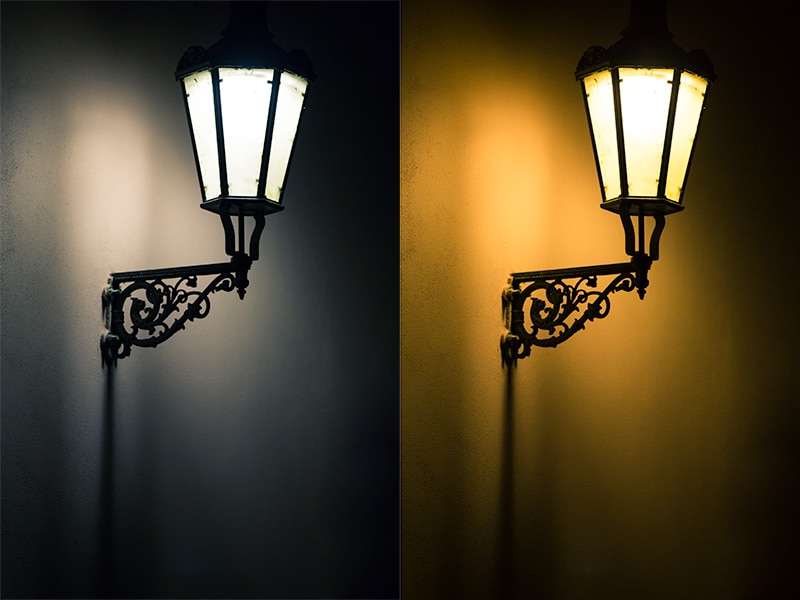
Canon 5D Mark III, Canon EF 70-200/2.8 IS II, 1/60 s, F2.8, ISO 800, focus 200 mm
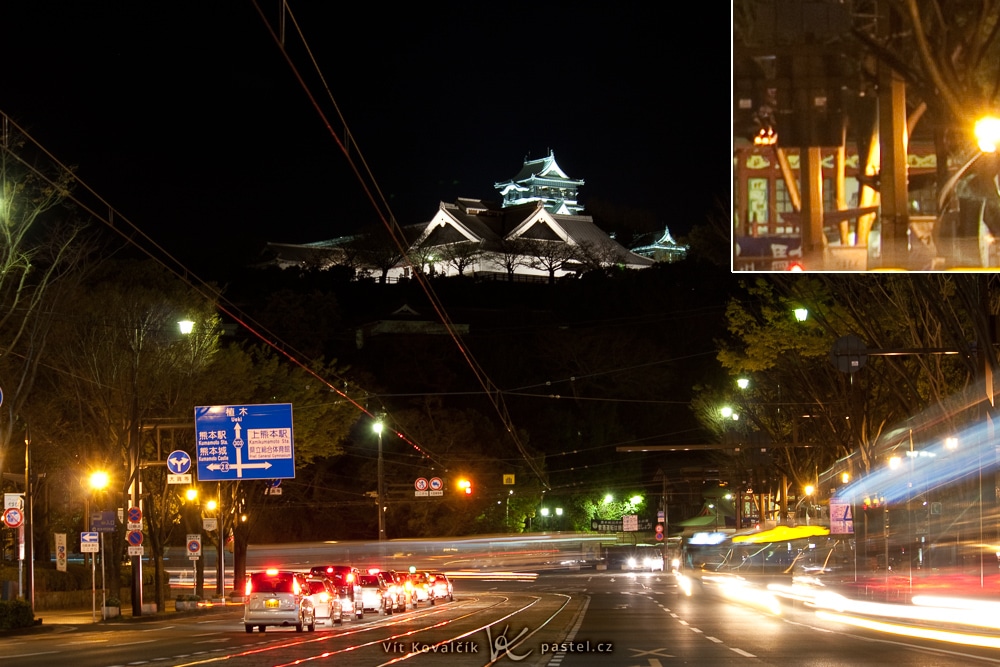
The problems come when there are multiple light sources with different lighting temperatures. The picture below suffers from this problem, with its pre-dawn sun and its streetlights, which are extremely yellow compared to the sun. All we can do to correct pictures like this is manually select areas in the picture and edit them accordingly (here: changing white balance, darkening, and reducing saturation):
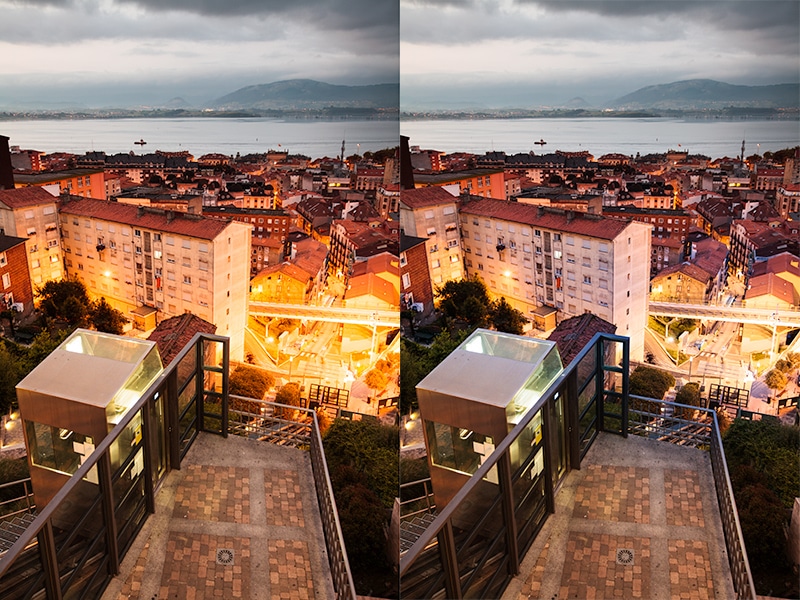
Canon 5D Mark II, Canon EF 16-35/2.8 II, 1/5 s, F4, ISO 800, focus 29 mm
Phases of the Night
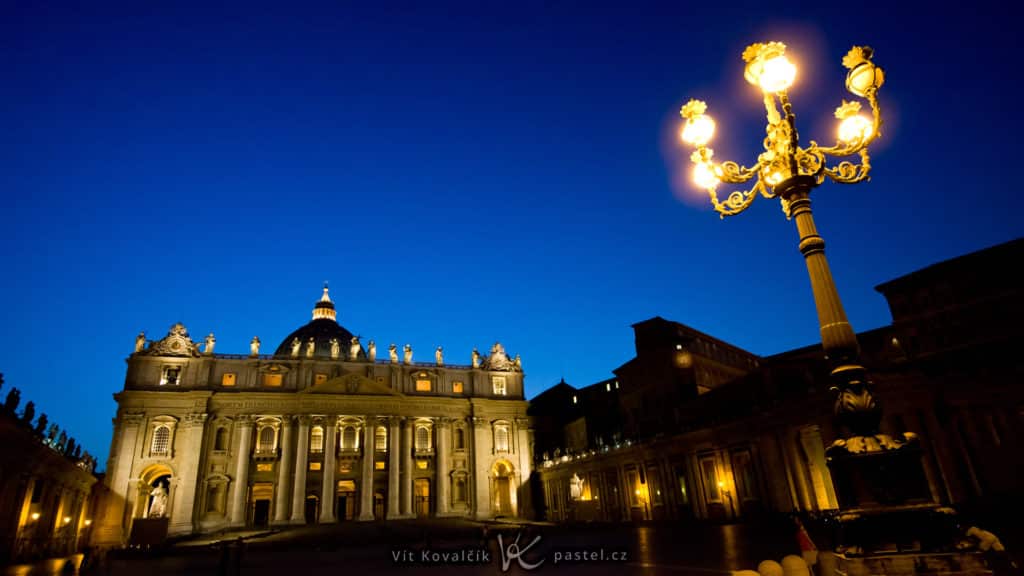
As you may have noticed in the last illustration, night can mean more than just a pure black sky. Black is the most common variant, but catching the early twilight gives us a dark blue:

Canon 40D, Canon EF-S 10-22/3.5-4.5, 1/8 s, F4.4, ISO 800, focus 13 mm
Never forget composition—its rules still apply at night. It’s harder to be creative since poorly-lit areas are harder to use, but there’s still room for creativity. For example in the following picture I made use of a lamp, thanks to which the picture is more dynamic than a simple front view.
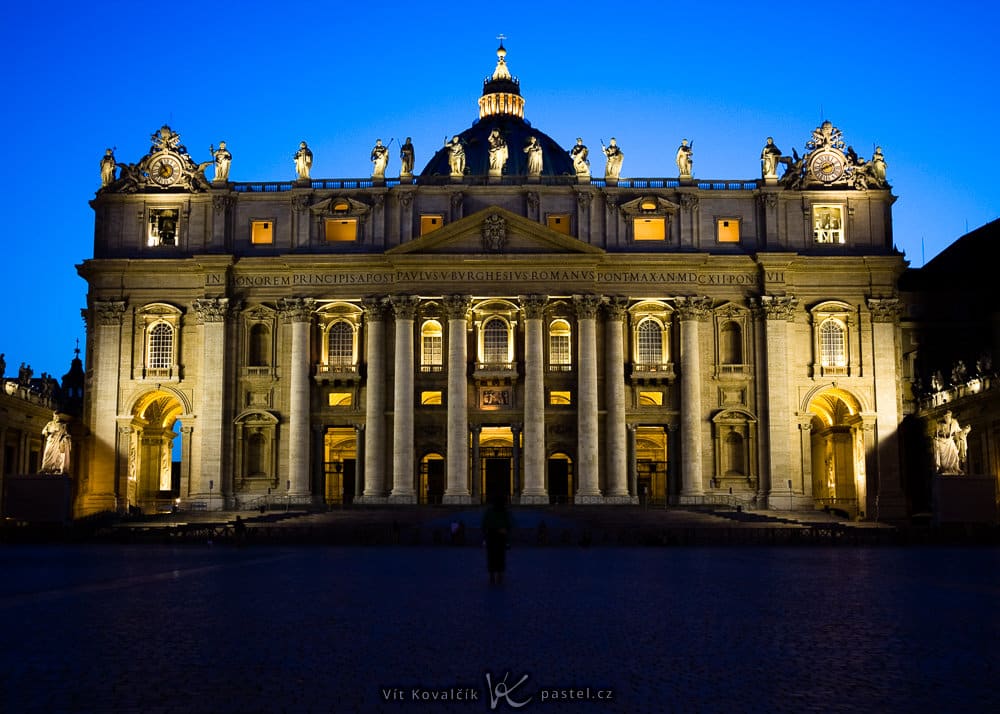
Canon 40D, Canon EF-S 10-22/3.5-4.5, 1.3 s, F4.5, ISO 200, focus 22 mm
Meanwhile just before sunrise, one can catch a distant orange glow:
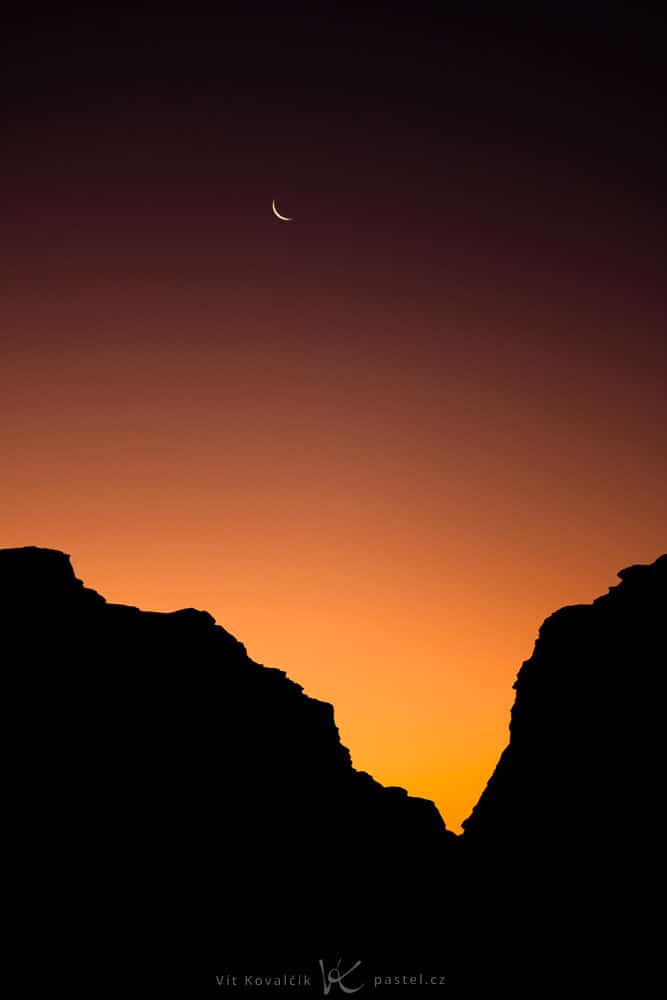
Canon 40D, Canon EF-S 55-250/4-5.6, 1/50 s, F4.5, ISO 400, focus 79 mm
But even late at night, we don’t have to stick with just a dark upper sky.
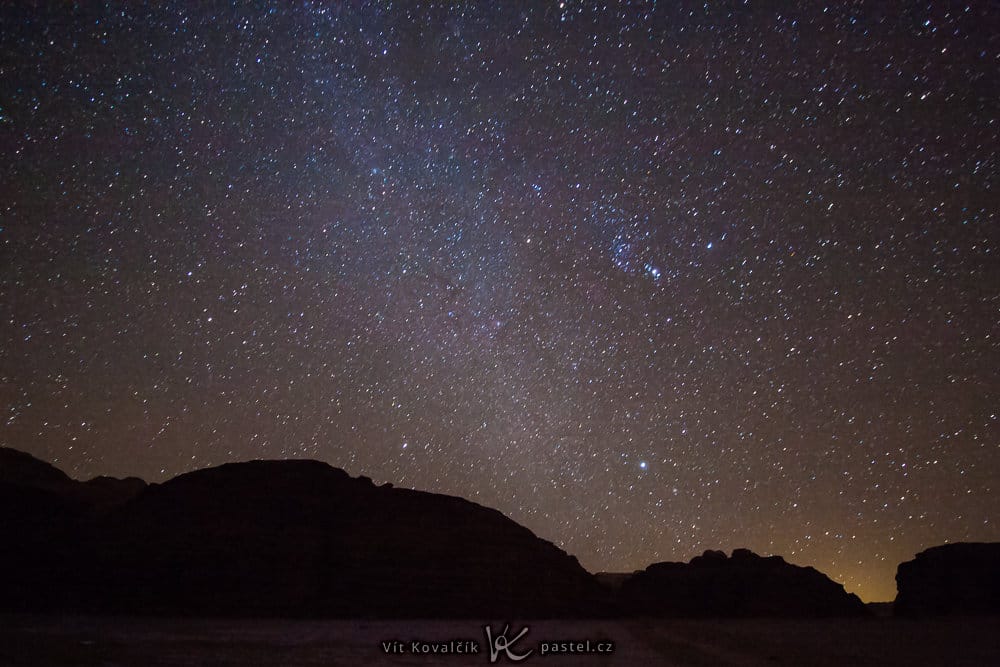
Canon 40D, Canon EF-S 10-22/3.5-4.5, 56 s, F3.5, ISO 3200, focus 10 mm
But this here is a whole different photographic genre, where tripods are a necessity and exposure times reach astronomical heights (almost a minute for this one, even with high ISO).
Stars
Besides the stars in the sky, nighttime “stars” appear around light sources. This effect happens at high f-stops. It’s the result of light refracting on the shutter blades. Therefore, blade shape and blade count affect these stars. Each lens is a bit different in this regard.
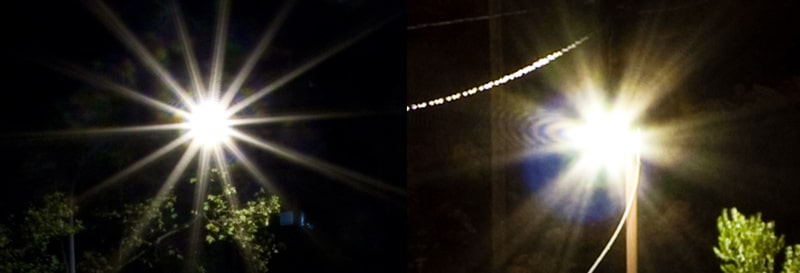
Even numbers of blades give stars with as many points as there are blades. For odd numbers, it’s twice as many. Compacts, with their tiny shutters, give highly visible stars too.
Canon S2 IS, 3.2 s, F6.3, ISO unknown, focus 6 mm
Motion Effects
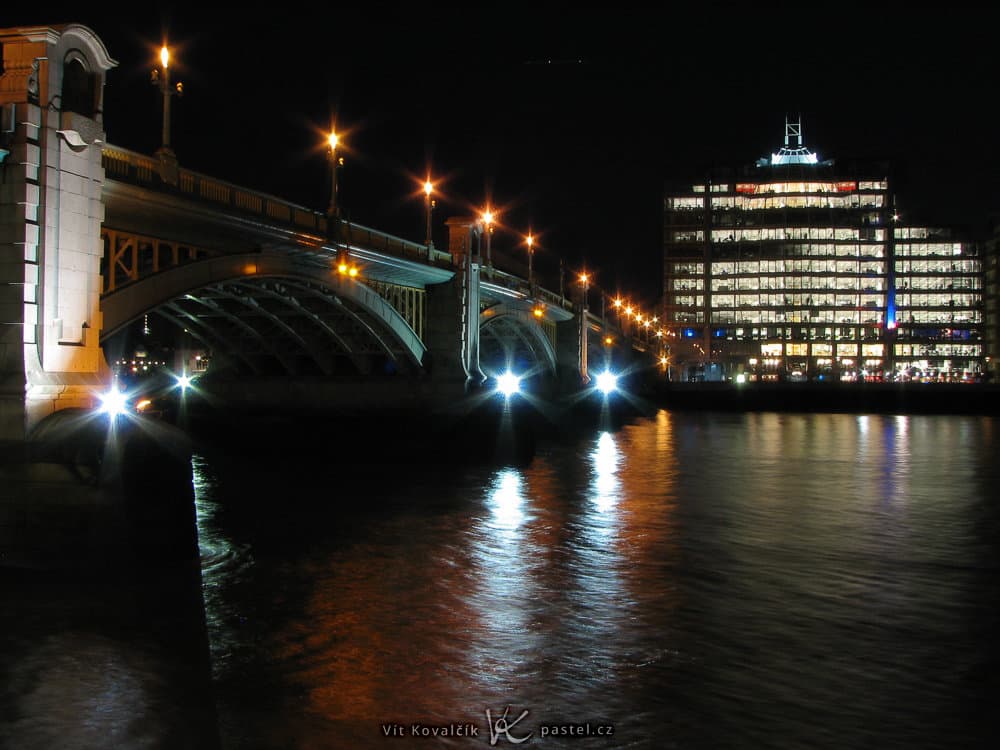
In a night environment, it’s also easier to play with various effects. The classic here is using long exposures to blur traffic.

Canon 350D, Sigma 18-50/2.8 EX DC, 4.0 s, F16, ISO 100, focus 18 mm
Meanwhile, you can also get effects by moving your own body. And here, for example, zoom was used during the shot. (The photographer himself stayed in place.)
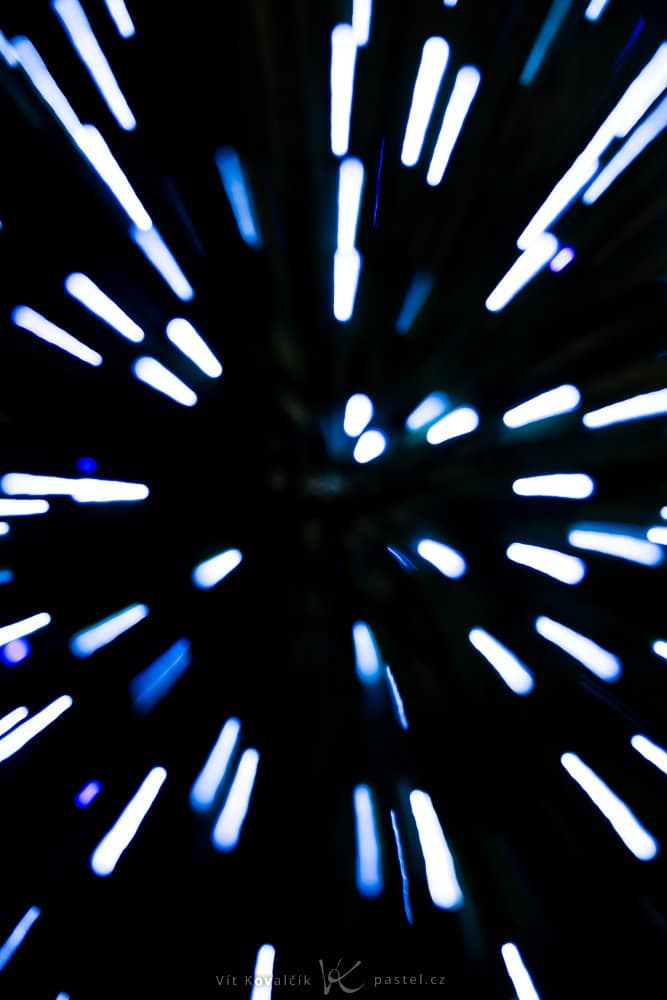
Canon 5D Mark II, Canon EF 70-200/2.8 IS II, 0.3 s, F4, ISO 100, focus 110 mm
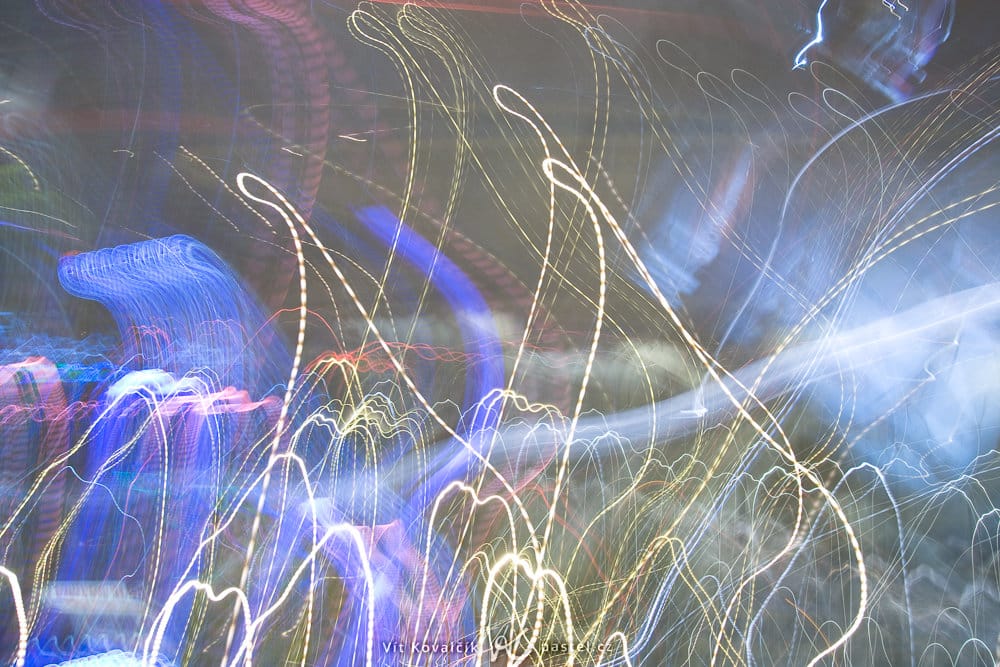
Another option: absolute abstraction by randomly moving the camera.
Or You Just…
Despite the nighttime tricks above, don’t forget that you can also just take a fast lens and head to places that aren’t very dark even at night. Then you can work almost as freely as during the day.
Canon 40D, Canon EF 85/1.8, 1/200 s, F1.8, ISO 400, focus 85 mm
Thus ends our hopefully-inspiring tour of options for night photography. If you have any ideas, suggestions, or experiments of your own, please post them in the article comments!
TerryB
Hello, Vit.
An interesting article. On the subject of stability, there are a number of options one can consider. For vertical images, walls (corners of buildings), pillars, street furniture such as lamp posts can all be very useful. And for landscape type shots I’ve sometimes roped in a friend to use their shoulder!
Walls and pillars are very handy as by resting the base of the camera up against them, very slow shutter speeds can be obtained and which helps keep ISO down.
One scenario you didn’t touch upon was rain. I’m not suggesting shooting whilst it is raining, unless one has a fully weatherproofed camera, but just after the rain has stopped. City centres look even more colourful with the lighting reflected off pavements and the road surface.
Vit Kovalcik
Great comment, Terry, thanks! You are, of course, right. I guess a whole article can be written on topic of stability, but these are good tips to make night photography easier.
I hope other readers will read the comment section too. As with the previous articles it continues to be very useful :)
Vincenzino Cavallari
Ottime indicazioni e suggerimenti,ò molta passione per la fotografia. Grazie
Peter and Kaye Nelson-Davis
Thank you Vit for a very informative article. I love the Blue Hour. Here is a website that calculates it for anywhere you might be. http://jekophoto.eu/tools/twilight-calculator-blue-hour-golden-hour/Basically just twilight, but often a lovely effect, especially with city lights.
Vit Kovalcik
Cool, I wasn’t aware of this tool, thanks. It seems to be similar to (more known?) The Photograhper’s Ephemeris ( http://app.photoephemeris.com ), but yours is with more precise times.