

One-Minute Edit: How to Whiten Teeth in a Portrait
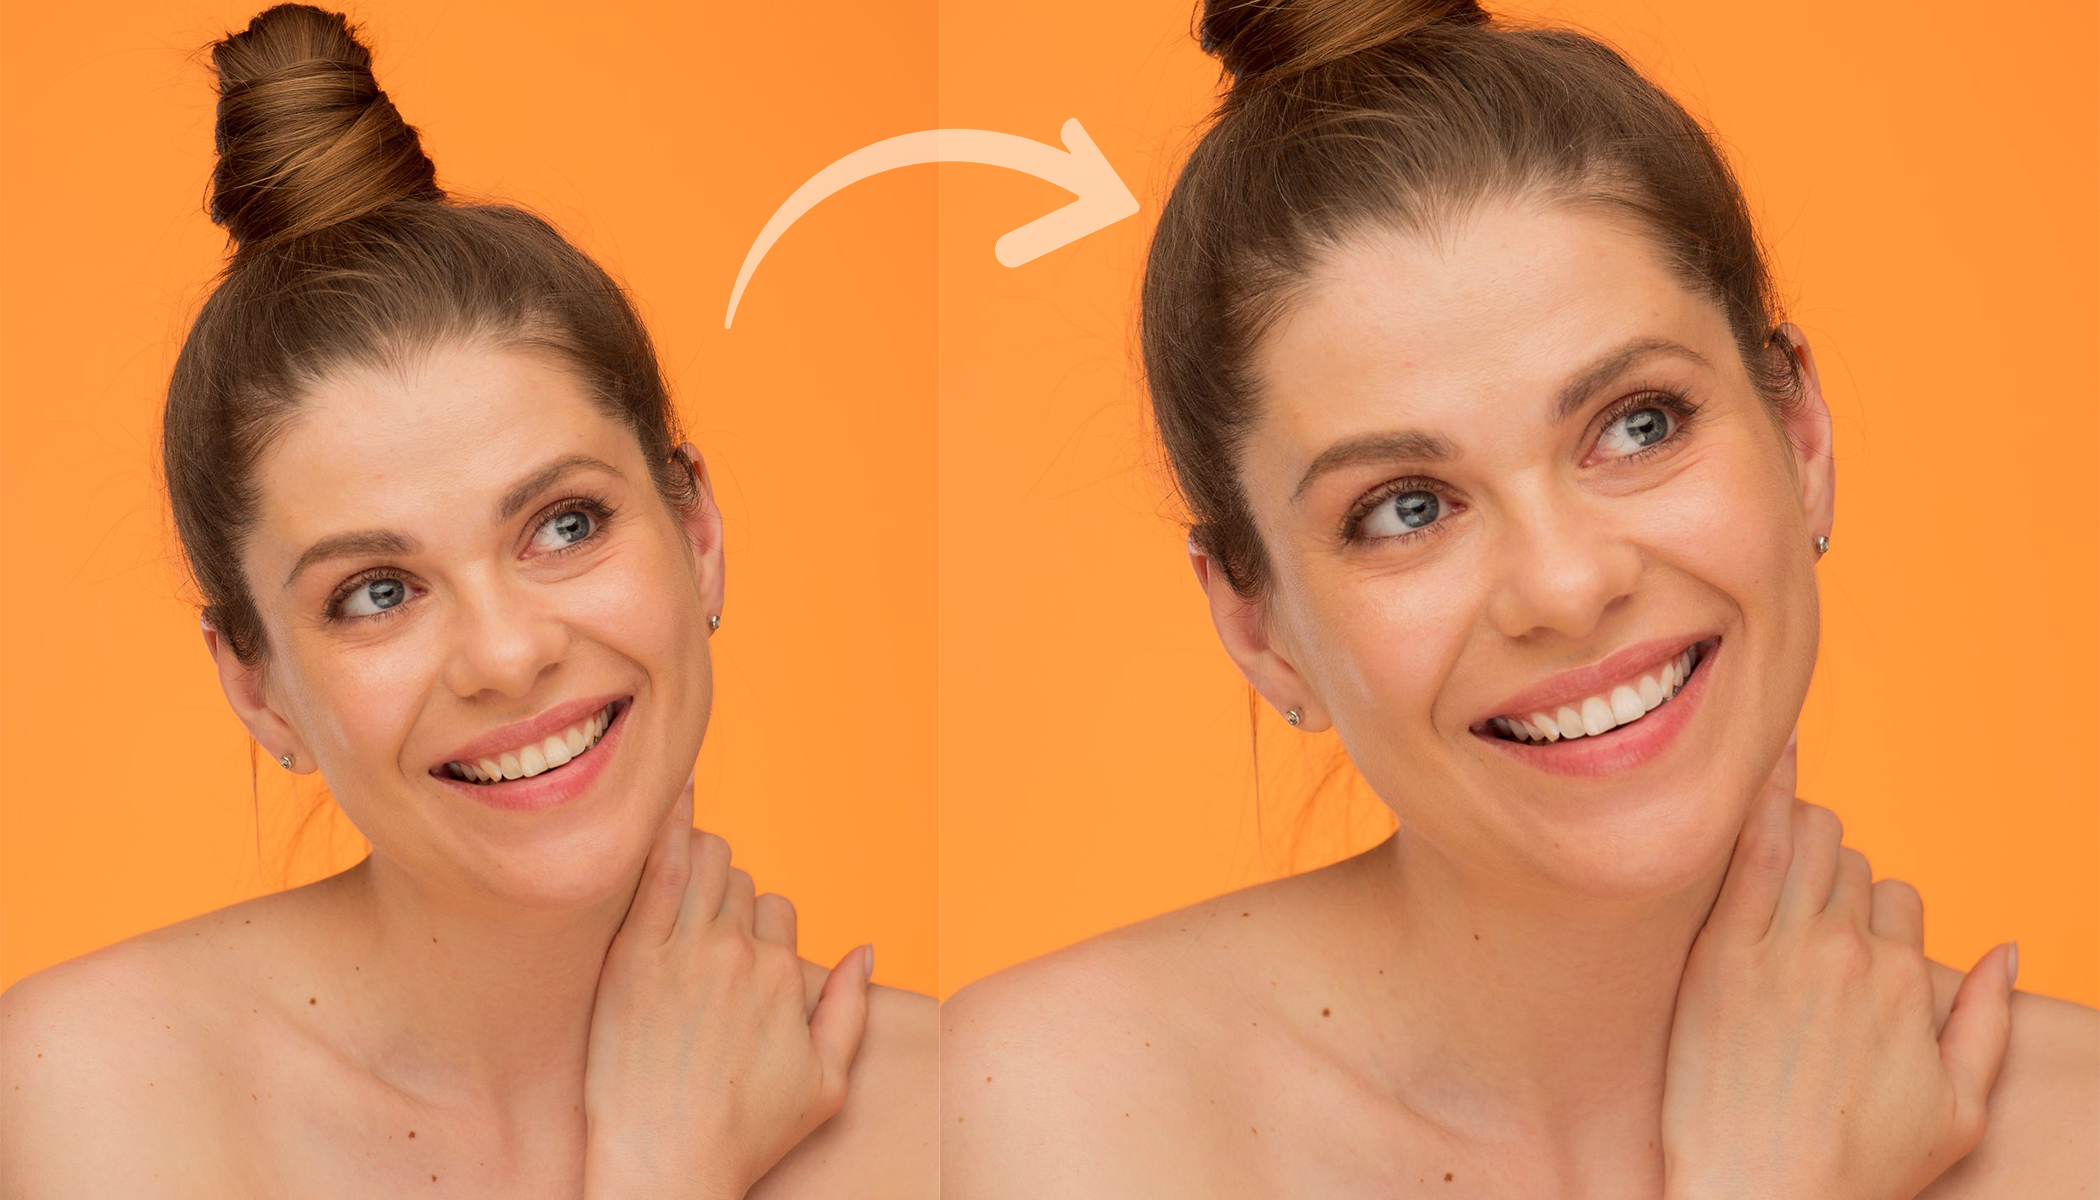
Yellowed or grayish teeth can unnecessarily distract from a portrait. You don’t have to manually search for the right settings to brighten and whiten them. Zoner Studio offers a special preset that automatically sets the local adjustment settings for you.
Select the Brush for Tooth Brightening and use it to paint over the teeth in the photo. In this tutorial, I’ll show you how to whiten teeth and adjust their color so the smile looks bright while still appearing natural.
Click through the photo gallery to see each step described in simple terms, or read more instructions below the gallery. If you don’t have Zoner Studio yet, but want to give it a try, you can download a free 7-day trial version. Even complete beginners can easily do this edit.


How to quickly whiten teeth in Zoner Studio
1. Select the Brush for Tooth Brightening
Open the portrait in the Develop module and click the Presets icon. Under Local Adjustments, select the Brush for Tooth Brightening.
Zoner Studio automatically sets the brush parameters for teeth whitening, so you don’t have to adjust the individual settings and can start editing right away. The preset increases Exposure and lowers Saturation and Clarity.
2. Paint over the teeth with the brush
Using the selected brush, gradually paint over the areas of the teeth you want to whiten. Work carefully and try not to brush over the lips or gums.
For wider smiles, it’s best to work in smaller sections. If you make a mistake, you can easily correct the local adjustment mask.
3. Check the intensity of the adjustment
Once you’ve selected the teeth, check how much their appearance has changed. If they look too white or unnatural, reduce the intensity of the adjustment. If you want a more dramatic effect, lower the Saturation or increase the Exposure.
TIP: If needed, you can also slightly adjust the White Balance toward cooler, blue tones, in addition to the automatic settings. This is a common way to remove a yellow tint in teeth. If the automatic adjustment isn’t enough, adjusting White Balance can help.
Key takeaways
You can whiten teeth in Zoner Studio using the Brush for Tooth Brightening preset under Local Adjustments. The preset automatically sets the brush parameters, and you then manually apply the adjustment to the teeth.
Work carefully and in moderation. The goal isn’t a perfectly white smile, but naturally whiter teeth without any unwanted color casts.


Before and after editing.


There are no comments yet.