Overcome Bad Light With Smart Equipment

Occasionally as a photographer you’ll find yourself in a situation with bad light. Modern cameras can handle poor light, but they still sometimes need a little help from accessories. Read on and learn to overcome bad light using your equipment (and skills).
In winter there’s not as much light as in summer, and photographers just have to deal with that. Even weak natural light can be put to good use, but sometimes there’s no choice but to supplement it with artificial light. Or to buy better equipment that can deal with the worse conditions.
Better Equipment
A better, more expensive camera makes photography in poor light conditions easier and simpler.
But you don’t always need better equipment, since you won’t always get any use out of it. For product photography, for example, your equipment doesn’t play a strong role, since you are photographing products in a studio under artificial light. For landscape photography, meanwhile, you are limited by daylight, but if you need to, you can turn to a tripod and a long exposure time.
But for reportage and portrait photography, it’s a bit different. Things are in flux, and you don’t have a choice of when to photograph them. For reportage from an event, you have to adapt to the event’s timing. In portrait photography, you can arrange a time, but you have to take into account that your “warmup” may take longer than you expected, leaving you with poor light by the time it’s done.
Focus Is Foundational
To focus precisely and well, you need good, high-quality lenses with high-quality autofocus. These same lenses will also be very fast lenses.
Without good autofocus, you might get wonderfully exposed, noise-free photos, but you’ll never get a sharp one. And a photo that isn’t sharp isn’t usable. That’s why you need a lens that focuses well even under bad light.

Lens Speed
Very fast lenses are a necessity when photographing in poor light. Typically fixed lenses are used here, with focal lengths of 35mm, 50mm, or 85mm, and a speed of F1.4.
Thanks to their high speeds, these lenses let quite a bit of light onto the focusing screen, which gives better auto-focusing. Also important is the fact that with these lens speeds, you don’t have to turn to high ISO values. You just have to wtch your depth of field.
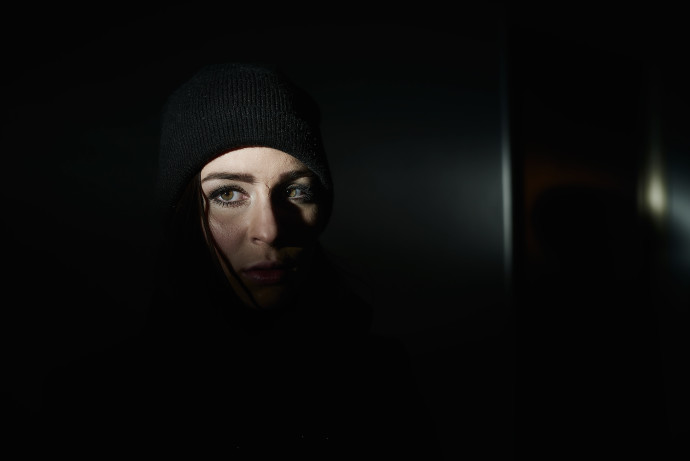
The photo below owes its existence in part to a high-speed lens. Without the F1.4 lens used, I would have had to raise the ISO, giving me an inferior final picture.

If you shoot in bad conditions frequently, don’t be afraid to invest in good lenses. They’ll definitely pay off financially, and you’ll appreciate them in practice… and for their resale value.
A Good Body
A good camera body is another great foundation. And it’s not out of reach. Camera prices have gone down lately, especially for older camera bodies, which you can often find used. However, do pay attention to used cameras’ condition, and ask questions about their history.
If you want to take pictures in very bad light conditions, then go straight for a full-frame DSLR. APS-C sensors don’t have a large enough surface to keep on giving good performance even when you’re using high ISO values. A larger surface can distribute the image better, thus giving higher quality.
Great camera bodies are about more than just good picture quality at high ISO values. They’re also about high-quality autofocus. All modern high-end cameras (and especially FX formats) have well-designed autofocus.
For the photo below I used a high-quality, but older camera, a Canon 5D Mark II. I took the picture with an ISO of 800. With the latest generation of this camera, I would have been able to go even higher, enabling a shorter exposure time.

No matter what kind of camera body you own, be sure to use spot exposure metering. That way you’ll be exposing strictly for your object of interest, and not for the rest of the scene, which doesn’t interest you anyway.

Shine a Light on It
But if you don’t have a chance to use a good lens or a good body and yet you still need to take pictures in poor light conditions, then you have no choice but to use a flash. A good flash can help you with focusing.
But don’t use built-in flashes, as they can only hurt a photo. If you do use a flash, use a good one—use a system flash. But be warned that they’re expensive. A high-quality flash lets you tilt it so that light doesn’t go into the lens directly, but instead is reflected off the roof or the wall. This give you more natural light.
Seek Good Light
When you have control over when you’ll shoot, then choose a time with ideal photographic conditions.
When you don’t, then use all of your knowledge—of both technical and non-technical matters—to make your photos the best they can be. A high-quality lens and a camera body with a good auto-focus will certainly help you here. Don’t be afraid to get creative, and try thinking hard about what you can utilize to get the best light in your picture that you can.