6 Ways to Perfect Your Composition in Flower Photography

Flowers and other plants can be compelling subjects, and you can get fancier than just photographing them the same way every time. Take inspiration from today’s article and read up on the why’s and how’s of composing in flower photography.
Just like with many other classic subjects, nearly every photographer has photographed flowers. But when they’re starting out, a lot of those photos look like this:
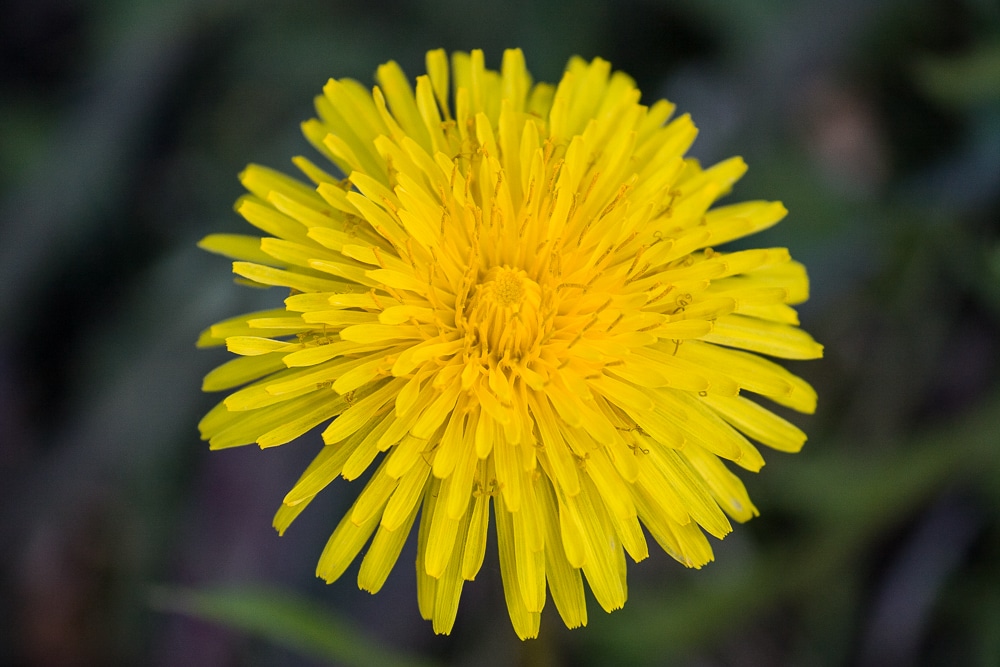
Canon 40D, Canon EF-S 55-250/4-5.6 IS, 1/320 s, f/7.1, ISO 500, focal lenght 250 mm
Now I won’t say it’s a bad solution. This photograph is technically precise and, with its perfect center composition, it has a certain charm. Also, it’s so detailed that it would be a great fit for a catalog or any other use that needs a very descriptive photo. But as far as the artistic side of things goes, one can think of many more creative ways to compose.
1. The Classic Rules
The example above was photographed from the natural height you’d be standing at if you were leaning down slightly towards the flower. But you can get a stronger impact from more unusual angles. Instead of photographing the flower from above, try kneeling down to its level and holding your camera practically level.
This is easy advice for us to give, but it’s awkward to do in practice; that’s why compositions like these don’t come naturally.
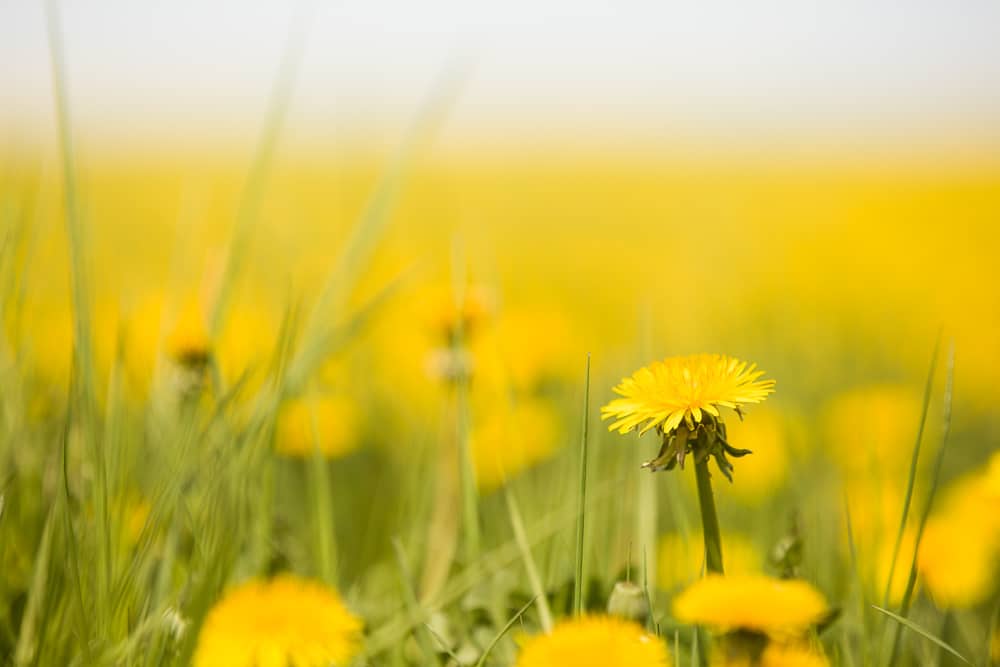
Canon 5D Mark II, Canon EF 70-200/2.8 IS II, 1/250 s, f/3.5, ISO 100, focal lenght 145 mm
This version also uses a more traditional composition—the dandelion has been placed on the intersection of the imaginary horizontal and vertical lines one-third of the way into the picture, which is a typical shortcut for a golden crop. Similarly, this time the horizon is about one-third of the way into the picture.
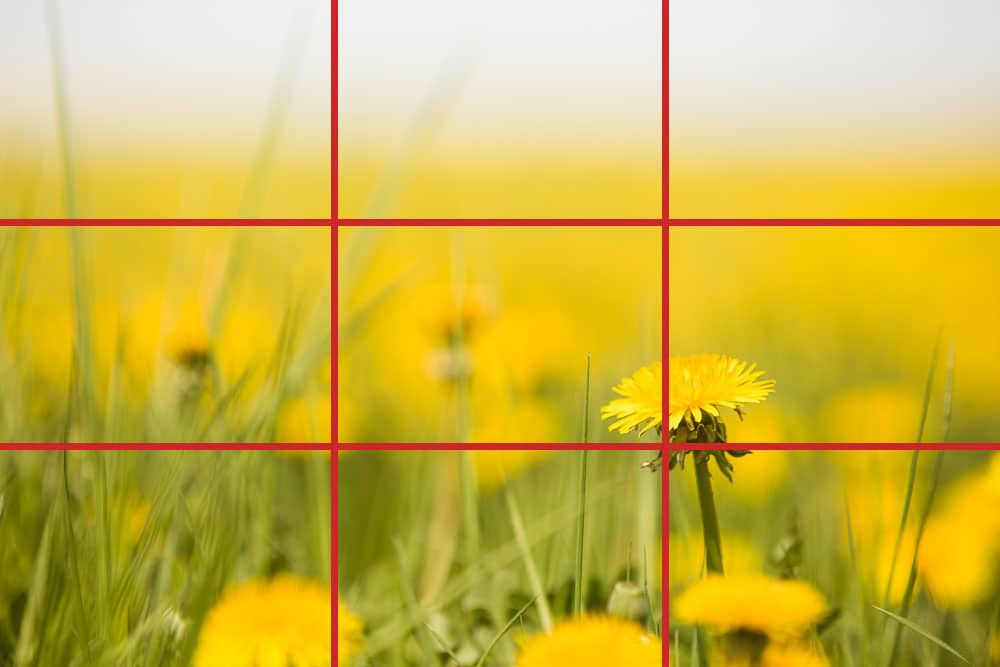
The Rule of Thirds (or the Golden Crop rule) turns up often, and it’s useful whenever you want to place your subject into a context and capture a part of its surroundings as well. Long focal lengths let you significantly change the background via tiny shifts to the left or the right.
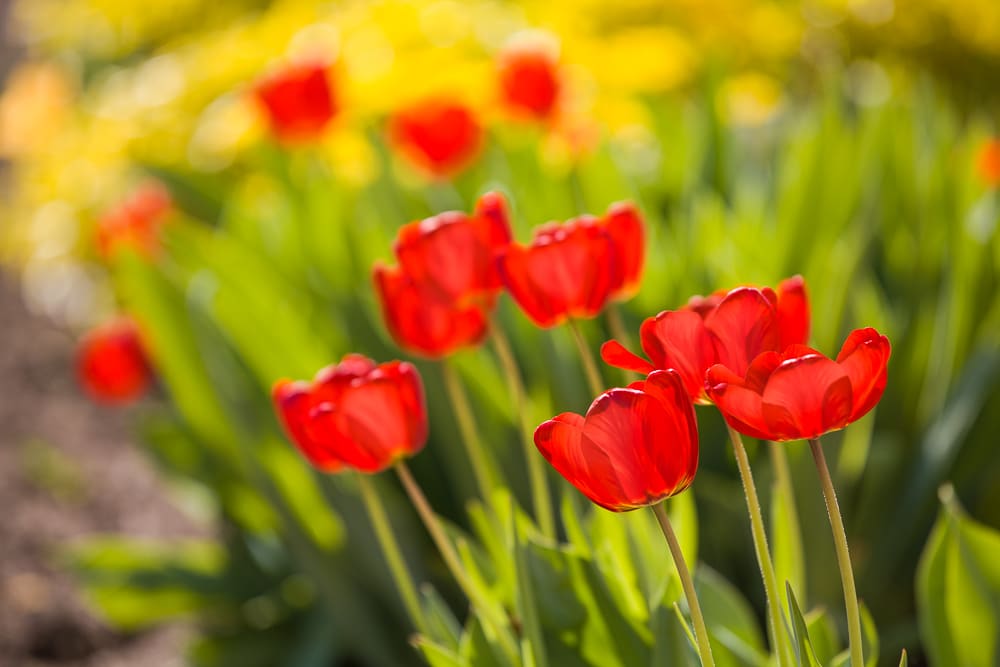
Canon 5D Mark II, Canon EF 70-200/2.8 IS II, 1/500 s, f/4.0, ISO 100, focal lenght 200 mm
Even though this photograph may seem cheap—tulips look elegant no matter what, right?—it actually isn’t. What’s been captured here is not a huge field of tulips. Not even close. It’s a tiny front-yard garden, and so I needed to very carefully fine-tune my composition to hide the house’s plastered exterior on the one side, and the sidewalk on the other.
2. Long Focal Lengths: A Great Way, Not the Only Way
The pictures above were all taken with long focal lengths. This is typical when photographing flowers, because a long focal length means a blurry background, ensuring that the flower will stand out. What’s more, for zoom lenses, you can generally get the best close-ups at the long end, so for small objects like these, long focal lengths are at an advantage.
But you can also use much shorter lengths. For example, for our dandelion photo, capturing the whole meadow is also an option.
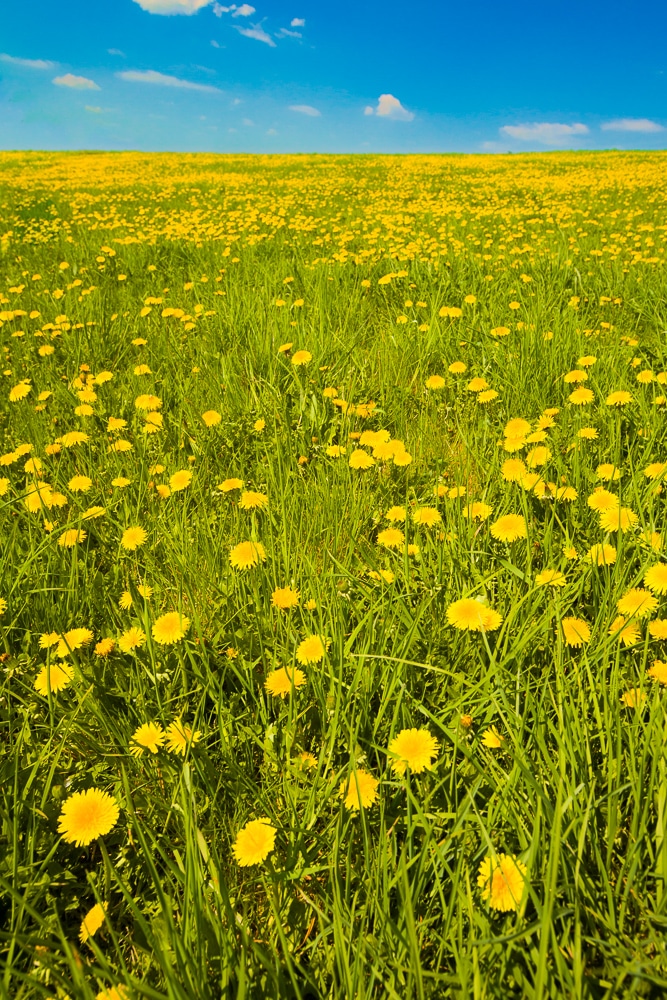
Canon 5D Mark II, Canon EF 16-35/2.8 II, 1/60 s, f/9.0, ISO 200, focal lenght 23 mm
To maximize its effect, this picture contains nothing but the essentials. If I had turned slightly to the left, then the houses of the nearby village would have been included too. Meanwhile on the right on the horizon, a dark forest was lurking. By steering clear of both of these, I made it feel like the meadow extended in all directions.
Even though it’s an unusual way to go, you can also use wide angles even for close-ups. In this picture, you can see the effect of going all the way out to an ultra-wide-angle lens (16 mm at full frame). Also, for a more interesting composition, I chose to shoot from the ground. For this, it’s best to use a camera with a flip-out LCD screen. Mine doesn’t have one, and so I needed several tries before I could take a sharp picture.
3. Diagonals
The previous picture was shot at an angle. But in the end, I preferred it to a more level view, because tilting the camera made the picture more dynamic.
This applies to photography in general, and if a picture doesn’t contain a literal horizon, then you can add some action to it by utilizing elements that run diagonally.
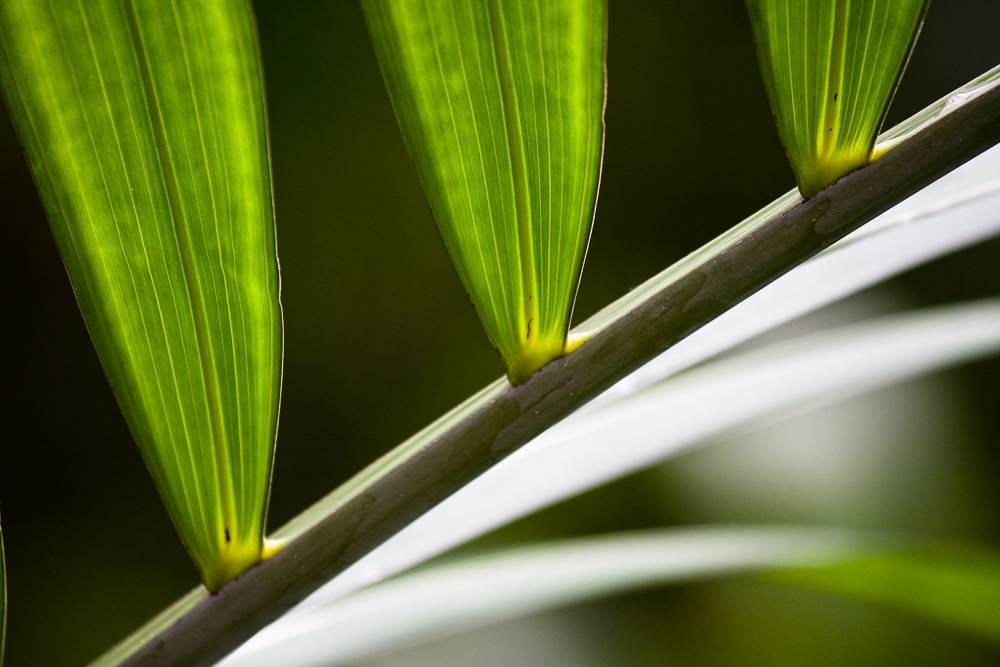
Canon 40D, Canon EF-S 55-250/4-5.6 IS, 1/160 s, f/7.1, ISO 800, focal lenght 229 mm
On the same note, the intertwined leaves growing upwards feel static, but just capture it diagonally in the picture and it’s all more impressive:

4. Repeating Elements
This rule of composition has come into play in some form in all of the photos so far, but it deserves its own discussion. You can use repeating elements to give a picture harmony, which can often tie in to the diagonals mentioned above.
If you also use a small depth of field, then you get flowers receding and blurring into the background. Note once again how the focus is at the intersection of thirds:
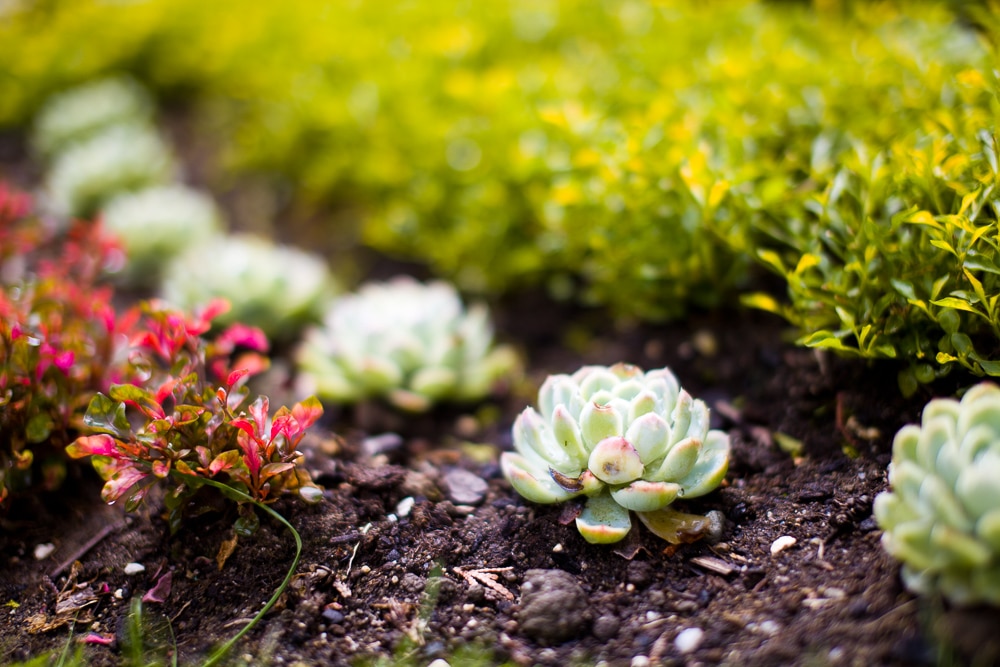
Canon 5D Mark II, Sigma 50/1.4 DG, 1/4000 s, f/1.4, ISO 100, focal lenght 50 mm
Alternatively, you can shoot “from the side” and focus on all the elements in the scene at once. This way they aren’t blurred (as much) as the distance from the subject increases, and they’re all given equal weight in the photo:
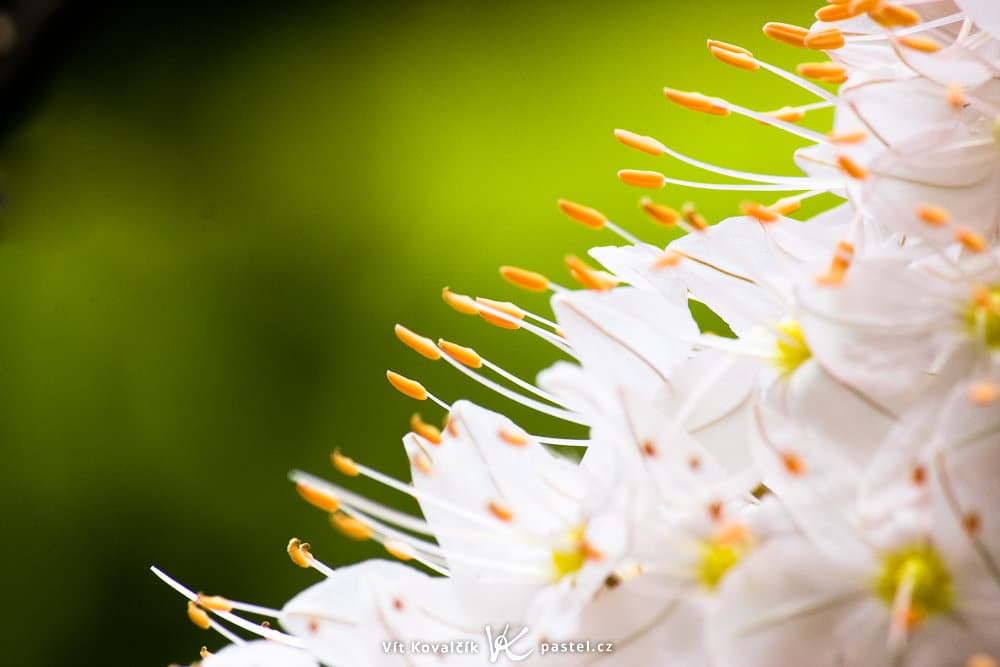
Canon 40D, Canon EF-S 55-250/4-5,6 IS, 1/250 s, f/11, ISO 800, focal lenght 250 mm
5. Chaos with Rules
I saved the strangest take for last. It’s a photo that isn’t composed according to any geometric rules:
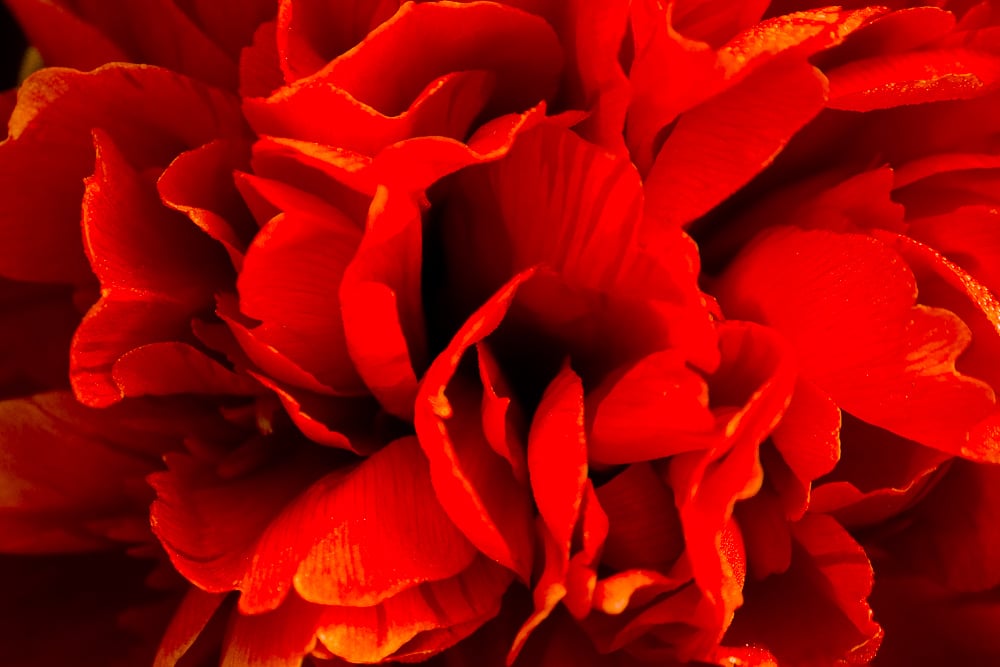
Canon 40D, Canon EF-S 55-250/4-5.6 IS, 1/320 s, f/6.3, ISO 500, focal lenght 250 mm
But this too was no random snap. For maximum effect, I had to make sure to fill out the frame, so that the leaves reached from one edge to the other and nothing else was included, like an end to the series of leaves, or worse yet something irrelevant. So I had to think in the same way as for the dandelion fields—just in much greater detail.
6. Seek New Compositions
There’s more than one way to photograph plants, even though it may not seem so at first. I’ve tried to underline the most important guidelines, but if you’ve followed others and also gotten great photographs of the shapes of nature, I’ll be glad if you show off a little in the comments. And of course, I wish you lots of success on your floral photo safaris!