

Photo Story: Brno’s Špilberk Castle from a Hot-Air Balloon
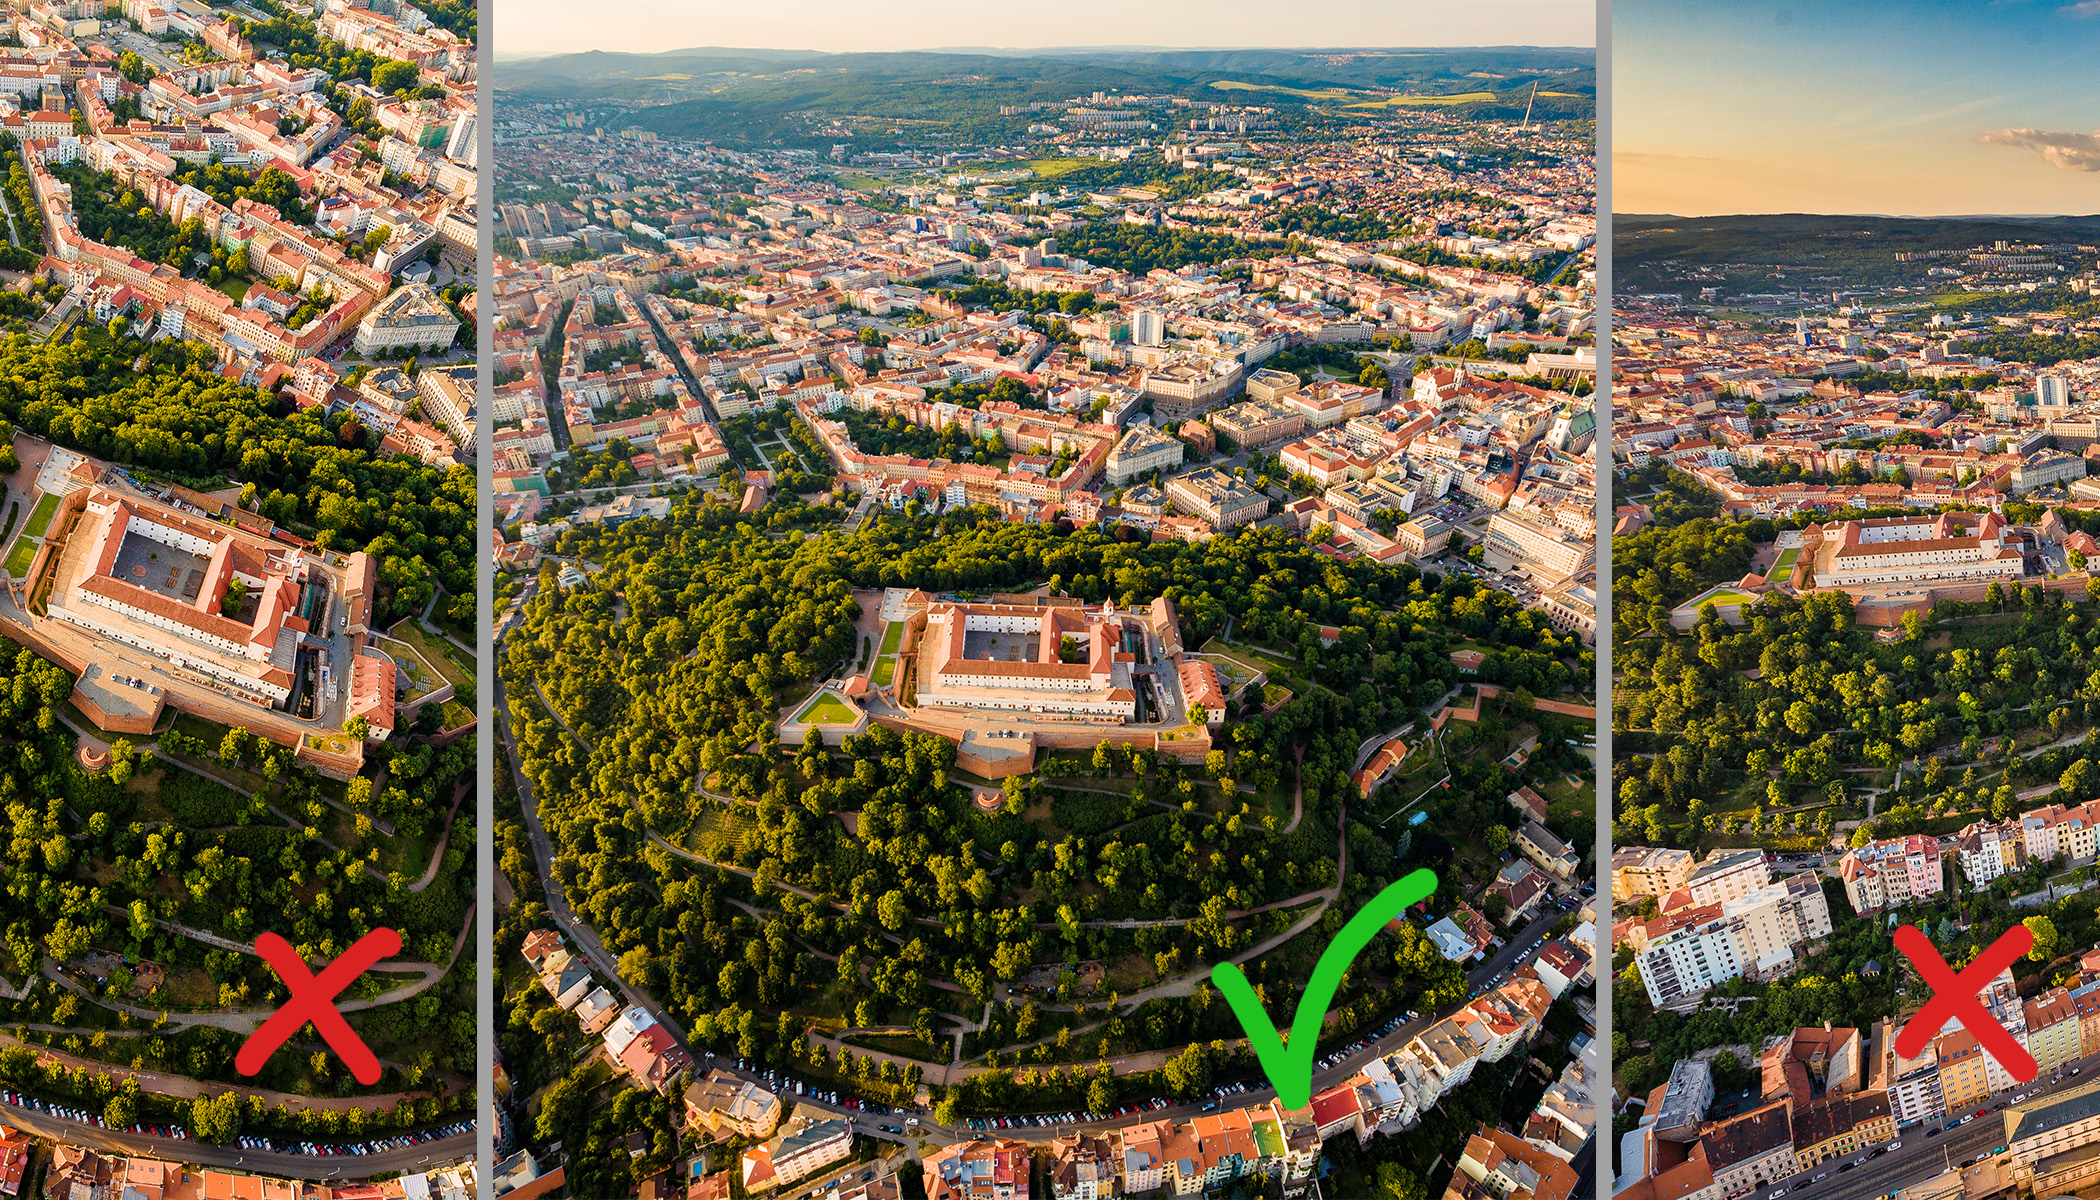
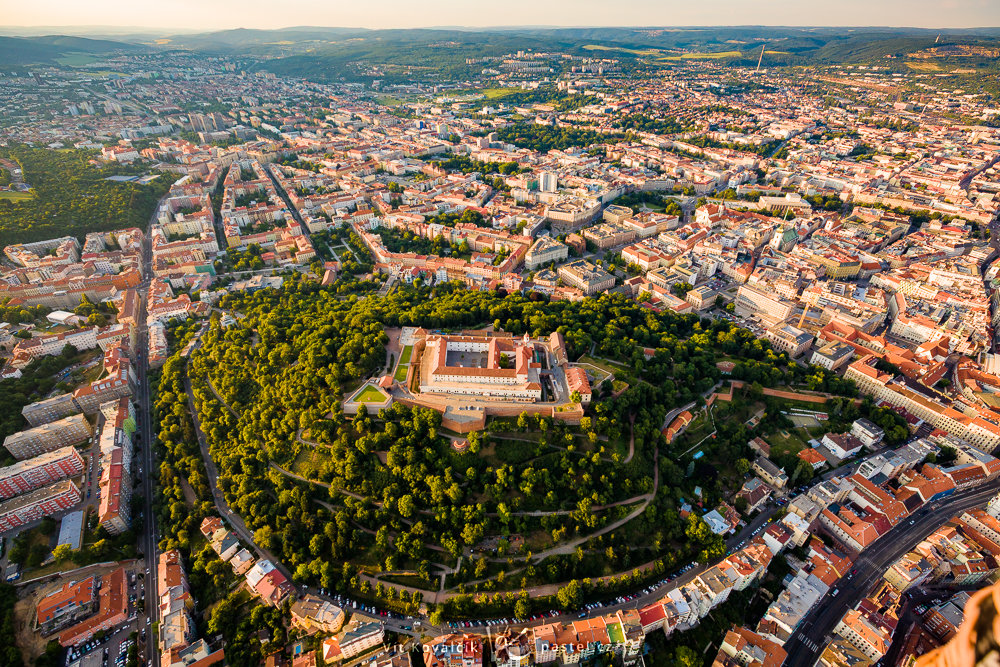
Photography from hot-air balloons is inherently unpredictable—you can’t control your flight path or fine-tune your composition down to the centimeter like you can with a drone. Even so, you can still prepare effectively. Here’s how this photo of Brno—with the iconic Špilberk Castle in the foreground—was taken. Learn what lenses and equipment are best suited for the flight, what to watch out for during landing, and when a peaceful sightseeing ride can turn into an adrenaline rush in seconds.
In this article, you’ll learn:
- How a hot-air balloon behaves during flight and how to prepare for landing.
- Which lenses and how many cameras to bring on board.
- How to safely carry your gear.
- How to set your shutter speed when shooting on a telephoto lens aboard a fast-moving hot-air balloon.
Even though hot-air balloons are unpredictable, you can still be prepared for the flight and for taking photos from it. Read about how this photo of Brno with its iconic castle in the foreground was taken and get tips for what to do during your own flight.
You can never control every variable in a hot-air balloon. Unlike flying a drone, where you can fine-tune the composition down to the centimeter, the wind direction is a given, and the rest is up to chance. However, the upside is you don’t have to worry about bad weather, because flights are simply rescheduled.
This photo of Brno with Špilberk Castle was taken during my second hot-air balloon flight, so I already knew what to expect and how to best prepare.
In order to explain why I chose the equipment I chose, I’ll first describe how hot-air balloons behave and what you can expect from your flight.
Stable, yet constantly moving
During my first hot-air balloon flight, I was surprised by how calm the ride felt. Even though the balloon is carried by the wind, it moves at a constant speed, so it feels like there’s no wind in the basket. This makes shooting more straightforward.
However, there is movement: the balloon rotates naturally around its vertical axis. The movement is slow—a single rotation can take up to several minutes—but it’s something you should take into account.
For photographers, this rotation is a double-edged sword. Even though you’re typically flying with other people, you’ll gradually get to look in every direction and aren’t limited to a fixed direction.
However, this rotation can be a disadvantage if you plan to change lenses. In that case, you might miss an interesting scene right in front of you because you were changing lenses.
Be prepared for landing
Another key moment is the end of the flight. Balloons typically land in open fields, and there’s a strong chance that the basket will tip over. All passengers must hold tightly onto the handrails in front of them and may end up facing all sorts of directions.
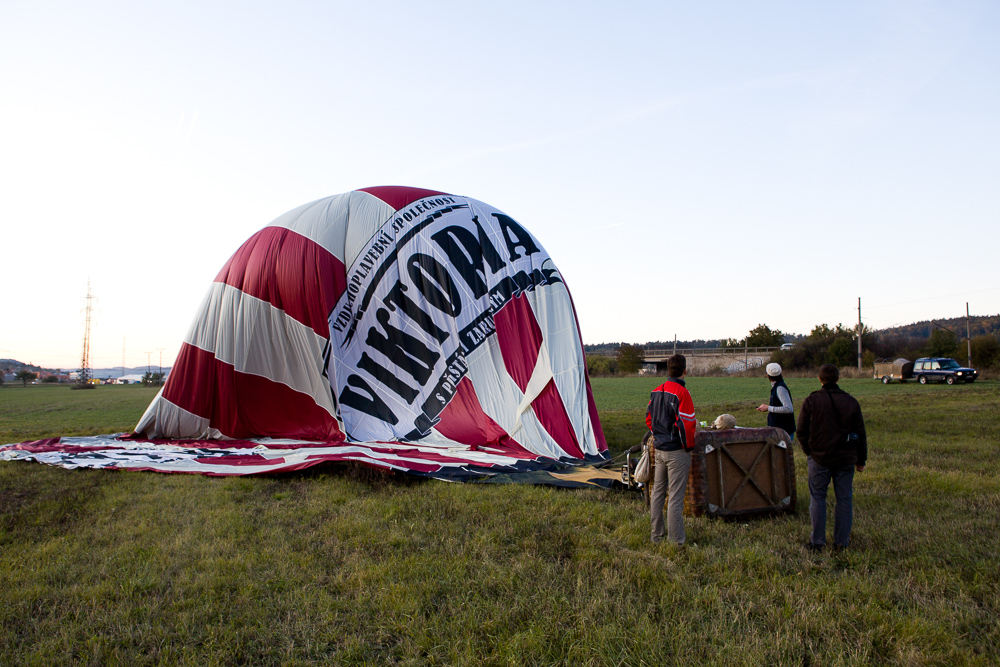
Camera equipment must be properly secured to prevent any damage.
During my first flight, I was in shock at how quickly our balloon landed. One moment we were still at an altitude where we were shooting aerial photos, and the next thing I knew, I heard, “Hold on!” The last few dozen meters were a blur.
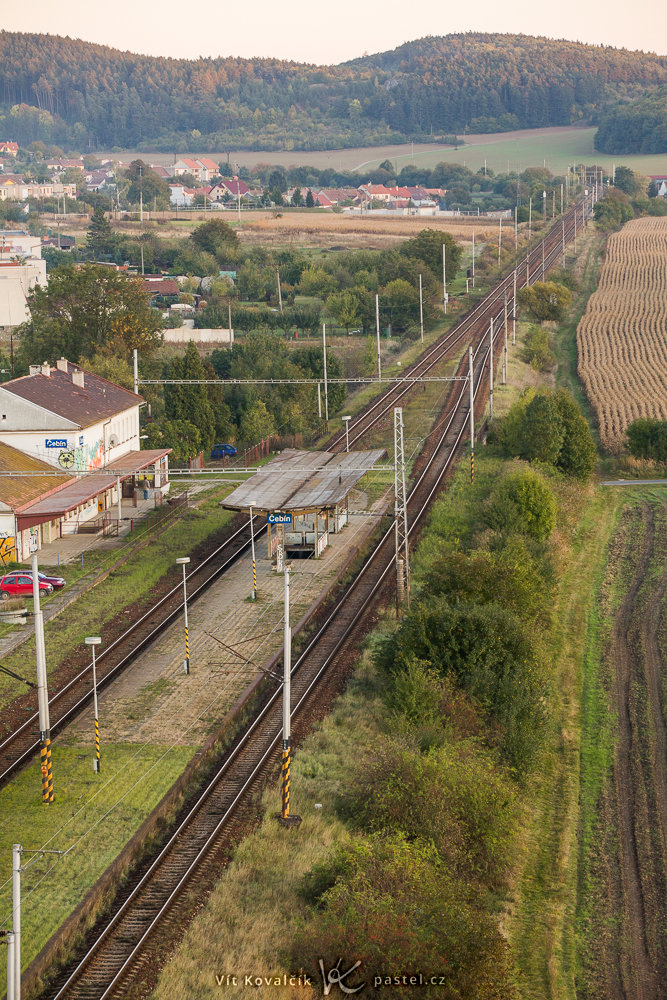
Choosing your camera gear
Because of my extensive gear, I have access to dual-body setups. But not everyone is a professional photographer, so I’ll explain how I approached this shoot, and what I would do with a simpler setup.
With two camera bodies, I don’t have to change lenses as often—I can just reach for the second camera. I use the same trick at weddings, conferences, and other events. So the question remains: which two lenses should I choose?
Since you’re shooting in broad daylight at higher f-numbers, maximum lens speed isn’t necessary. Standard zoom lenses are sufficient. I chose an ultra-wide 16-35/2.8 and a 70-200/2.8 telephoto lens. The maximum lens speed was still unnecessarily high—the highest f-number I used was f/5, but these lenses were my standard working lenses before I switched from Canon to Sony, where the focal lengths shifted slightly.
Just like in landscape photography, I don’t mind the lack of focal points in the center. Usually, choosing a different composition, or worst case scenario, cropping the image from a wider shot is enough.
Looking back, I realize I took about 75% of my photos with a telephoto lens and 25% with a “wide-angle” lens. That’s because a telephoto lens lets you focus better on details or interesting compositions, while an ultra-wide-angle lens lets you capture sweeping panoramas of the city. The widest shot at 16mm ended up being the most striking, but it all depends on where you’ll be flying and what catches your eye.
I could also switch lenses mid-flight if I only had one camera body. For my first flight, I only changed my lens once, halfway through the flight. There just isn’t much room in the basket for more complicated maneuvers. So, I shot the first half with one lens and the rest with the other. On the second flight with two camera bodies, I swapped between them a total of five times.
Another solution I’m considering is using a universal zoom lens, like the Tamron 28-200, and using my mobile phone for ultra-wide shots. Here, you need to consider the quality of your cameras, lenses, and the intended use of your photos. However, everything is shot in daylight at higher f-numbers, so many image quality issues are eliminated, and the results can easily be used for printing as well.
Securing your gear
To protect my equipment during landing, I chose camera bags attached to a utility belt.
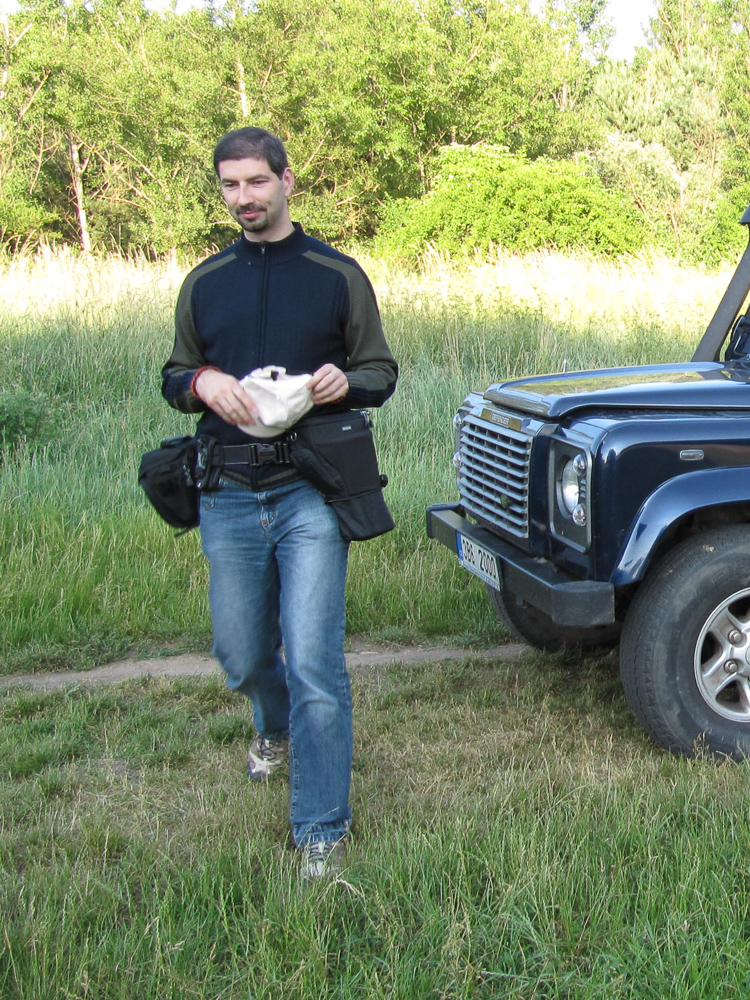
This is a padded Lowepro belt with modular holsters that slide along the waist. The position on the sides is suitable for walking, but during landing I shifted them to my stomach. They can be attached to a regular belt in a similar way, which you can take advantage of if you also have a similar “pistol-style” holster.
You can also carry the camera on a strap around your neck, which is riskier.
Shutter speed
One thing to keep in mind: while wide-angle shots are easy to take, using a powerful telephoto lens from a low vantage point means you’ll see the landscape rushing by fairly quickly. To avoid motion blur, it’s better to use a faster shutter speed, like 1/500s instead of 1/100s. You may have to contend with higher ISO settings, so the final setting is a compromise. It also depends on your speed, distance, focal length, and camera resolution, so it’s best to check your photos occasionally so you aren’t surprised when you get home.
Framing and composition
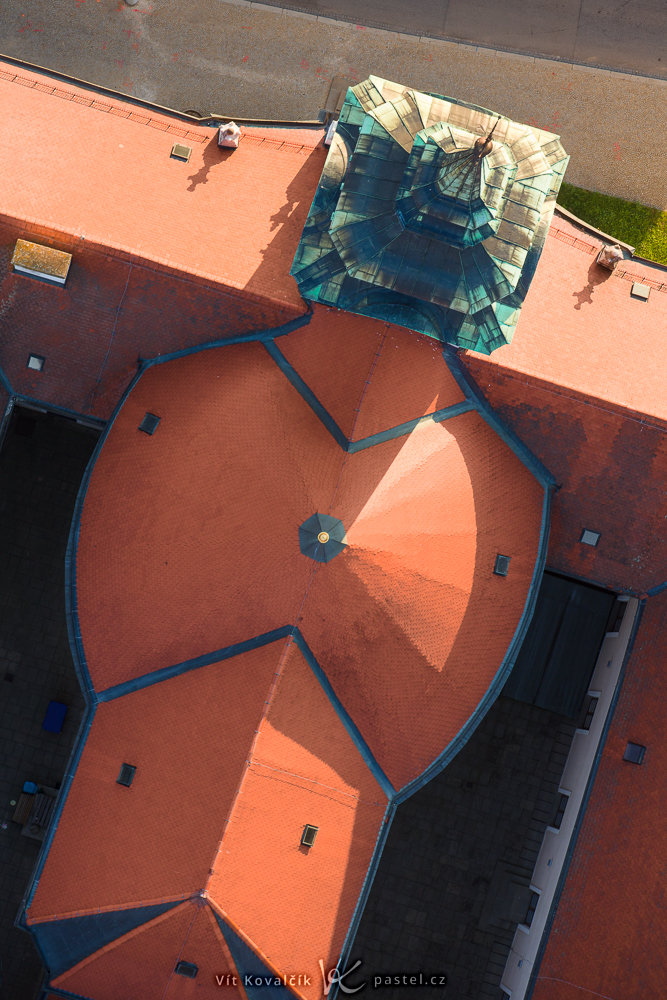
Throughout the flight, I kept an eye out for different points of interest, either famous buildings, visually-appealing compositions, or unknown corners of the city.
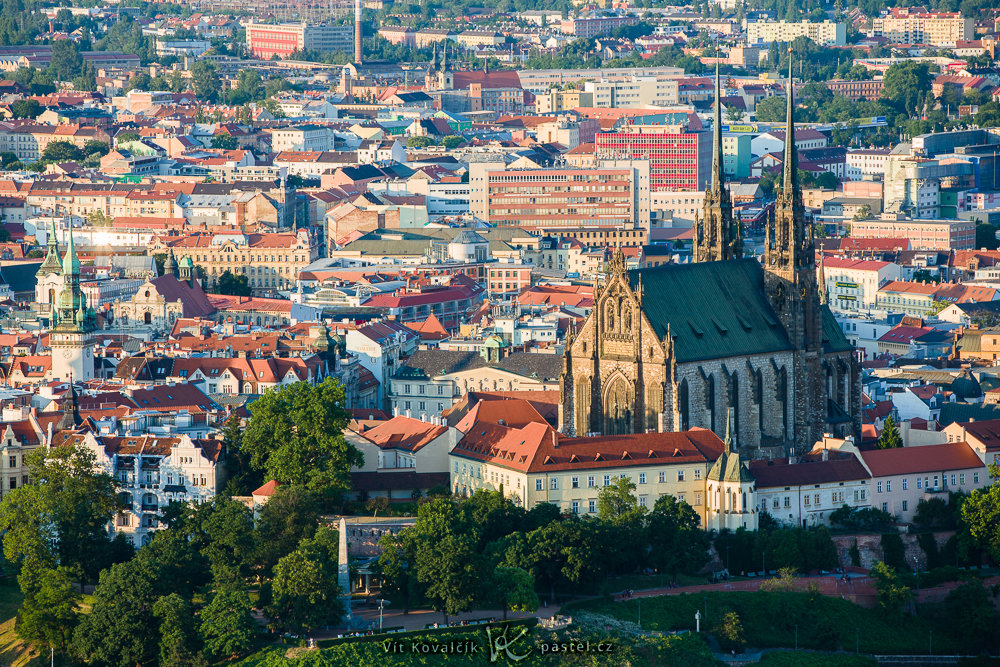
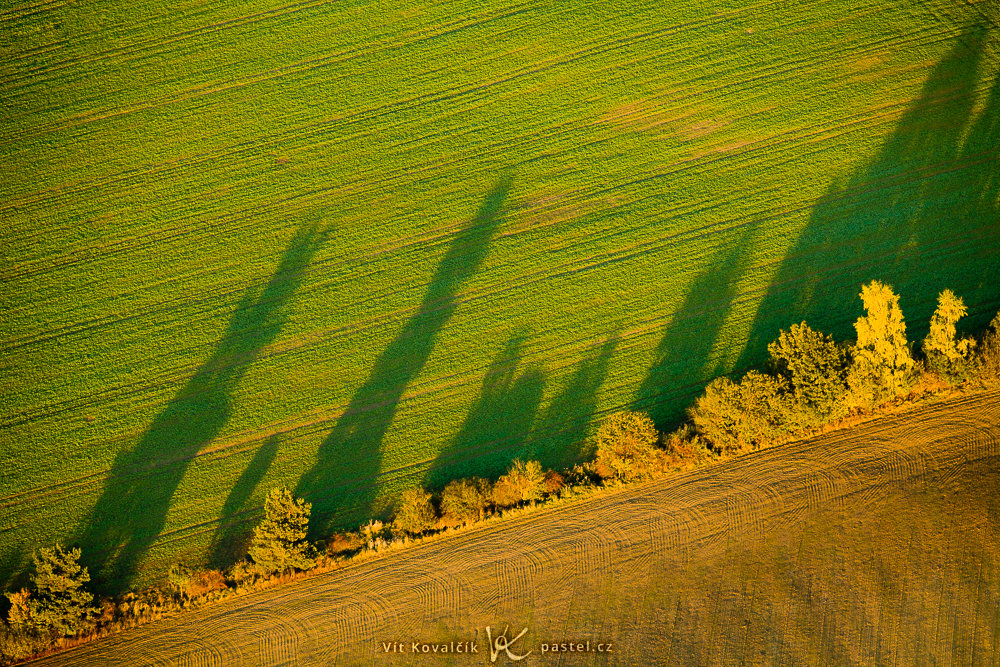
It’s worth looking for different lines in the scene below you that guide the viewer’s eye through the image. Diagonals are the simplest yet most effective, but you can also use S-curves and C-curves.
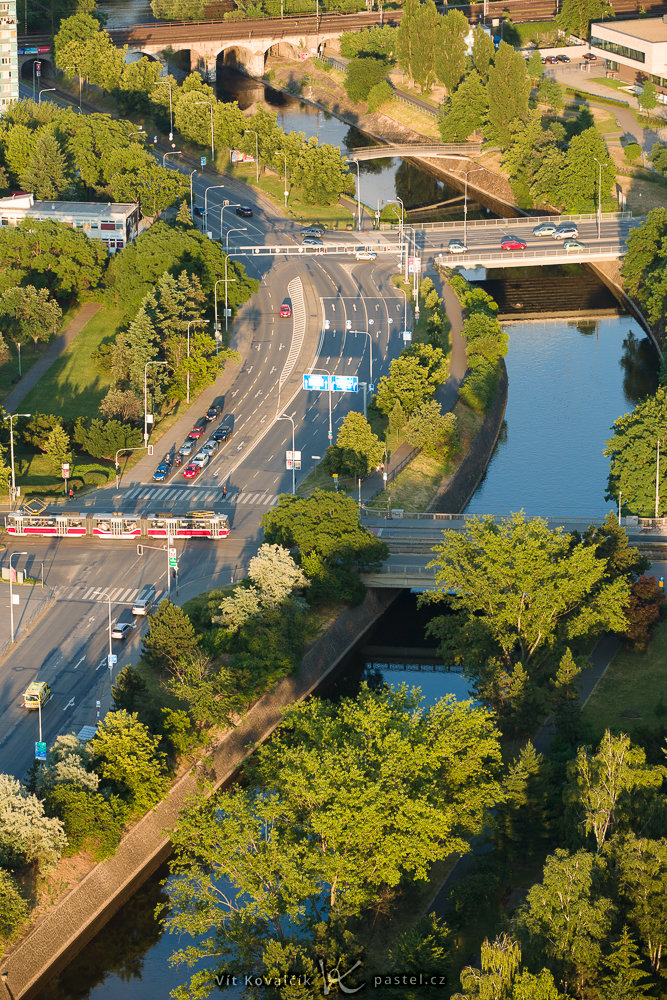
For wide shots, it’s always a good idea to keep the horizon straight, but that‘s something you can do in post-production. However, major adjustments will cause you to lose parts of the image, so keep your horizon as level as possible from the very start. I use the electronic level in my camera whenever possible.
Fast-paced action
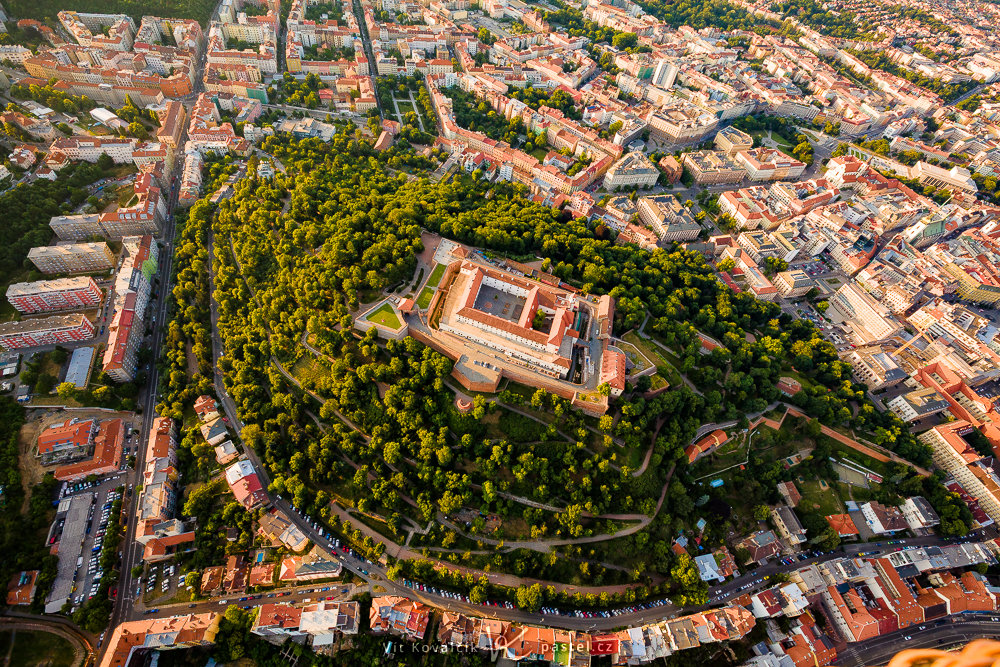
Our balloon drifted directly over Špilberk Castle. I wanted to capture it with the city in the background. However, at our altitude, a 16mm lens was too tight to fit both the castle and the horizon into the frame. I had to wait until the balloon drifted far enough away. Because of our speed, the perspective shifted rapidly, leaving no time for hesitation.
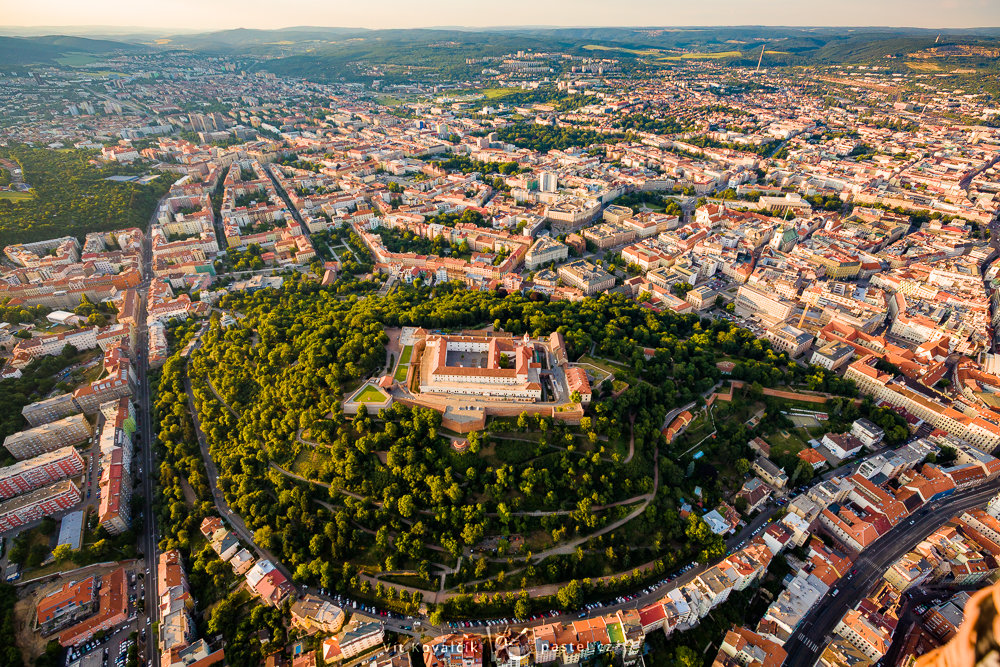
The following three frames were captured within a 90-second window:
We’re moving away from the castle, but it’s still too close—the horizon doesn’t fit in the frame. I now have a 12mm lens, so we’ll see what happens next time!
My favorite shot comes 30 seconds later. It’s also featured as the cover photo of this article.
I took a different shot that incorporates the Cathedral of St. Peter and Paul 60 seconds later. I like this one too, but Špilberk Castle isn’t as prominent on the hill anymore and blends into the urban backdrop.
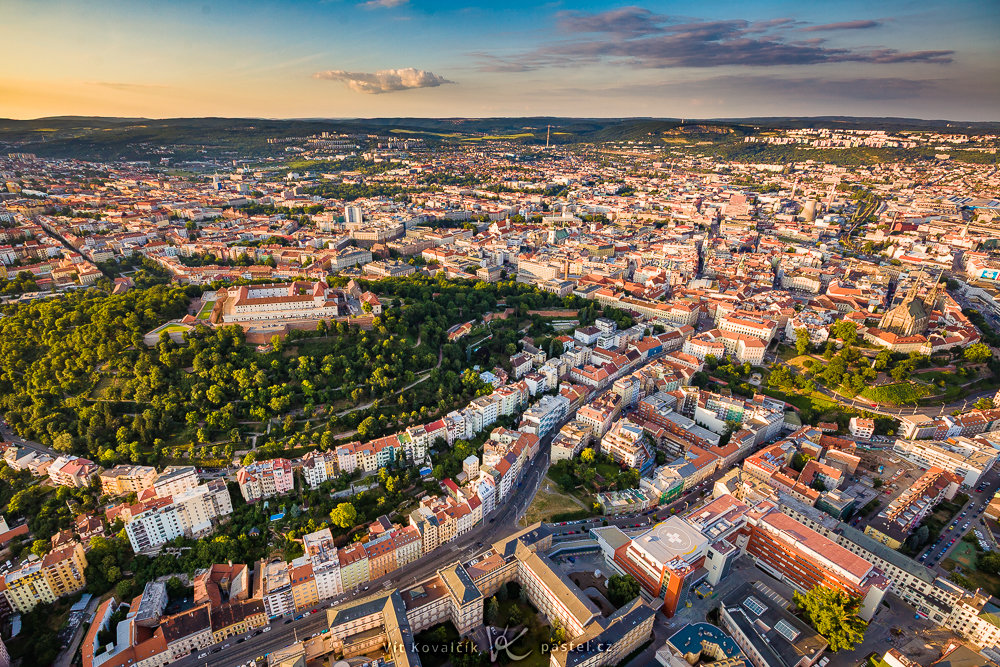
The window for the ideal composition and best-case scenario lasted barely ten seconds.
Fortune favors the prepared
A hot-air balloon ride is a fun experience that lets you capture unique shots. The result is a matter of chance, but with the right preparation, you can increase your chances of getting unique shots. It doesn’t even have to be a famous landmark. It can just as easily be an interesting shot of a patch of woodland, apartment buildings, or even other hot-air balloons nearby. It’s best not to fixate on a specific result and to adapt to the landscape as it unfolds around you.
FAQs
How does a hot-air balloon behave during flight?
The ride itself is very smooth because the balloon moves at the same speed as the wind, so you don’t feel any wind. However, the balloon slowly rotates around its vertical axis, with a full rotation lasting up to several minutes.
How should I prepare for landing?
Touchdown is fast and frequently ends with the basket tipping over onto its side. Make sure your equipment is securely fastened and hold the handrails tightly.
Which lenses should I bring on a hot-air balloon flight?
A combination of an ultra-wide-angle lens (16–35 mm) for panoramic city views and a telephoto lens (70–200 mm) for highlighting details works best. A fast lens speed isn’t necessary, since you’ll be shooting in daylight at higher f-numbers.
What shutter speed should I use with a telephoto lens?
Because the landscape passes by quickly at low altitudes, it’s better to use faster shutter speeds, like 1/500s instead of the usual 1/100s, to avoid motion blur. Be ready to compensate with a higher ISO.
How can I safely secure my camera gear?
Padded belt pouches are ideal; these can be rotated to rest on your stomach upon landing. Wearing your camera around your neck is possible, but it carries a slightly higher risk of damage in the event of a rough landing.

There are no comments yet.