Photographing Children: 5 Things You Should Know Before You Start
Photographing children isn’t simple. Especially with restless 1 to 4 year olds, you need to armor yourself with patience and be ready and quick. Photographing children in this age range doesn’t tend to be at all easy. Many photographers just give up on these ages—they only photograph babies or older children. But don’t worry; if you follow a few basic rules, you can bring home some nice pictures from your shoot. We’ve summarized the most important ones for you.
If you have children of your own, you’ll find it easier to get started. You’ll be photographing a child who’s used to you, and you’ll have an easier time catching the right mood and moment. When you’re photographing children you don’t know, there’s the risk that the child will be afraid, and they can also arrive at the shoot in a bad mood.
In my experience, it’s best to photograph children of these ages outdoors. The advantage compared to a studio is that they’ll be entertained and can move around freely. It’s also good when the child can look forward to something—for example to a toy or a treat that their parent has promised to them. This can calm down at least some children at least a little. We’ll assume from here onward that your little subject can hold out and cooperate for at least a few minutes.
Find the Right Angle
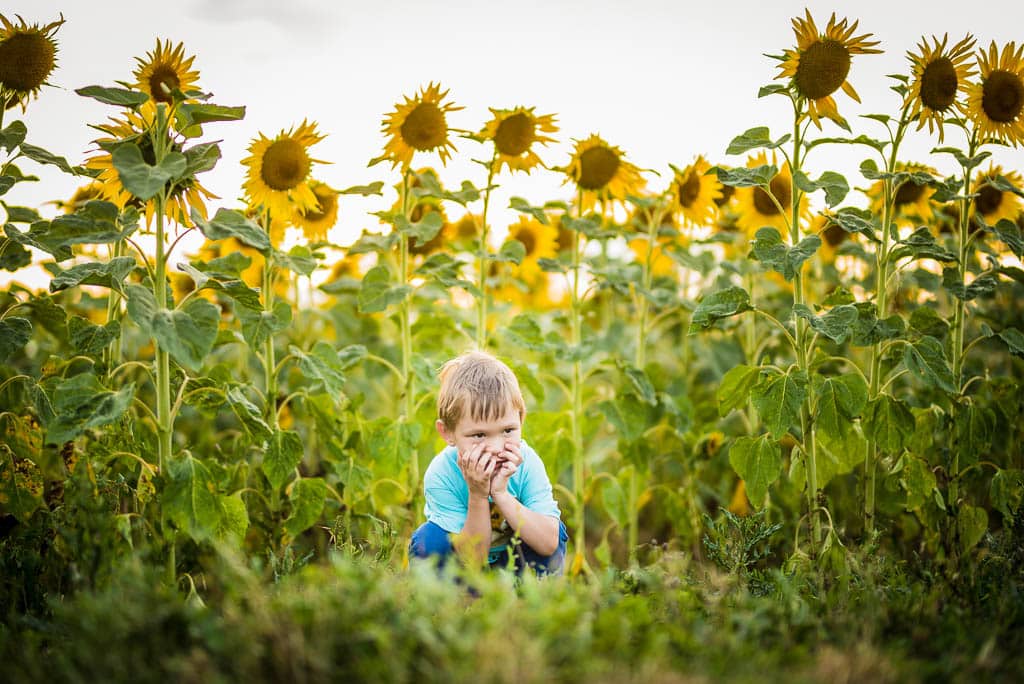
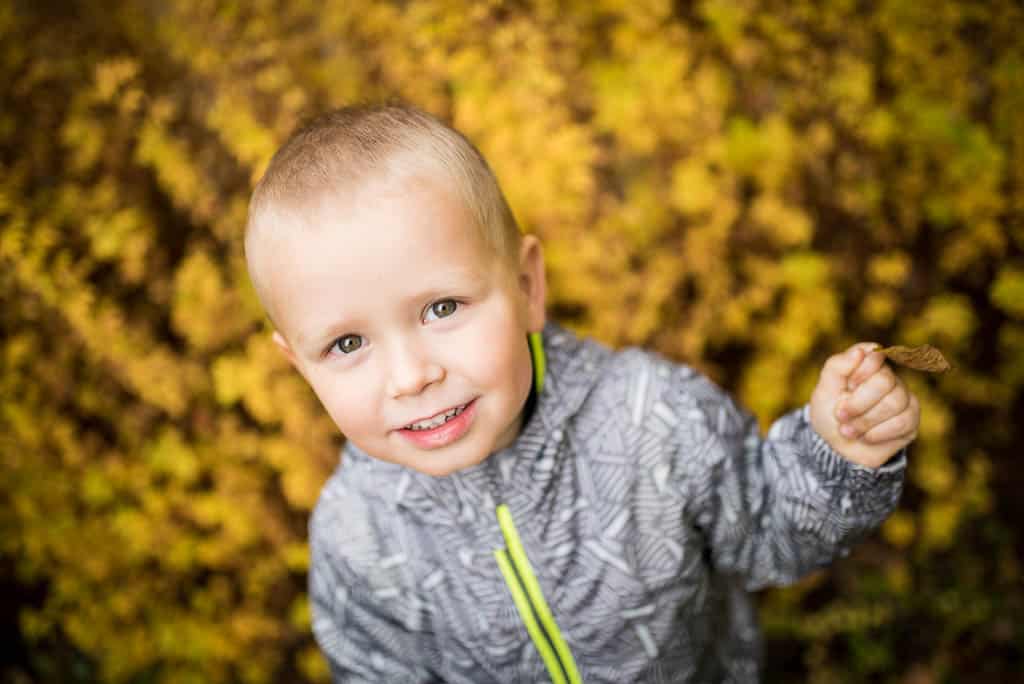
During your shoot, don’t hesitate to squat or even lie on your stomach to reach the same height as the child. That will make your photograph more natural. Many photographers insist that only photos from these angles can look good, but don’t be afraid to experiment and occasionally try taking pictures from above as well.
“Unhook” the Child From Their Background
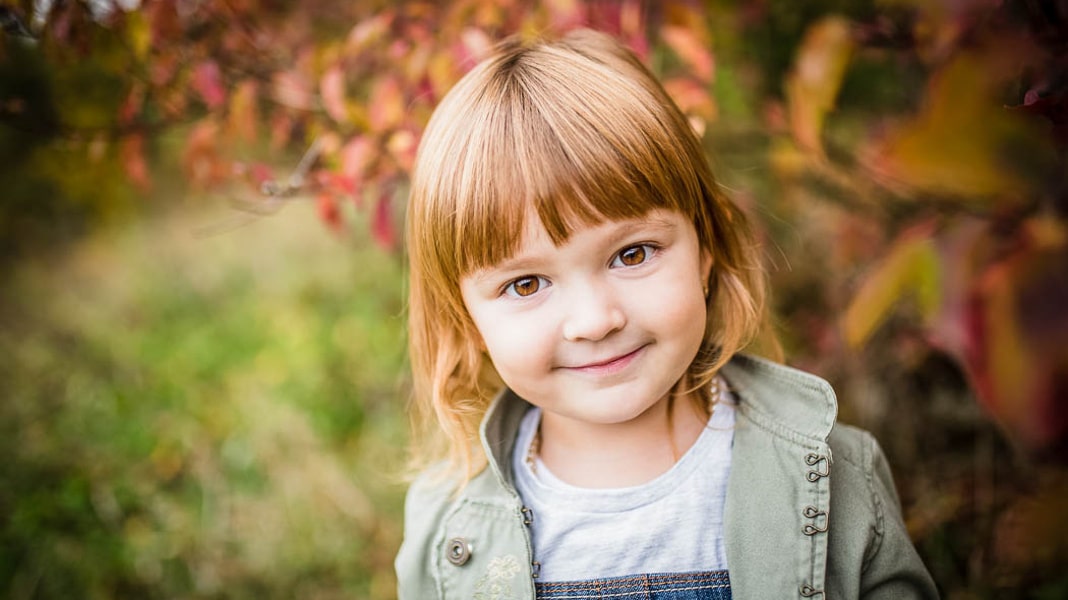
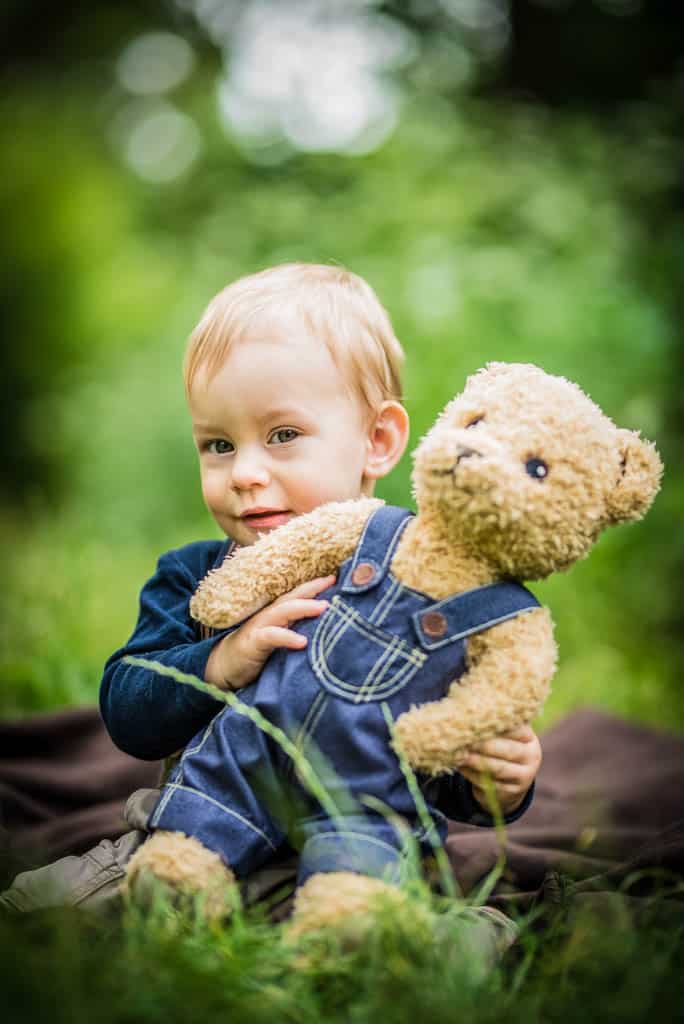
If your camera lets you, shoot at the lowest possible f-stop and leave the child fairly far away from the background. The same rules apply here as for any kind of portrait photography. When you’re focusing on the eyes, focus on the nearer eye.
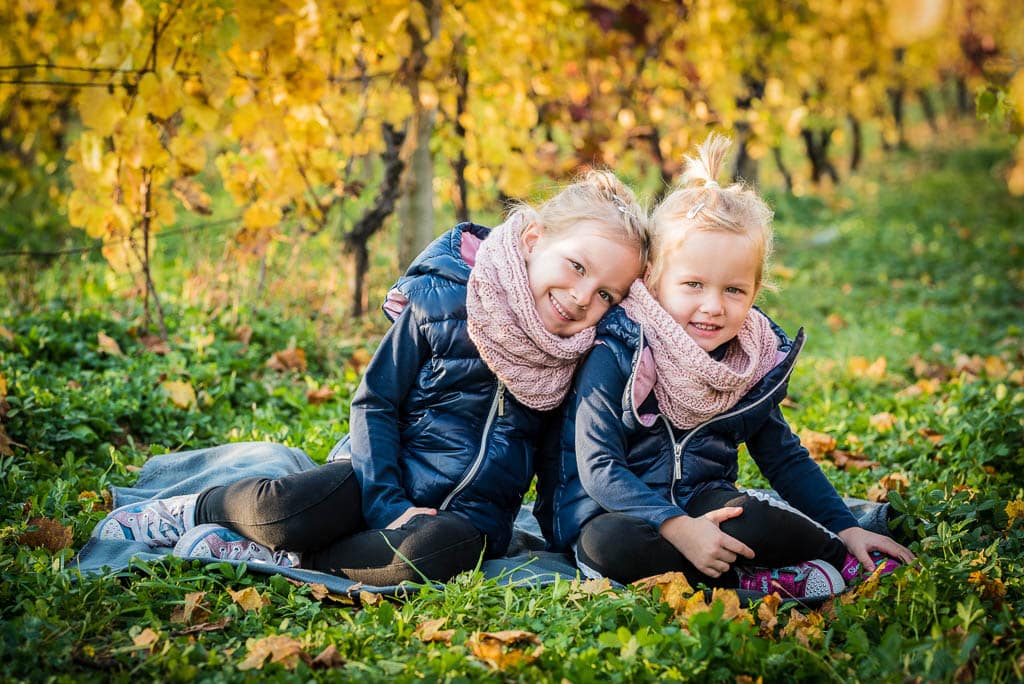
If you’re photographing several children all together, you might need to use a slightly higher f-stop to get all of their faces in focus. Set an exposure time of 1/125 or shorter (1/200 or 1/250). When the child is moving around, you’ll need to set an even shorter time to get a sharp picture. Sometimes even 1/500 can be too long. You’ll have to try and see for yourself during the shoot.
Photograph Them When They’re Playing
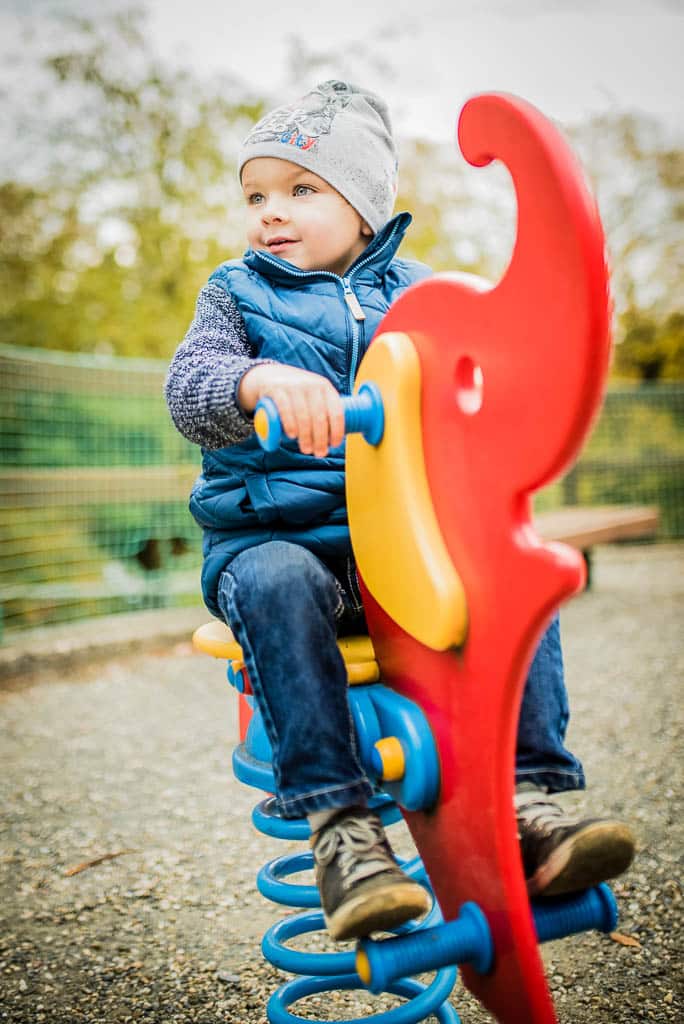
Photograph a child with their favorite toy, when they’re riding a bike, or in places like playgrounds, where they can forget for a moment that anyone’s photographing them. Try to entertain them during the shoot and get them to laugh. You can hide behind your camera, or maybe—if you can manage it—take the picture with one hand and hold a toy in the other hand.
Take Advantage of the Golden Hour, and Don’t Hide From Ugly Weather
One tried-and-true classic—the Golden Hour—works as well here as ever. This special time of day actually comes twice a day, roughly 40–50 minutes after dawn and before sunset. When you photograph a child during the Golden Hour, their face is lighted nicely, with no overly sharp shadows. During the Golden Hour you have a chance to get a photo with a lovely atmosphere, especially if you shoot against the light, which is milder before the sunset than it is a couple of hours earlier.
It doesn’t always all work out, of course, and you can end up taking your picture right when the weather goes sour. Definitely don’t be afraid of these moments. During the day, diffuse light is much better for photography than direct noontime sunlight, which produces ugly shadows on people’s faces.
Careful With the Length of the Shoot
Try to take as many usable pictures as you can as quickly as you can. Sooner or later during these shoots, the child is going to get tired and stop cooperating. So count on 15–20 minutes being the most time you can spend before it’s all over. Sometimes of course even less, although in some exceptional cases you can also get a little more. But once your little model starts sulking, you won’t get many usable photos, so use your time well.
