Photographing Families: Learn the Basics of Group Photography
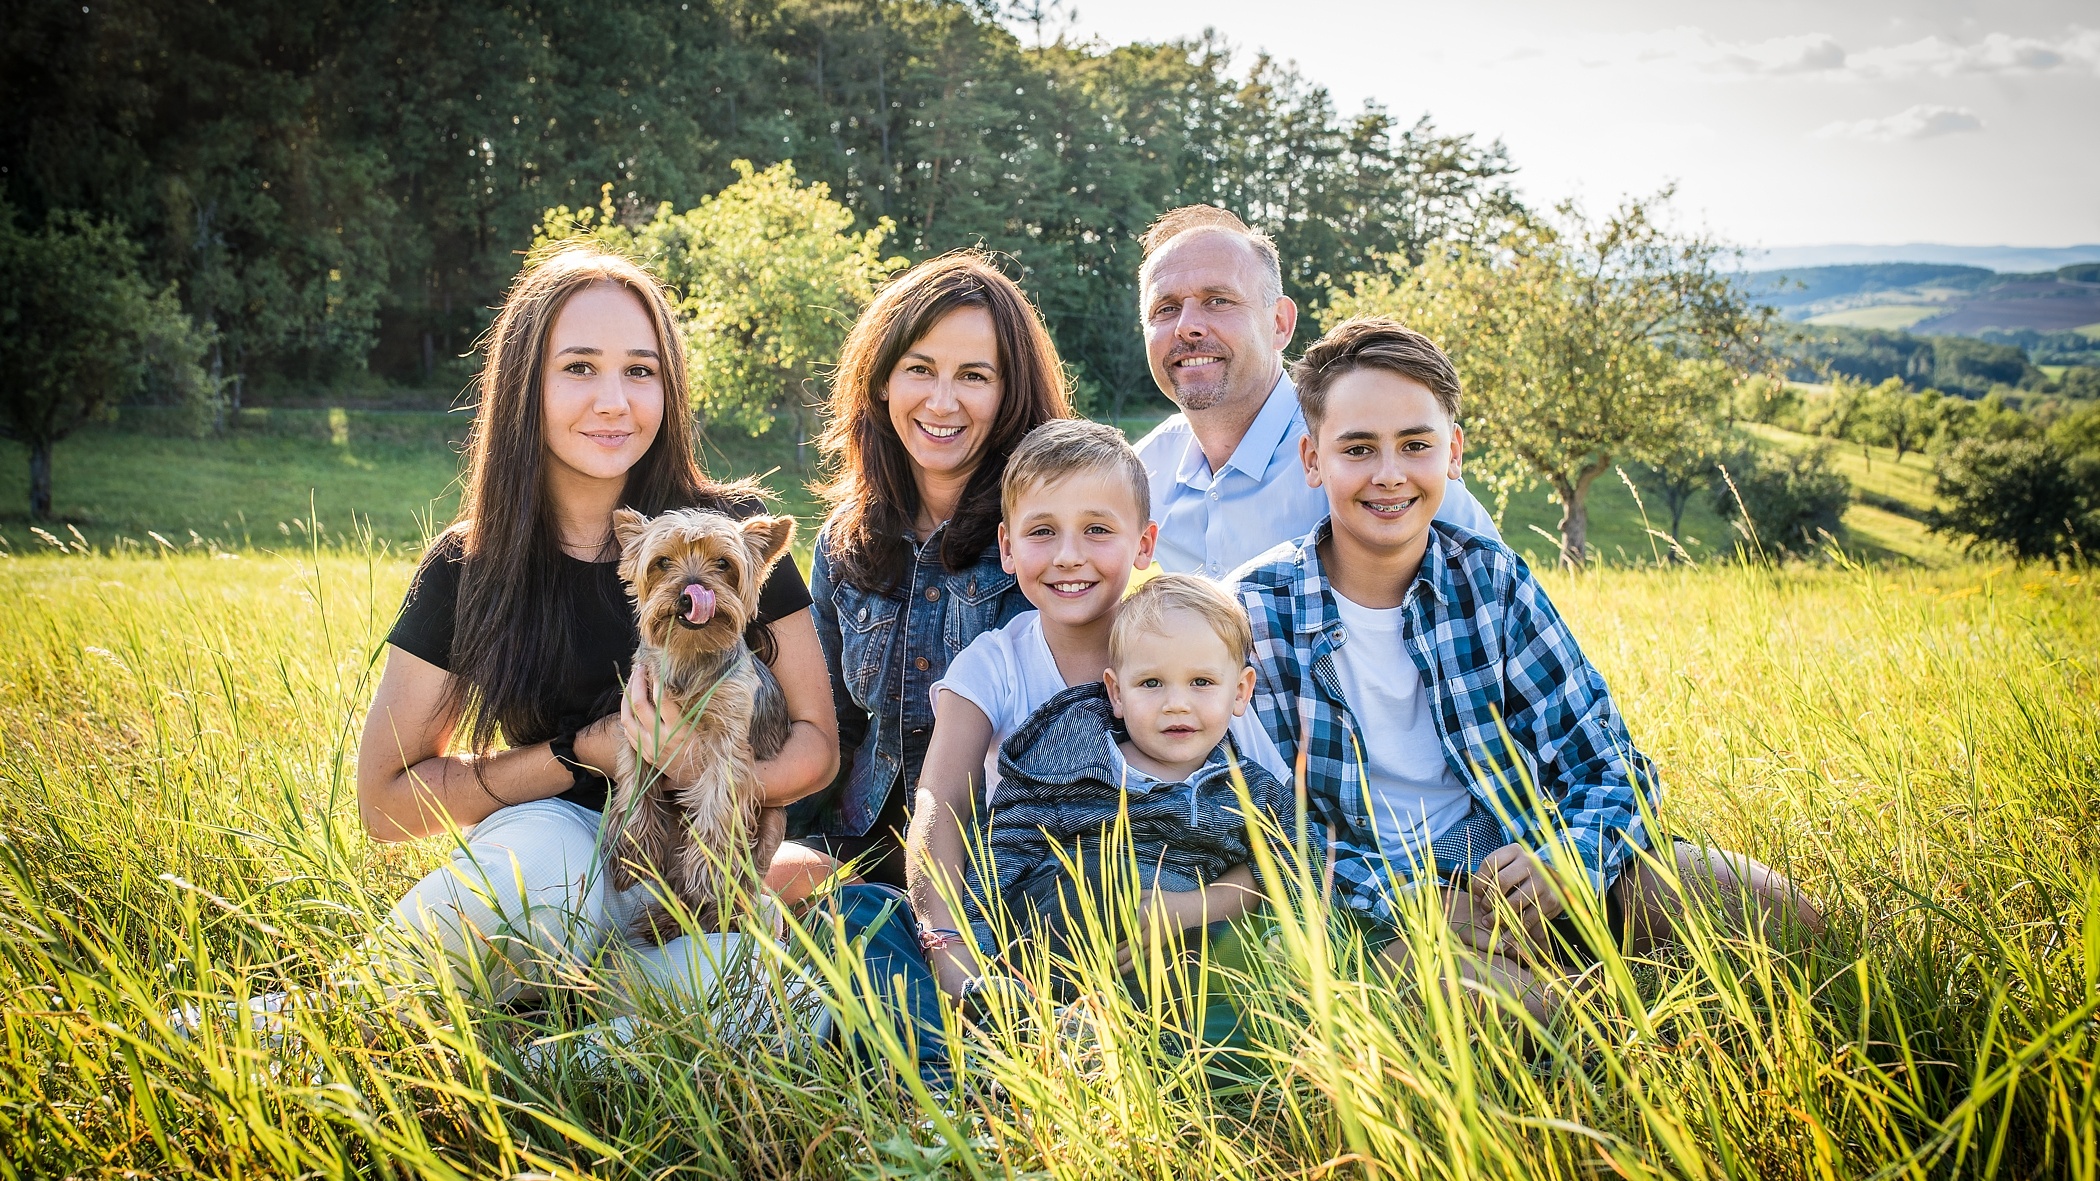
Read on to learn what you need to manage during a simple family photo session. How to handle composition, depth of field, light, and other issues that await you when photographing groups. In this article you’ll find several tips that can be used for family, group, and child photography as well as portraiture. No matter whether you’re in the studio, outdoors, or at home.
When photographing groups, you’ll need far more patience than when photographing individuals. Ideally you’ll the several shots you produce will include at least one that has good technical quality and shows everyone in a good light.
During the session, you need to organize all the participants without unneeded delays so as to get a good-looking final composition. If you need to produce several different photos within a certain time limit, then you’ll have to be attentive and communicate with your models.
What to Watch Over When Pressing the Trigger
Don’t be afraid to tell your subjects what looks bad in the viewfinder. Until the shoot is over, there’s still time to remedy any mistakes. Watch out above all for contorted arms and legs, hands curled up into fists, and unflattering positions. For example imbalanced proportions due to a badly chosen focal length. Additionally, any poses in which people’s arms or legs might look strange.
The prime example of both of these mistakes combined is sitting with your legs tucked under you when you’re being photographed from in front. This position makes one’s legs look like they’ve been amputated below the knee, and makes their thighs look larger. Naturally no-one wants to look like this in their photos. Crossed legs or a position with one’s feet sticking to the side often look better.
Other mistakes include hair, including strands of it, sticking out in random directions, covering too much of the face or eyes (unless this is intentional), clothing tags sticking out, and last but not least keys or phones in pants pockets. All of these things can be caught out before the shoot even starts. Badly chosen crops that “cut off” limbs at the joint are another frequent problem. So be careful when you’re cropping.
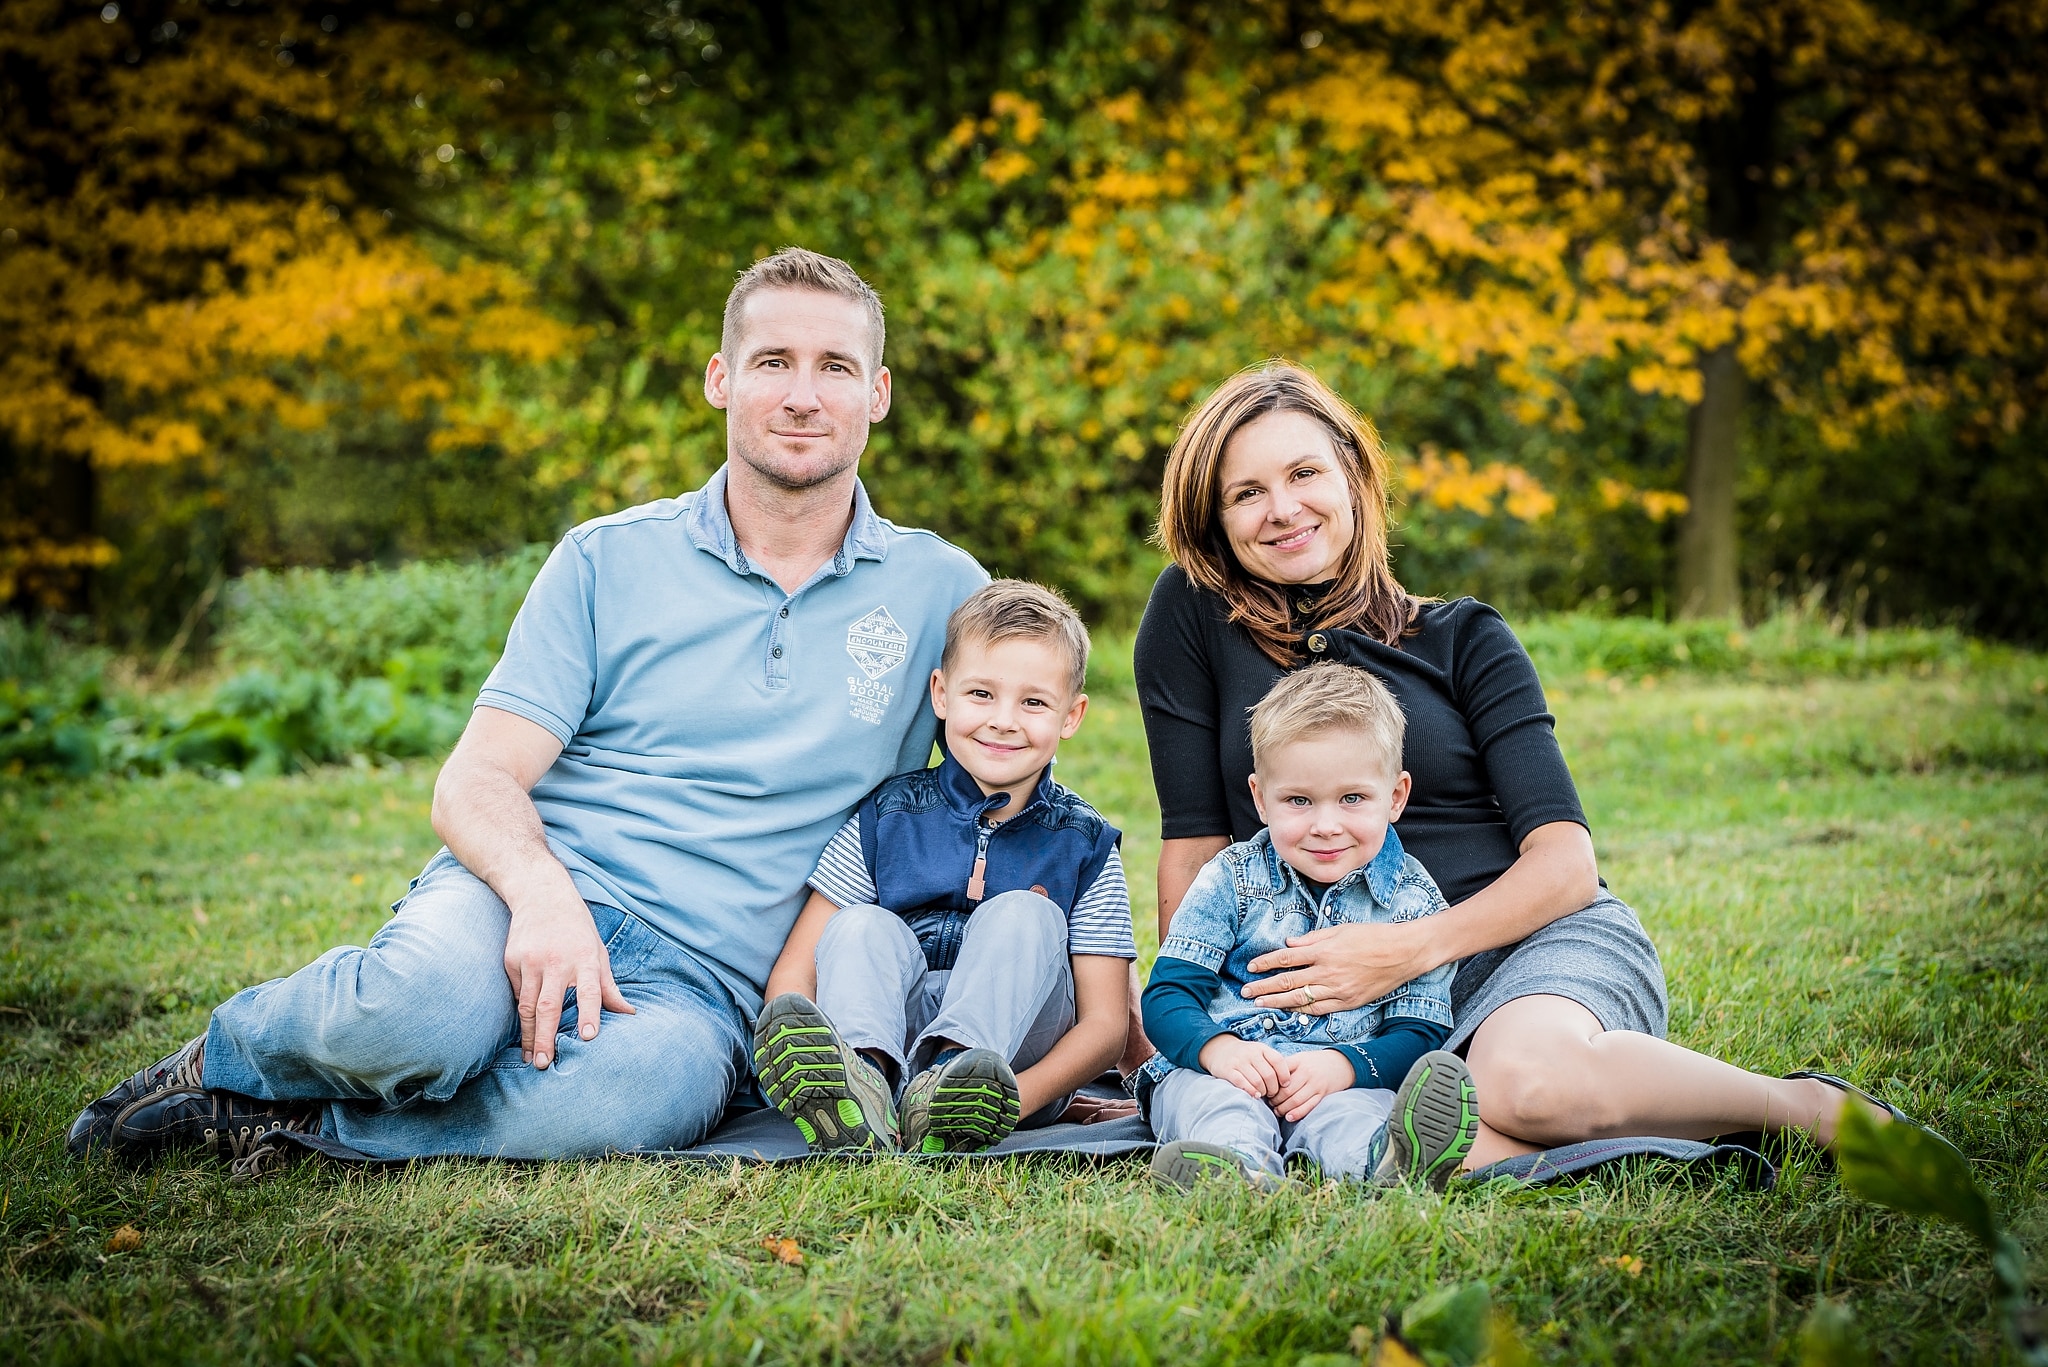
Nikon D750, Sigma Art 85/1.4, 1/160 s, f 3.5, ISO 200.
Keep an Eye on Depth of Field
I’ve already touched upon depth of field in group photography in my article on photographing children, and the same principles apply here. When photographing groups, set an aperture that leaves everyone’s faces sharp. If everyone is next to each other along one plane, you won’t need a very high f-number. And when one person is more towards the back than another, you’ll need a higher f-number, as long as blurring isn’t intended and their face should thus be sharp as well.
Many photographers get lost here. Some estimate apertures based on their experience; others use various mobile apps that calculate depth of field automatically based on data that they enter.
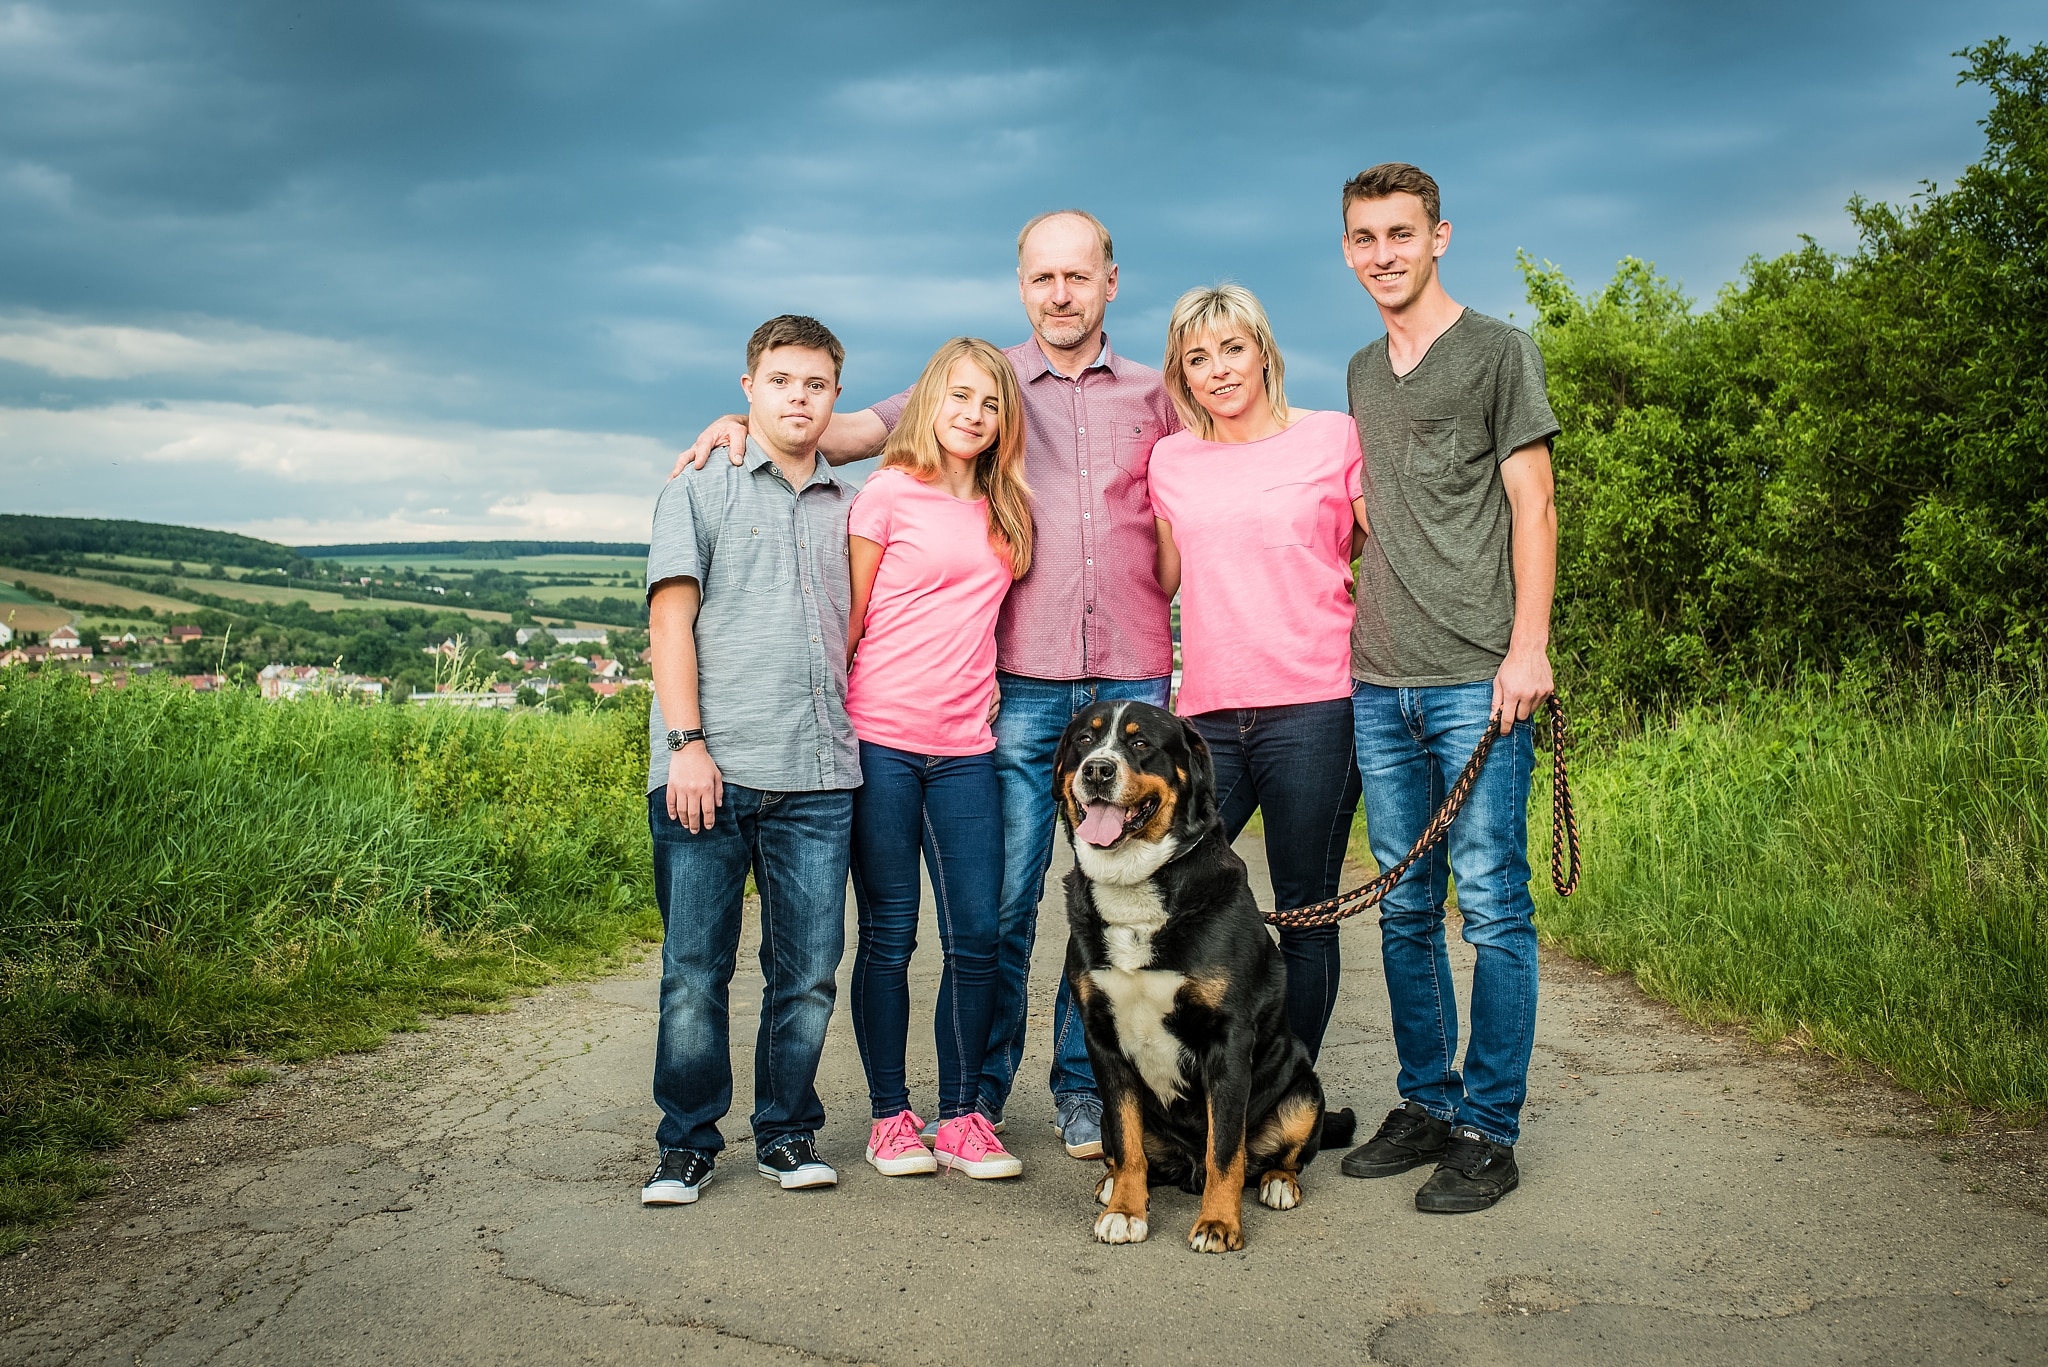
Nikon D750, Sigma Art 35/1.4, 1/125 s, f/5.6, ISO 200.
Choose Suitable Clothing
People often don’t know what they should be photographed in and what looks good in photos. What clothing is suitable for a shoot, and what, meanwhile, should be avoided? It’s not an ironclad rule, but clothing with text or a picture on it is usually a bad choice. At least anything large that stretches across a whole shirt.
The picture or text will wrinkle during posing, making it look deformed in the photo.
Ideally, choose people’s clothing so that its colors and patterns look the same for everyone in the group. This doesn’t always work out, of course, but make a careful and reasoned choice to prevent any strikingly unsuitable color combinations.
Keep in mind that socks (of any color) don’t look very good in studio shoots. Bare feet—or shoes—are a better option. But they definitely should be clean, including their soles—retouching away dried mud, etc. isn’t pleasant, and it’s easy to prevent the need.
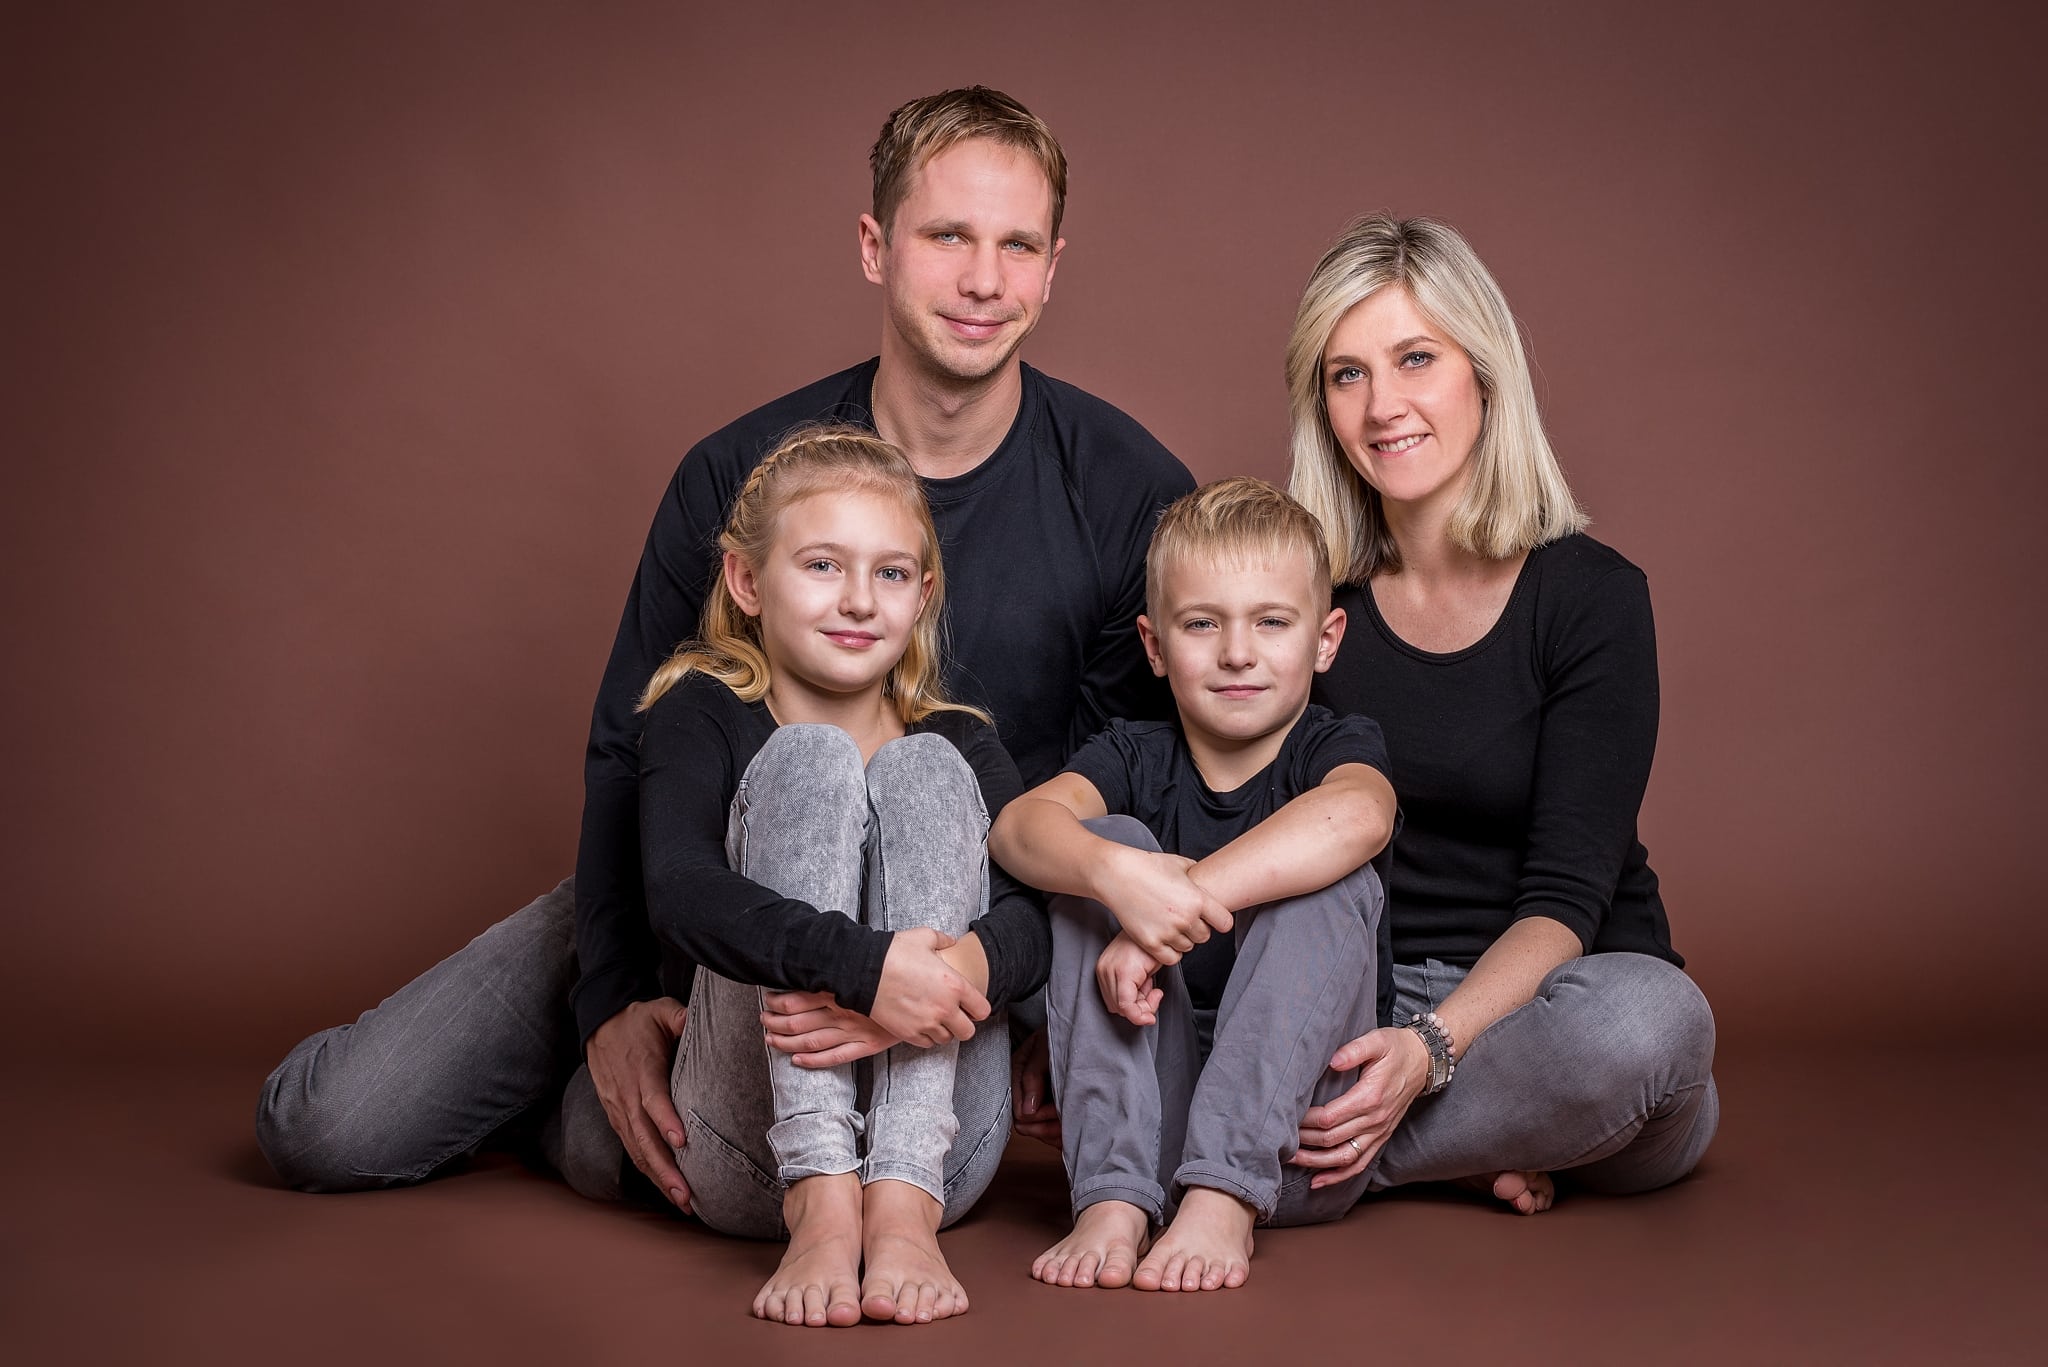
Nikon D750, Sigma Art 85/1.4, 1/125 s, f 8, ISO 100.
Think About Light
A studio scene can be lit simply, with even just one light, if you’re feeling unsure about more complex lighting. It’s above all important to prevent ugly facial shadows. As for shadows, the same obviously also applies for sessions outdoors, or indoors using daylight.
If you decide to take pictures indoors, work with light coming in from windows, and definitely avoid taking pictures late, when the sun is setting. Unless, that is, you’re planning to also include artificial light in the scene, for example in the form of a flash or a permanent light.
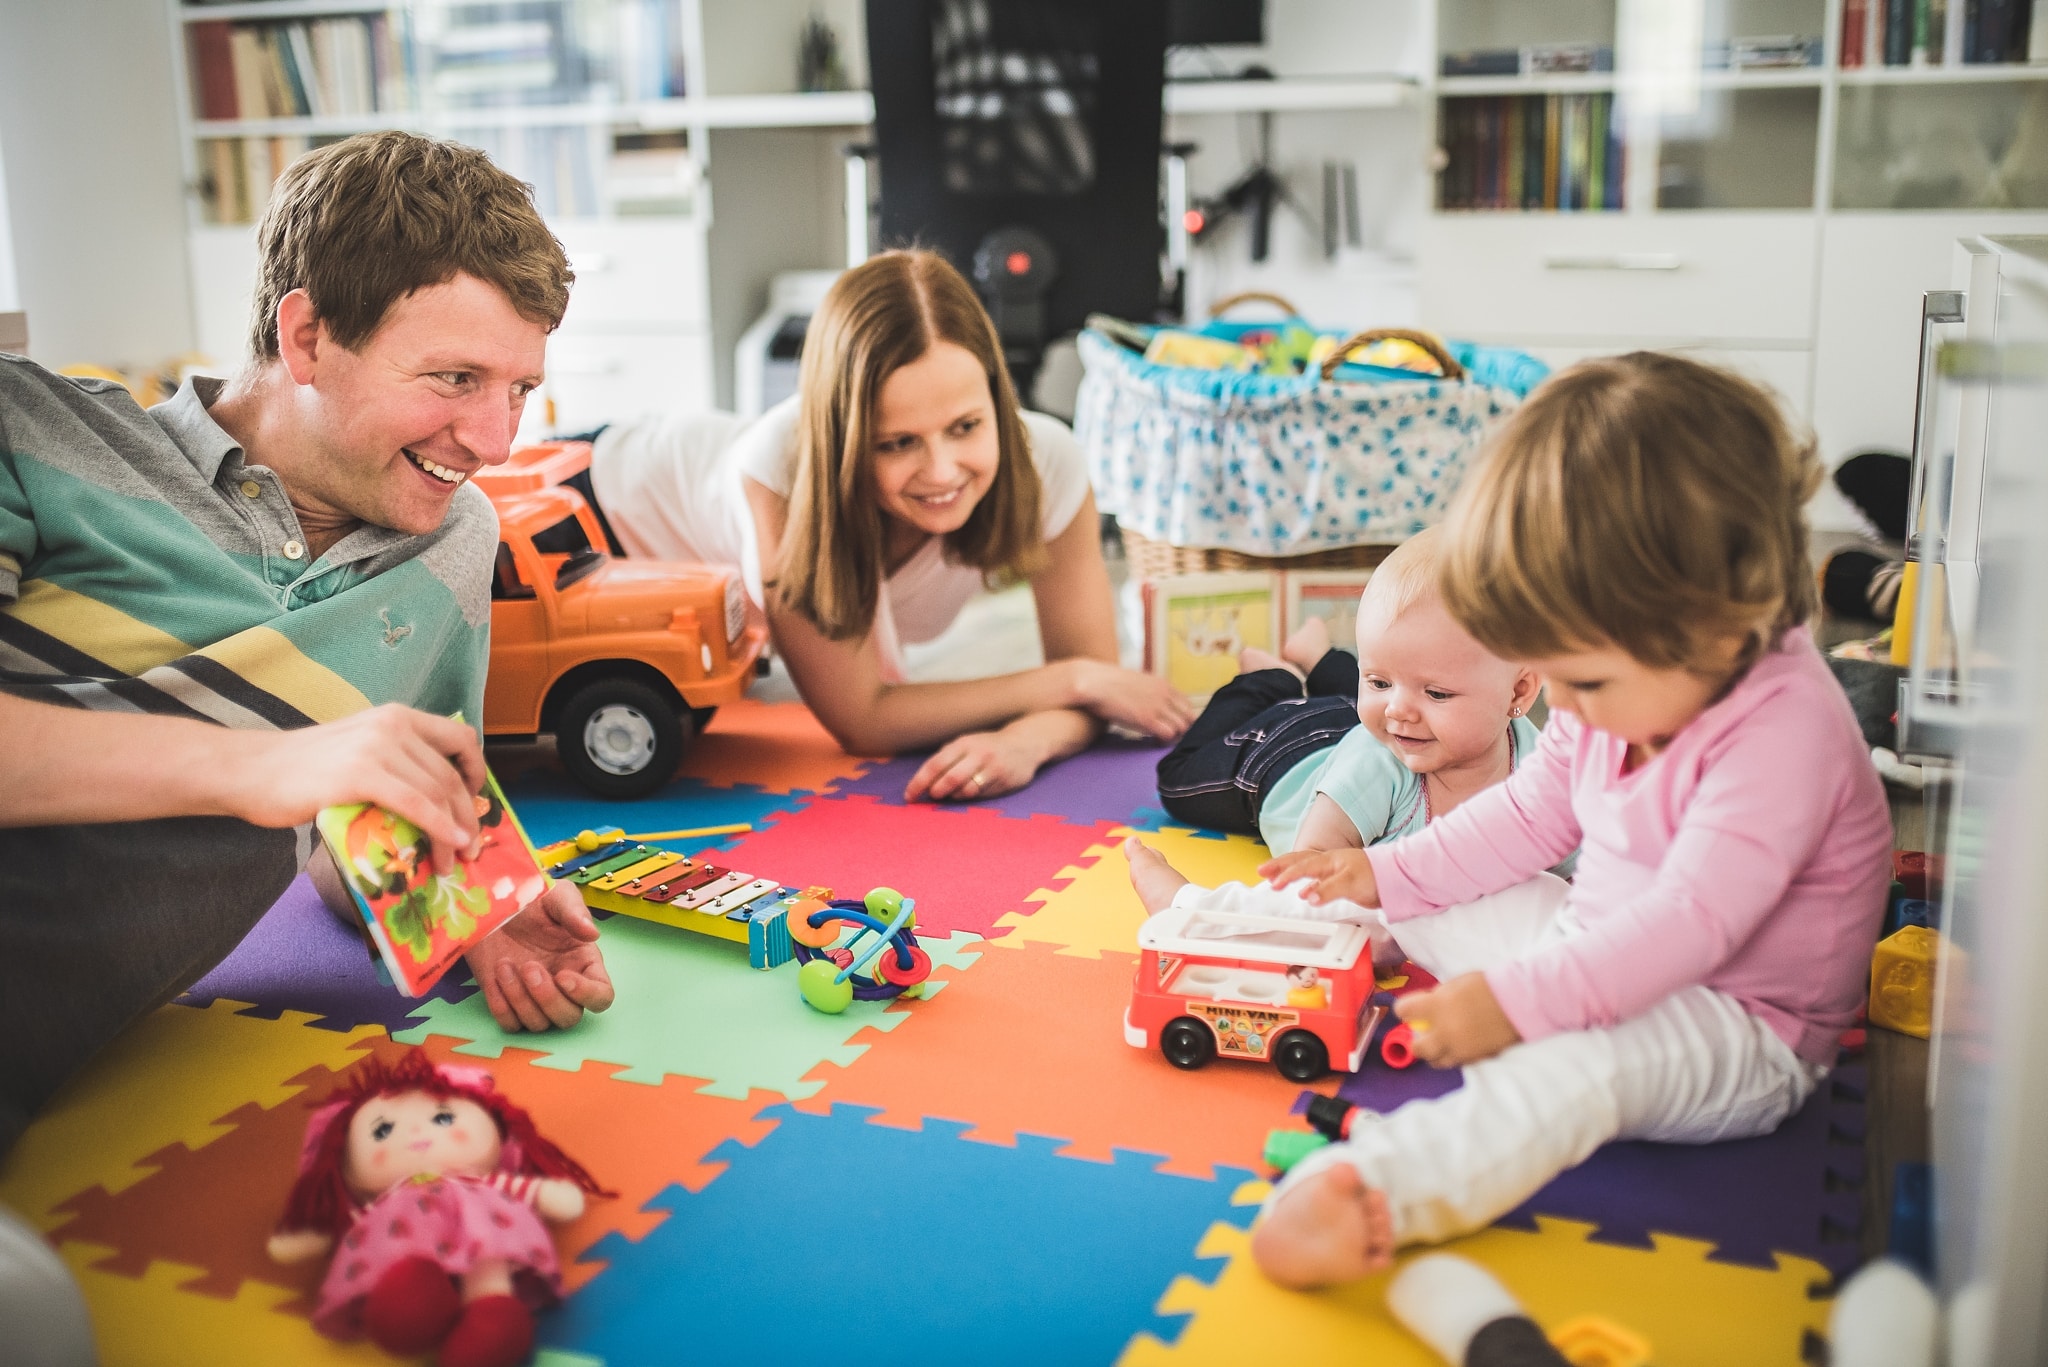
Nikon D750, Sigma Art 35/1.4, 1/200 s, f 1.4 ISO 1000.
Naturally you can take pictures outdoors in a variety of weather, but all the same, if you’d like to keep things easy, and you don’t want to struggle with sharp noonday sun on a sunny day, wait for the golden hour. No matter whether you decide to use its beautiful direct light, or you’ll be shooting against the light, it’s simply the best time of day for photography.