Unveil the Beauty in the Details with Tools for Dynamic Range
Dynamic range is constantly improving in newer cameras, especially if you use RAW format. It’s amazing how much data can be crammed into a single photo these days. It’s important to use all this data properly by playing around with dynamic range.
Maximizing dynamic range mainly involves decreasing the highlights and increasing the shadows. But it’s not that simple. Zoner Studio has plenty of additional tools for maximizing dynamic range. There are also multiple situations where the adjustments may vary. For this reason, we‘ve decided to explore a few examples where it’s useful to increase dynamic range. We also recommend checking out our article on dynamic range to get an overview of each tool.
Gloomy landscapes need contrast
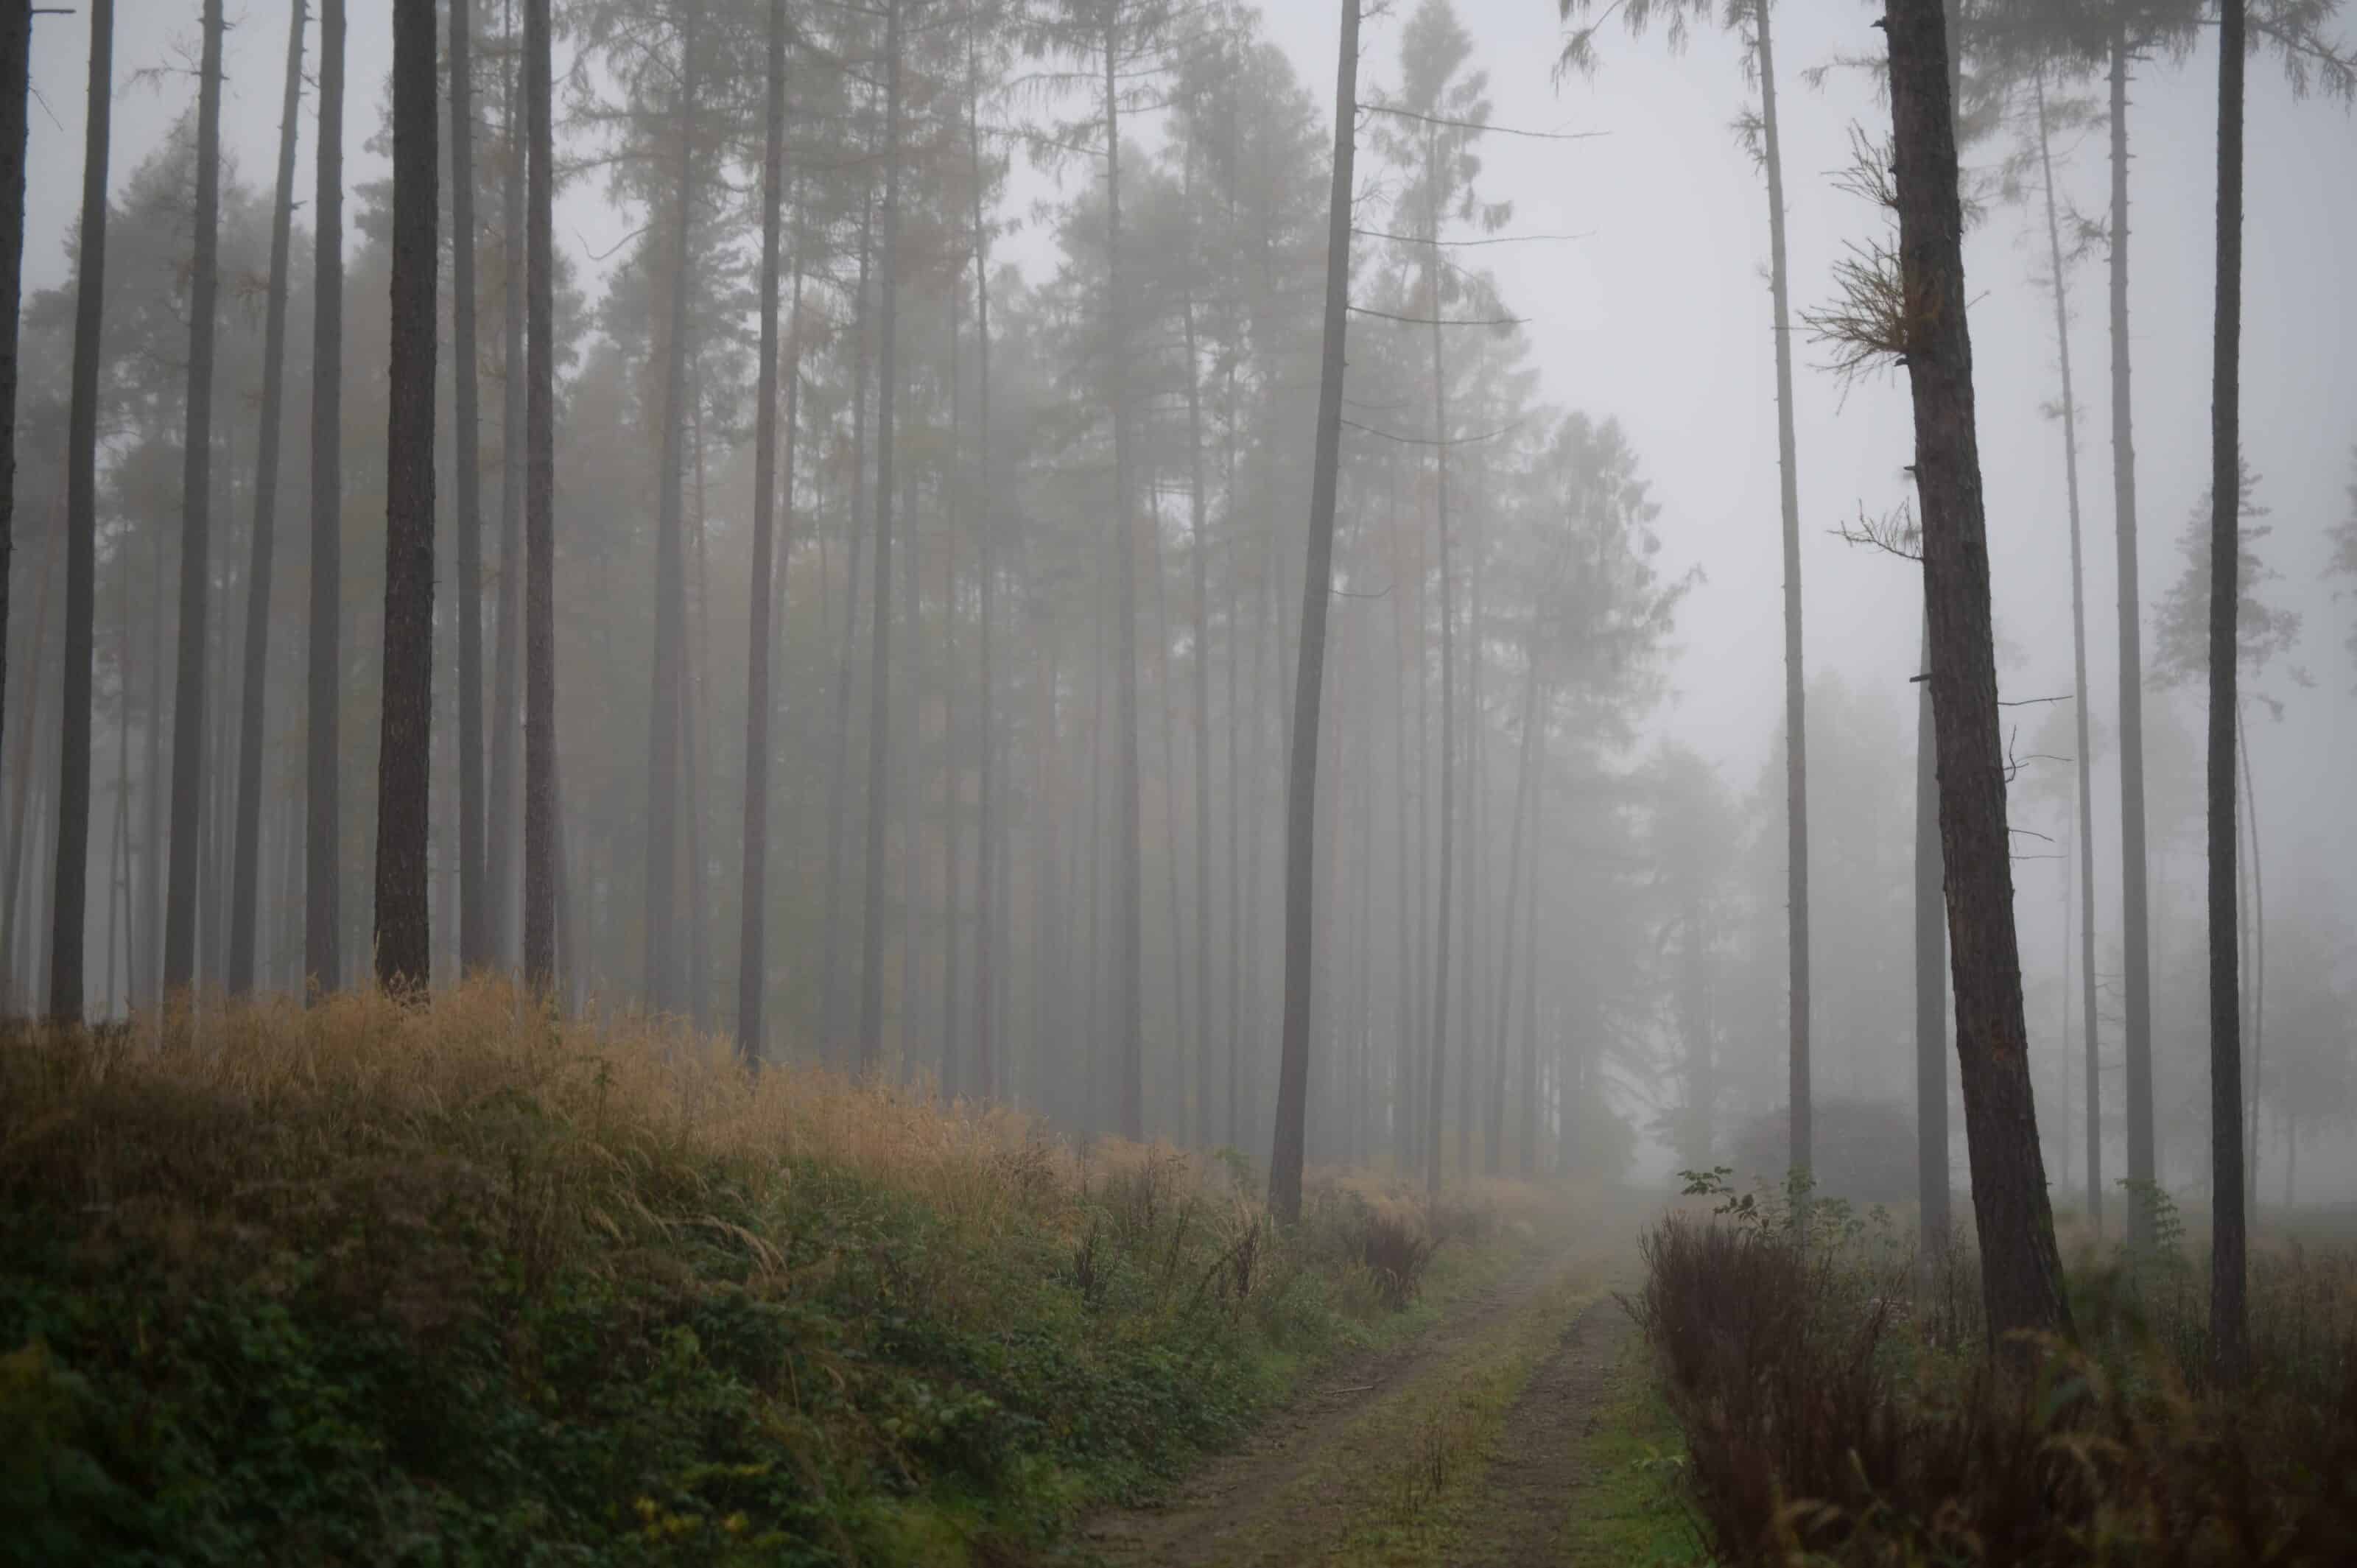
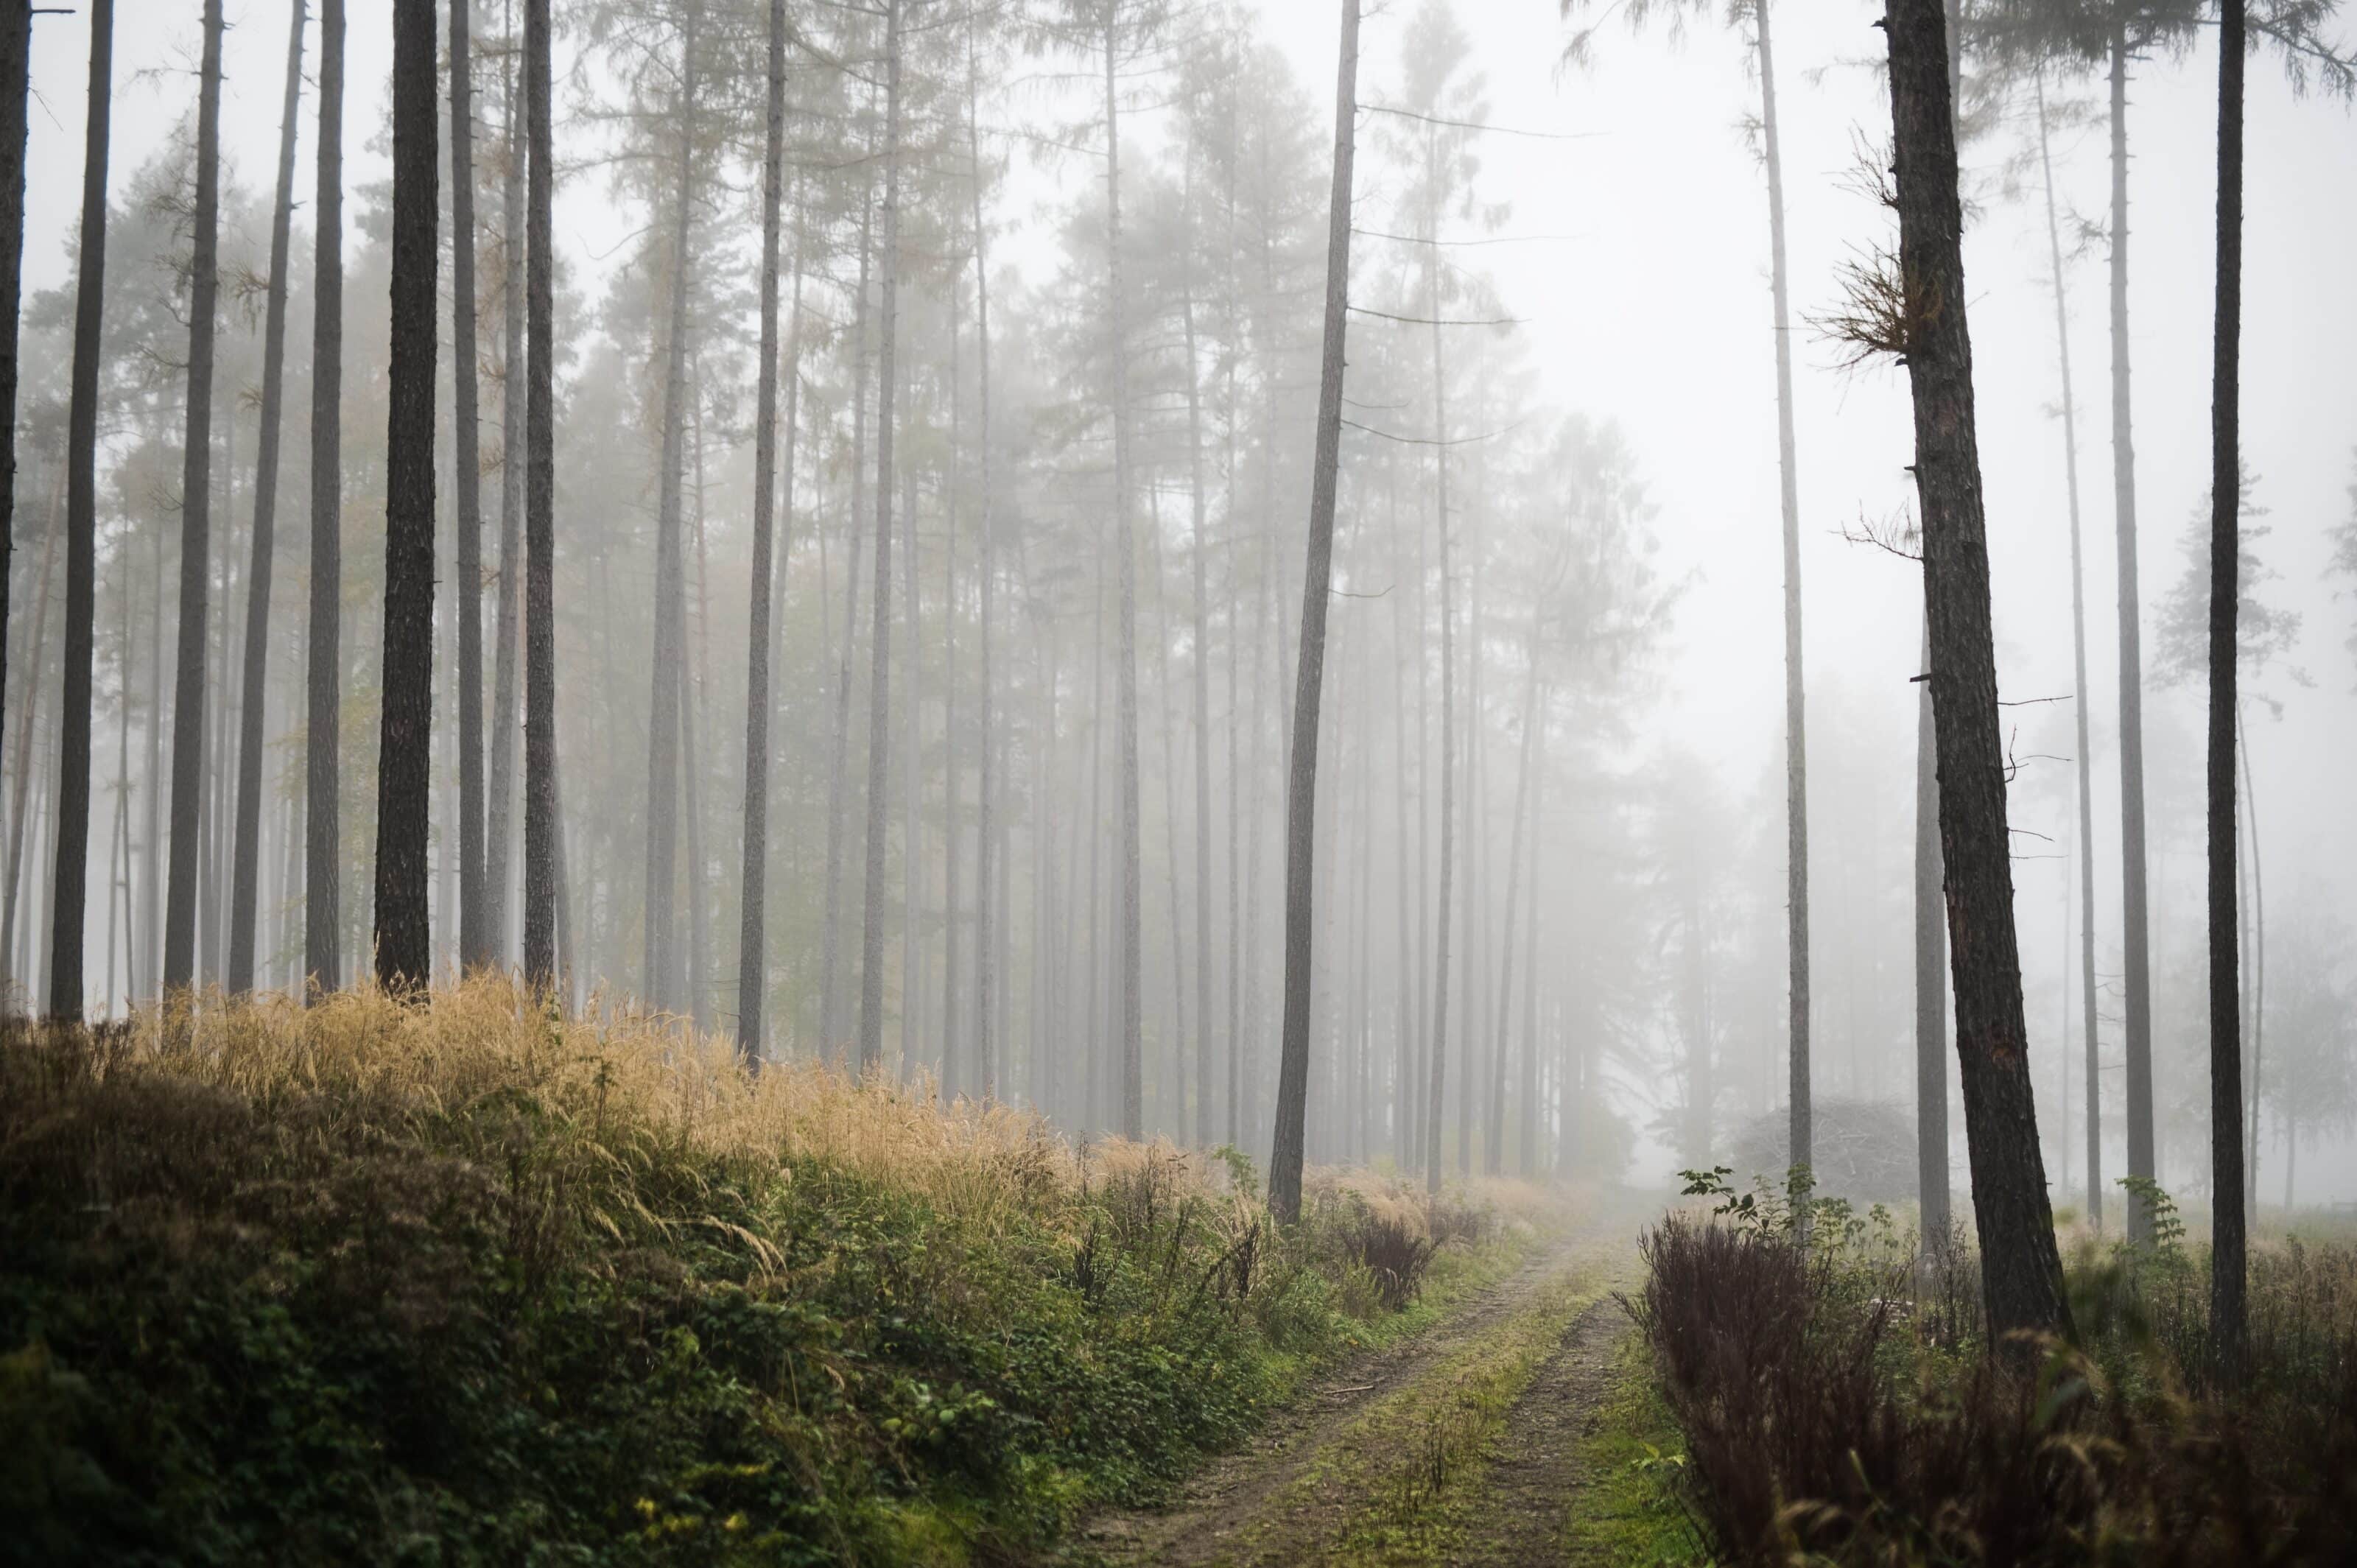
Landscape photos in overcast weather often have a flat look that lacks contrast. Increasing Contrast is not enough because the shadows are too dark and the highlights are too bright. That’s how Contrast works.
Fortunately, there are more advanced options for fine-tuning these adjustments using additional Dynamic Range and Exposure tools.
For foggy landscapes, you can brighten dark areas by increasing Shadows. However, this will often result in gray shadows, so use the Blacks slider to add contrast back to your photo.
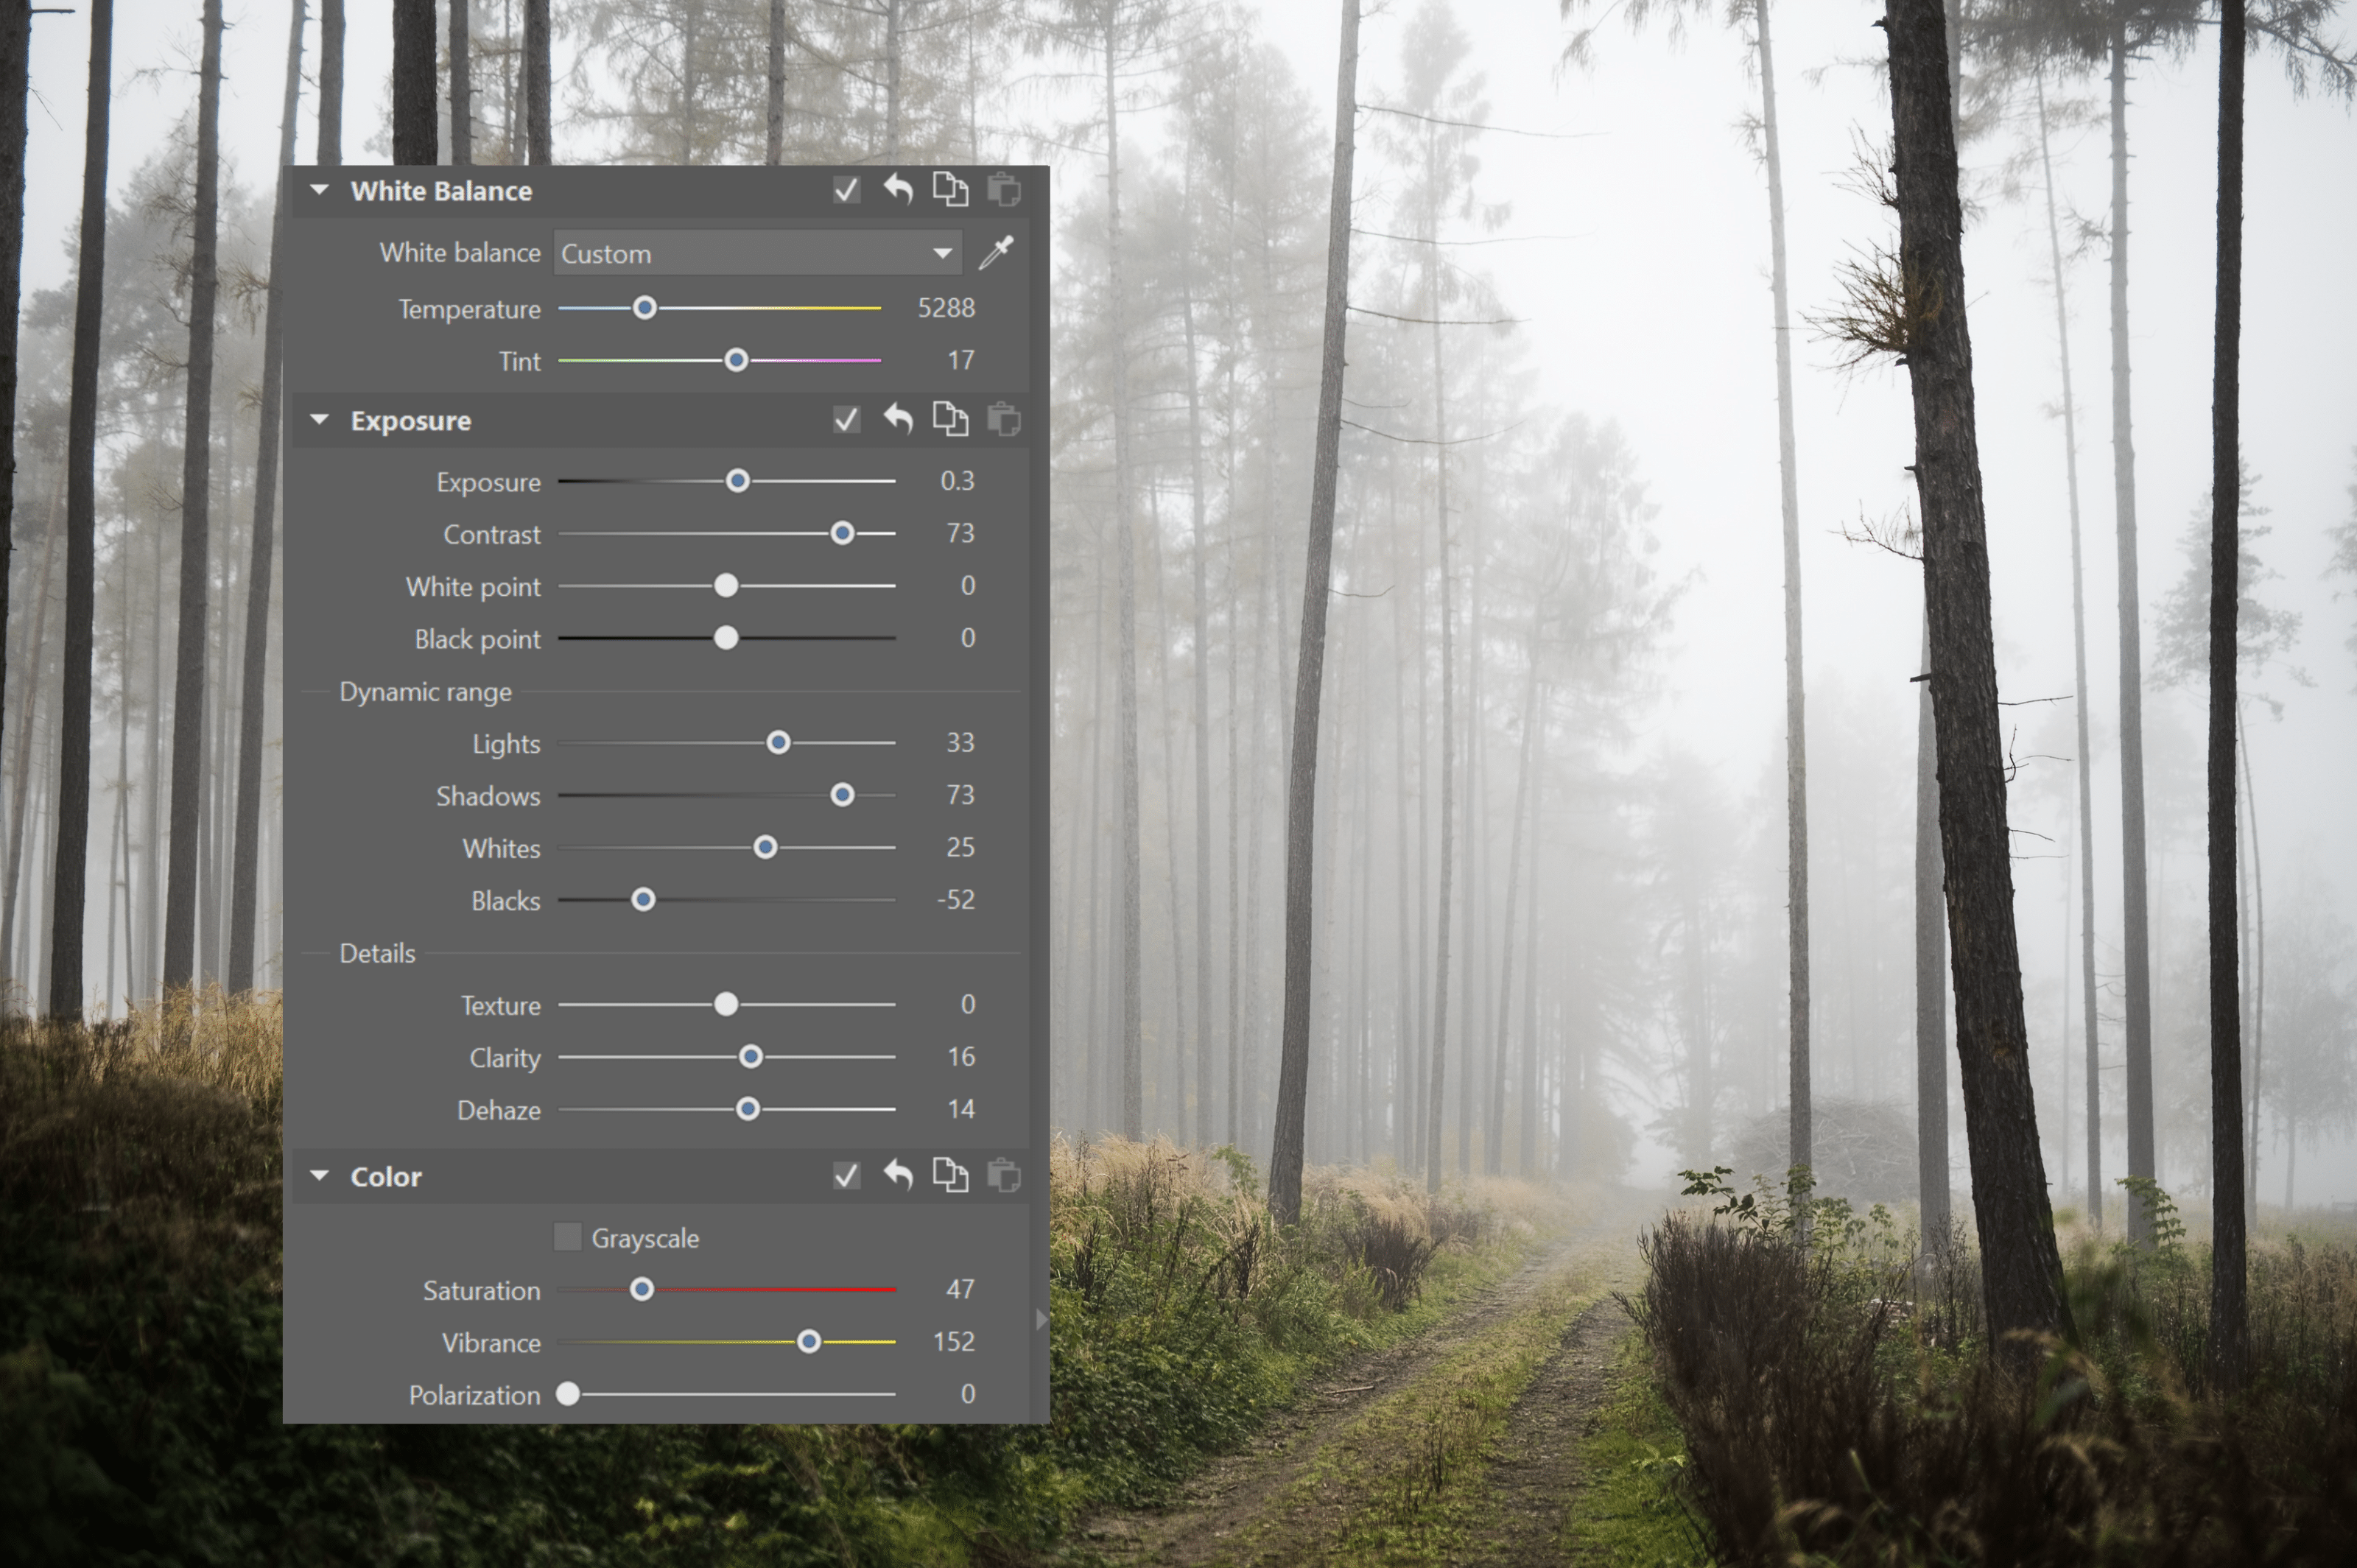
Photo before and after editing.
Landscapes at sunset have too much contrast
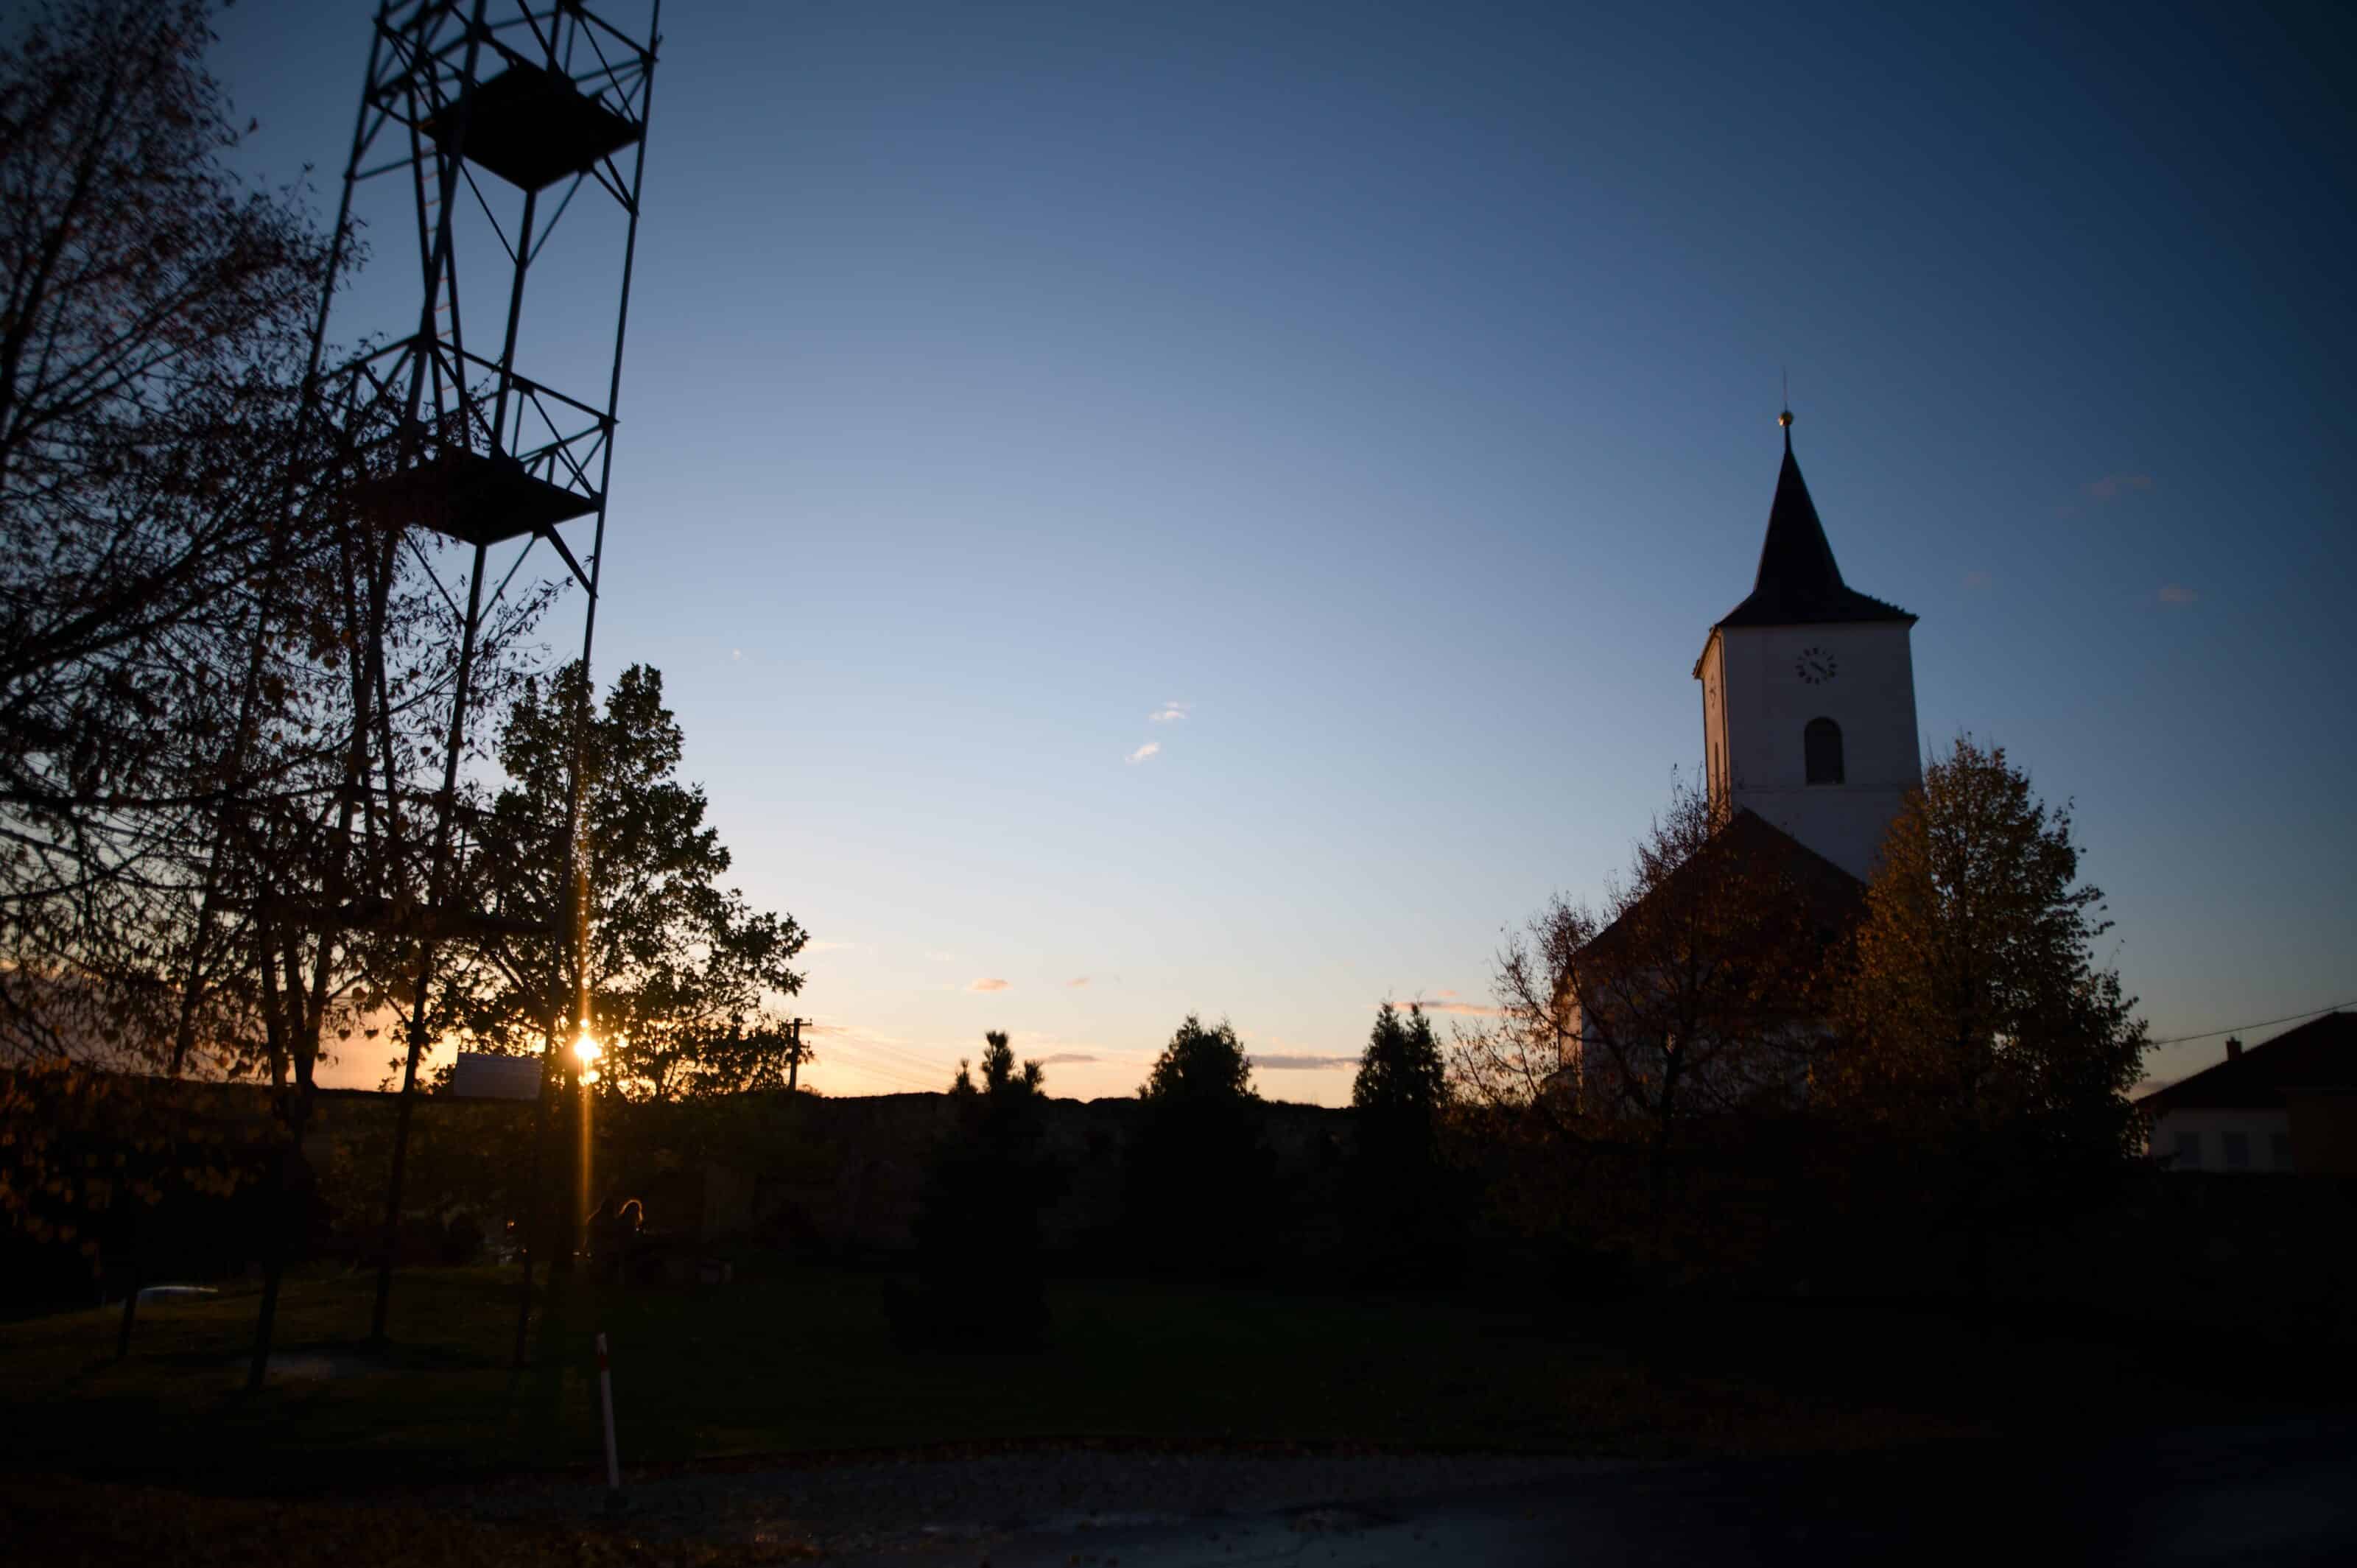
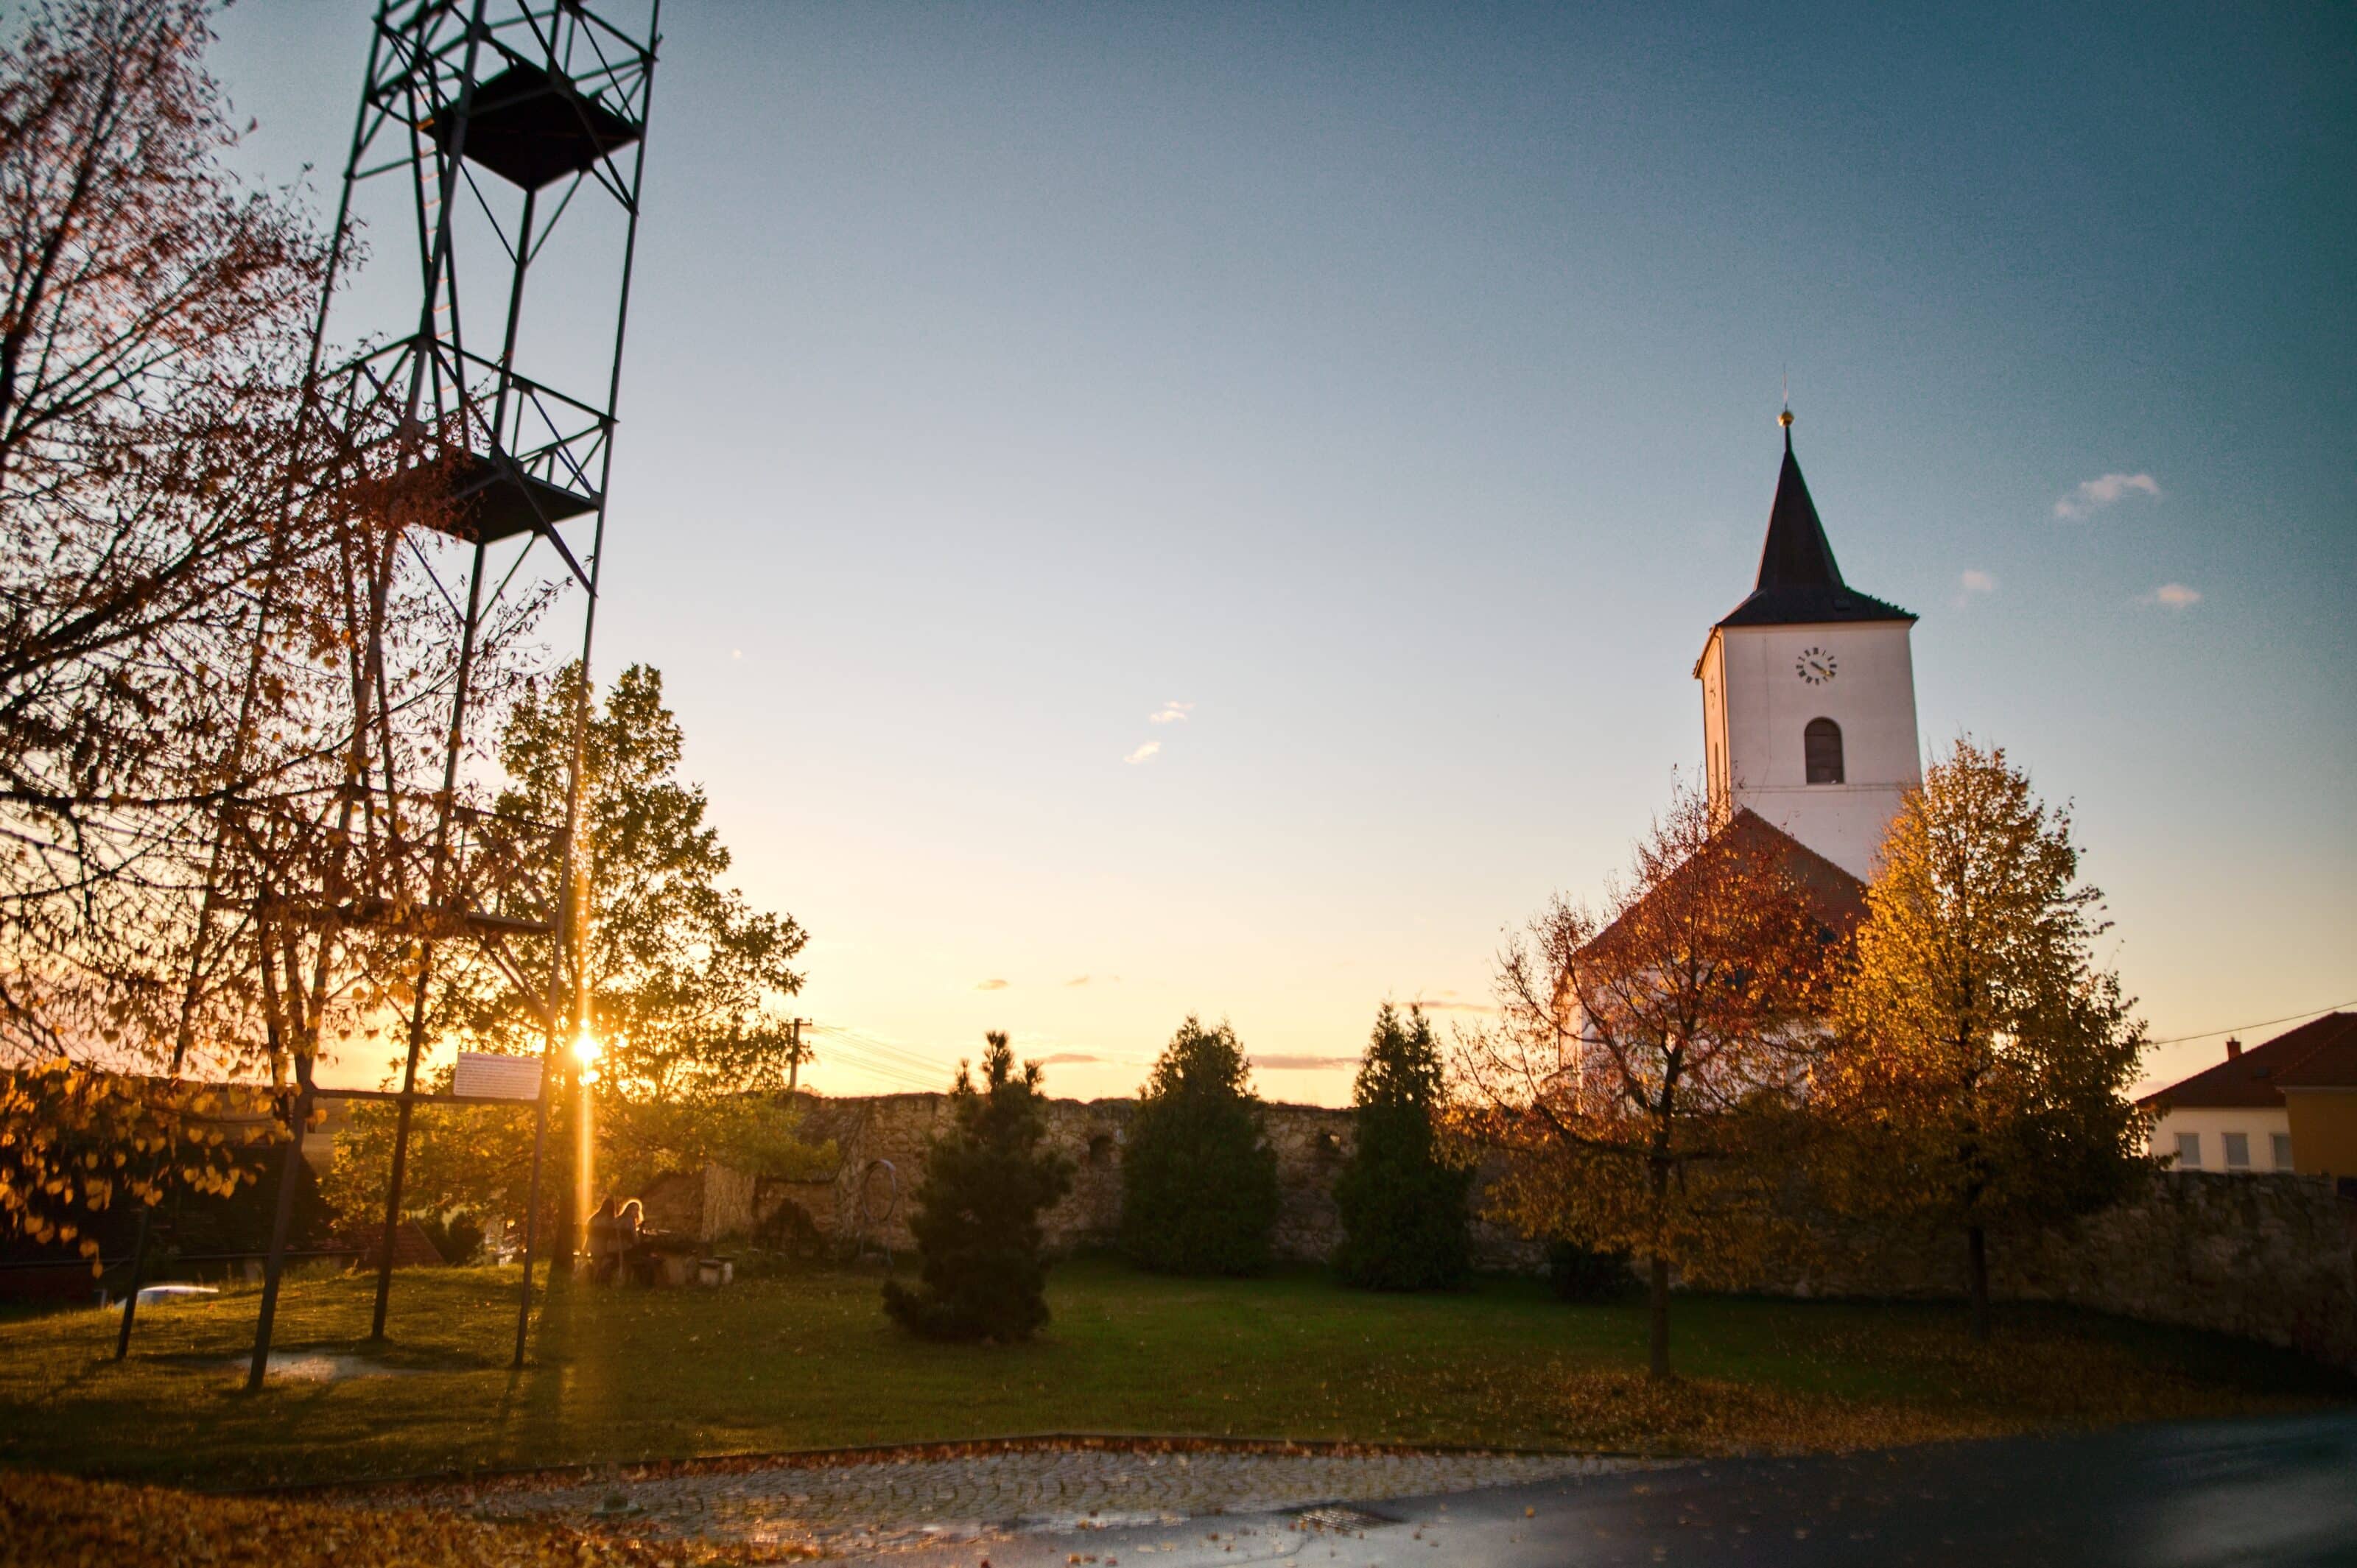
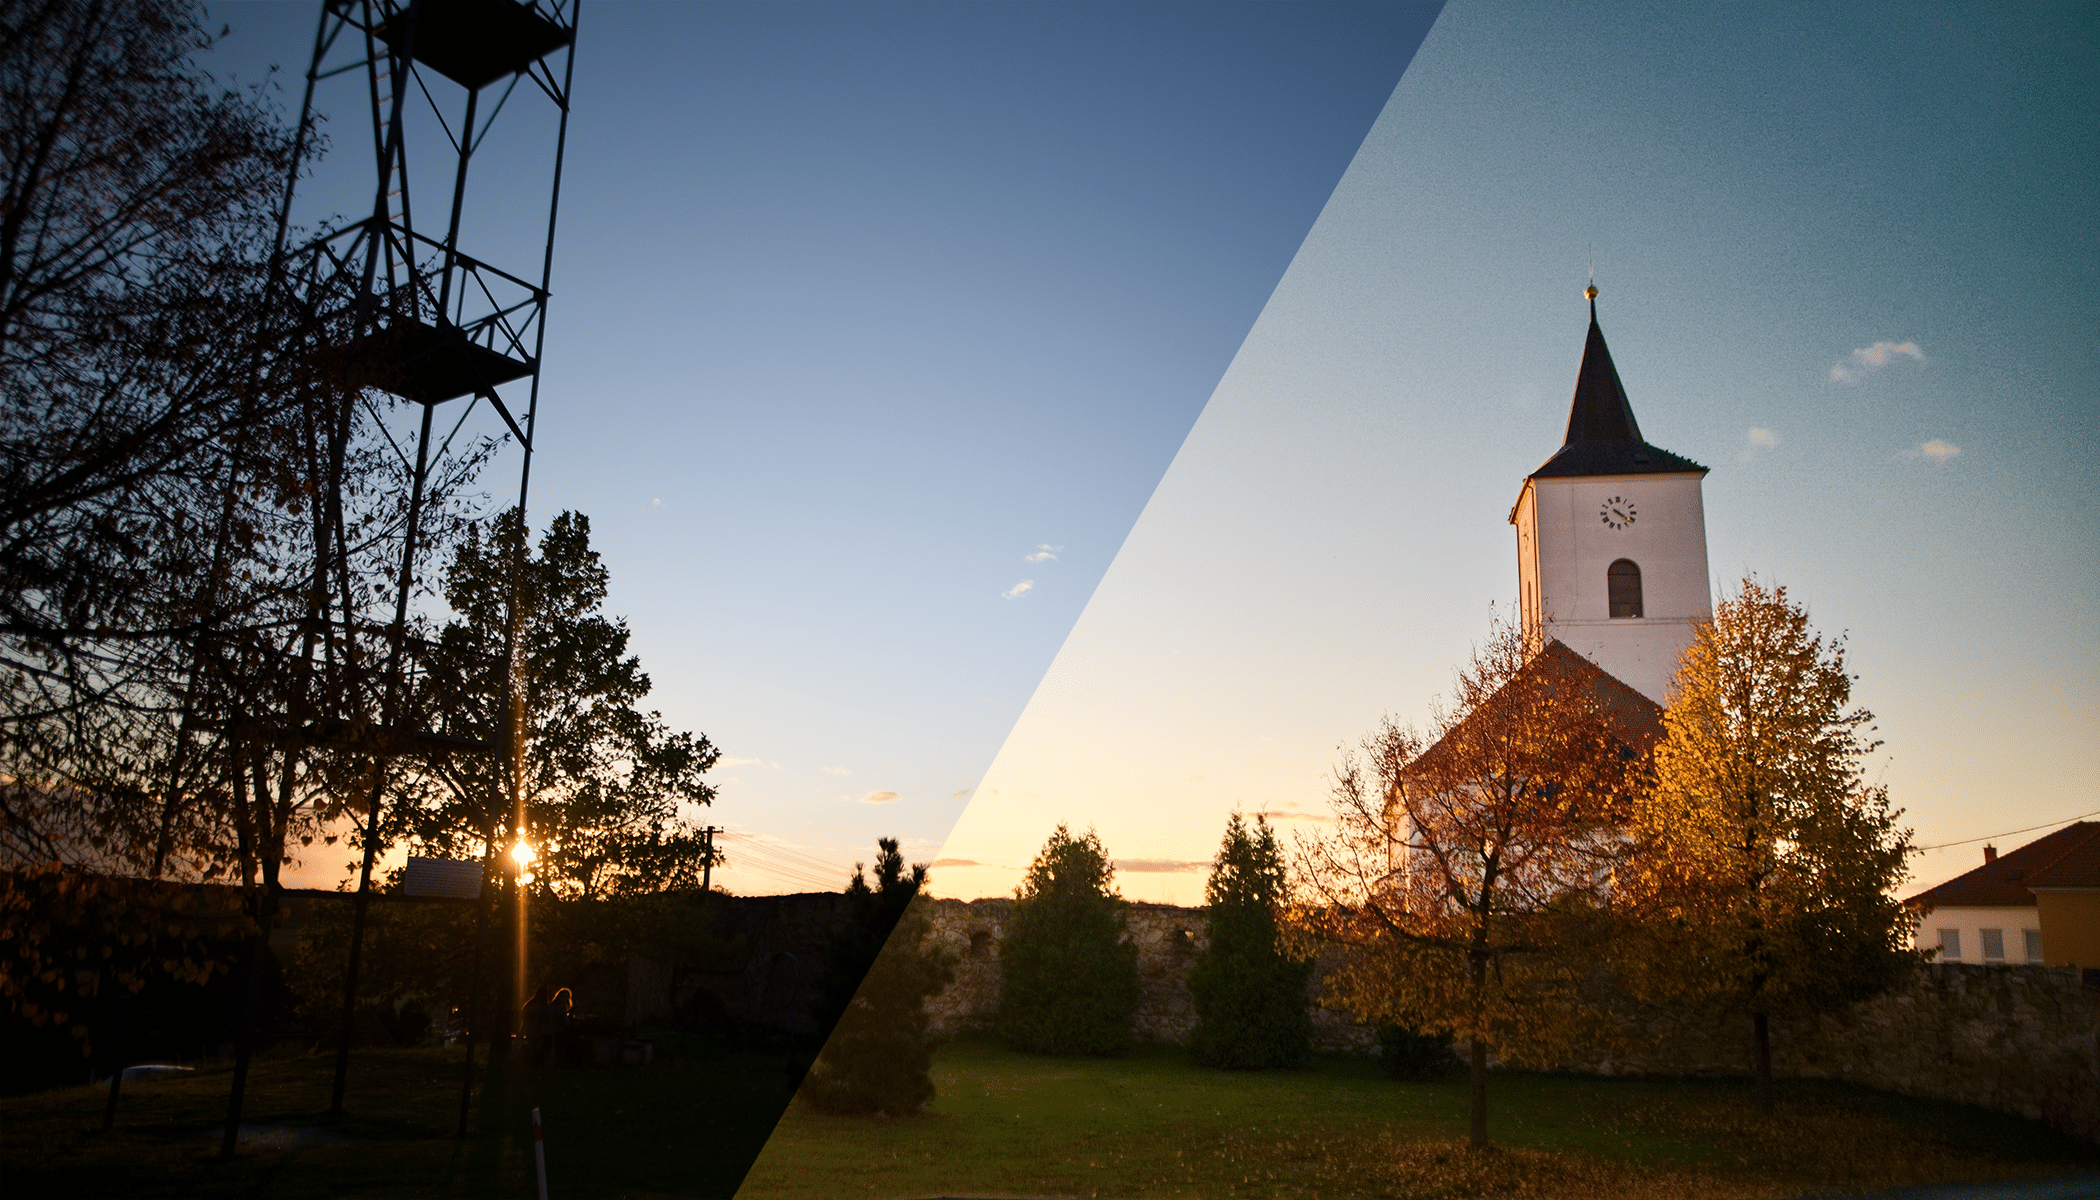
Just before sunset, the scene is almost entirely covered in shadows. When we shoot against the light, we usually get an almost black bottom with a much brighter sky. Logically, we need to increase the shadows. In this case, we increase the shadows as much as we can because the landscape is covered in shadows and the details are lost.
Increasing the shadows to such an extent means the contrast in dark areas is lost, but increasing Contrast more makes the highlights too bright. This problem can be easily solved by lowering the Blacks slider.
In these cases, in addition to lowering Lights, you can improve the sky using the Polarization slider which recovers details in the sky.
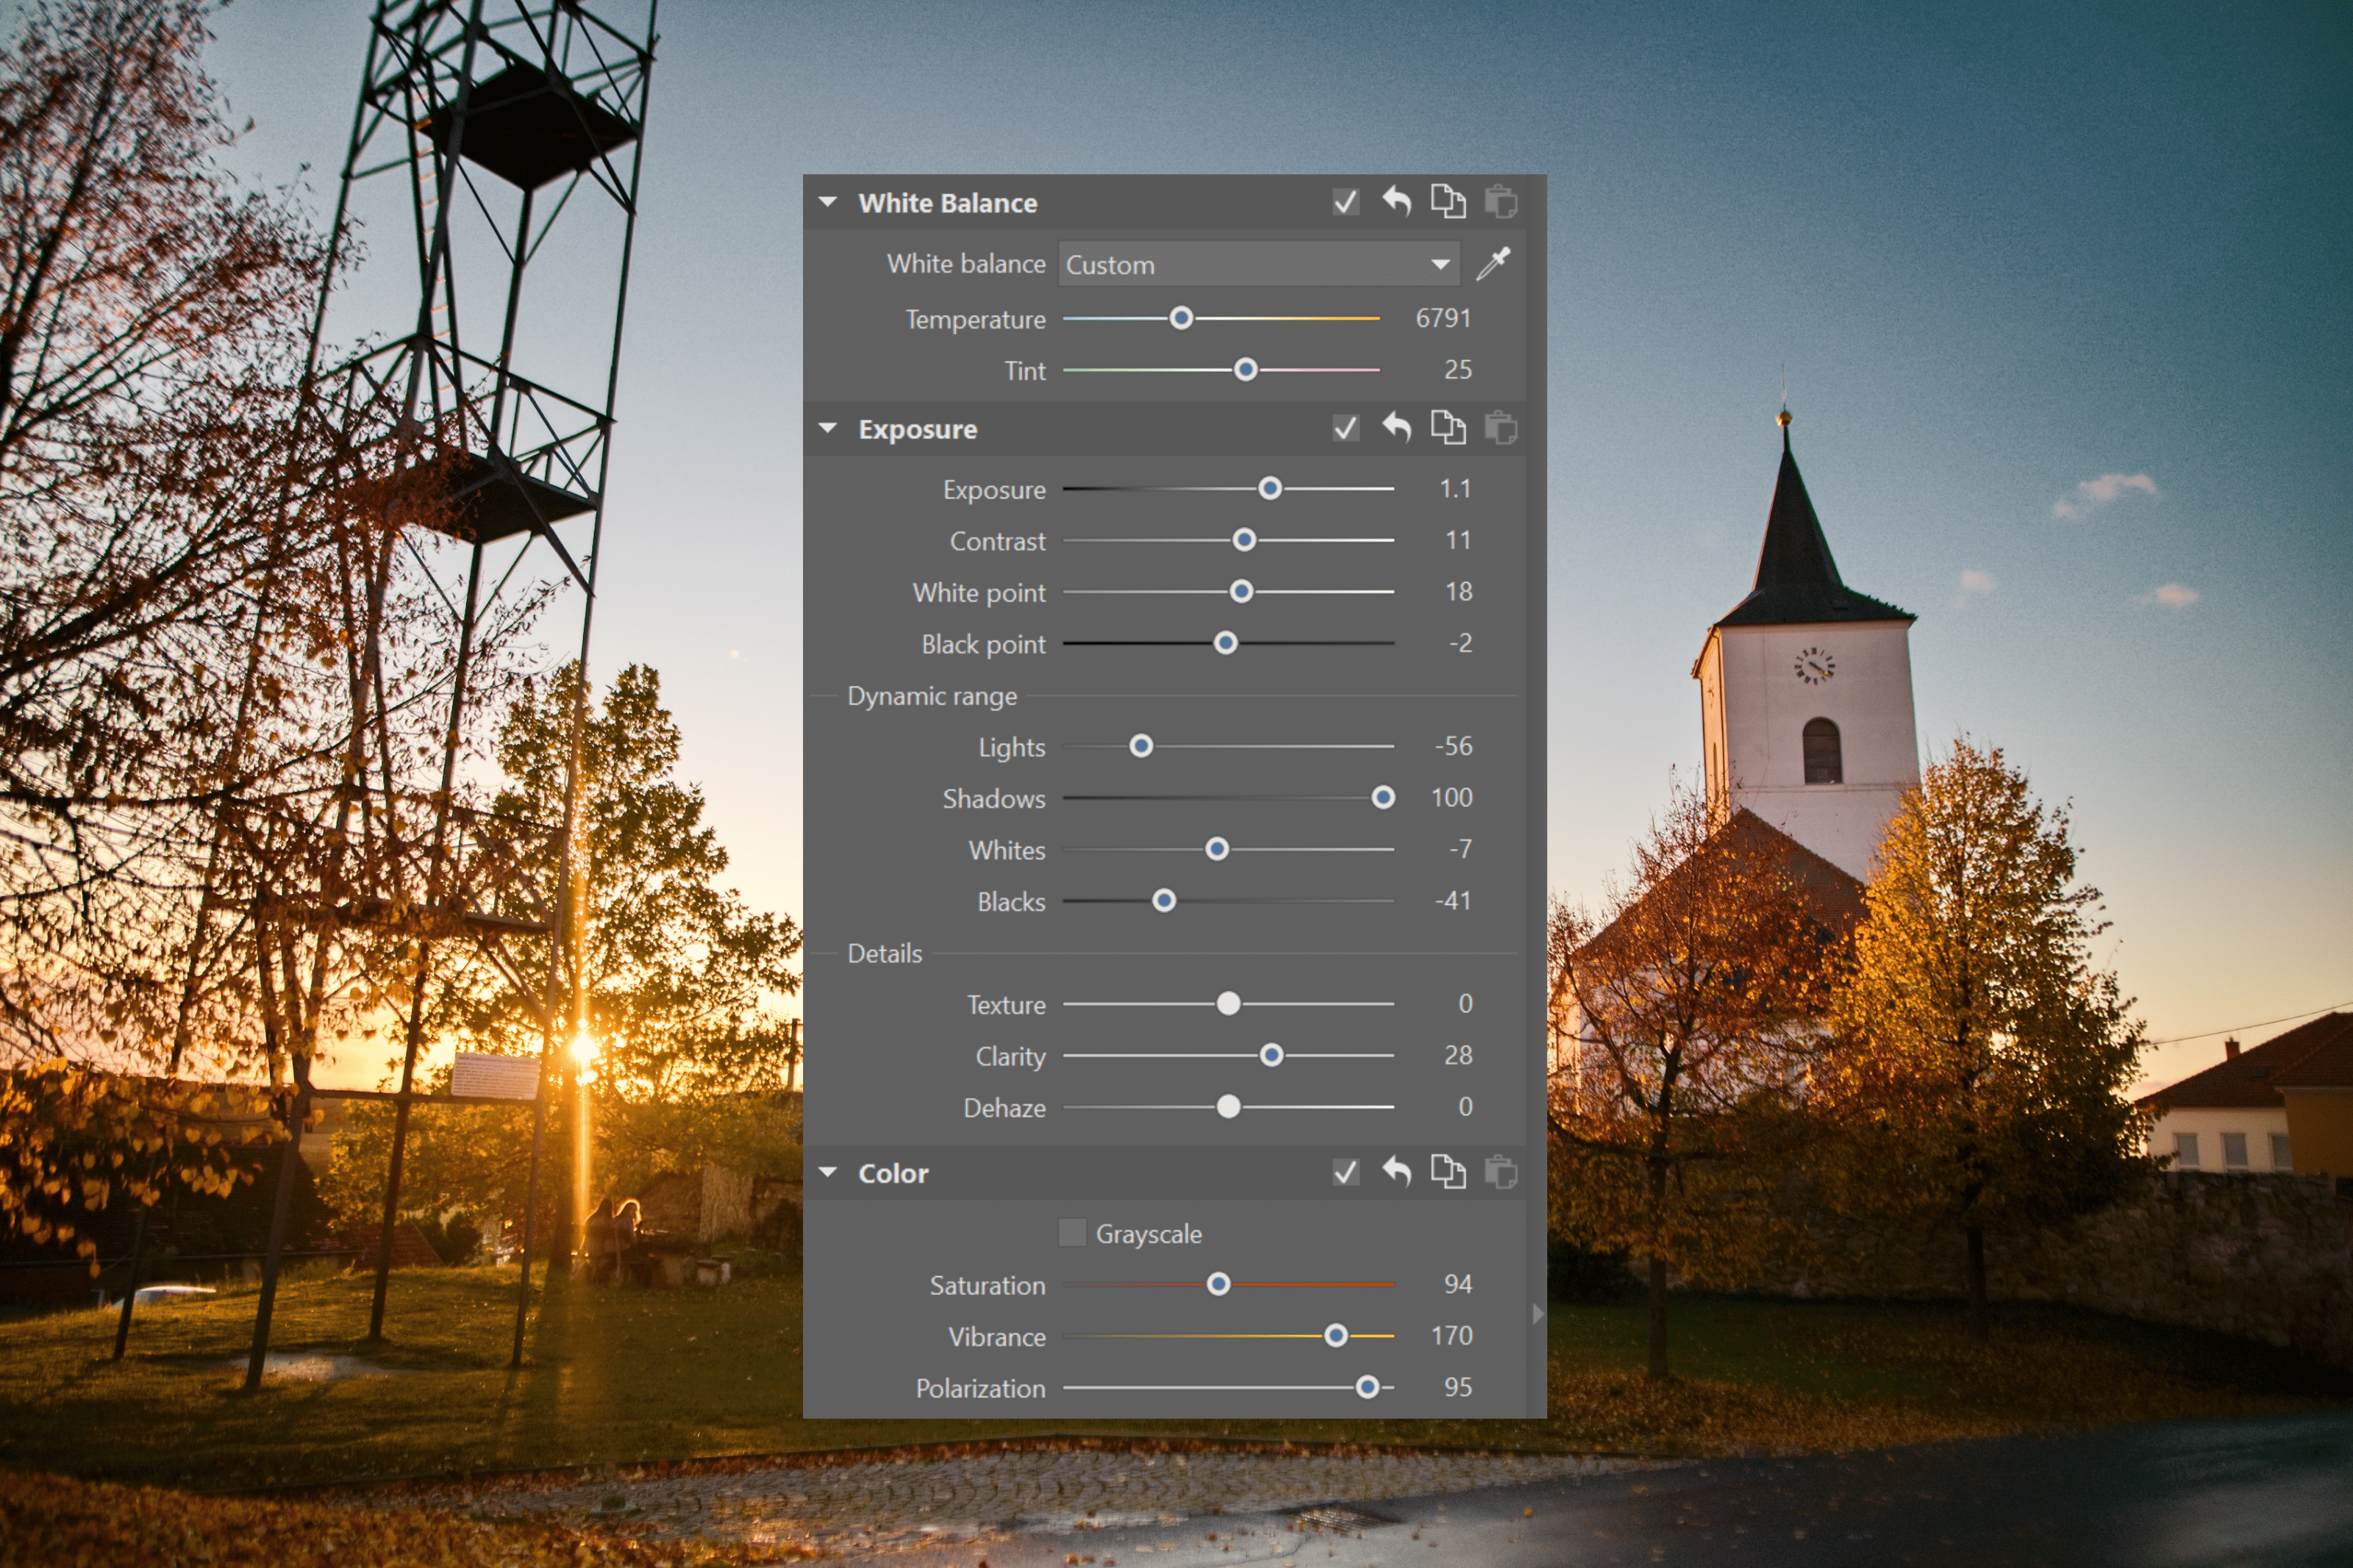
Photo before and after editing.
When the sunset creates haze
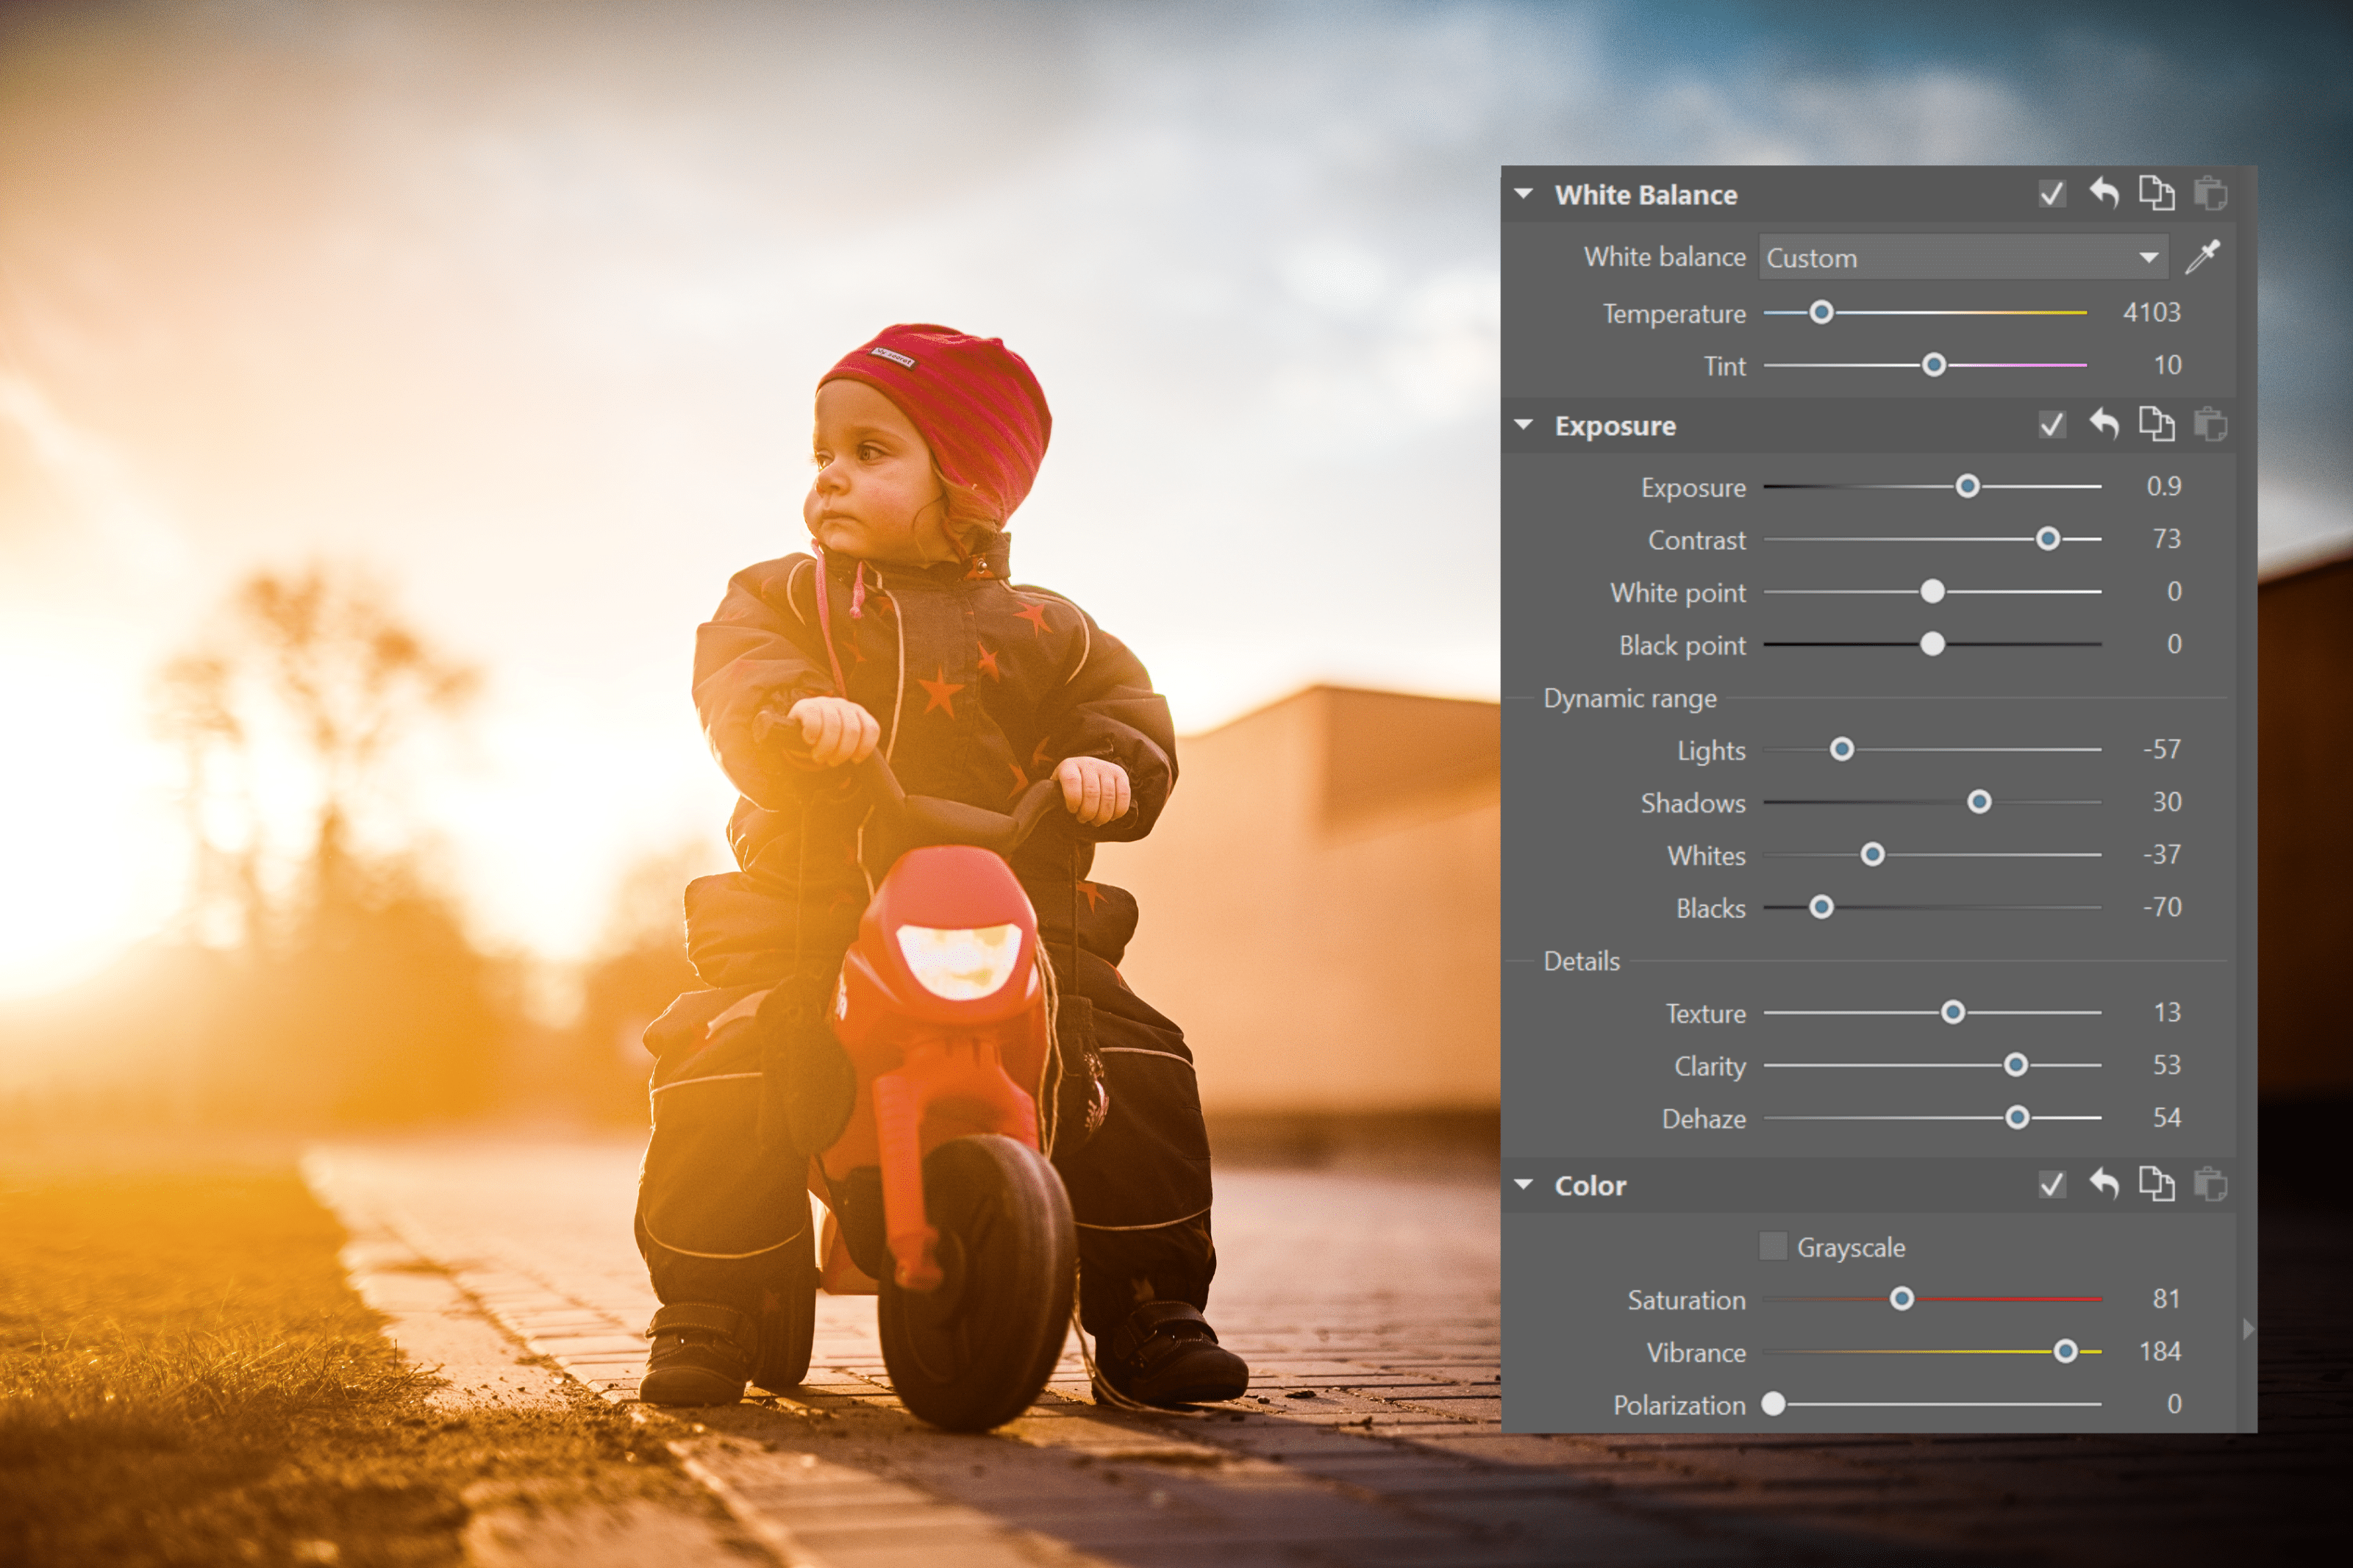
Most lenses lose contrast in strong backlight, resulting in haze. Modern lenses with anti-reflective coating can help, but the effect still occurs to a certain degree.
You can solve this by decreasing Lights and increasing Shadows. Increase Shadows less than you would with landscapes, because the maximum value would not look natural.
You can salvage the loss of contrast by decreasing the Blacks slider more and if that’s still not enough, by increasing Dehaze.
High-contrast portraits
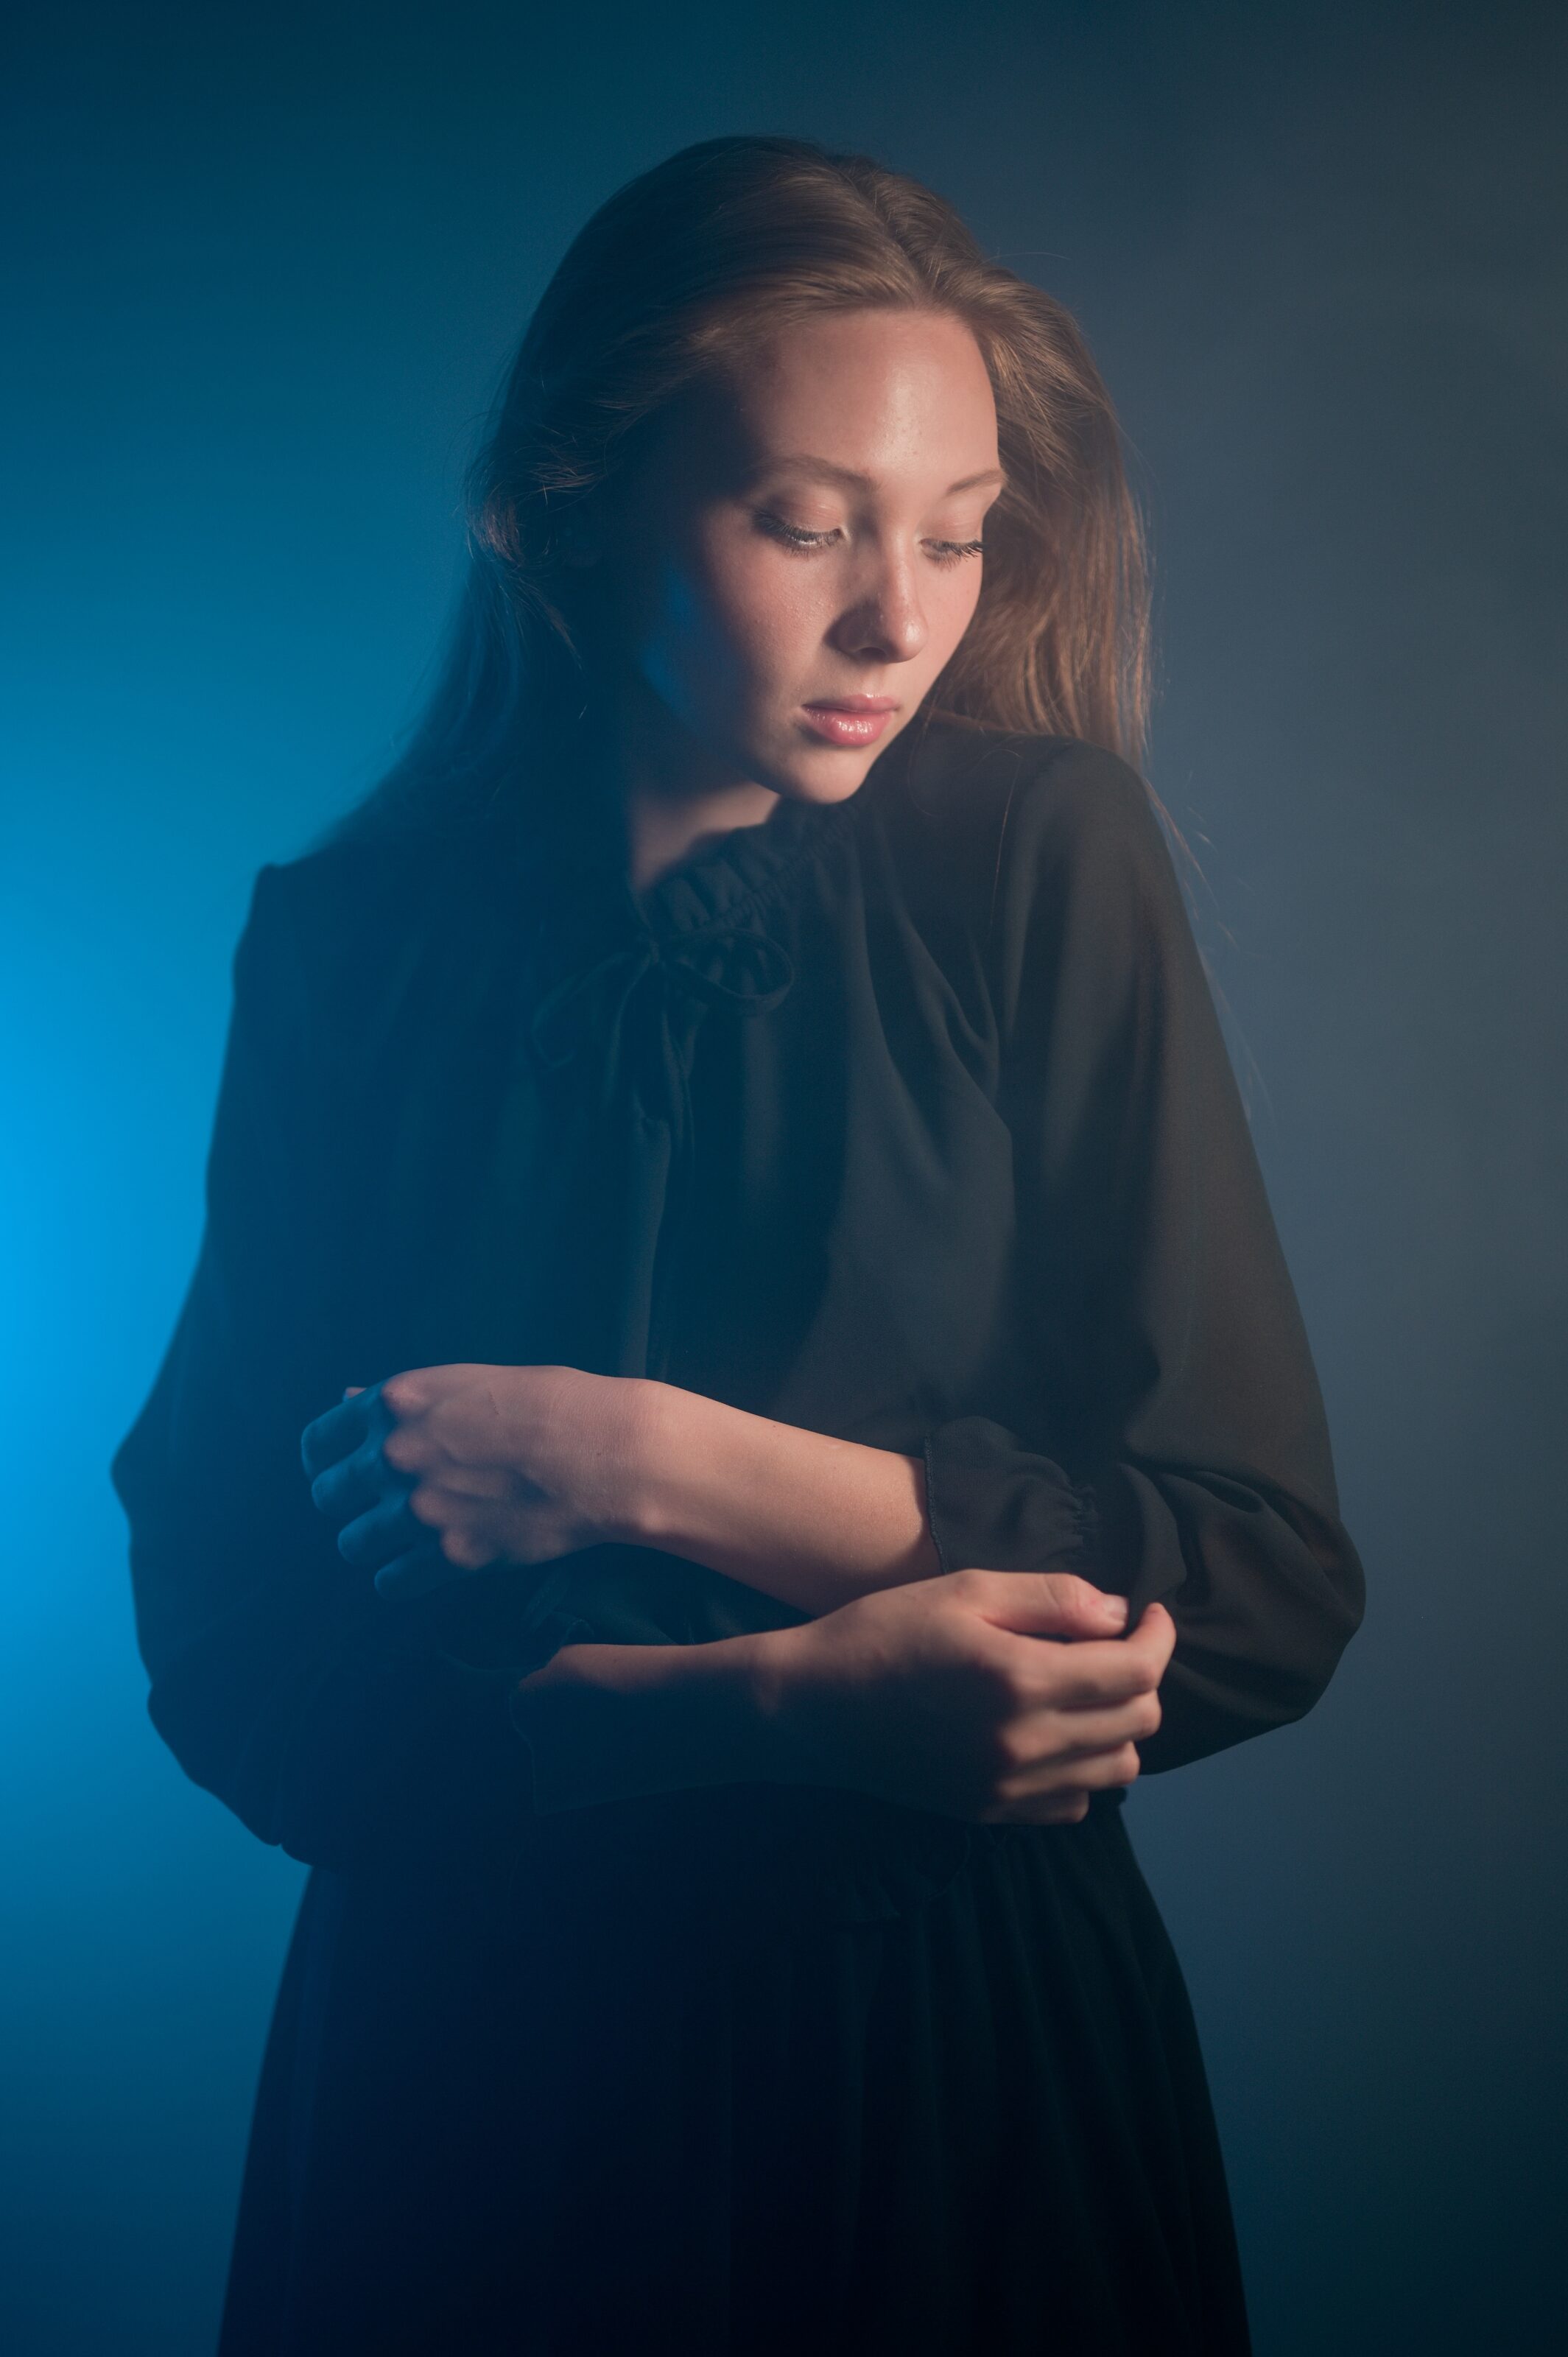
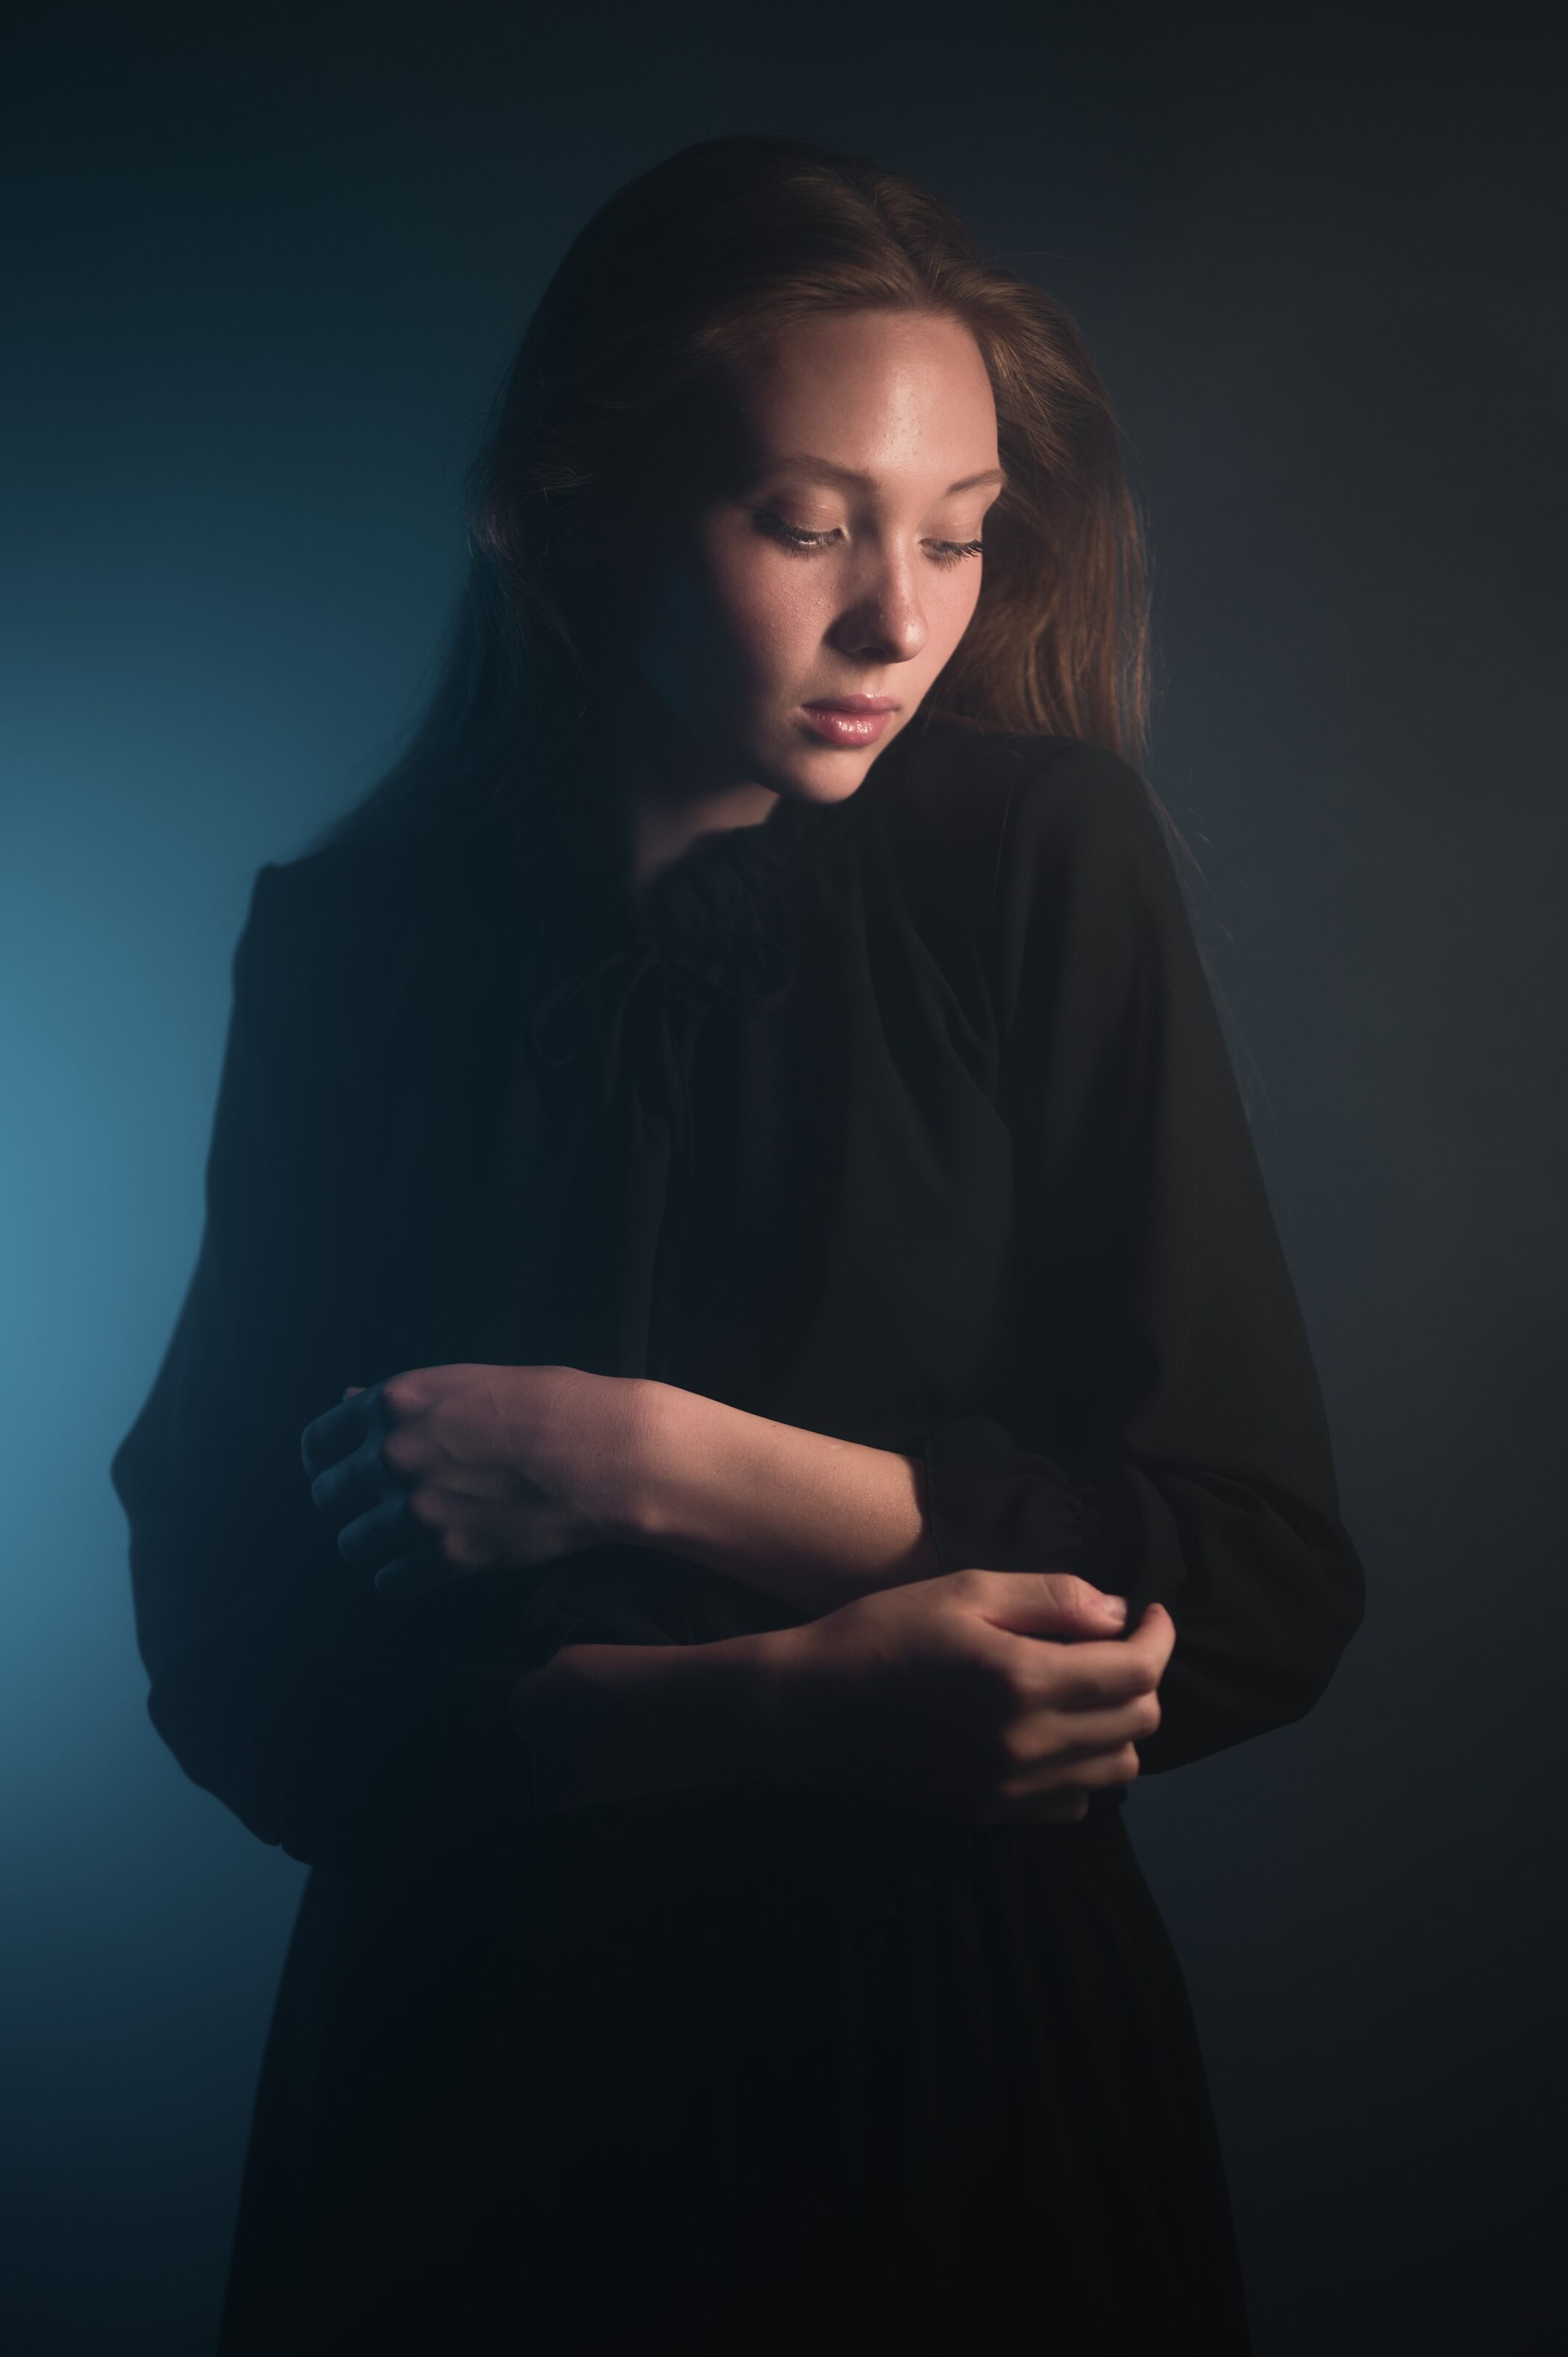
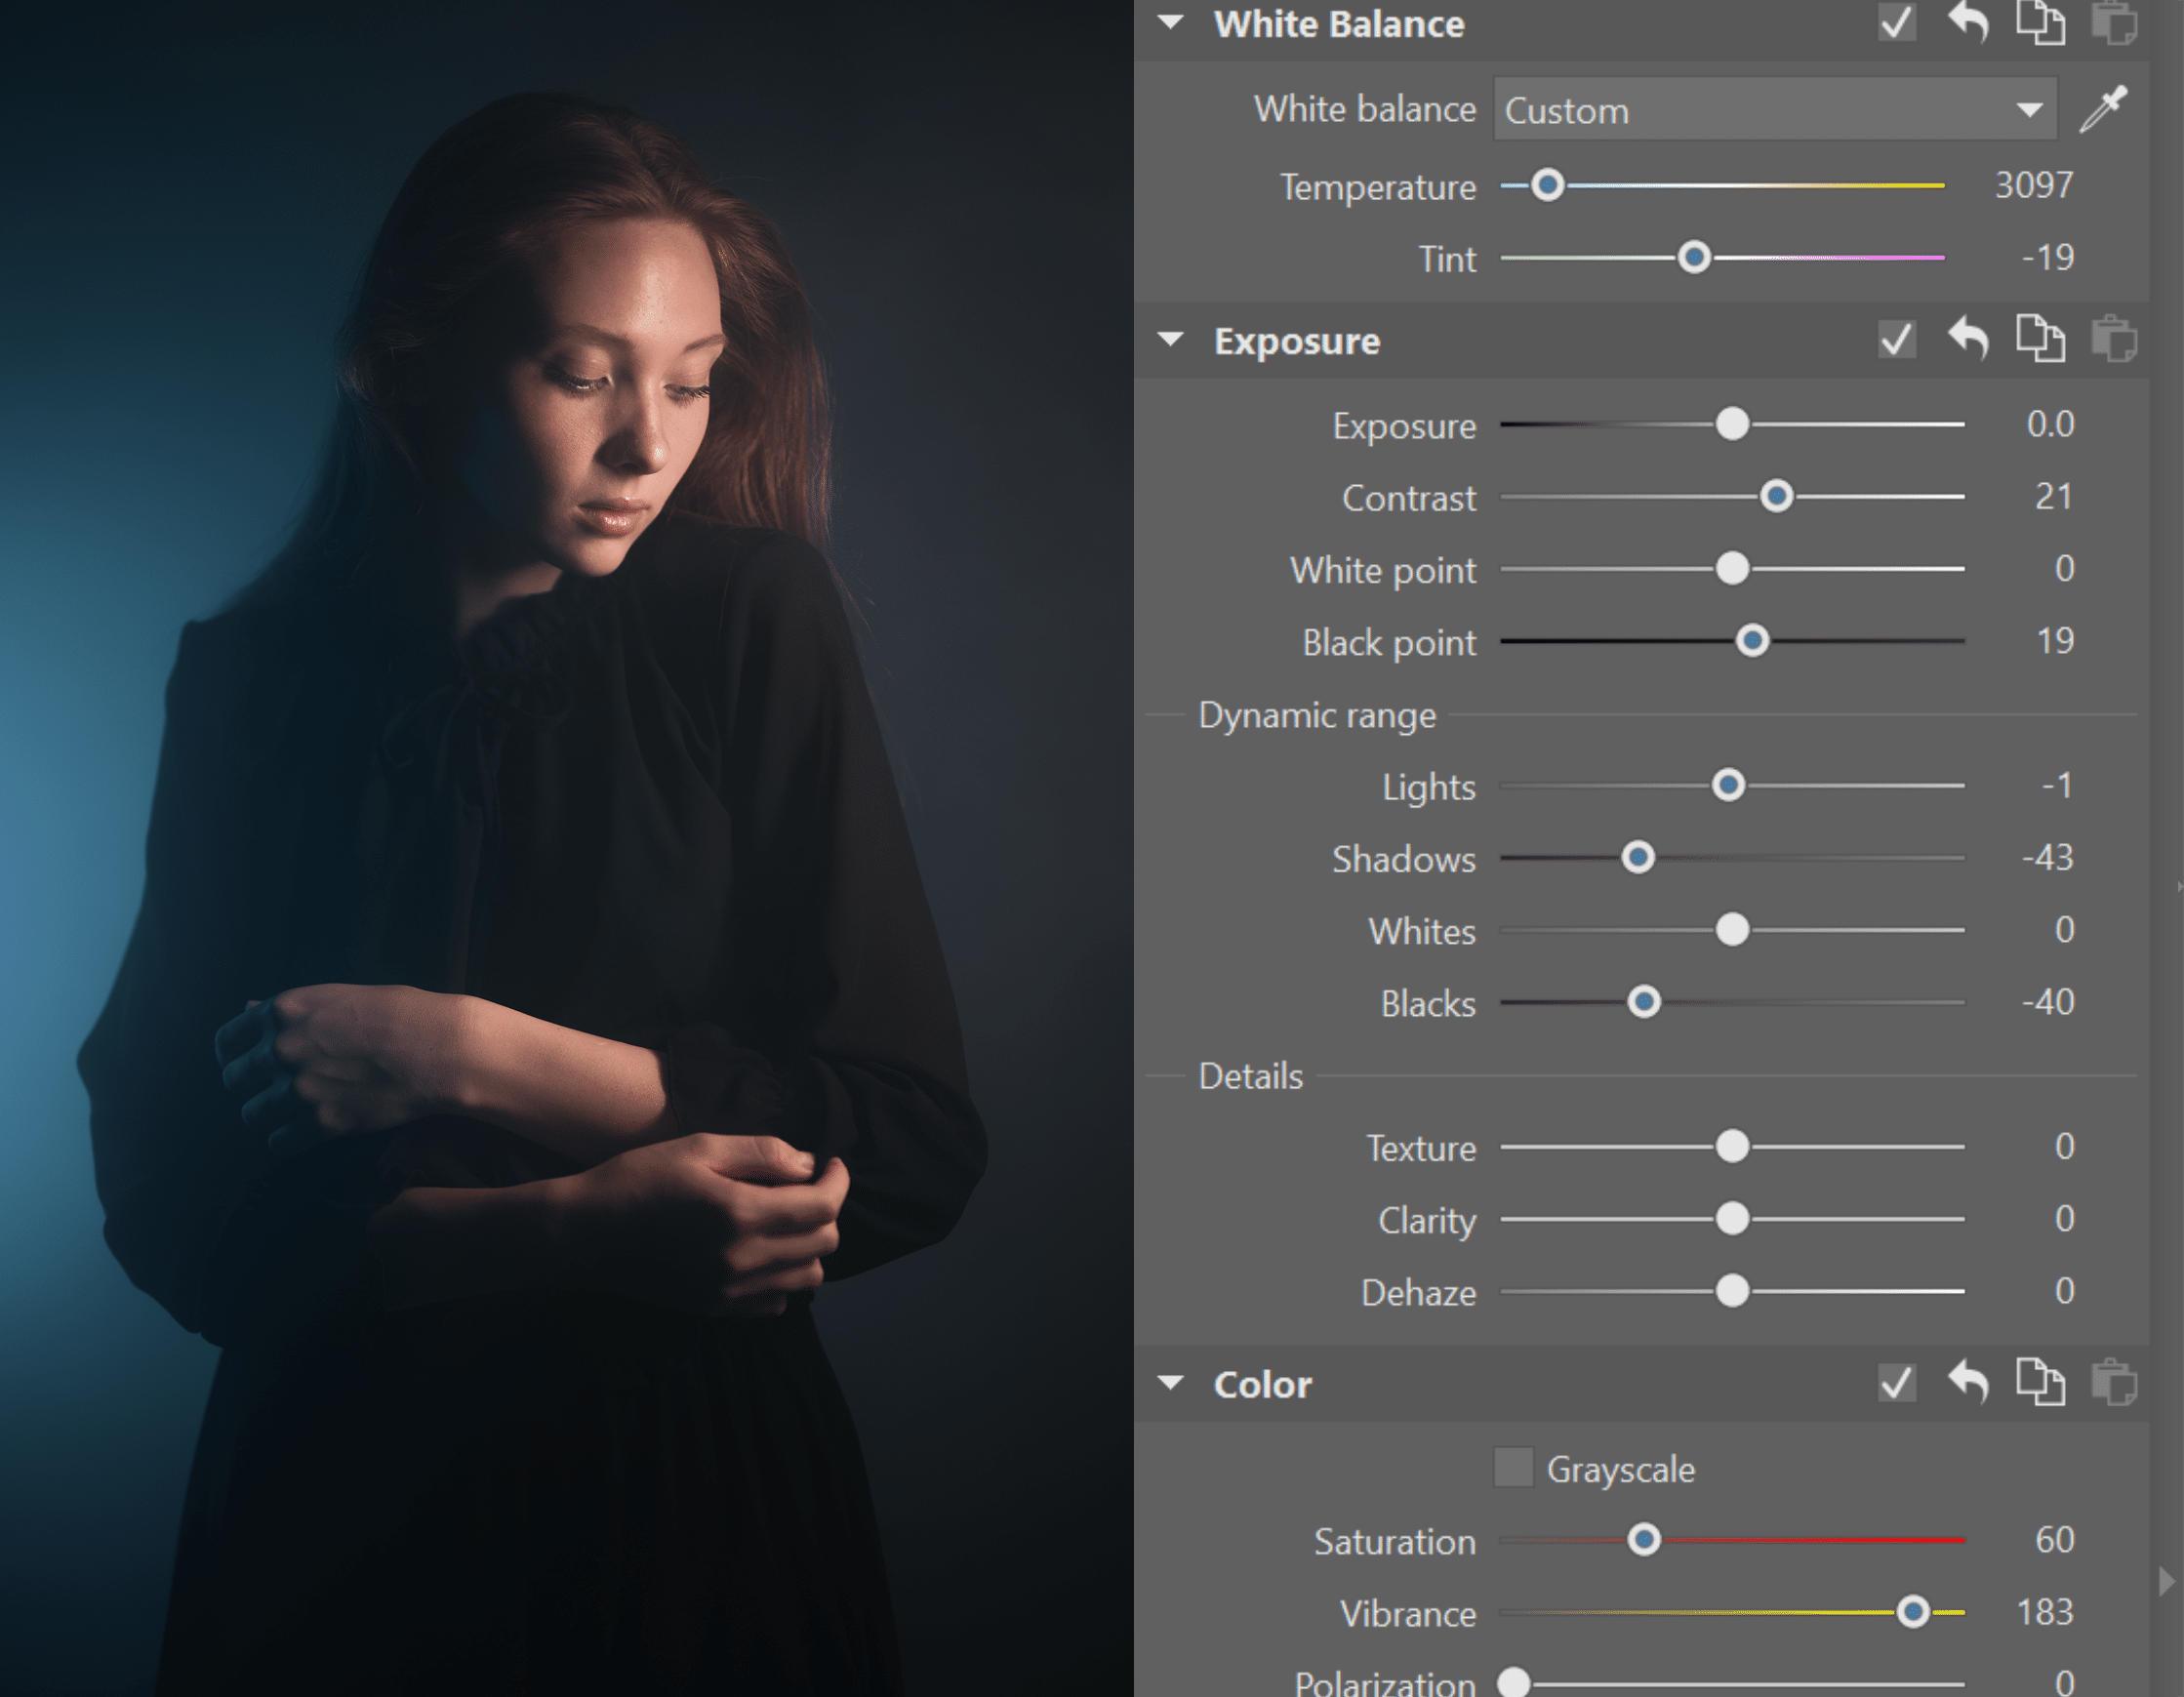
Another situation where dynamic range is critical is dark or low key portraits. It’s the opposite of shooting a landscape just before sunset because after the photo is taken, there is more information in the photo than we need and the photo needs to be simplified. In these cases, move Shadows and Blacks to negative values.
Then it depends on how dark you want the photo. I recommend balancing this adjustment with adjustments to Black point. Black point will give the dark shadows a smoother, more matte texture.
Download Zoner Studio free for 7 days to maximize dynamic range in your photography.
