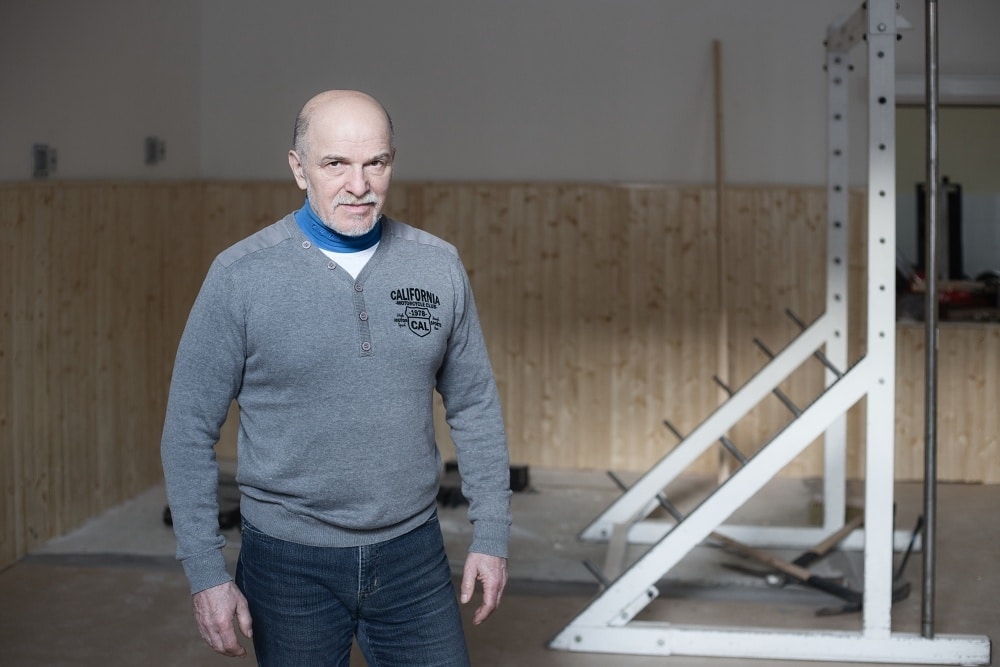
Use Center Composition to Capture Perfection in Your Photographs

Is center composition always a mistake, or—when you know what you’re doing—can it benefit your photos? We’ll show you several examples of when you should compose to the center and when to avoid center compositions, and also how to improve a photo you’ve center-composed.
Very often beginning photographers use center composition without knowing why. But when they start devoting themselves to photography more deeply, one of the first things that they learn is to compose to the golden ratio points. But there are many other types of composition. Knowing when and why to use the individual types is a sign of an advanced photographer. So let’s take a look at one of the most criticized composition types—center composition.

Is It a Matter of Point of View?
There’s a very simple answer to this question: yes. It’s a matter of the view of the subject through the lens. Always compose to the center when you’re photographing symmetry. But how can you tell when you’re photographing symmetry? Everything that aims towards perfection is symmetrical. It’s up to you to find the regularity in your photographic subjects.
In its essence, it can be found everywhere. When you look well, you can find the right point of view. Cars are a good example. When you look at a car from the front, the left side is identical to the right side. Weightlifters and bodybuilders also try to achieve perfection in their bodies thanks to perfect symmetry.

Symmetry Under Scrutiny
When you want to compose to the center and you’ve found the regularity in your subject, stand in a way that gives you the most perfect final picture possible. The center composition—the symmetry—shouldn’t be broken up in any way. Essentially even the background should be perfect, or else you’ll lose the magic of symmetry. Then it’s better to compose to the golden mean points that we mentioned before, or to choose some other type of composition.

If you’re shooting a portrait, you must “aim” your model so that their face and head are perfectly level. Every little deviation will hurt you and make your photo incompatible with a center composition. Also, whether we like it or not, the human face is not symmetrical. So as much as you can, choose a neutral expression, where any assymetry will have a minimal effect.

Cars are another favorite symmetrical topic, especially for those who see perfection in cars. Where there’s perfection, there’s also symmetry. A typical example of a photograph where center composition is simply the right choice is a nice car parked in front of a garage with a closed door. But keep in mind that you also need to capture that perfection. So you can’t allow any problems with receding lines or other perspective problems.
You won’t find much perfection in a landscape, but when you do manage it, photos like these are also worth it. Don’t try to create symmetry in a landscape artificially by e.g. copying one half of a photo into the other half. In landscape photography, you should lean towards minimalism.
How to Edit a Center Composition
Center-composed photos are all about perfection and symmetry. That’s why it’s likely that you’ll often need to crop them. Use Zoner Studio for this, and the Crop tool (C) within the Develop module—or if you don’t mind a loss of photo quality, the Crop tool within the Editor.
If the photo contains horizontal and vertical elements, use the Perspective tool (K). This tool can help you make your pictures even more symmetrical.


You might say that nothing’s perfect, and it’s often up to us photographers to push for perfection, find it, and catch it, or if needed to help it cross the finish line using the above-mentioned tools in Zoner Studio.
