6 Most Common Editing Mistakes and How To Avoid Them
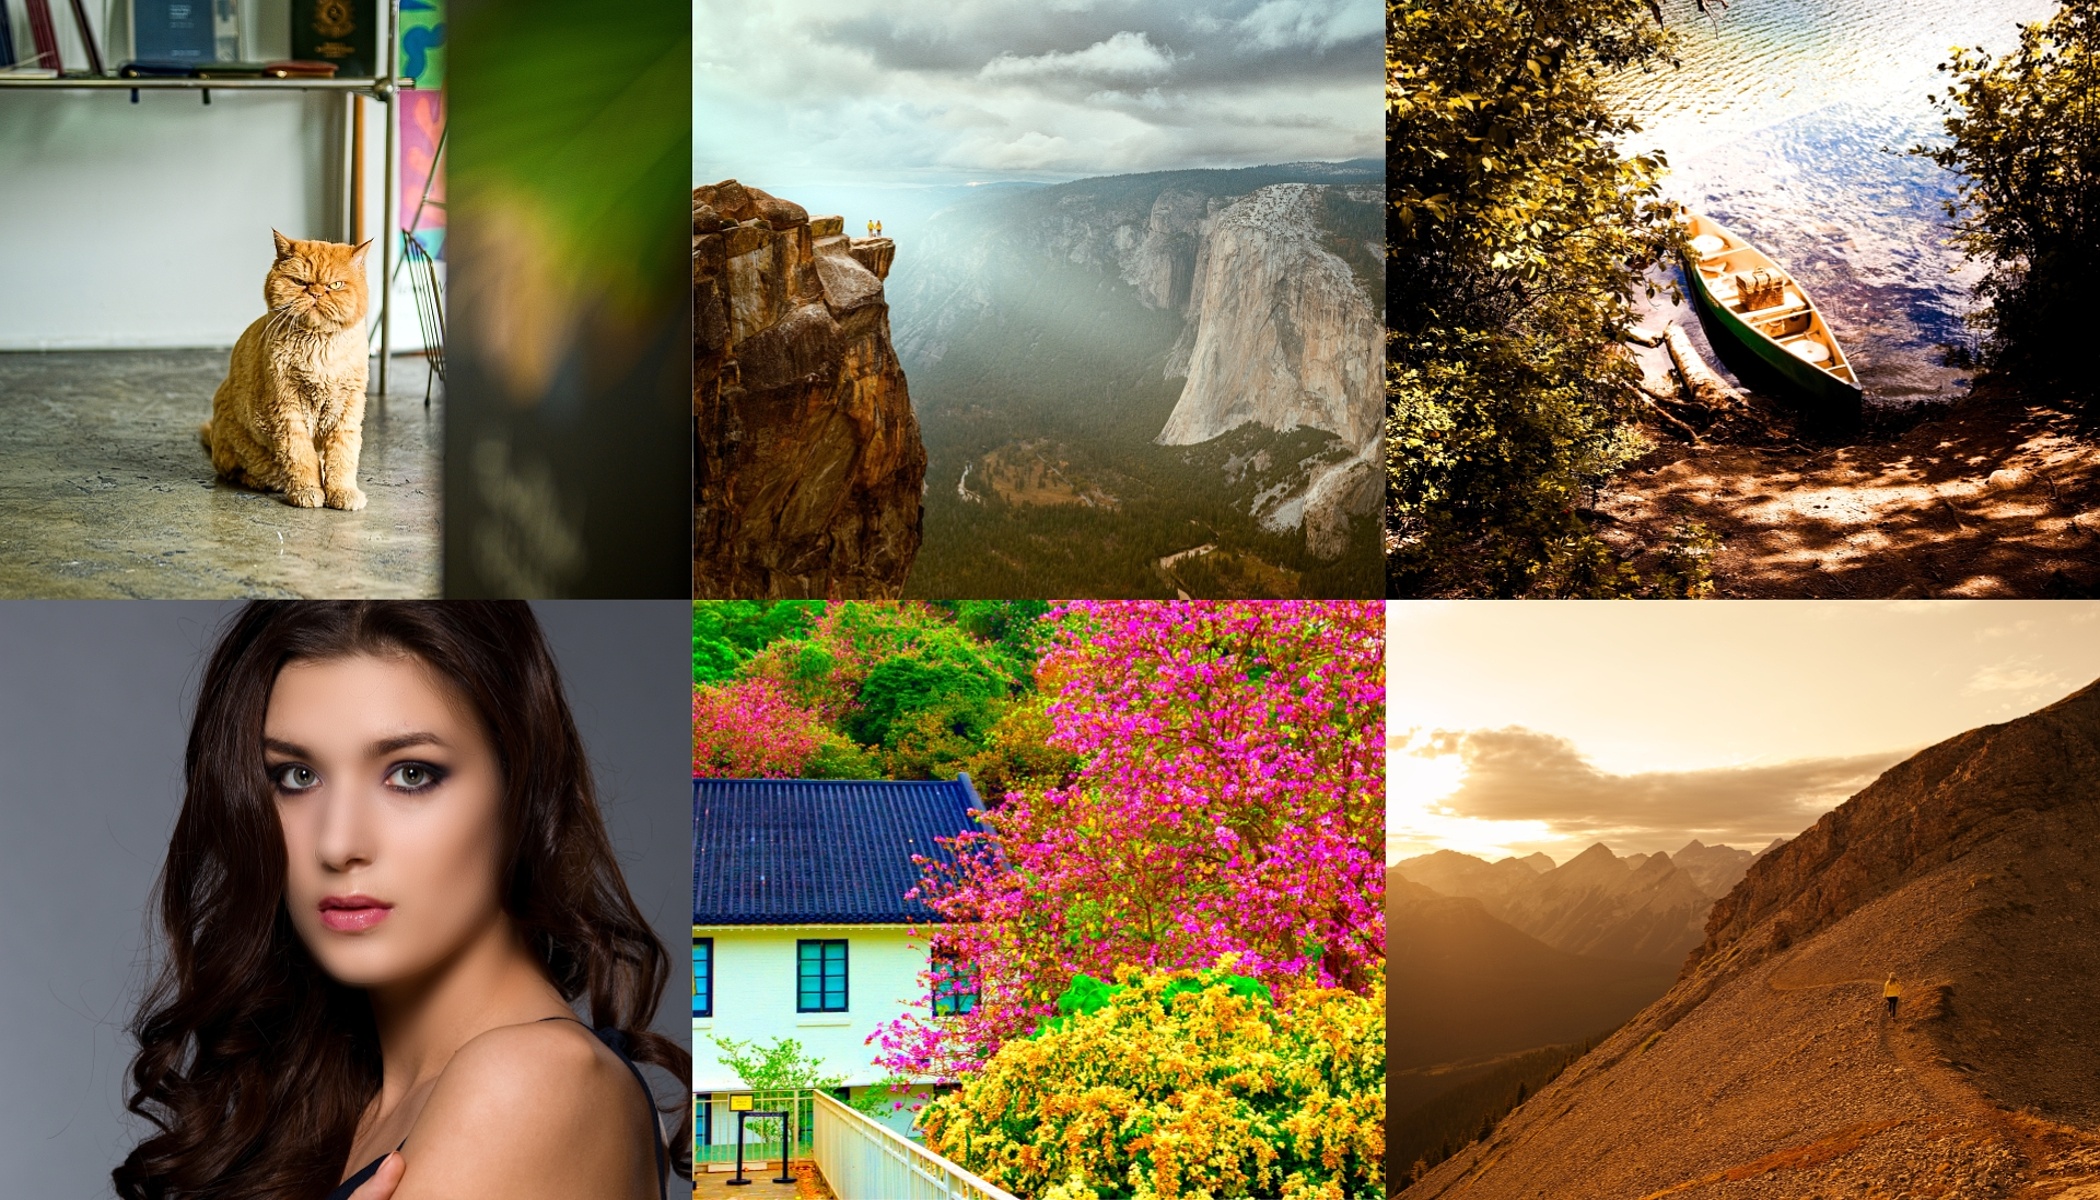
Photo editing is a great way to make your shots stand out and take them to the next level. But it’s also where many beginners run into trouble. Instead of improving their photos, they often end up ruining them with heavy-handed editing. It’s a common rookie mistake. Almost everyone starting out tends to push the sliders as far as they can go. Learn how to avoid beginner mistakes and get better results from your editing.
Here are some of the most common photo editing mistakes and simple ways you can steer clear of them:
- Too much contrast
- Oversaturated colors
- Skin that looks too smooth
- Poor white balance
- Excessive sharpening
- Overdoing adjustments and effects
Too much contrast
Contrast adds depth to a photo, but if you push it too far, the fine details disappear. Blacks turn into flat, uniform areas while whites blow out into harsh spots with no texture.


Too much contrast and better contrast editing.
Increase contrast gradually and in smaller increments. Instead of relying only on the Contrast slider, try adjusting Lights and Shadows separately. This gives you a richer image without sacrificing detail. We covered several methods to fine-tune contrast in our article 5 Ways to Enhance Contrast in Your Photography.
Oversaturated Colors
Who doesn’t want vibrant colors? But oversaturation is one of the most common mistakes. Skin tones quickly turn into orange masks, while skies turn an unnatural shade of blue.
Instead of the Saturation slider, which adjusts the saturation of all colors equally, you might have more luck with the Vibrance slider. Vibrance targets only the less saturated tones, making them pop without overdoing the rest.


Too much saturation and better saturation editing.
Skin that looks too smooth
In portraits, it’s tempting to erase every imperfection. However, if you overdo it, your model can end up looking more like a mannequin. Retouching should be subtle—remove pimples, smooth out the most distracting blemishes, but keep the skin’s natural texture intact. Clean, yet natural-looking skin is what makes a portrait look professional.
Read how to naturally retouch portraits in the article Portrait Retouching: How to Perfect Your Portraits.


Too smooth skin vs. natural look.
Poor white balance
The color tint of a photo can completely change (or even ruin) its mood. If the whites are too yellow, or conversely, too blue, the photo looks amateurish. Always check your white balance and adjust it so the colors feel true to life. Shooting in RAW gives you a huge advantage here and lets you make precise corrections and fix major mistakes.


Want to master color temperature? Read the article White Balance: Why It Matters, What to Do to learn how to control color temperature while shooting and fine-tune it in post-production.
Oversharpening
Sharpening is meant to bring out detail, but overdo it and you can end up with harsh contours and extra noise around objects. It’s best to apply sharpening lightly, or only in select areas. If you need a stronger effect, try combining methods—for example, locally increasing Clarity and Texture. But do everything in moderation—too much Clarity is another common beginner mistake.


Why does the cat look angry? Because in trying to save a blurry shot, I went too far with Clarity and Sharpening. Many times, it’s better to just delete a blurry photo altogether. For everything else, subtle sharpening will help.
Sharpening and reducing noise are often best done together. For tips on how to balance them, check out the article Sharpen and Reduce Noise: Balancing the Amount of Sharpness and Noise in Your Photos.
Using too many effects
Filters and effects are appealing because they can transform the look of your photos in seconds. But sometimes less is more. If you use too many adjustments, or add several dramatic effects at once, the result usually looks overdone and unnatural. Use adjustments and effects sparingly, more like seasoning than the main dish. Zoner Studio has plenty of creative tools, but that doesn’t mean you have to use them all at once.


Too much effects vs. more natural look.
Take a step back
Editing should enhance your photo, but not change it beyond recognition. Most beginner mistakes happen when sliders are moved too much. Remember: subtle, thoughtful edits always look more professional than radical changes. One tried-and-true tip—step away from your work. Look at your edited photo again after a few hours (or the next day) and see if it still feels right.
If you learn to keep contrast, color, white balance, retouching, and sharpening under control, your photos will look much more natural and appealing. It just takes practice, and soon it will become second nature. Don’t let these beginner mistakes hold you back—especially now that you know how to avoid them.

And remember, for a photo to look good, it first has to be well taken. If you want to learn how to avoid mistakes while shooting, read the article 6 Beginner Mistakes and How to Fix Them.
The best photo editor for beginners
Whether you’re just starting out or already more experienced, Zoner Studio offers a full range of both basic and advanced editing tools at a very affordable price. If you haven’t tried the latest version with its newest features yet, here’s your chance. Download Zoner Studio free for 7 days and explore everything it can do.
FAQs
Can I use automatic photo editing? Yes, but think of it as a jumping-off point. Automatic editing often just brightens the photo or enhances the colors, which may not match your vision.
How much editing is acceptable? If your photo still looks natural and nothing jumps out at you, then you haven’t overdone the editing. If the edits are obvious at first glance, it’s likely too much.
How do I recognize the right amount of editing? With time and practice. We recommend putting the photo aside for a while after editing and looking at it after some time. You’ll notice right away if you’ve gone too far.