6 most common photography problems and how to resolve them
Every photographer runs into some troubles with their photos, especially when they’re just starting out. Their pictures aren’t perfectly sharp, they’re too dark, or have too much noise. No matter how much we try, there’s always something to fix. Whether the focus is off, there’s noise, or your composition isn’t perfect, you can quickly resolve these issues using Zoner Studio. We’ve selected 6 of the most common mistakes and will show you how to fix them.
Many of these issues can be handled during the actual shooting. Perhaps by ensuring a sharply focused shot and choice of composition, or a better set up of your camera. But we all make mistakes. That’s why it’s a wonderful thing that we can fix small issues on the computer and you don’t have to throw away an otherwise good photo.
Lack of sharpness
Sharpness is often one of the first things we notice in a photograph. We use depth of field to emphasize what is and isn’t important in the photo. The most basic rules state that the eyes in particular should be pin-sharp.
If you get a shot that’s not sharp, it is either blurry (due to a longer shutter or camera movement) or out of focus (the plain of focus lies outside the main subject of the photo). In both cases, it depends on how visible this issue is. Sometimes, you have no choice but to delete the photo and take another one. However, if it’s only slightly unsharp, you can easily sharpen it using Zoner Studio.
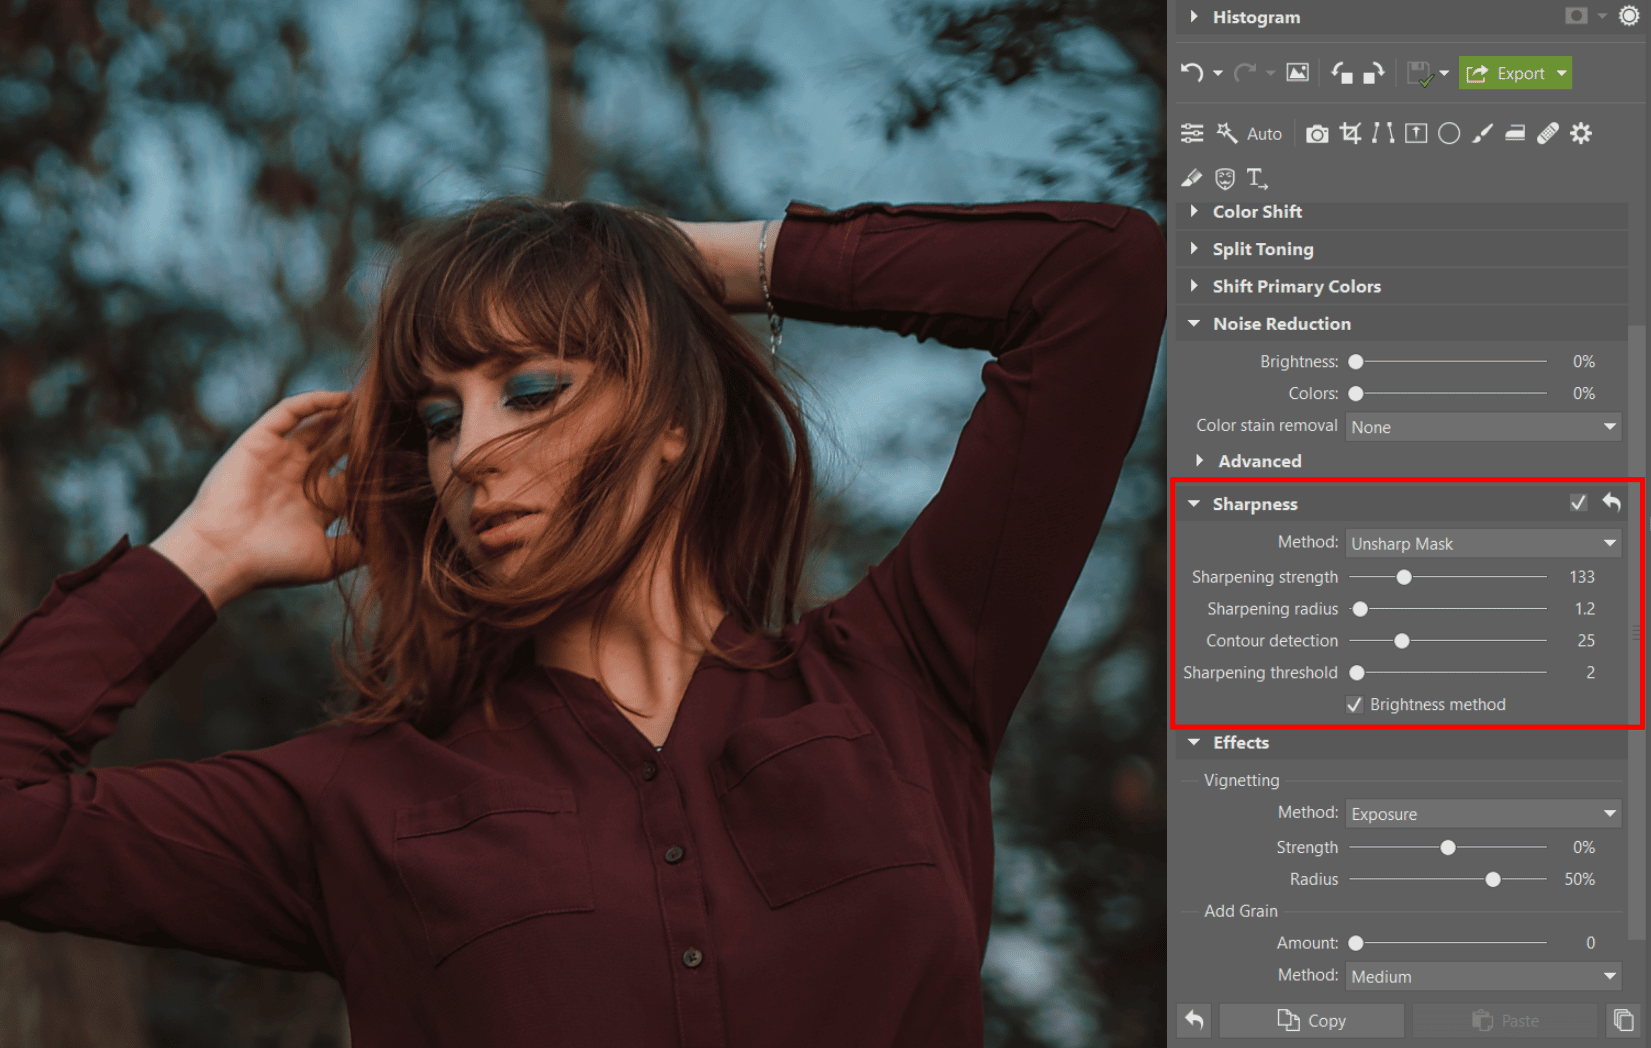
You can find many sharpening functions in Zoner Studio. Which one should you choose? For overall sharpening, you can’t go wrong if you use the Unsharp Mask function in the Sharpness category of the Develop Module. You can also use Smart Sharpen.
We’ve written about these functions in more detail in the article How to sharpen your photos – advancing from imperfect sharpness in your photos.
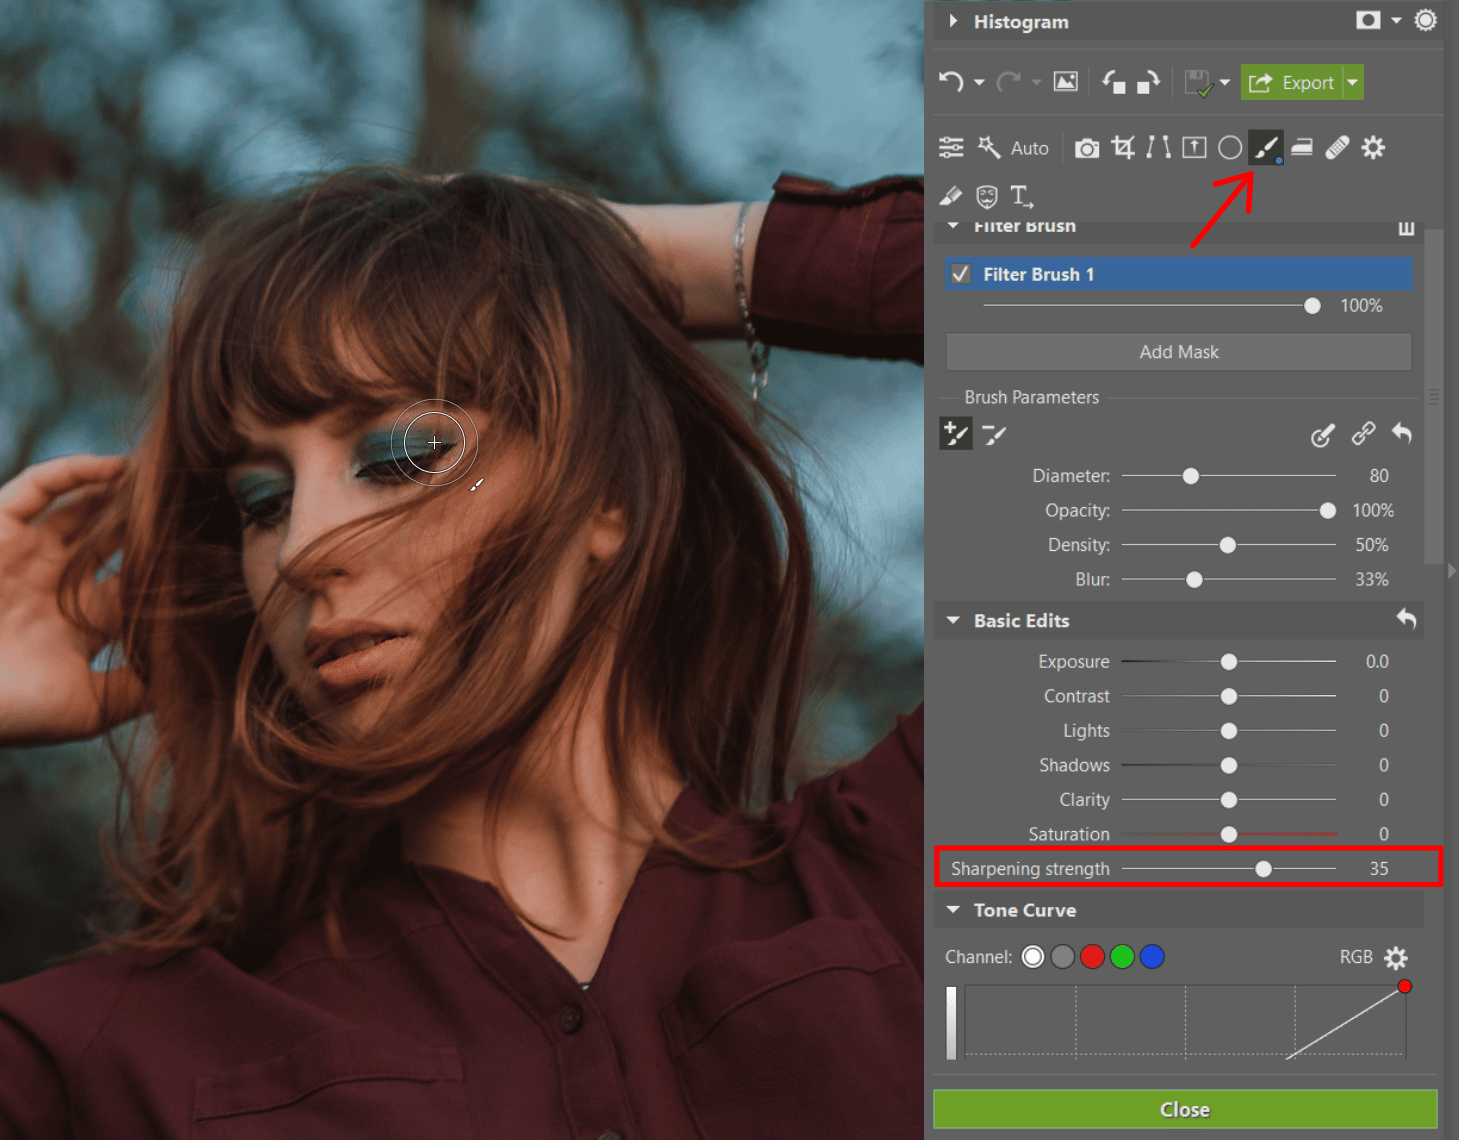
If you need to sharpen just one part of your photo, such as the eyes, use the Filter Brush (B) in the Develop Module with the Sharpening strength setting. Be careful not to overdo it with this edit. Eyes that are overly sharp won’t appear natural.
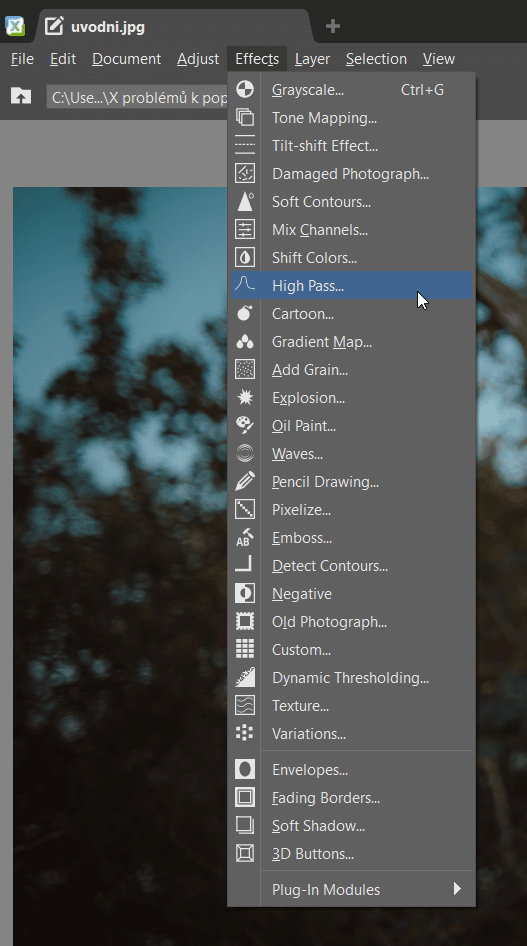
Another method to sharpen your photos that is worth mentioning is High Pass in the Editor Module. This solution is great because it is done by hand and doesn’t rely on automation. It may take a bit more time, but the sharpening process will be completely in your control. What’s more, with the help of layers and masks, you can pinpoint where and exactly how much sharpness is applied.
Noise
Digital noise in your photos will mainly result from taking pictures in darker places with higher ISO settings. Many times, a bit of noise doesn’t matter. It can add creativity to your photo. Still, if it doesn’t exactly fit with your photo, or if there is color noise, it’s good to know how to suppress it.
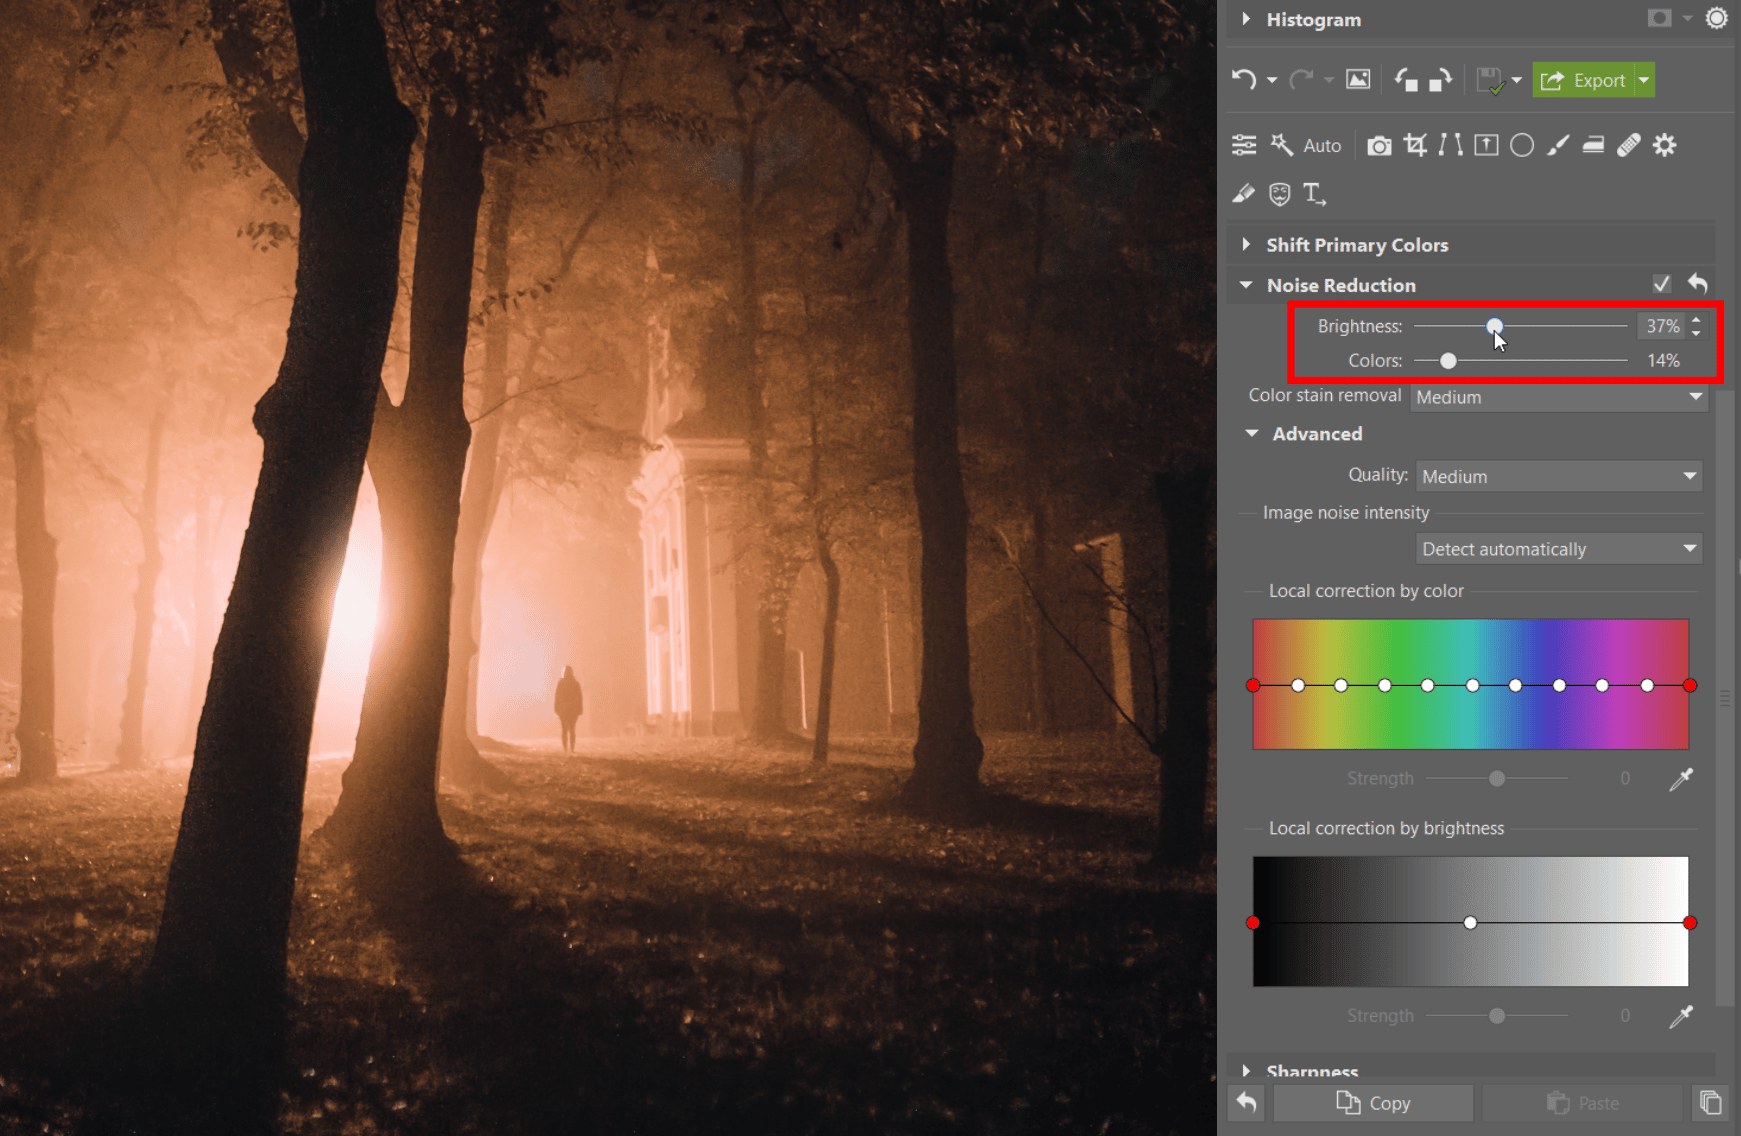
Unfortunately, there isn’t a rule of thumb for how much to reduce noise. We recommend you apply this edit to your photo after zooming in to 1:1 and testing how much will be just right while not resulting in a loss of detail.
Noise reduction has one more disadvantage. The more you reduce noise, the more sharpness you sacrifice. You can find more information about suppressing noise in the article Say goodbye to noise in your photos.
A dark photo
Working with an extremely underexposed photo is no easy task. It is, for the most part, better than trying to rescue an overexposed photo.
Dragging the Exposure and Shadows sliders in the Develop Module is the simplest option. Afterwards, if more noise appears, suppress it.
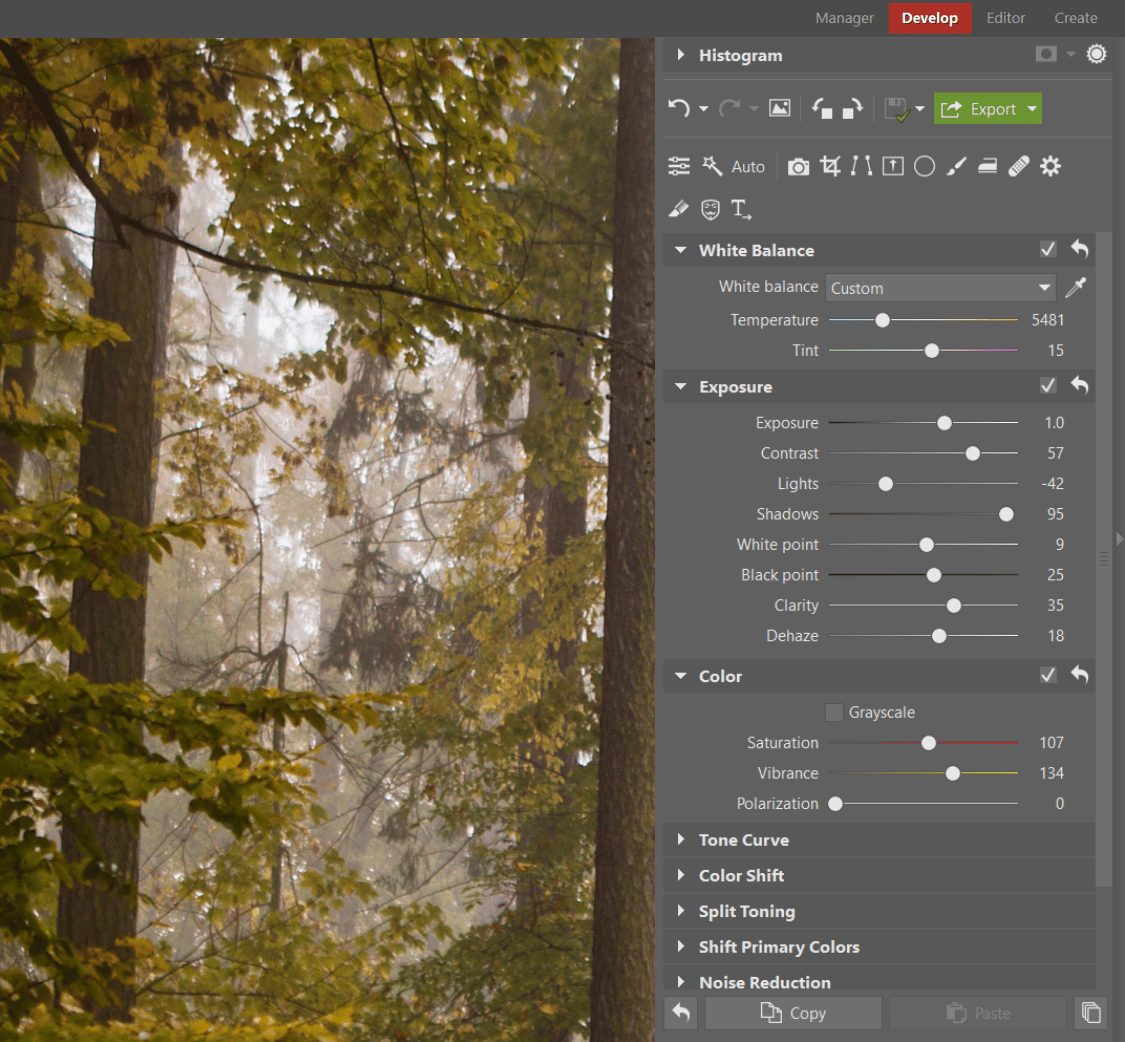
The best idea, however, is to avoid this altogether and shoot in RAW format. An image in RAW contains a greater amount of image data and darker places can be lightened with significantly lower loss of quality. Read more about the advantages of RAW compared to JPG in the article The heated debate of RAW versus JPG: When is it a good idea to shoot in RAW?
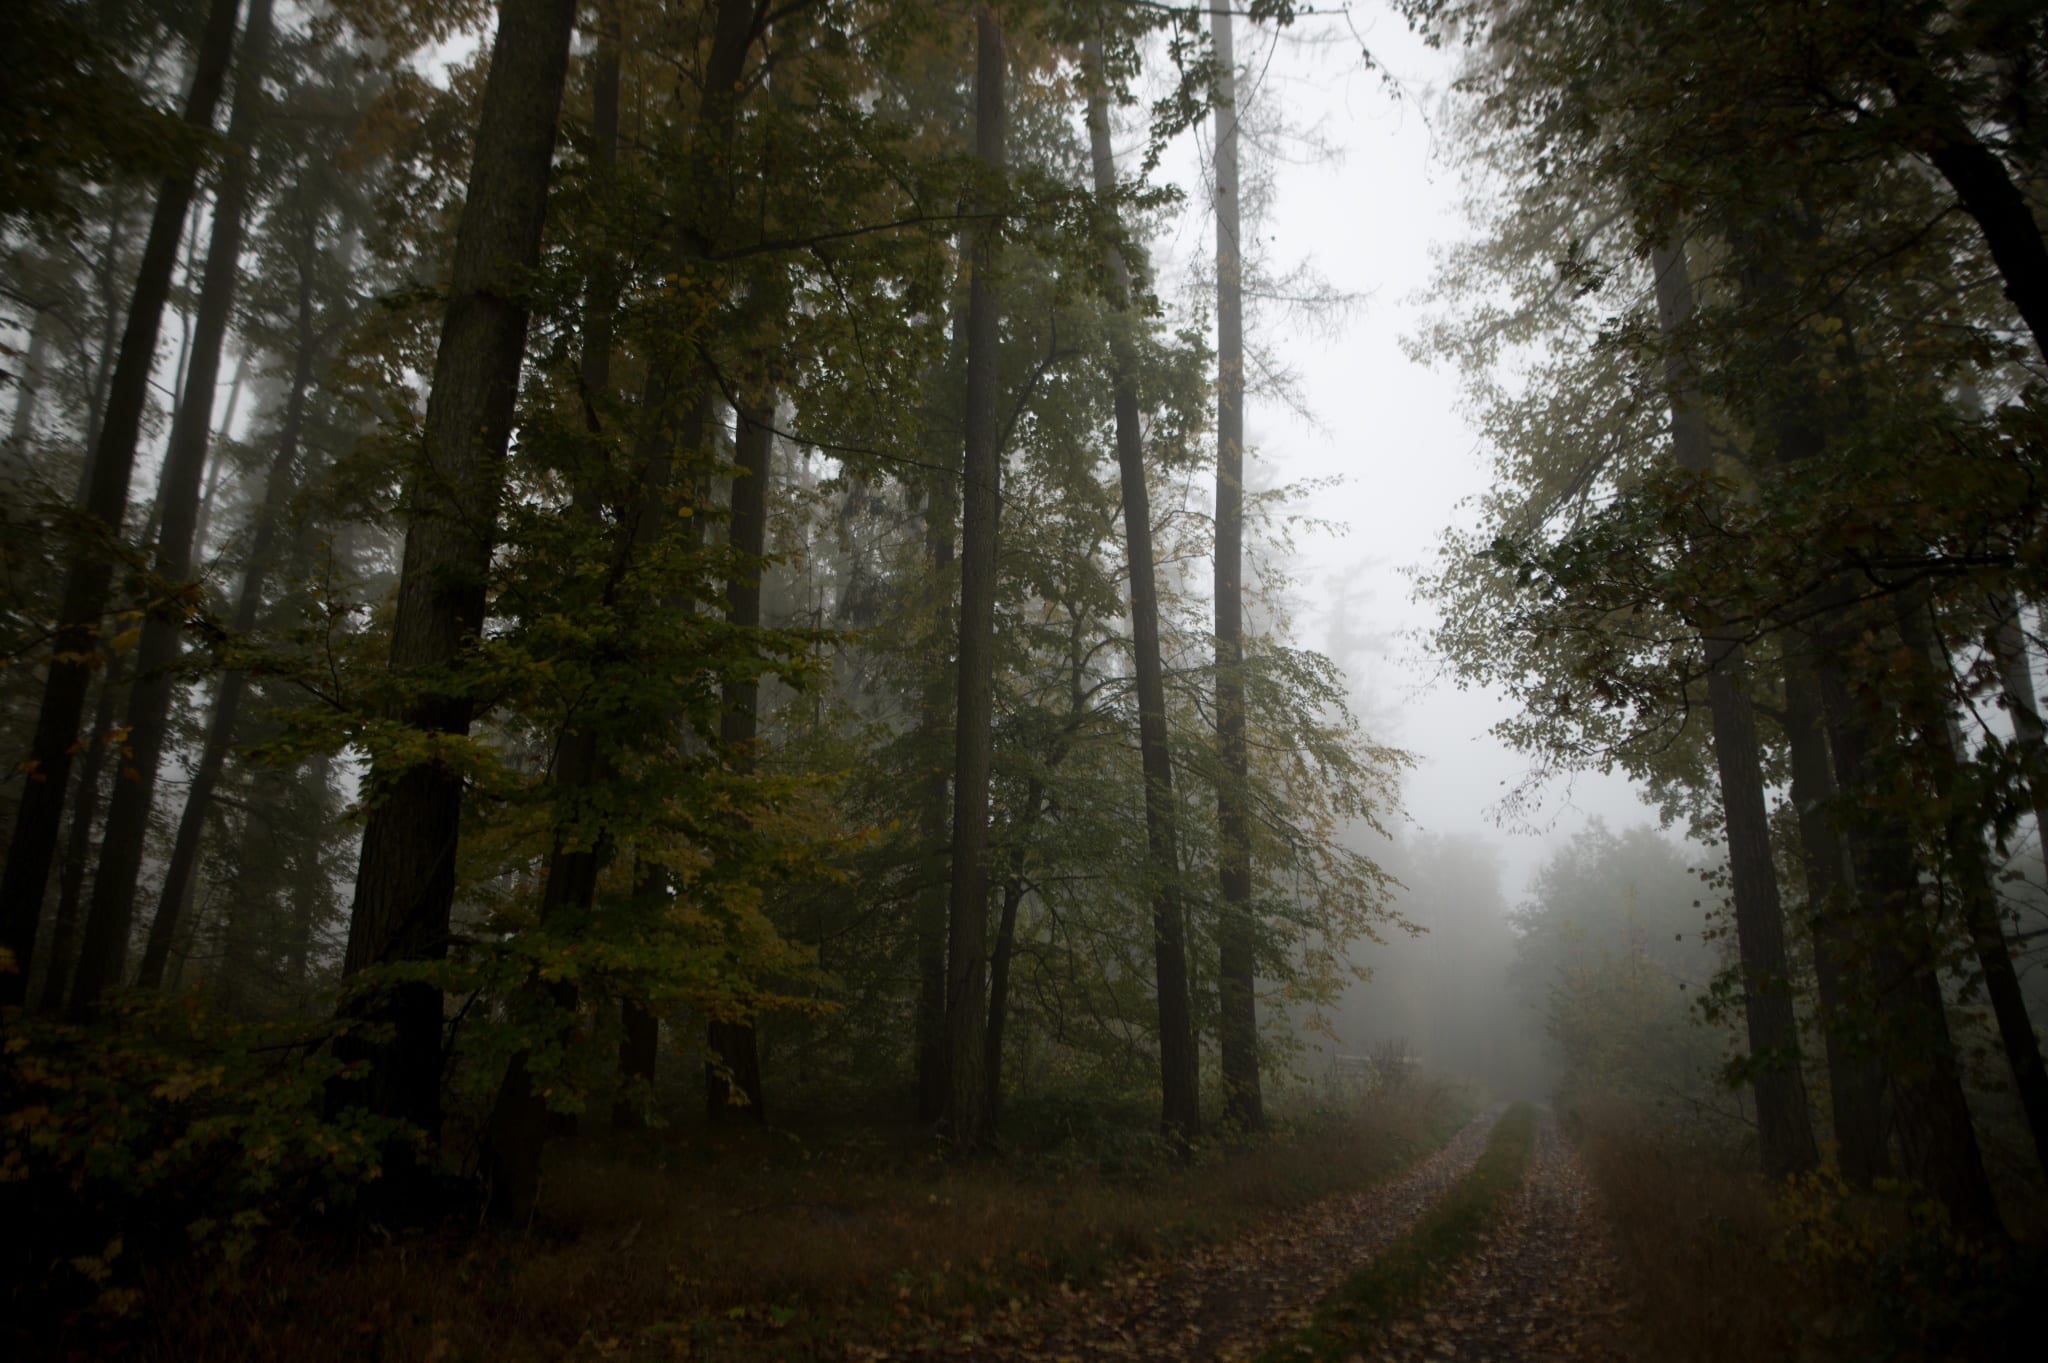
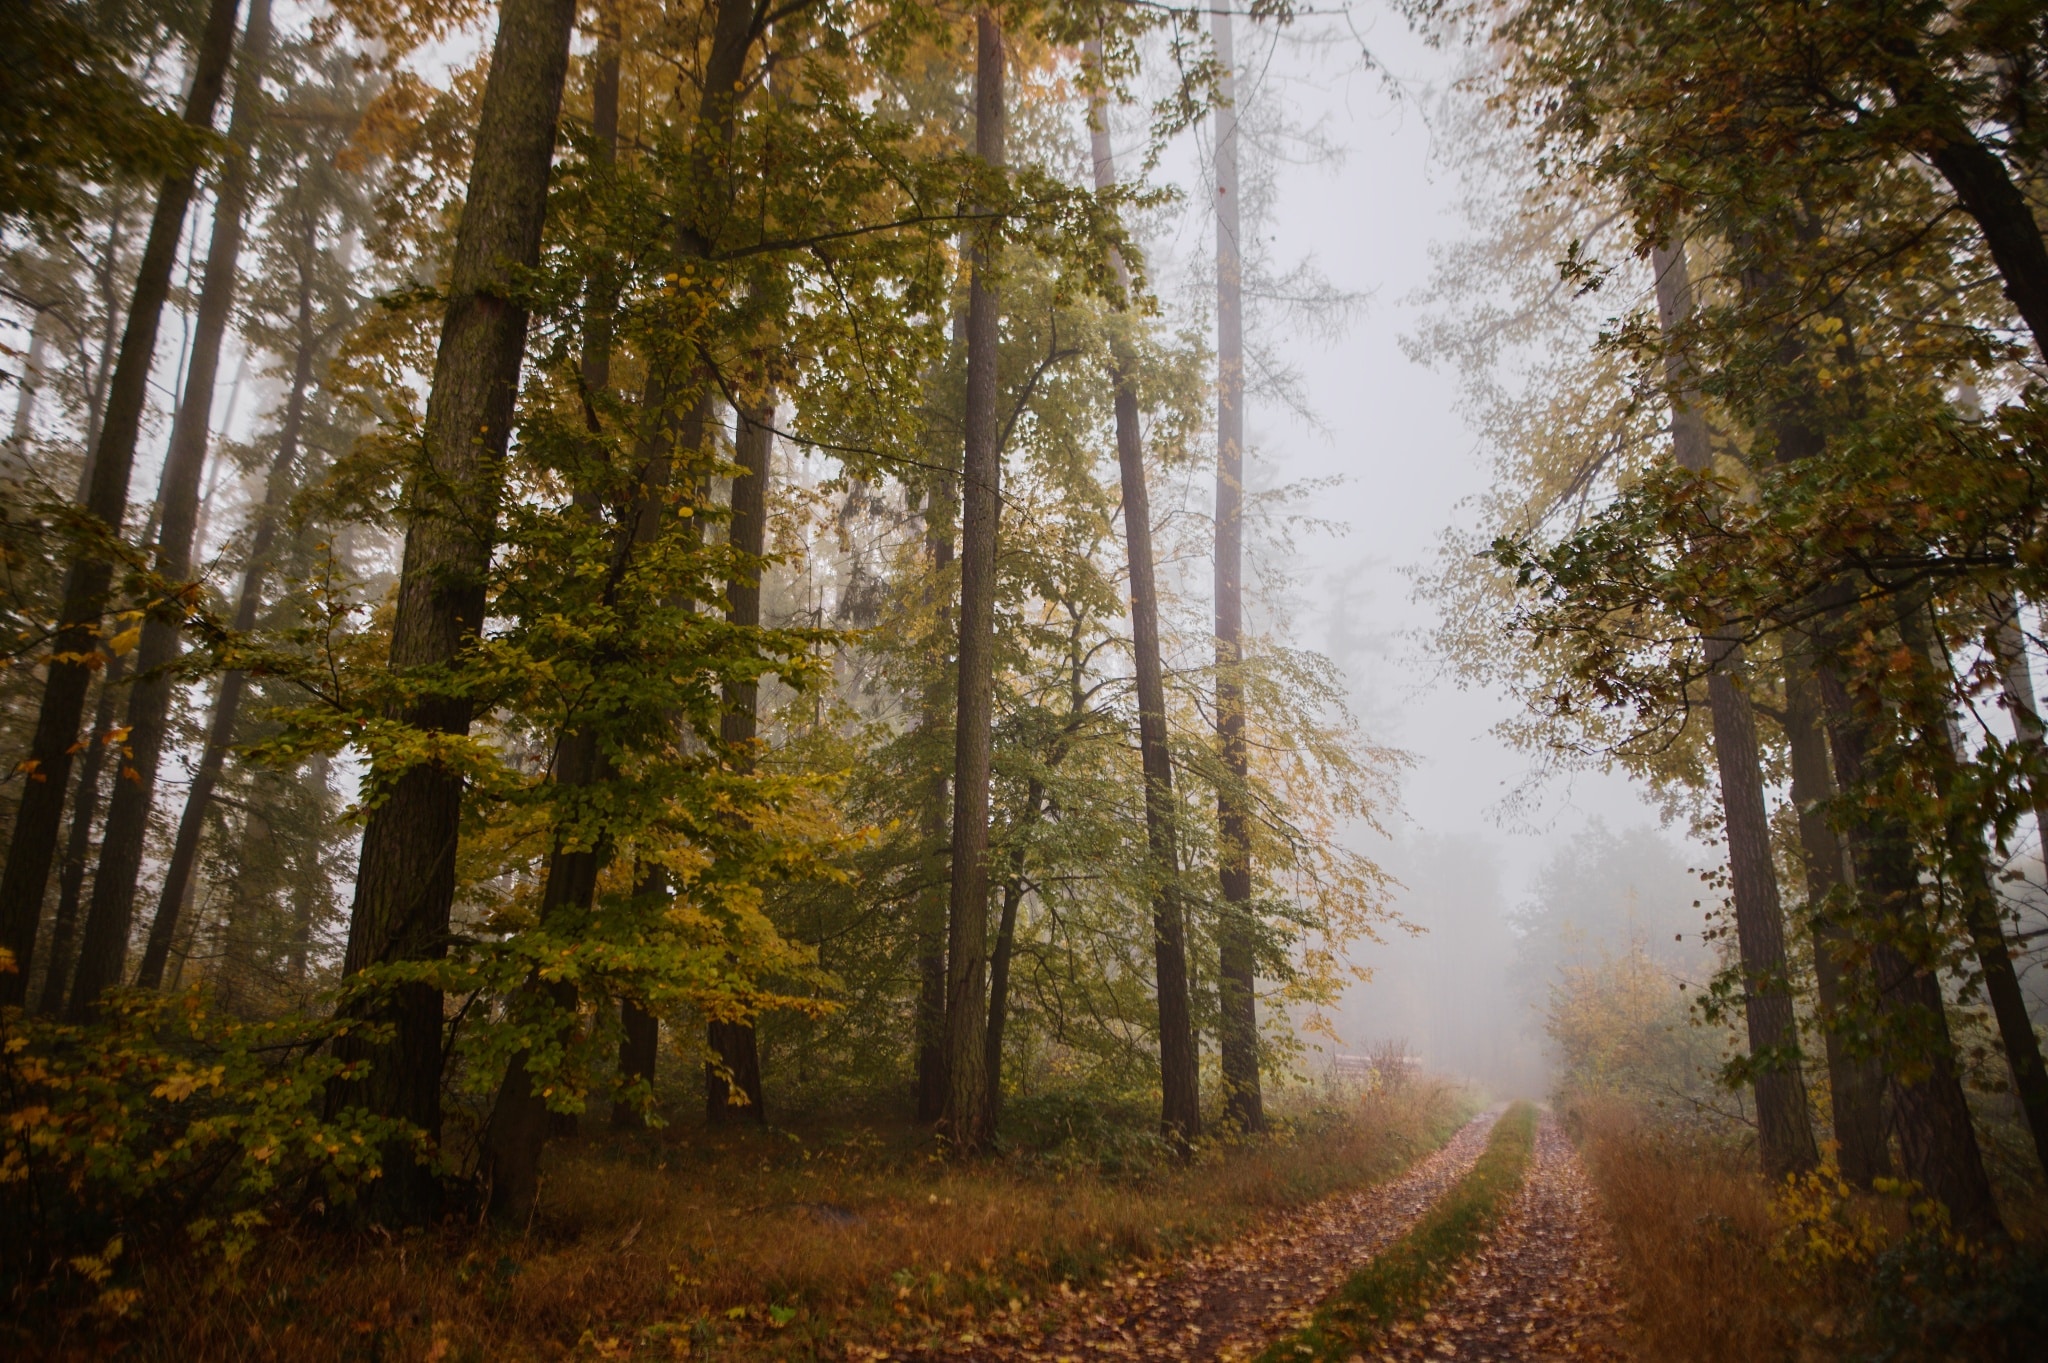
An underexposed photo in RAW before and after editing.Just to be sure, you can always take a lighter and darker version of the photo and then with the help of bracketing, stack the photos. You’ll read about this and other methods in the article about editing photos that are too dark.
Yellow or blue photos
The majority of cameras can calculate white balance quite well. However, some cameras can easily get confused by extremes of light. An example is pictures with light from a lightbulb or fire, which could result in overly yellow photos.
With subjects placed on a colorful wall or wearing bright clothing, sometimes AWB (automatic white balance) doesn’t get the skin tones quite right. In these instances, it’s better to shoot in RAW format. RAW is advantageous here because it saves all color data from icy cool shades to ultra-warm ones.
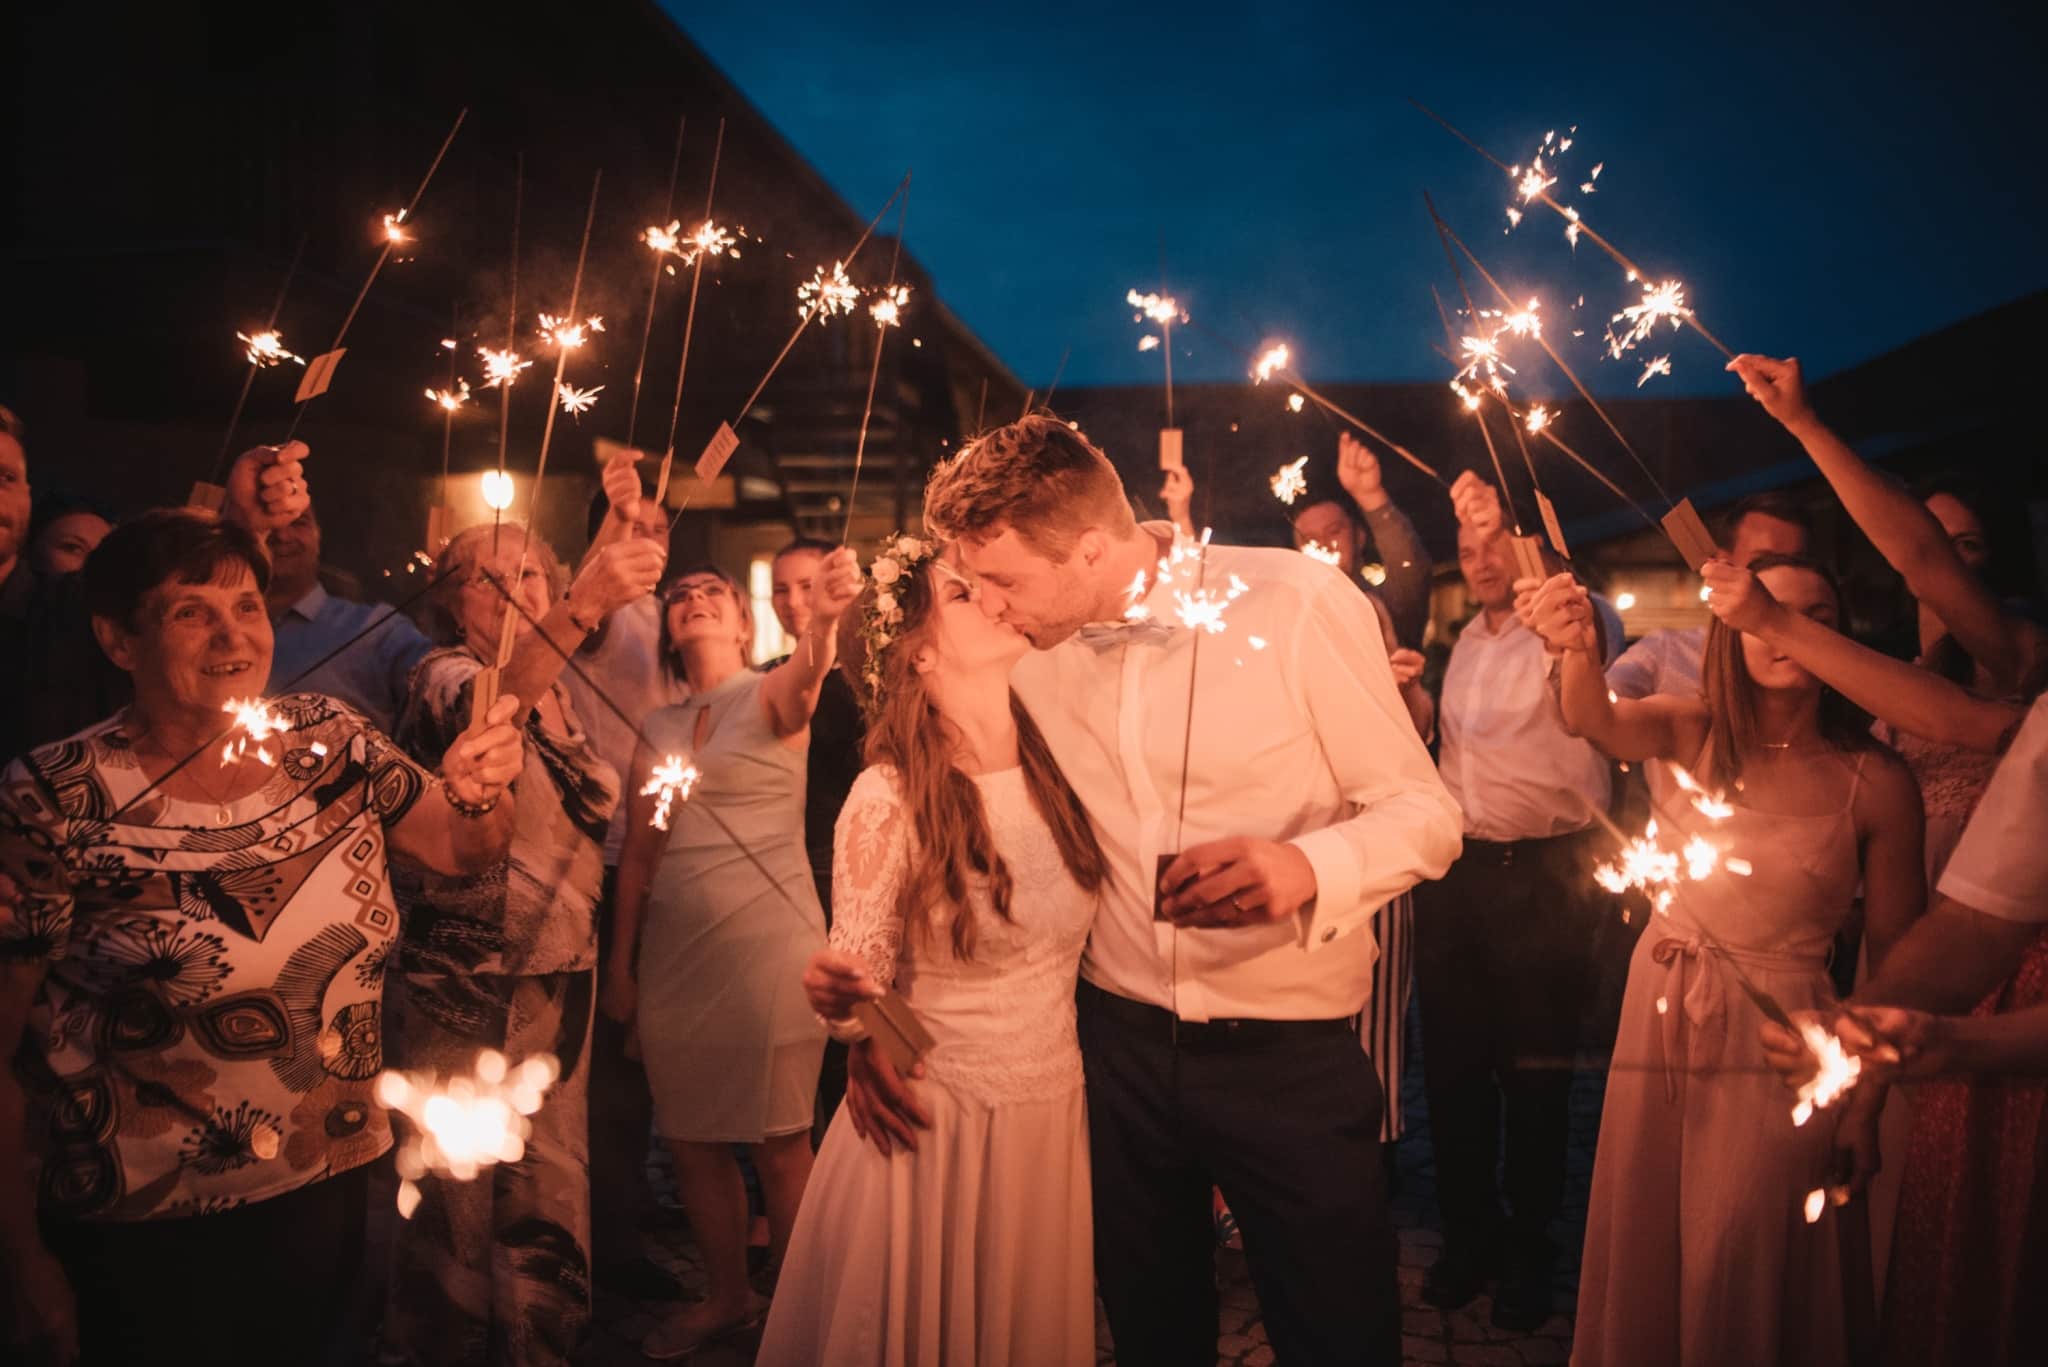
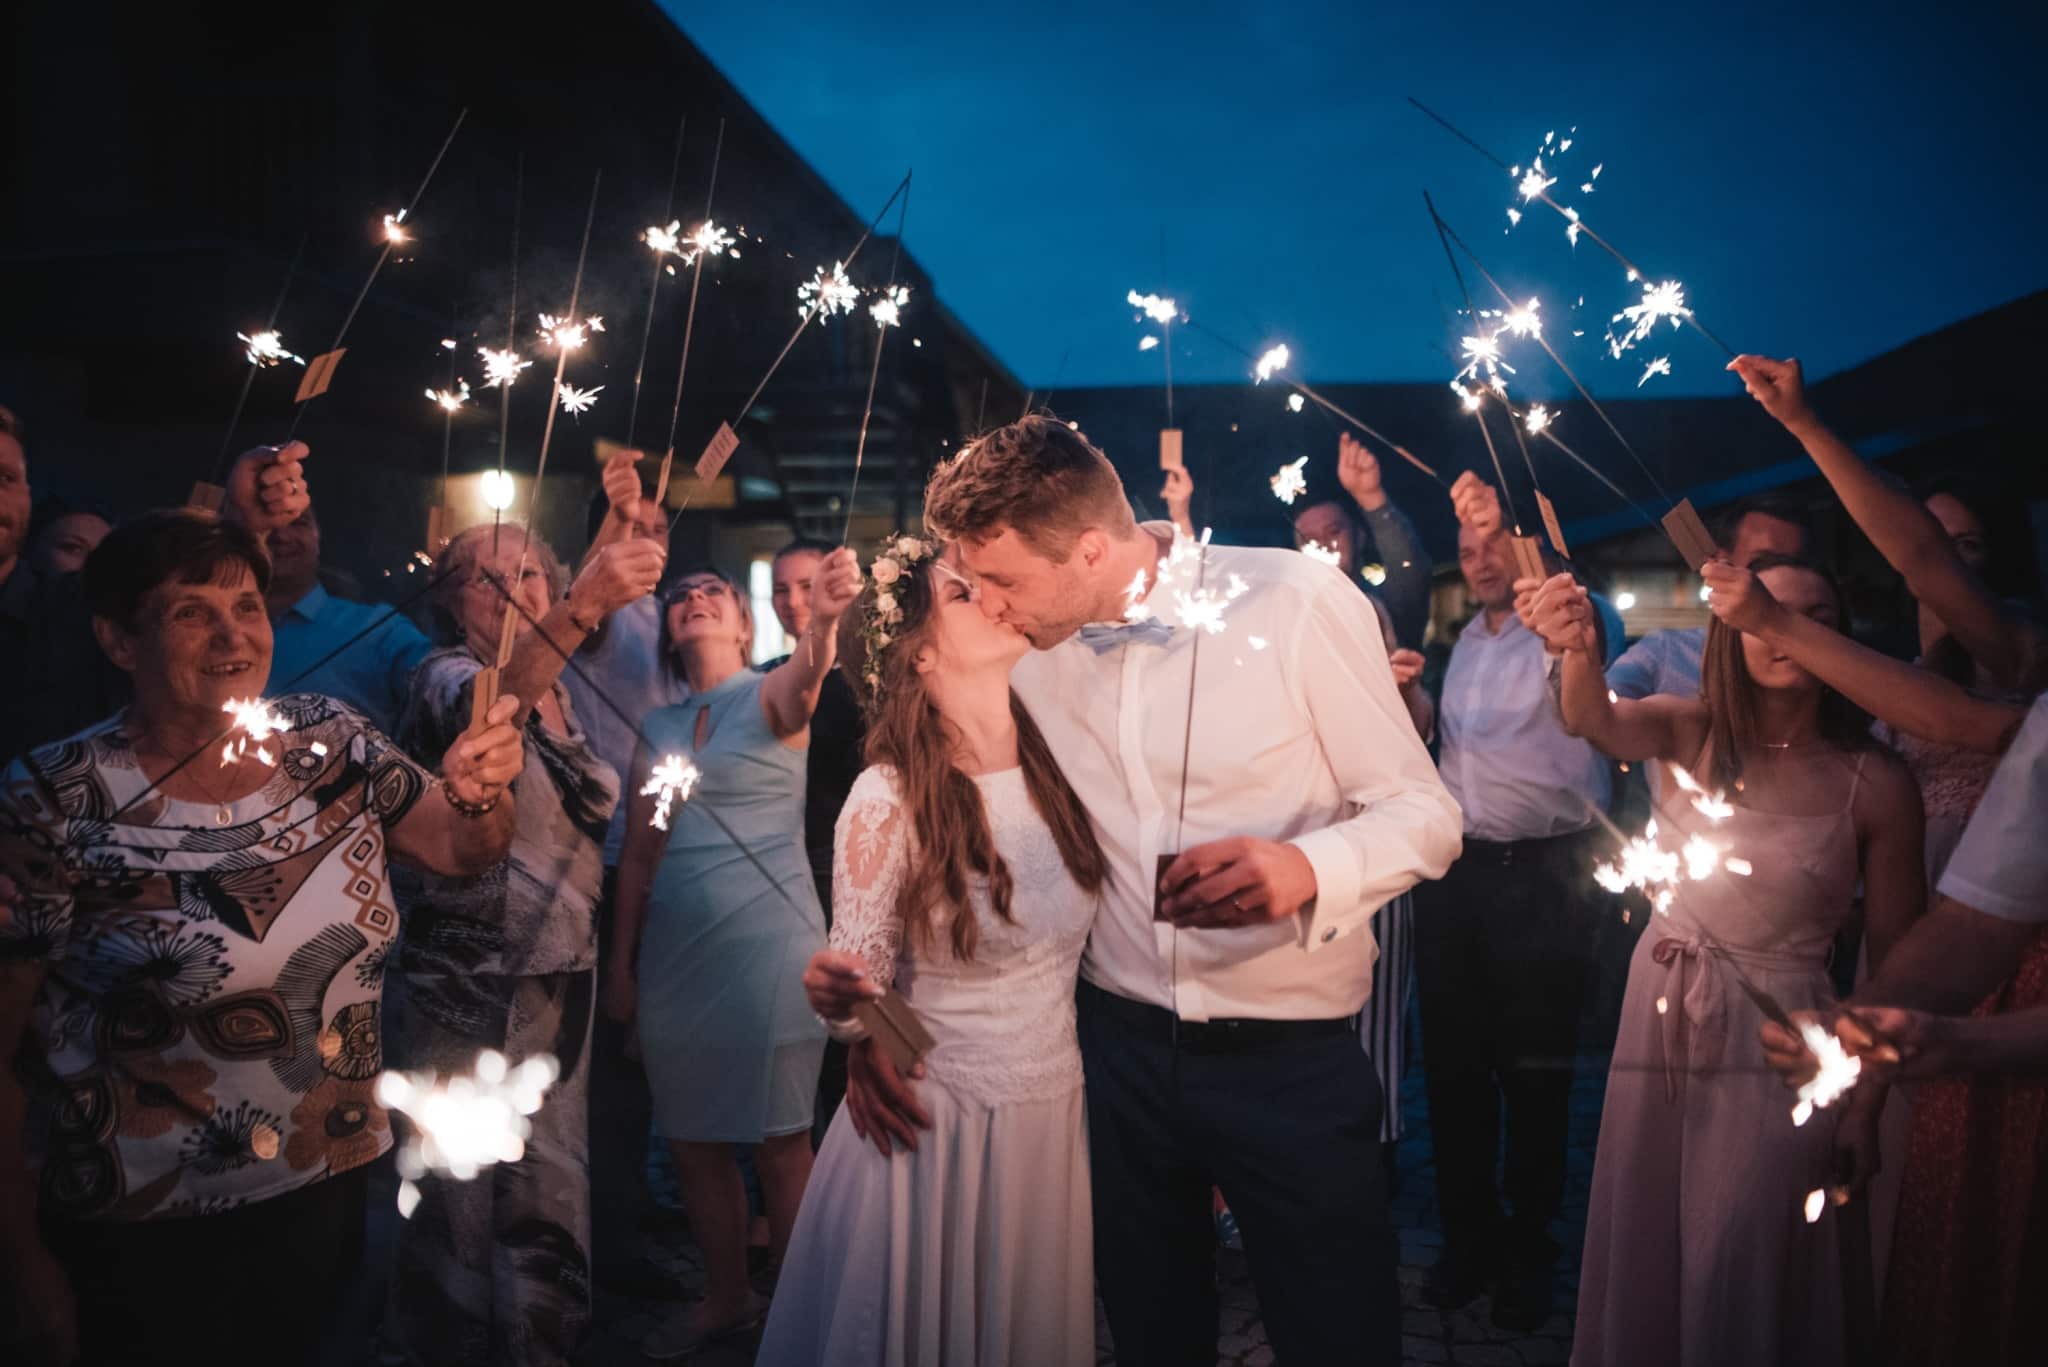
When taking pictures with sparklers and flames, the photos turn out overly yellow. All you have to do is adjust the White Balance slider to the left and your colors will be more natural.Find out more in the article Learn how to work with white balance.
Tilted horizon and perspective
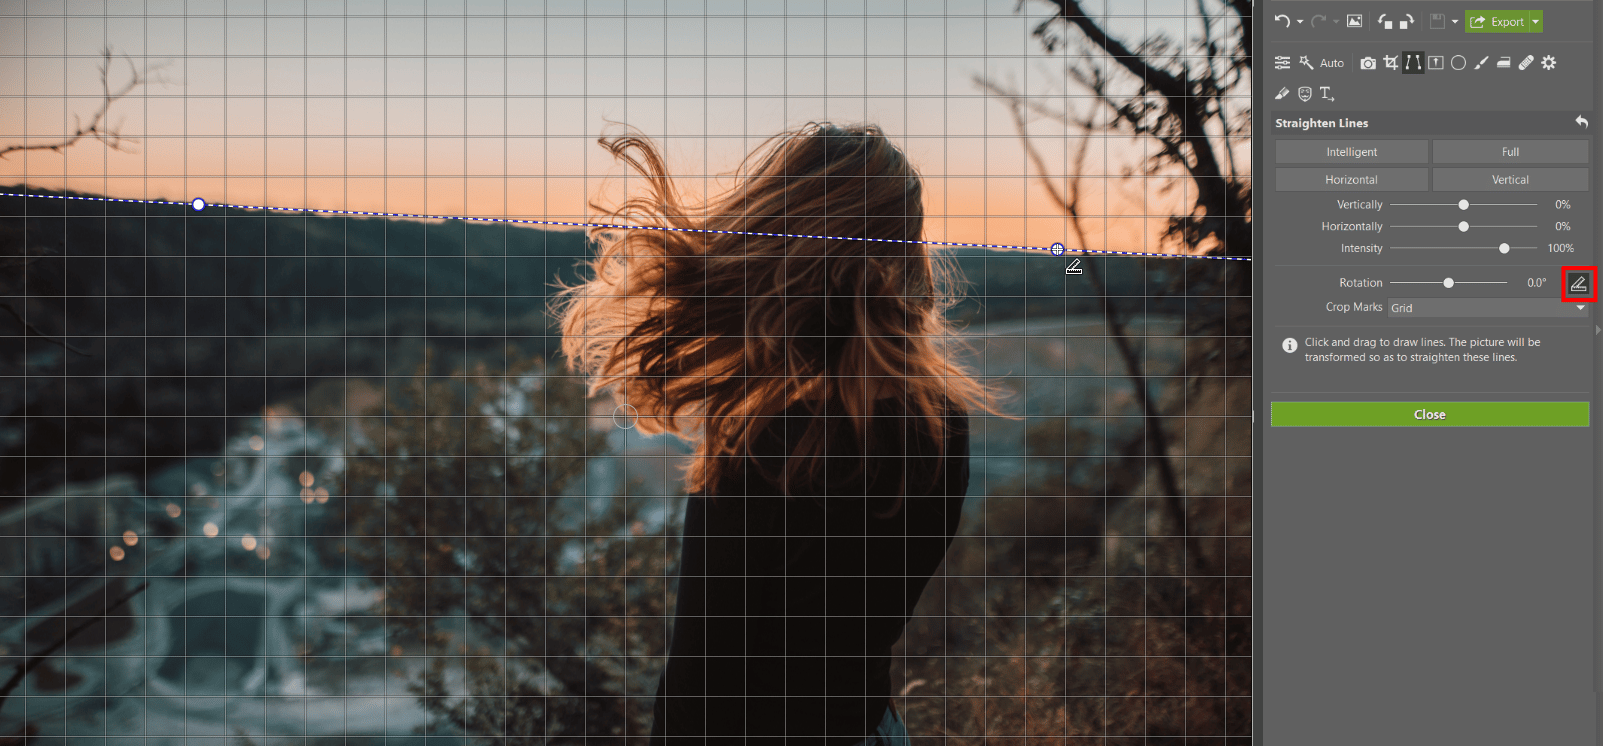
Unless it’s an artistic choice, it’s best when your horizon doesn’t tilt and is level. Most cameras have a built-in level, but if there is no time or it isn’t possible to find the optical center to avoid this, you can rely on Zoner Studio. This happens to be a quick and easy edit.
Straighten your horizon with Straighten Lines.
Flawed composition
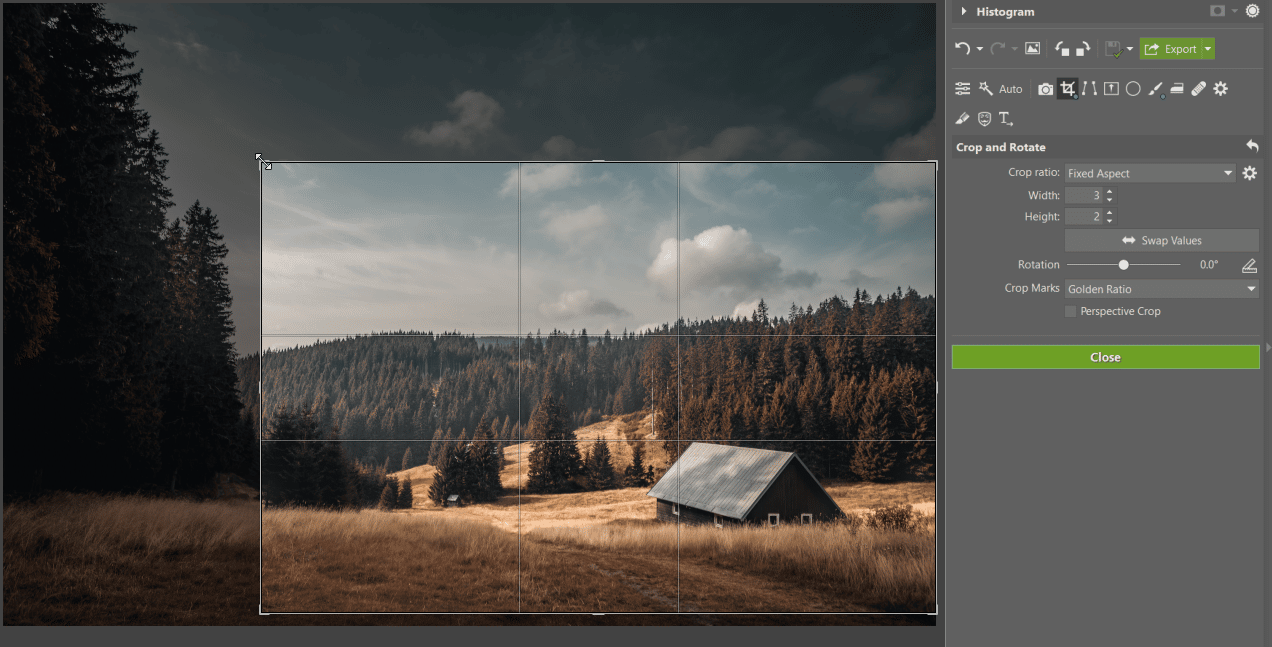
Cropping is another edit related to tilted horizons. Cropping not only removes something at the edges that distracts from the main subject, but you can even use it to improve composition. It can also be used to reduce the space above heads, place a subject within the golden ratio, precisely center your photo, or salvage a finger that has been cut off, by cropping the whole hand above the wrist.
Download Zoner Studio free for 7 days and take the steps to make your almost perfect photos perfect.
