7 Tips for Sports Photography
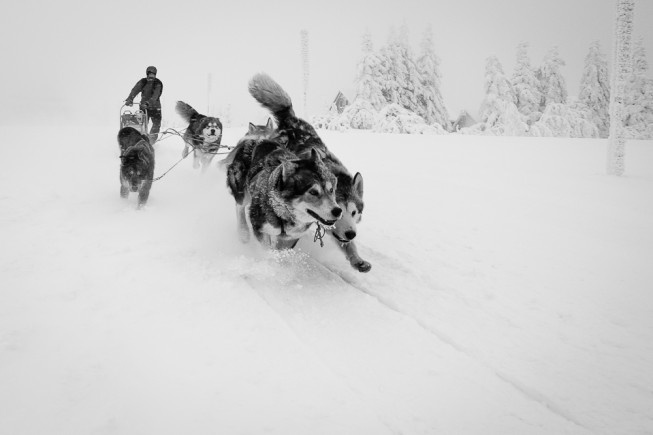
Sports photography is unlike any other kind. For one thing, it joins many genres—portrait, documentary, journalistic, motion, and more. For another, sports organizers often make work harder and lay down special restrictions. Here are a few tips for getting started in sports photography.
1) You Won’t Go Far With No DSLR
We won’t try to convince you that you can handle sports photos with just your compact. Because it’s not true. Even hobby-class DSLRs, while they are definitely better, are not always fit to handle capturing quick and sudden action. But semiprofessional DSLRs like Canon’s “tens” class or Nikon’s “hundreds” class definitely do fit the bill. They average 5 FPS or better, and they focus quickly.
Still, professional digital cameras in the “ones” class are the most widely used. That’s because these models tend to have at least 10 FPS, and have extremely fast and precise focusing. They also generally have FF (full frame) chips that capture light well even in bad light conditions.
2) Prepare Your Lens
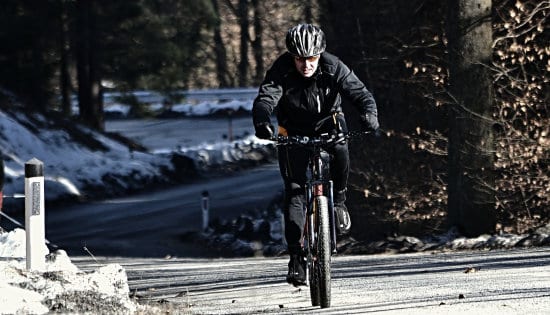
Your focus and your images rely on your lens. That’s why sports photographers use top-of-the-line fast lenses that include elements like an HSM or USM (an “UltraSonic Motor” handling focus). Some long lenses are also equipped with stabilization (vibration reduction—VR; image stabilization—IS). All kinds of lenses get used in this line of work, everything from fisheye to 800mm telephoto. But beginners can start with two: one wide-angle lens, and one 70-200mm telephoto lens for distant objects. If there’s money enough in your budget, go for an F2.8.
The use of a flash is sometimes allowed and sometimes not; it depends on the sport. We recommend you work without a flash at first. This leaves the athletes undisturbed, and your attention available for more important matters than flash settings.
Note: While this is not impossible without professional cameras and lenses, it’s not going to be pleasant.
3) Prepare Yourself
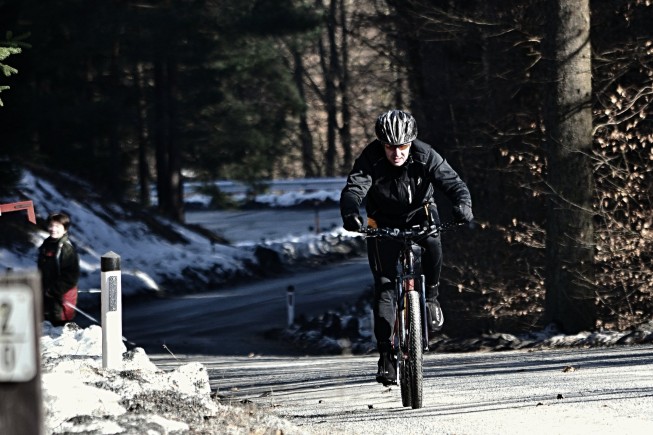
When you’re going to be photographing a sport, it’s important to know at least the basics of its rules. Knowing the rules and better yet watching the sport will give you a sense for when interesting situations are coming up, and what is and isn’t attractive in the given sport. Not only will you have a better time, you’re also more likely to take a unique picture.
4) The Right Moment
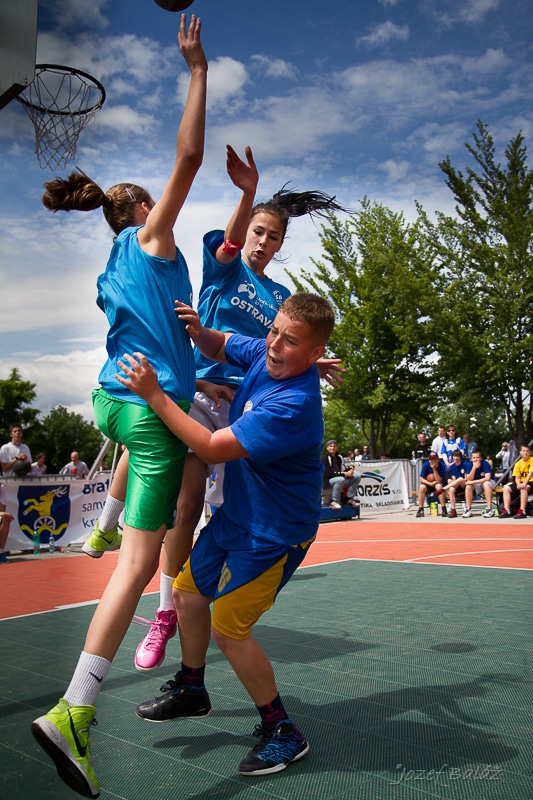
Precise focus is very important. For any kind of motion photography, use servo-powered focusing, and focus on the center point. If your camera enables it, “unhook” focus control from the trigger. (Set focusing to be thumb-controlled. See your camera’s manual for more information.) This way you won’t run into the situation where you press the trigger, recompose the picture, and the camera changes the focus to the background. Just set the focus with a thumb-click, let go, change the composition, and press the trigger.
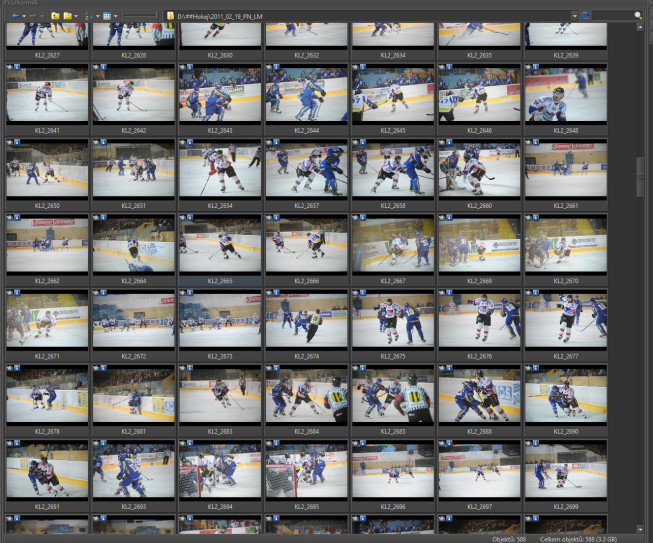
Photographers who are just starting out in sports photography have a tendency to take a lot of photos. Don’t do that. Remember, a sports photo is only interesting until the next match. You need to get a few key photos published fast. That means no time for sorting.
When you think the moment is right, focus and let the camera take 2 to 4 photos.
5) Special Techniques
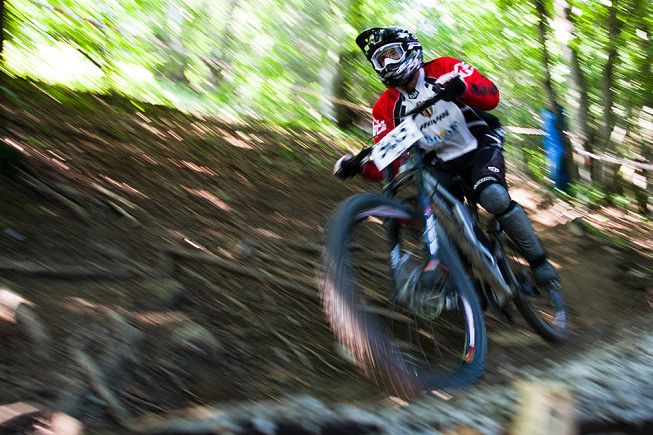
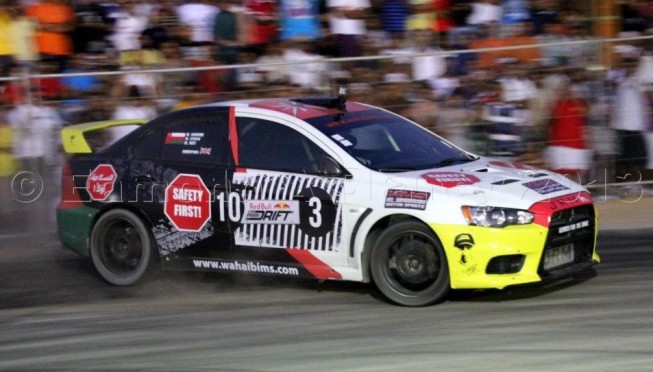
Panning is a photographic technique that emphasizes motion. It’s mainly used in high-speed racing sports like as motor sports and skiing.
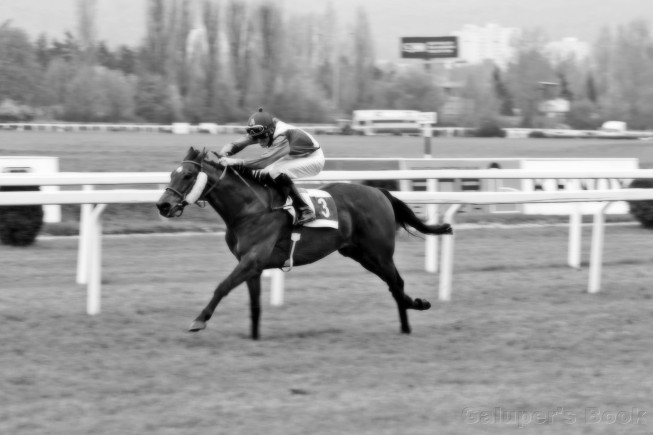
Panning blurs almost the whole photograph in the direction of the object’s motion, leaving only a small part sharp. This technique is most noticeable if you use a wide lens. To take a picture of this type, set your camera so that your exposure time is somewhere from 1/30 to 1/60 s. That’s why the wide lens, in fact. (The only blur we want here is motion blur.)
As for the actual act of taking the picture, follow the object in the viewfinder as it approaches, keep the focus on the object, and when it has almost reached you, press the trigger. Here again, take several pictures (focusing and following the object as you go) and keep the best one.
This technique takes training to get right, so practice it in a non-critical moment.
6) Photographic Modes
Two modes are used most often in sports photography. They are A (aperture priority) and M (full manual). Aperture priority is mainly used in unstable light conditions. This usually means outdoors. In “A mode” you set the depth of focus yourself, while the camera calculates the exposure time for you.
Definitely don’t forget to set exposure metering to the focus point, so you don’t end up with the photo’s subject overexposed, and the background exposed beautifully and precisely. You can make careful use of deliberate mild over- and underexposure here. Use the full manual mode in sports halls and stadiums where the lighting is stable and constant.
Use the “S” or “Tv” time priority mode in cases where you need extremely fast speeds (1/500 s and faster) and the light allows it. You can also use it for various experiments with long exposure times and emphasizing motion, such as e.g. the panning technique mentioned above.
7) Stay Safe
Sports photography is a wonderful (and demanding) genre. But don’t forget that no photo is worth an injury, neither to yourself, nor to an athlete or a fan. Think of safety first, and always follow the organizers’ instructions while taking your pictures!
