Add Color and Dynamism to Your Photos with HDR
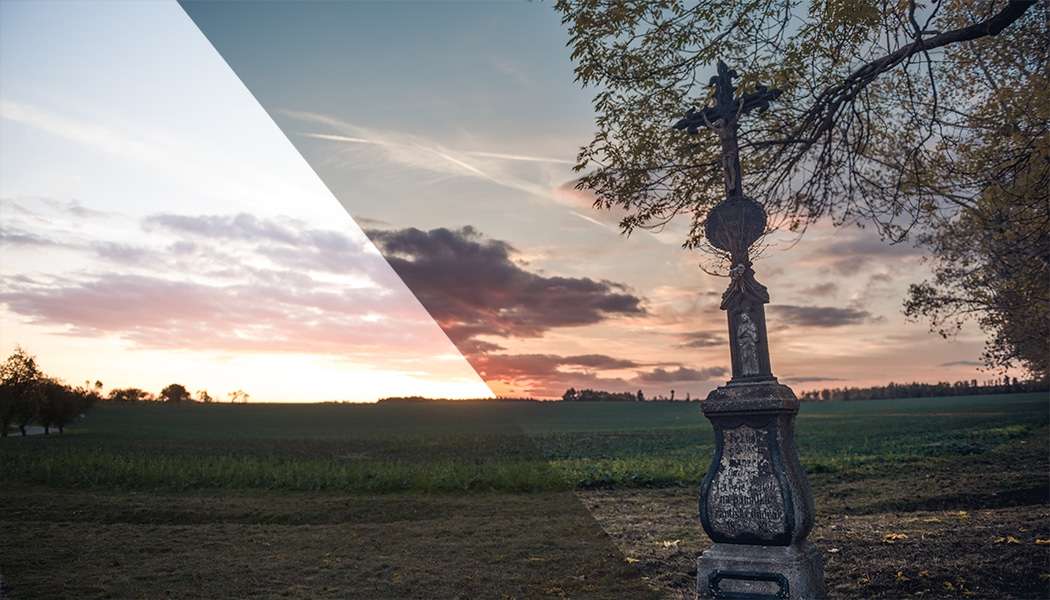
You’ve surely been there before—you see a landscape that you want to photograph, but either the sky is too bright, or the ground is too dark. Or both at once. Fortunately you can easily solve this problem using the technique called HDR (High Dynamic Range), where you join several shots that are identical except for their exposure. Take a look at how to create an HDR photo.
Even though today’s cameras offer a much larger dynamic range than those of several years ago, in some cases a single photo still can’t capture everything the eye sees. In these cases it’s best to take multiple shots with different exposures and join them together. That gives you an HDR photo, with full detail in both its bright and its dark portions.
How to Take Source Shots for HDR
On the whole, creating HDR photos is simple. You shoot the scene at different exposure values, and then you join these component shots into a final picture.
What’s ideal here is to use your camera’s bracketing feature, which can shoot three different exposures in a row. If your camera doesn’t have bracketing, take advantage of one of its exposure modes along with exposure correction. The exposure jump from shot to shot should be at least 0.7 EV—but 1 EV is better. Take two or (better) three source photos for use in the upcoming joining process.

A tripod will also help. But if you don’t have one available, that’s OK. Zoner Studio can join even hand-shot source pictures into an HDR photo.
How to Join Source Shots into an HDR Photo
Once you’ve taken your source pictures for HDR, open them in Zoner Studio’s Manager module. Select the photos, and then in the right panel click HDR via Exposure Blending or HDR via Tone Mapping.
Exposure blending generally gives you a more natural picture with a milder effect. Meanwhile with tone mapping you get a much stronger HDR effect—but it’s often at the expense of a natural look.

Your work with both of these functions starts out the same. You confirm that they’re using the right set of source photos (or you adjust the set), then you confirm that they’re aligned right, and then you set their order. This is when you set which photo is underexposed, which one has the right exposure, and which one is overexposed.

If the photos are in the wrong order, drag and drop them into the right order. Next the program automatically aligns them. It does this based on alignment points that it calculates. If that calculation is wrong, you can move the points. But this usually isn’t needed.
For exposure blending, you then go on to fine-tune how shadows and lights are displayed in the picture, and finally save the picture or open it in the Editor.

For tone mapping HDR, the settings available are different. There are two methods you can choose from:
- Brightness
- and Contrast.
The Brightness method is especially useful for balancing out major exposure differences. Meanwhile the Contrast method adds more color and is helpful e.g. for slightly misty photos. But it can be very hit-or-miss, so for each photo, try out each of the methods to see which one works better.

When you’re adjusting the settings for HDR tone mapping, be careful about raising Intensity and Compression. If you overdo these, your photo will look very unnatural.
Most of the settings appear twice: once for lights and once for shadows. But they mean the same for both. The Transition Threshold sets the brightness level over/under which the underexposed and overexposed pictures start to be copied into the “middle” picture. This threshold does not have be a sharp one; the photos can gradually be “copied in” more strongly as the middle picture gets lighter or darker. To set the width of this transition, use Transition Smoothness. Not even this slow transition would be enough to hide the borders between the original and edited parts of the picture on its own. That’s why Zoner Studio also uses a second tool here: an “unsharp mask” that blurs the edit out into surrounding pixels. Use the Mask Blurring setting to control that mask’s unsharpness. The last of the settings is Intensity, which set how strongly the “under/over” pictures are copied in.
Faking HDR—the Tone Mapping Effect
If you need to create an HDR-like effect using just one photo, Zoner Studio can help you out with the Tone Mapping effect. It’s in the Editor, among the Effects.

This function’s sliders and behavior are very close to that of the tone-mapping HDR function. But of course you can’t expect this function to solve dynamic-range problems like HDR would.
HDR: a Good Servant but a Poor Master
HDR exists to help with photos that have a sound foundation and composition. Unfortunately people often try to make a bad photo good using HDR. But that just doesn’t work.
So be careful with this tool. Because the best HDR is the HDR you can’t notice.
Try out doing HDR right on your own photos. Download Zoner Studio, use it 7 days for free, and give your pictures better dynamic range.