Black on Black

Photographing a black subject against a black background isn’t easy, but as long as you remember one basic rule, your subjects will never again melt into black backgrounds. Discover how “black-on-black” photos are made. Then use your new skills to take impressive photos!
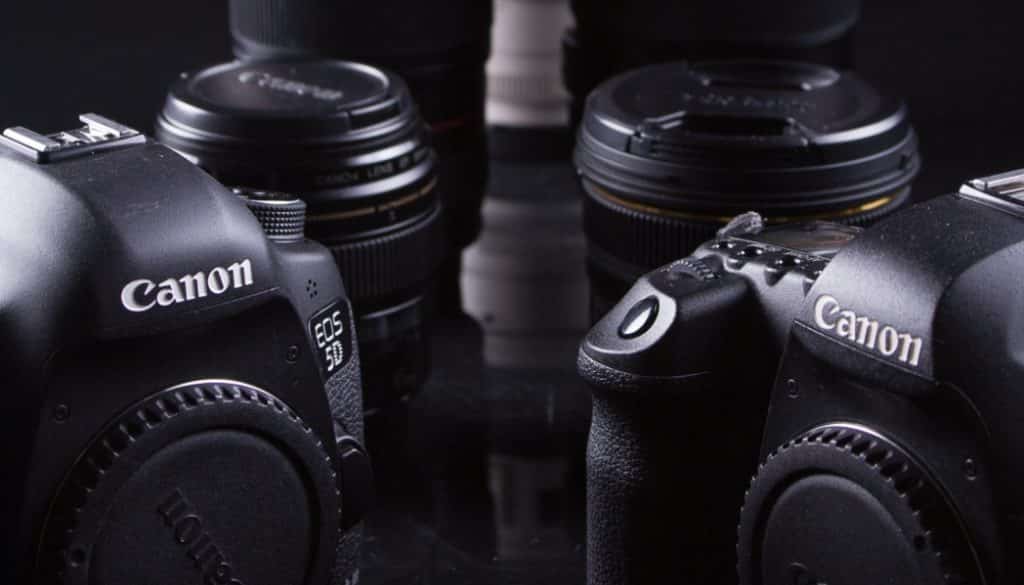
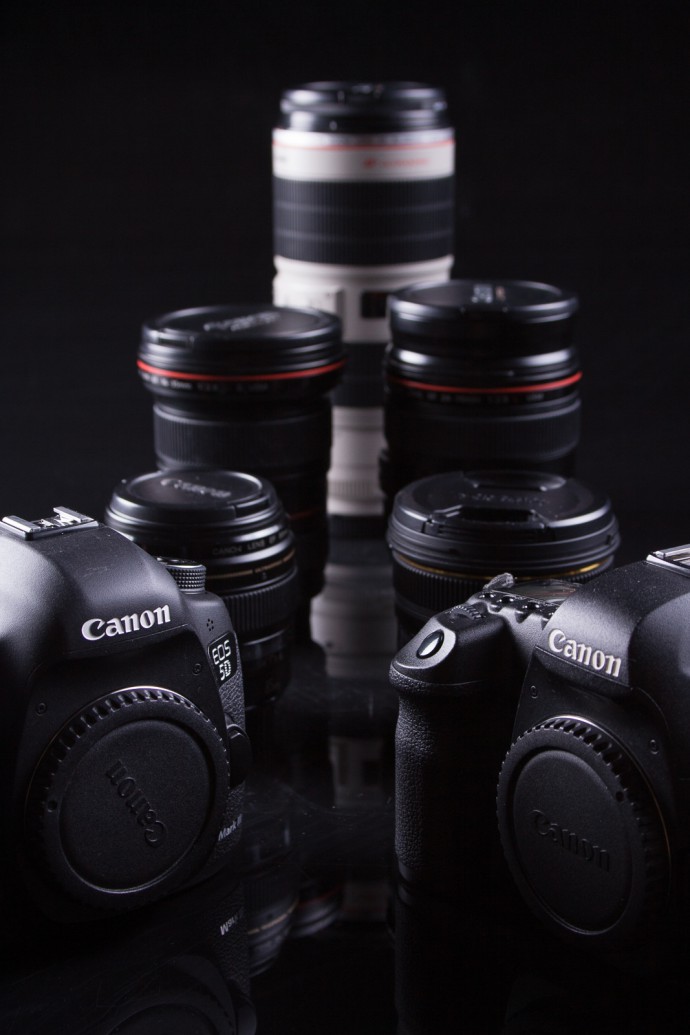
A number of our readers have written to ask how they should photograph black products against black backgrounds if they want to keep all of the products’ details visible and ensure a pure black background. So in today’s article, we’ll take a look at how to do exactly that, because we’ve already written a lot about product photography.
Space Is the Key
There is one basic rule for photographing black objects against black backgrounds: the bigger the object, the more distance from the background you’ll need. That’s because larger objects demand larger light sources.
When you photograph a large object that’s placed close to its background, the background is illuminated, which is the last thing you want—that leaves you with a background that isn’t black. It will be grayish, or even tinted.
The Foundations of Illumination
So distance is fundamental for black photos against black backgrounds. After all, you want to light the object, and not the background. That’s the only way to ensure good detail even in the shadows, and a pure black background.

For a Better Look, Outline
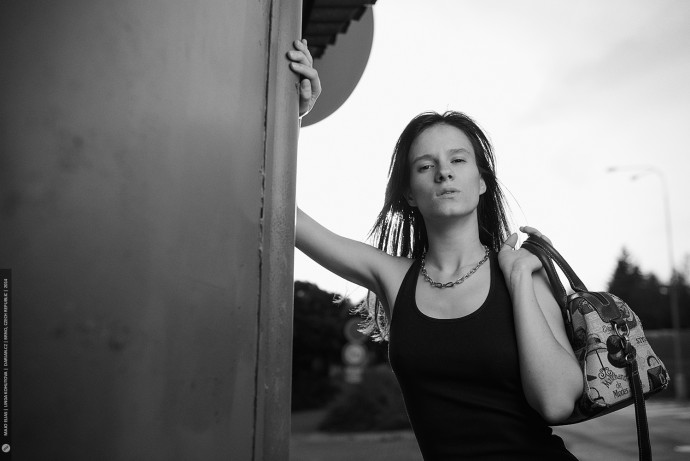
If one side of an object blends in with its background, there is a simple solution: use backlighting to illuminate the object’s edge in the place where it blends. This trick can actually be used for almost any kind of photo. It doesn’t matter if it’s a portrait or a product photograph.
Just illuminate the object from below and behind so that a fine line of light forms on it. But watch out—make sure that your light source is not shining into the lens.
To backlight the subject, simply point the light source towards its “back.” This will give it just a thin line of light to separate it out from the background.
And in a flash, your background blending problems are gone.

Faking It
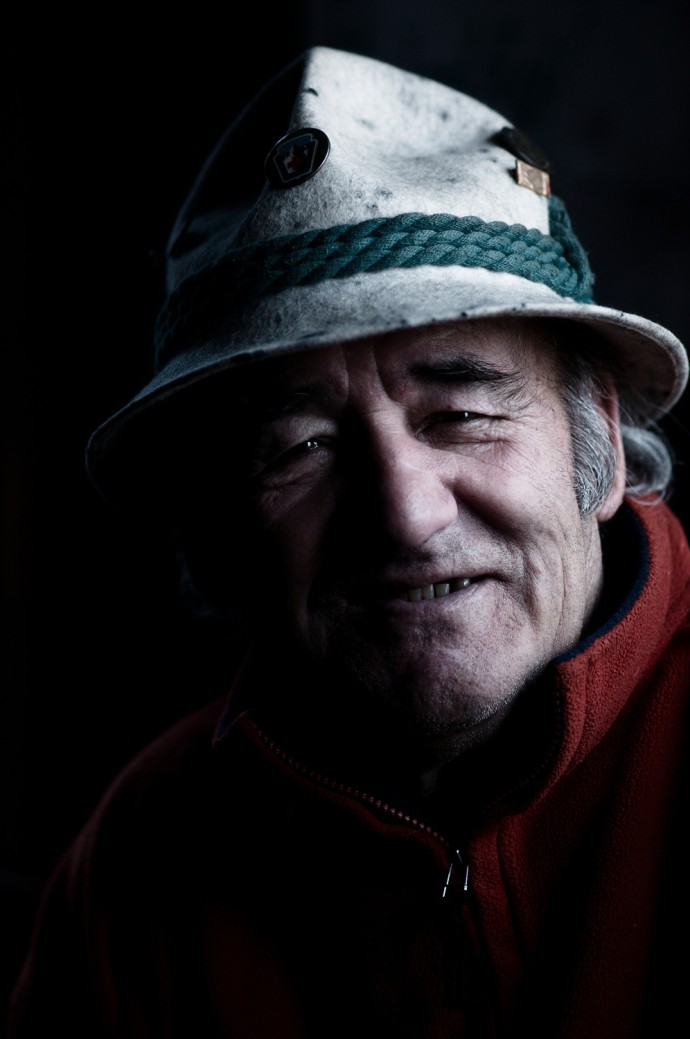
Even if you don’t have a physical black background available, you can still create a photo with a black background. For this trick, find a brightness transition—basically from interior darkness to exterior light—and place the photographed object at the edge of that transition.
But you need to expose to the photographed object only. Use spot exposure metering if you can. Otherwise, you may end up with your subject overexposed and with your background “well-exposed” instead of black. This lighting trick is especially useful for portraits.

Remember Color Temperature
We’ve already mentioned that distance is key for photographing black on black. Your choice of camera and of light source is mostly up to you. But make sure that your light sources have the same color temperature—otherwise, the photographed object may end up tinted after white balancing.