Capture the City in Motion and Commotion
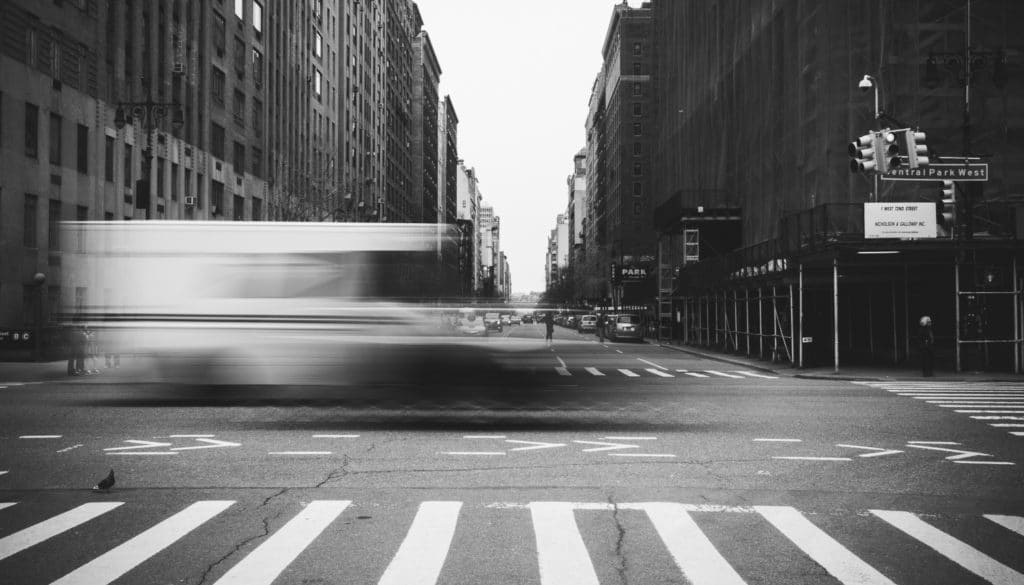
Metropolises are more than just streets lined with glass and steel skyscrapers—they’re also living organisms full of endless motion and commotion. Almost never-ending streams of cars flow through the streets—the urban arteries—and human figures rush by on the sidewalks. Motion is the city’s essence. And you can express it in your pictures using a fairly simple technique—blurring the picture.
Photographs are static by nature. But when you can shatter their staticness somehow, you often get impressive and effective pictures. This is twice as true in environments where motion and dynamism are a natural part—like cities.
One way to create an illusion of motion is to let people, cars, buses, and all the other things in motion relax their motion into sweeping smudges and blurred silhouettes. Doing this gives photographs a hint of volatility, inconstancy, and a slight uncertainty, which all definitely belong in the city scenery.
So How Do I Do It?
What to Take in Your Bag
To blur moving objects, you use long shutter times. So you’ll need to account for two things: camera tremors during your long exposure, and—if you’re shooting during the day—the larger amount of light falling on your sensor.
The best way to account for tremors is to avoid them—use a tripod. I personally prefer a light, compact tripod, one that doesn’t start to feel heavy when I carry it on long walks in the city. My kit includes a Vanguard Veo 204 AB, which is 40 cm long when folded and weighs a bit over a kilogram (a couple of pounds). The price won me over as well.
To compensate for the increased light intake in these shots, use either lowered ISO values or a tighter aperture (a higher f-stop). But both of these have their limits, and daylight will put you beyond those limits.
Fortunately there are “ND filters” that reduce the permeability of a lens to light. These are neutral dark-gray filters—basically sunglasses for lenses. ND filters vary in both their dimensions and their permeability (their “ND factor”). For example an ND 4 filter has a permeability of 25 percent, which means that it enables you to extend exposure by two EV. (I used a filter like this when taking the example pictures.) Variable filters, where you can change their permeability on the fly, are also an interesting choice here.
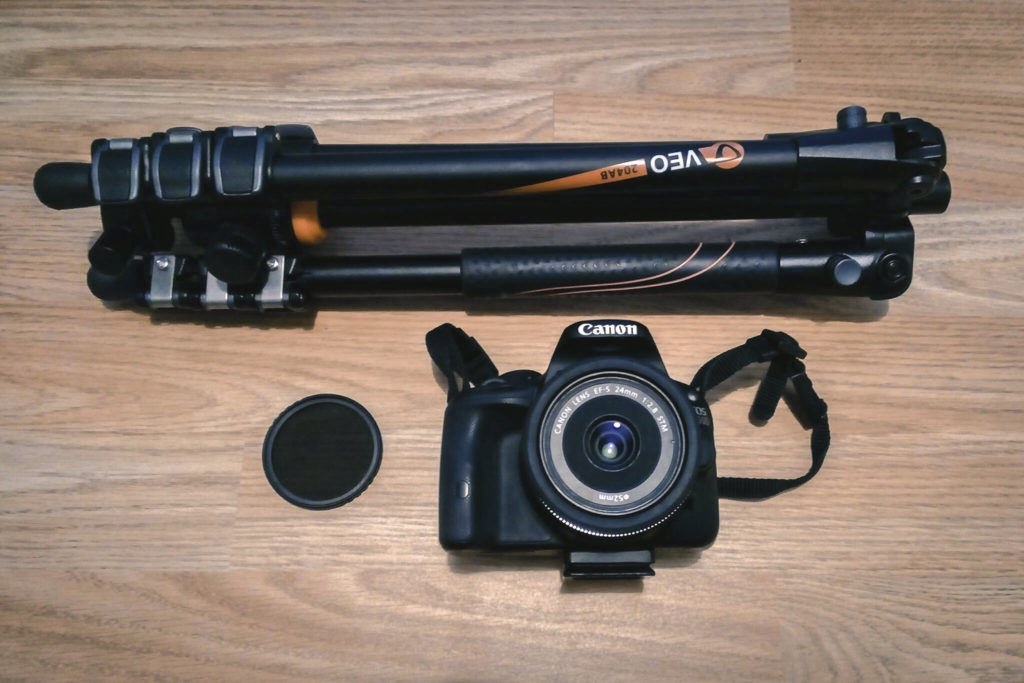
While it’s not a necessity, I also included a wide-angle lens with a 24 mm focal length in my equipment. I did this because it lets me capture the scene in a broader context even when I’ll be concentrating on a specific subject. You’ll also appreciate a wide-angle lens at the exits from not-so-open spaces, like a subway exit, a narrow bridge, or a small side street leading out onto a busy square.
Which Way?
Where’s the best place to go? In the centers of big cities, you’ll have no problem finding a lively-enough place on every corner, no matter whether that place is a bustling square, a busy intersection, a pedestrian overpass, a metro station, or a buzzing city waterfront.
Take a look around, soak in the atmosphere, and monitor the rush for its shape and its direction of travel. It doesn’t hurt to head out to the same place at different times of day to learn how it changes over the course of the hours. I had the good fortune recently of visiting one of the busiest metropolises in the world: New York. Times Square is pulsing day and night, so it felt like a natural choice.
Once I found my spot, I just had to unpack my tripod, mount my camera on it, attach my ND filter if I needed it, and get to work.
Find the Right Settings
Switch into manual mode or shutter priority mode. This mode lets you set the shutter speed you and handles the rest for you.
There aren’t any single, universal best settings. The best values to use will always depend on the specific situation and light conditions. So the whole trick is to experiment, try various exposure times, and watch what effect they have. Generally you’ll get your desired results somewhere between one and two seconds. But you can also increase the speed to something like 1/10 second if you’ll be photographing quickly moving cars.
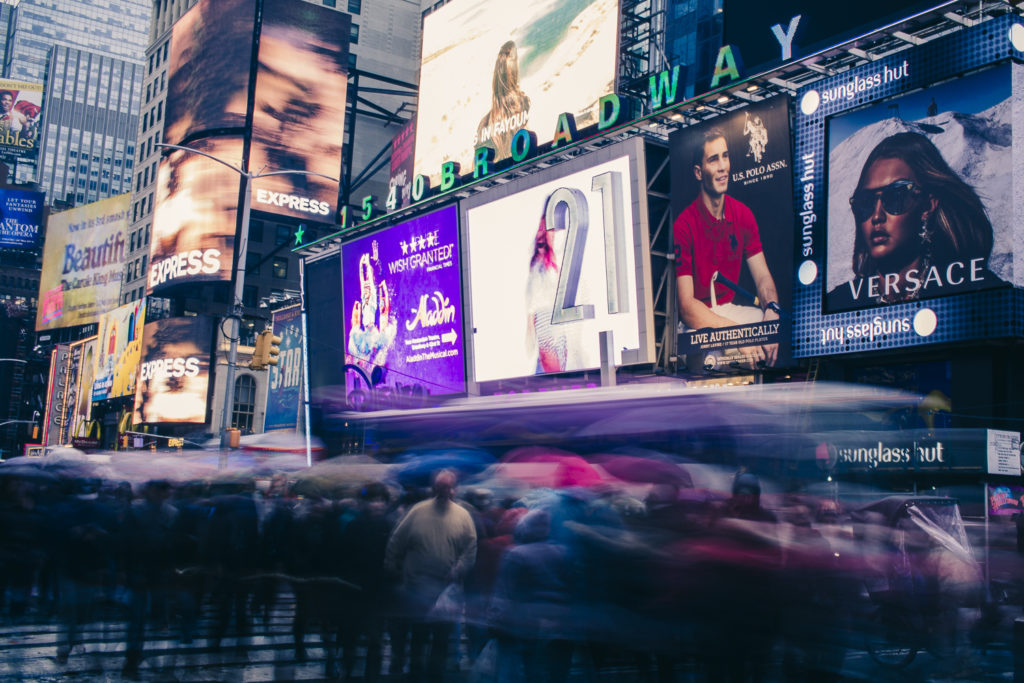
Canon EOS 100D, EF-S 24mm f/2.8 STM, 2 s, f/22, focal length 24 mm
No Shortage of Topics
The only question that remains is what to photograph. Take note of your site’s moods and its energy. There will be a lot of things illustrating that energy: crowds of people, columns of cars, streetlights, shop windows, billboards. On Times Square what really got my attention was all the attention-getting: shouting colors of all kinds despite the cloudy, rainy weather.
Don’t be afraid to put up your tripod right in the middle of a place where lots of people are walking by. You’ll get closer to them, and you might even manage to capture some passing faces or figures. Passersby will also have no choice but to pass by you, and with a long exposure, this will give you a nice directional blur.
In such busy places, probably no-one will even notice what you’re photographing and why, and when someone does notice you, they’ll mainly be trying to avoid the lens.
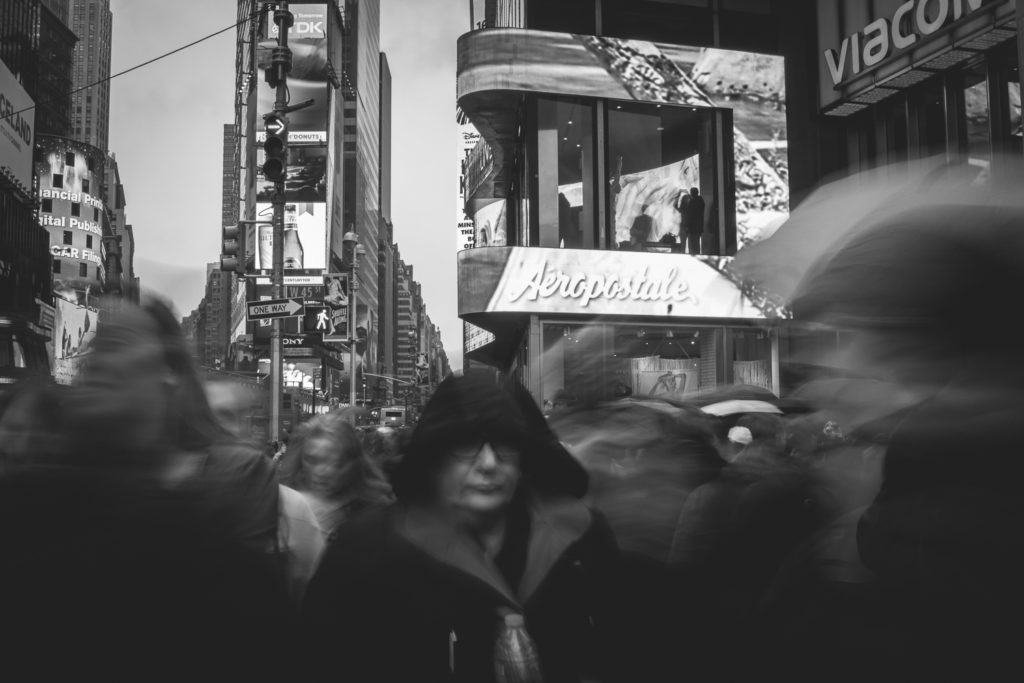
Canon EOS 100D, EF-S 24mm f/2.8 STM, 0,8 s, f/22, focal length 24 mm
You can also make a photo stand out by leaving one or more persons in focus while everyone and everything else flows around them. For that, you need a subject who’s standing practically motionless. Maybe you’ll just luck into this right on the street… or maybe this is a good idea for your next portrait.
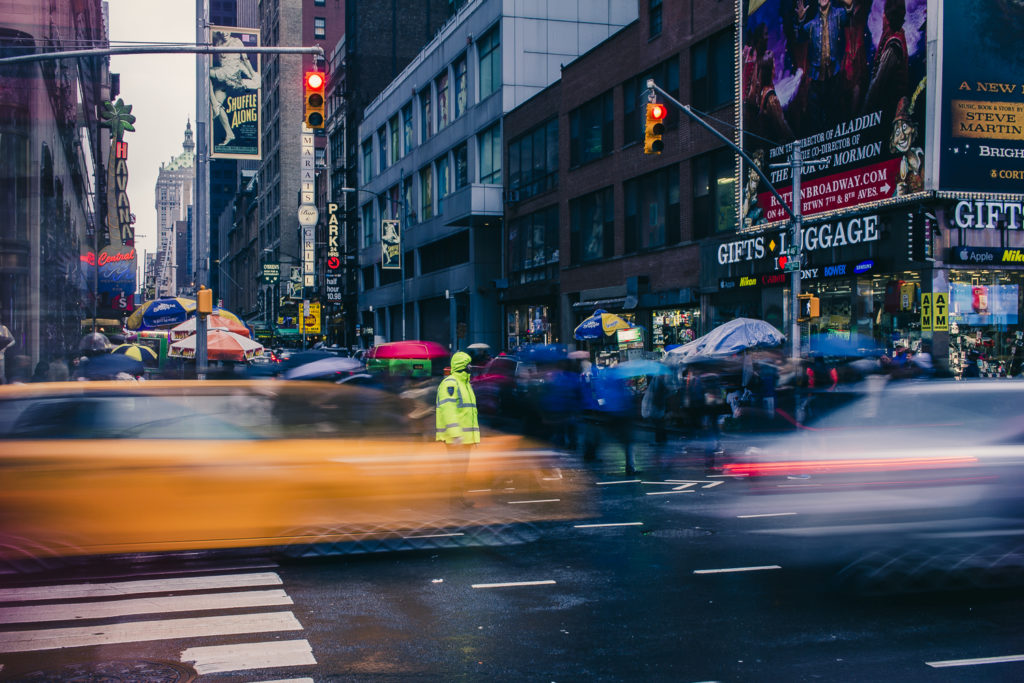
Canon EOS 100D, EF-S 24mm f/2.8 STM, 0.5 s, f/22, focal length 24 mm
You definitely don’t have to photograph only blurry figures and wide shots. You can also get interesting pictures by focusing for example just on the legs and feet of passerby.
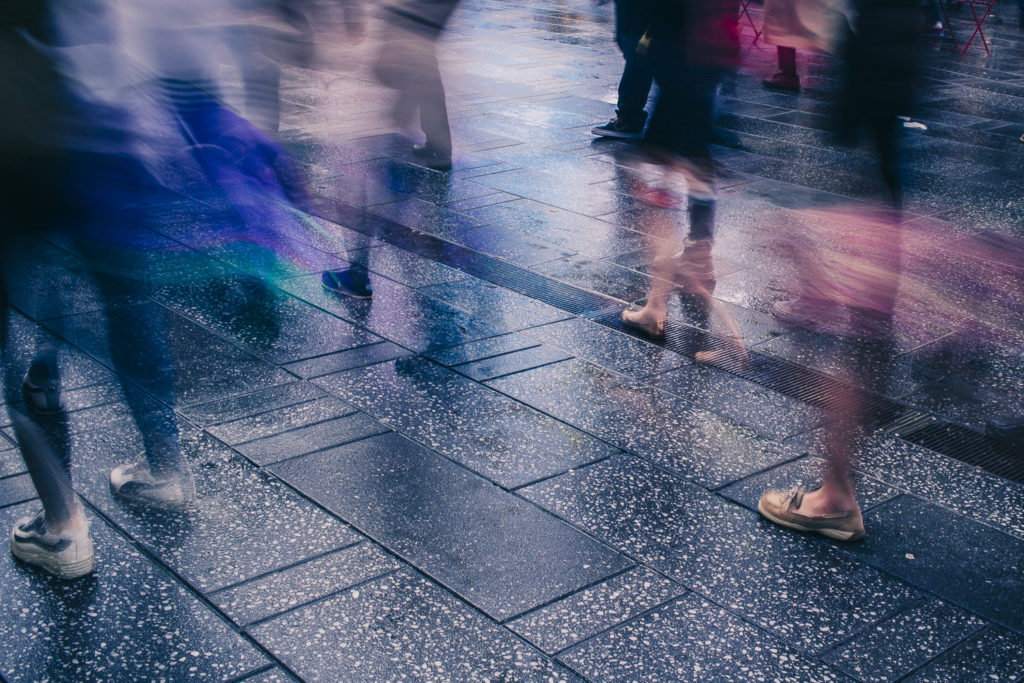
Canon EOS 100D, EF-S 24mm f/2.8 STM, 0.5 s, f/14, focal length 24 mm
Don’t forget the rules of composition and try utilizing them along with blurred objects to create your own micro-stories. For example on the hurriedness and inconstancy of urban life, where we pass each other without noticing each other, and we are all our own islands.
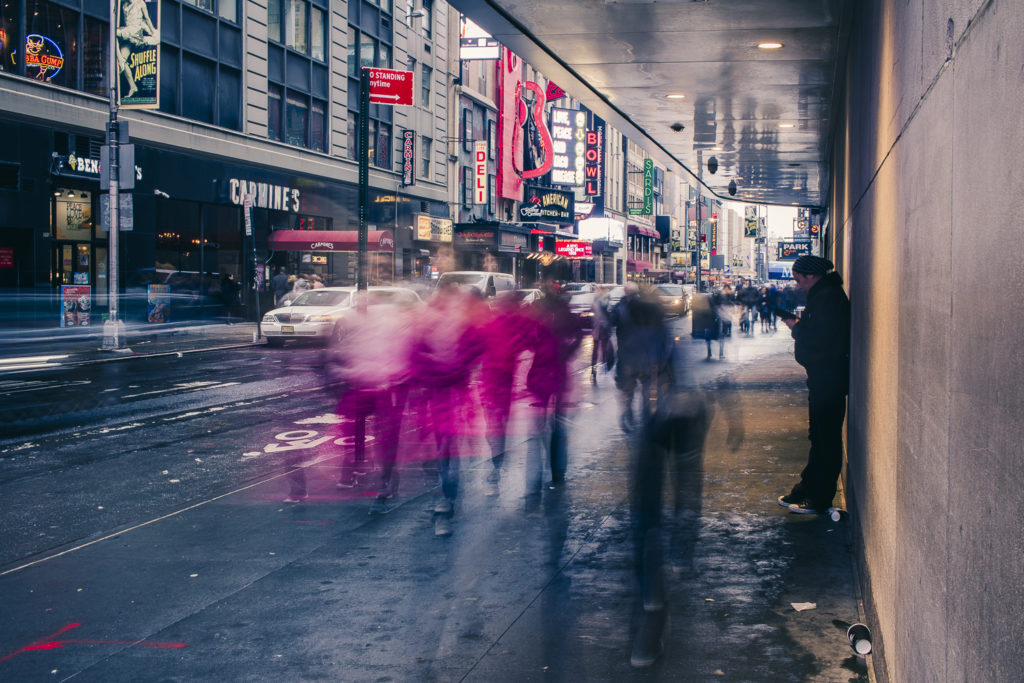
Canon EOS 100D, EF-S24mm f/2.8 STM, 2 s, f/11, focal length 24 mm
>> Read our article on Tips for Photographing the City.