City Photography in Harsh Sunlight: Finding the Perfect Light
Taking photos in a city on a bright day can be tricky. With the sun high overhead, you’re faced with sharp shadows and strong contrasts. Even experienced photographers can struggle in these conditions. But you can still find beautiful light with the right approach. You just need to know where to look and how to use it.
In this article, you’ll learn:
- the difference between hard and soft light and when to use them
- how to find soft light in the city using reflections from buildings
- how to deal with distracting backgrounds and even use them to your advantage
- a simple hand trick that helps you find the best lighting
- how to make harsh sunlight work in your favor
This has probably happened to you—you head out to take pictures, but the sun is high in the sky and all you see are harsh shadows and strong contrasts everywhere you look. At first, it might feel like the worst possible conditions for photography. But in reality, it’s an opportunity. City streets are full of creative possibilities. You just need to know where to go and how to find the right light.
Hard vs. soft light
Before we dive into real-world examples, let’s quickly review how the two basic types of light differ.
Hard light comes from direct sunlight or other single-point light sources. It creates sharp shadows, high contrast, and emphasizes textures. This can be unflattering for portraits because it makes skin look rough and accentuates wrinkles. Still, hard light has its appeal if you know how to use it.

Soft light, on the other hand, comes from a larger light source that scatters or reflects the rays, spreading them evenly across the scene. A classic example is an overcast sky. Soft light is flattering for portraits because it smooths shadows and evens out skin tones. While it’s less dramatic than hard light, it’s often the better choice for portraits.

Both types of light can be found in the city. The trick is recognizing a photogenic spot—places where naturally occurring reflections and shadows create patterns you can use creatively.
Finding soft light in the city
I met Adela in the afternoon, when the sun was still very high. Veletržní Street in Prague, where we began, isn’t exactly a photographer’s paradise. Heavy traffic, parked cars, and tall buildings. But we still found a way to work with the light.

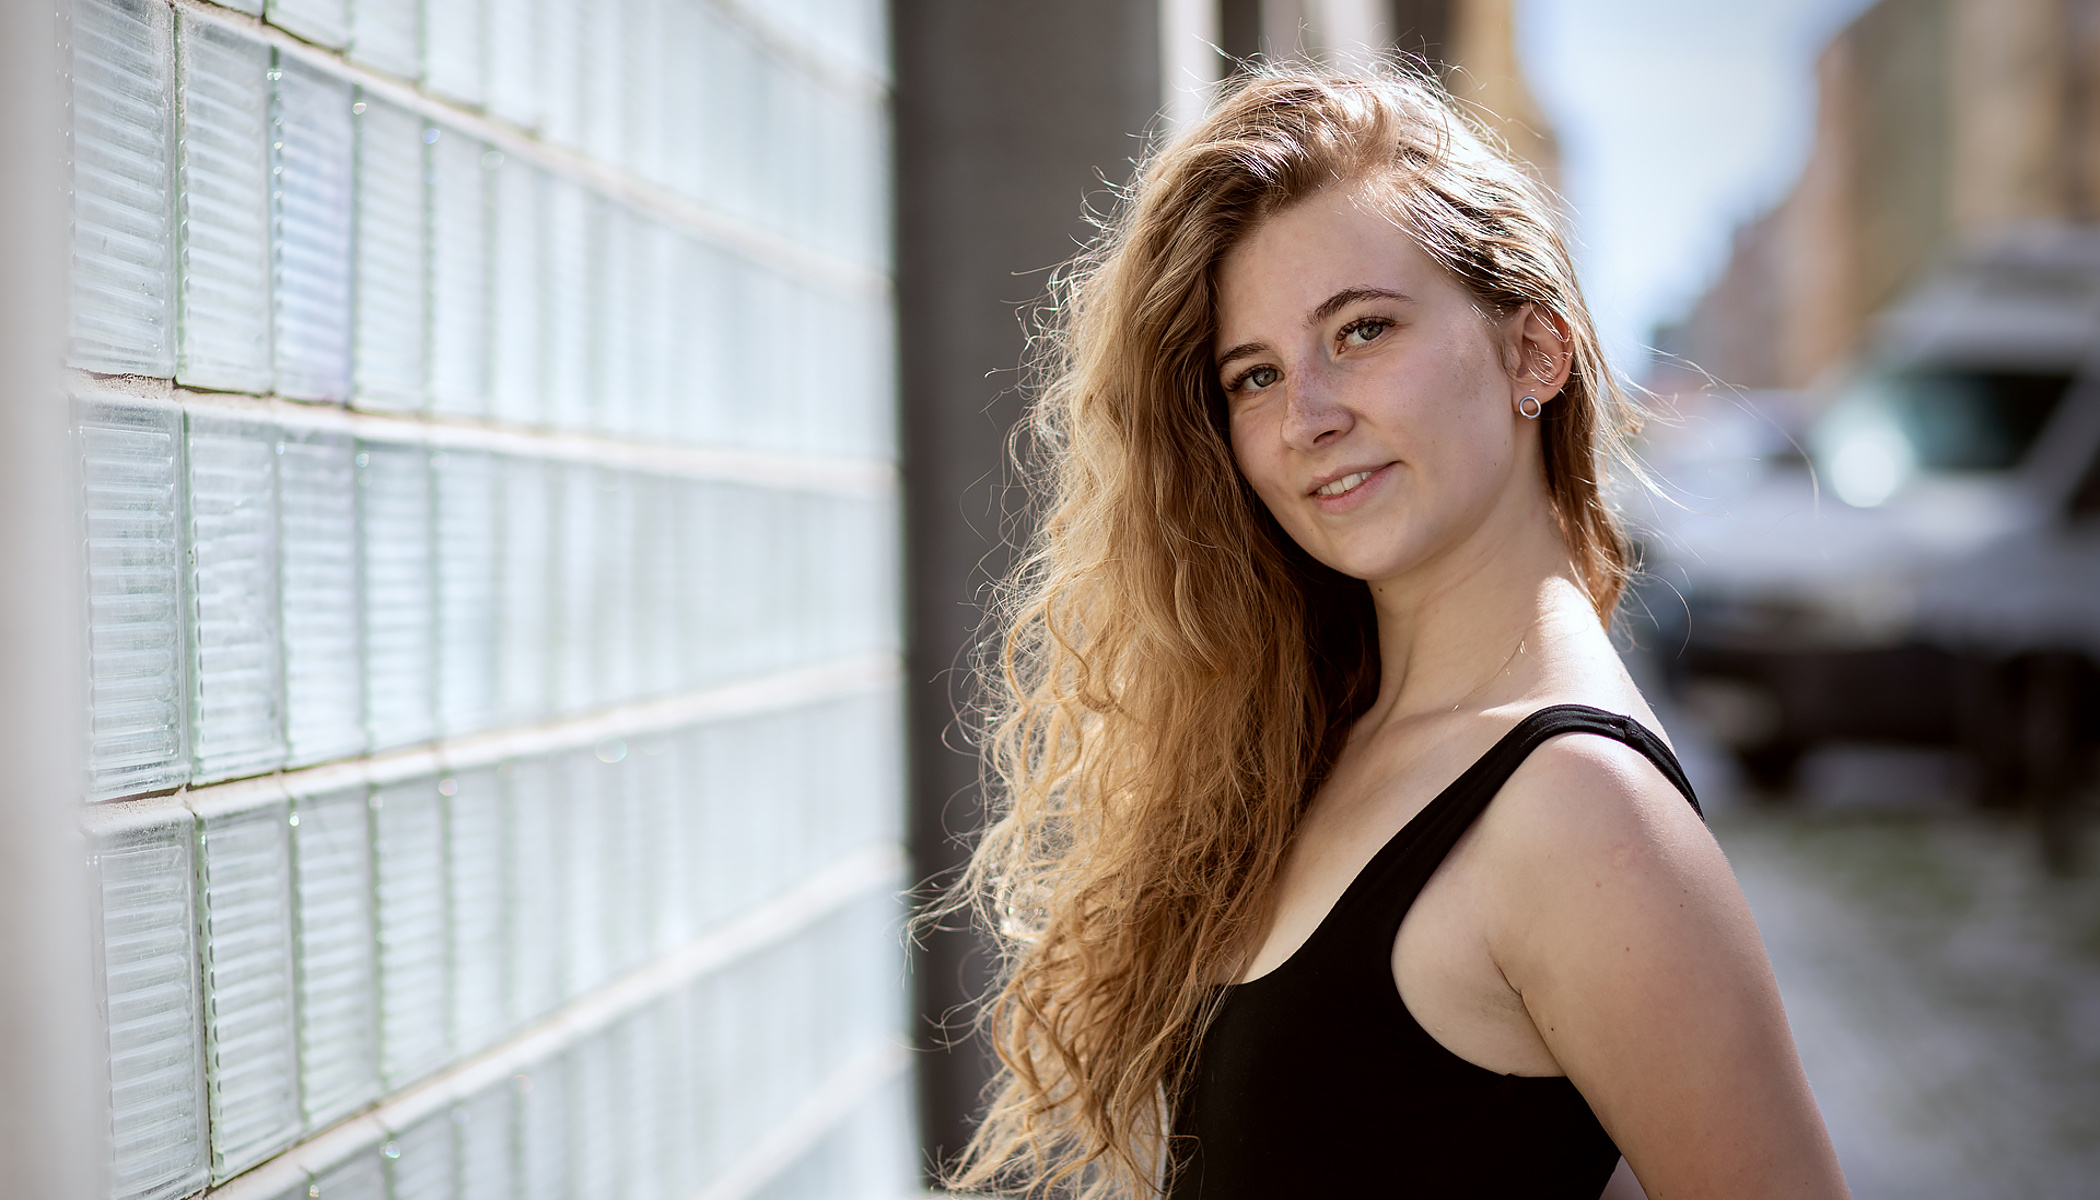
One big advantage of shooting in a city is the abundance of tall buildings and light-colored walls. Every building has at least one wall facing the sun, which means it reflects light. Since soft light comes from large sources, a sunlit wall essentially acts as a giant diffuser, softening and bouncing the light back. The result is lighting that is soft, even light that’s perfect for portraits. The skin appears smoother, the shadows aren’t harsh, and your subjects don’t have to squint.

TIP: Always check the color of the reflective surface. White, gray, or beige walls are ideal. But if you’re next to a green gate, the skin tones in your photos will also be tinted green.
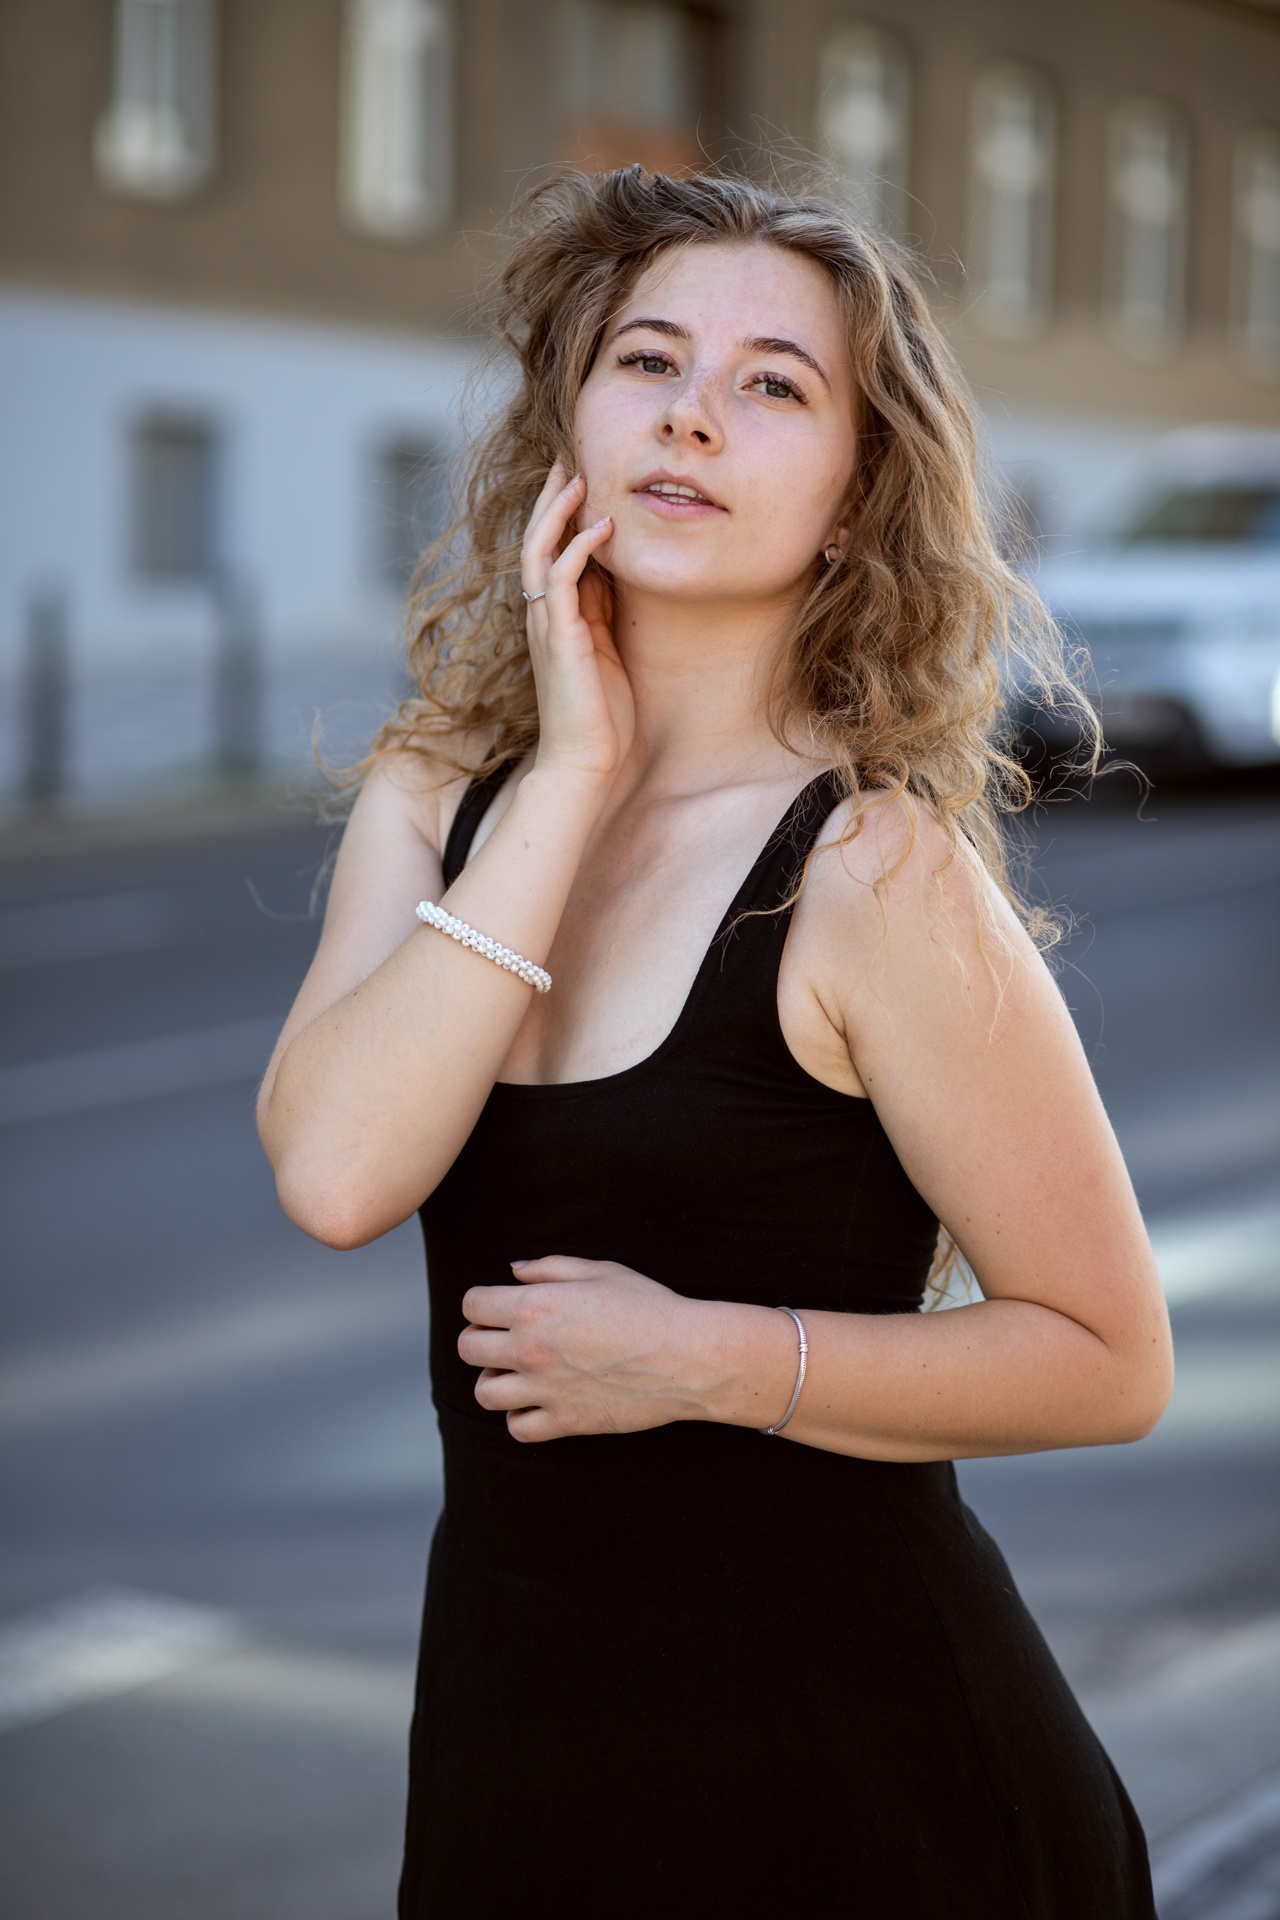
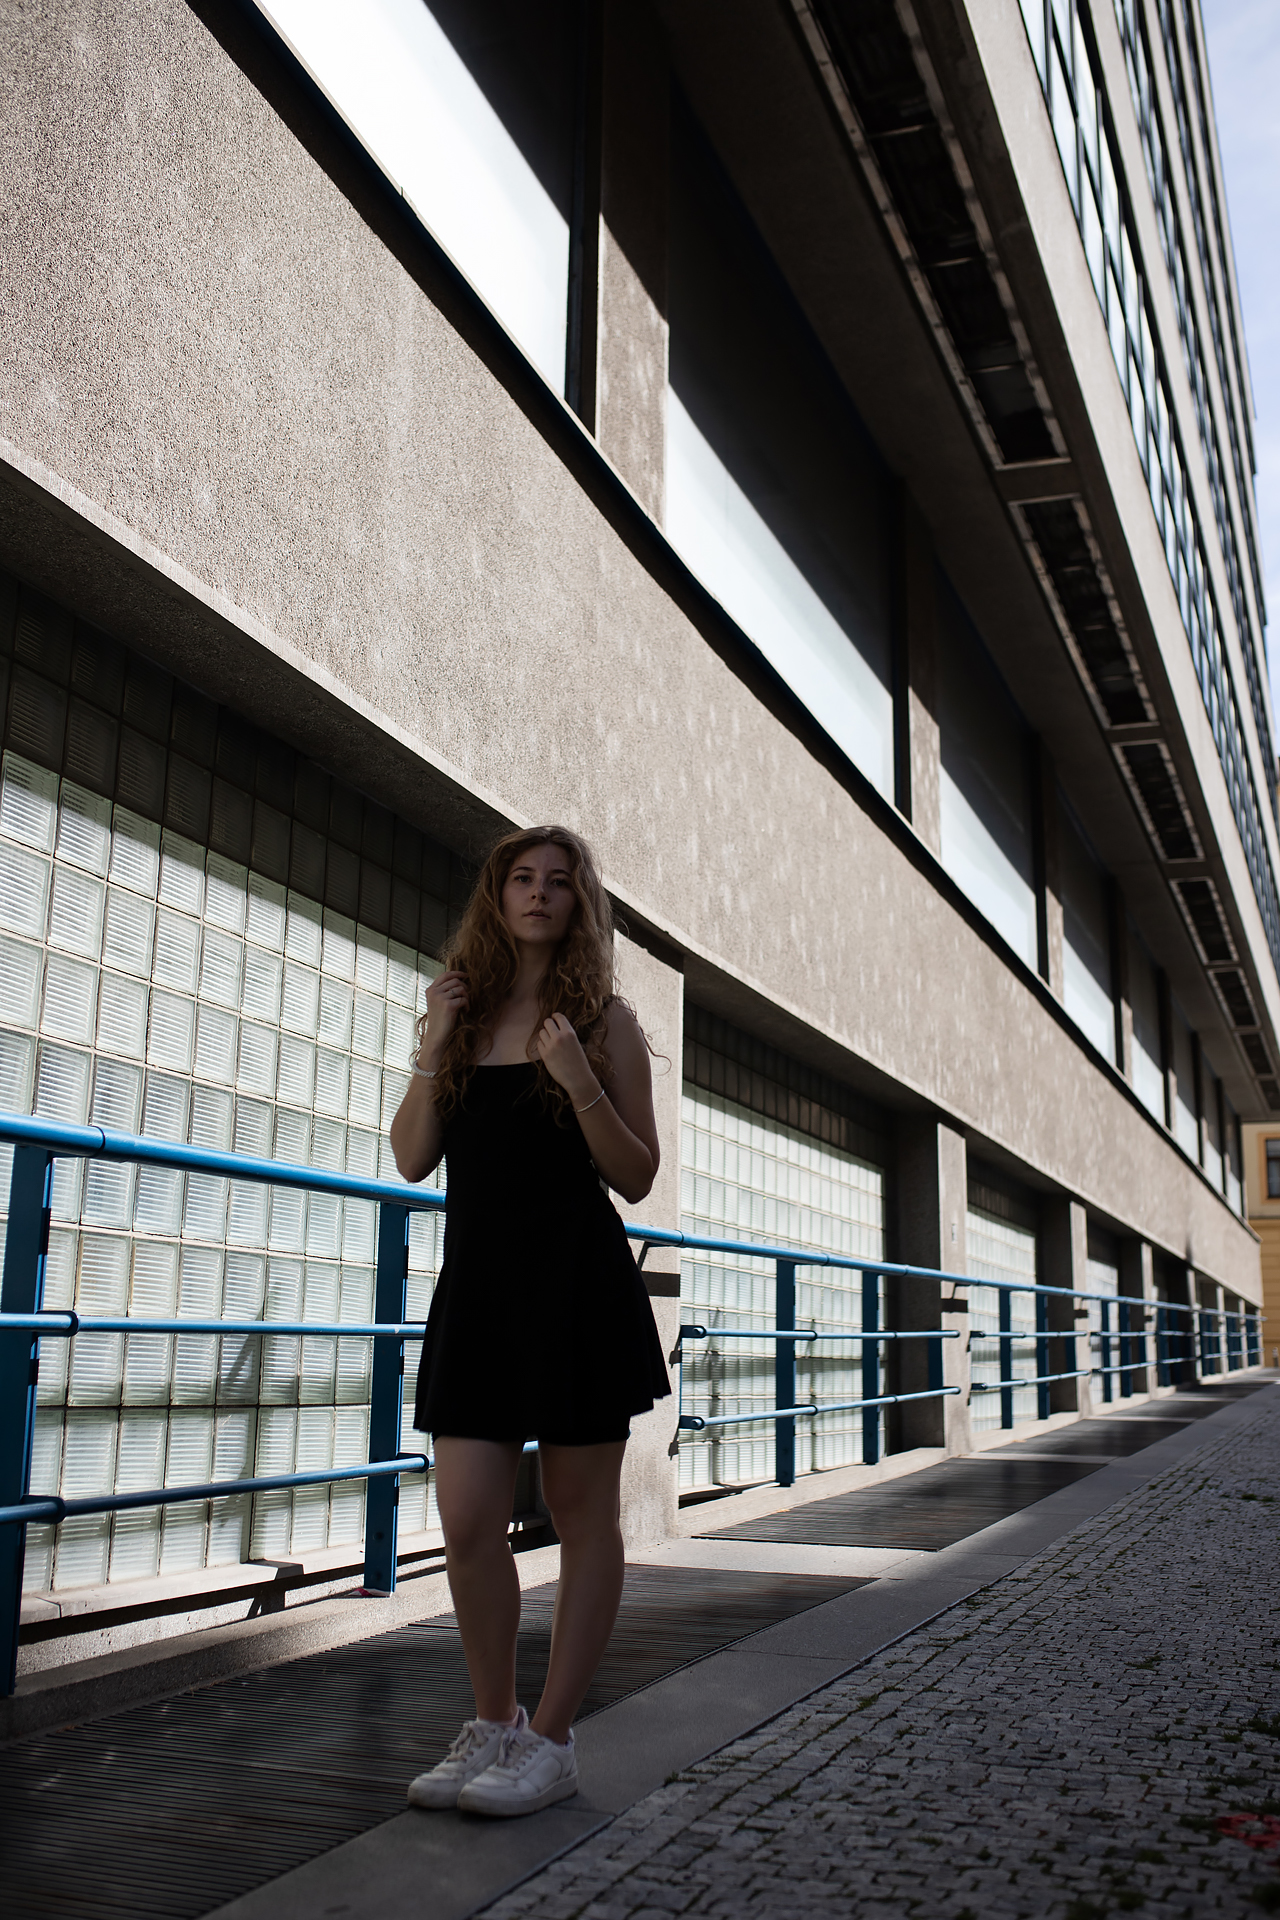
Watch your background
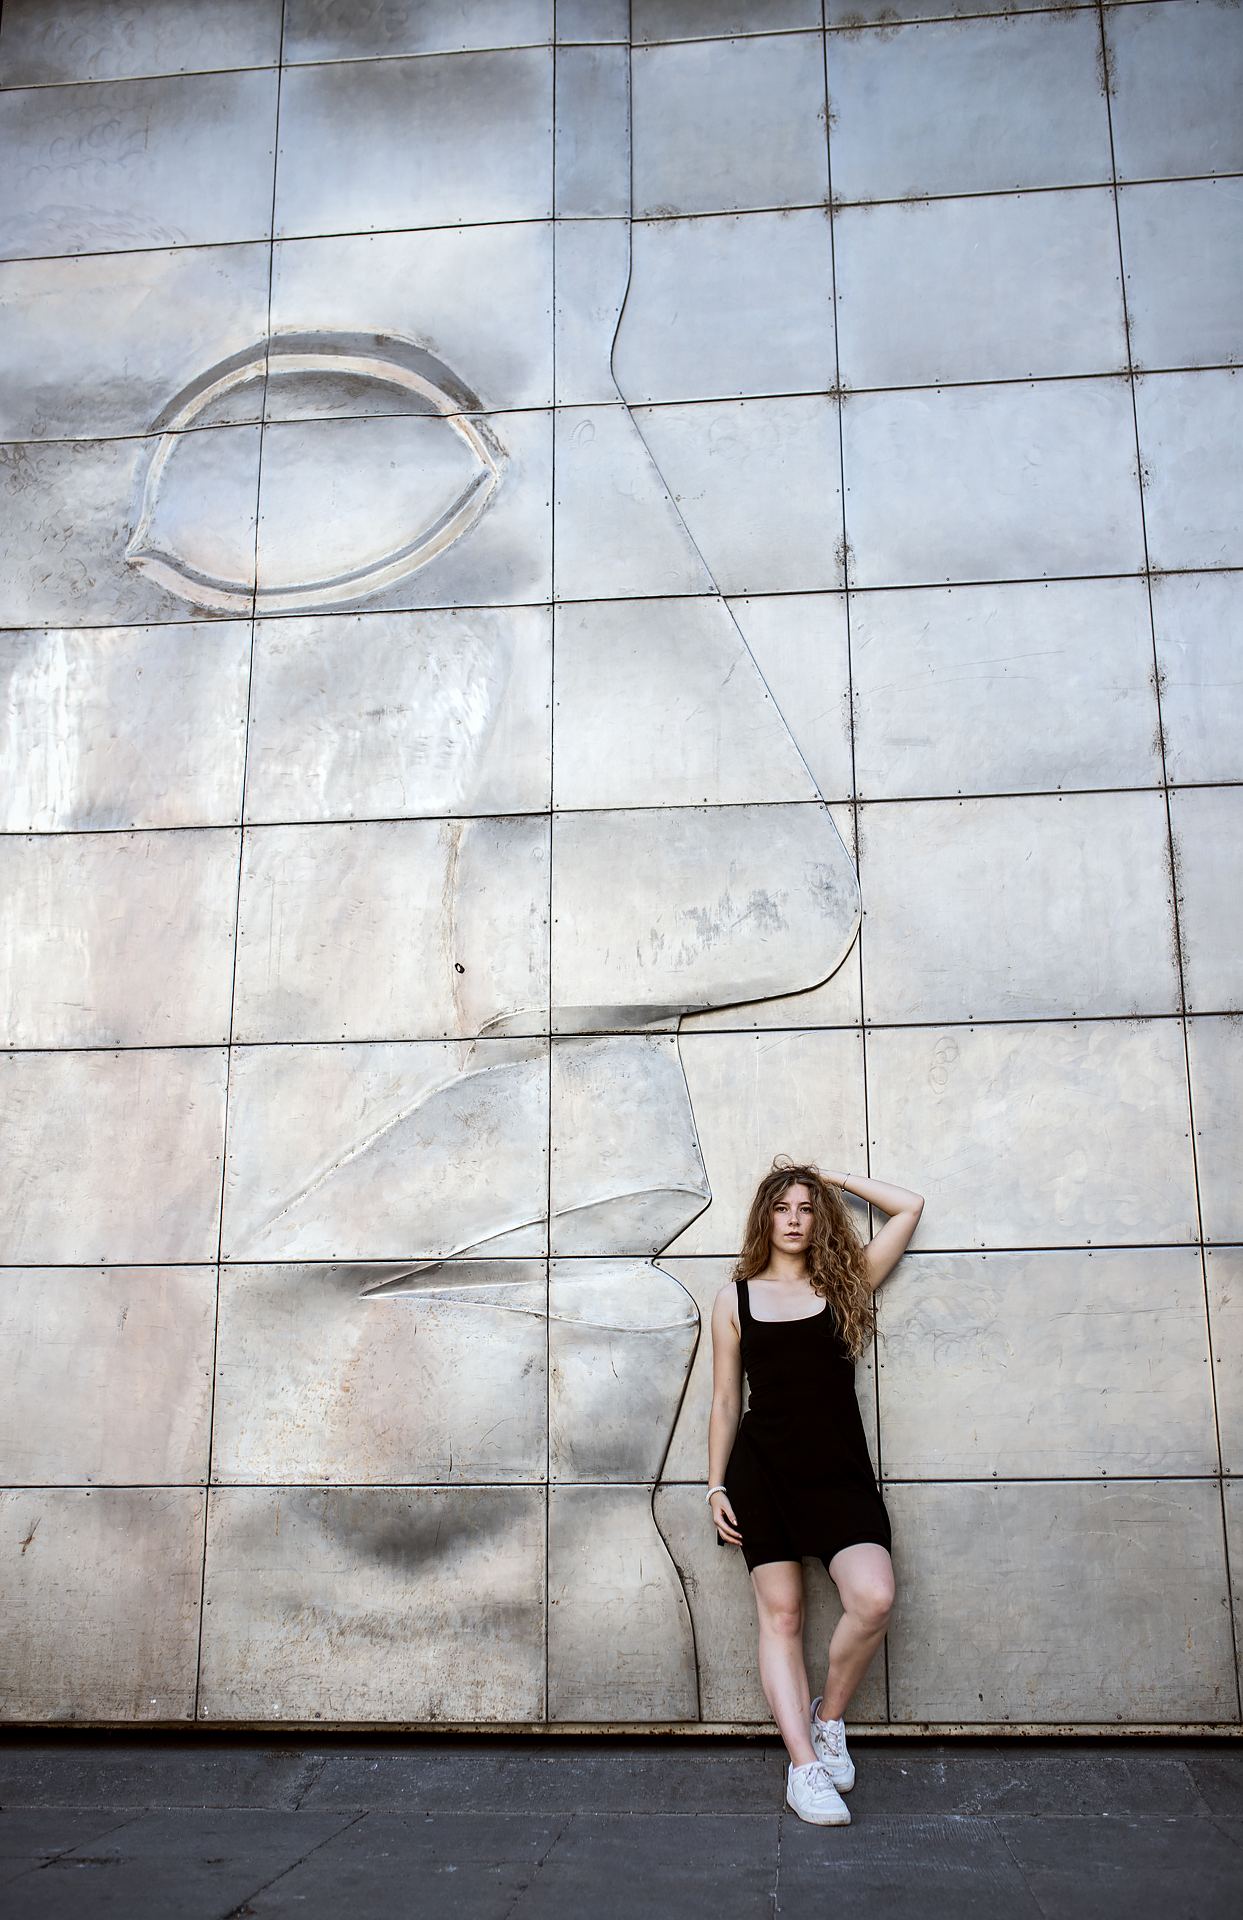
A distracting background can ruin even the most beautiful light. Ideally, the background should be darker or in shadow so your subject stands out in the foreground. But sometimes the background can become part of the portrait. If there are interesting textures or patterns, don’t hesitate to move closer and let your model lean against it.

Hand trick
You can find interesting light patterns on almost any street. I’ll let you in on a simple trick you can use in many situations, even if you’re just taking a quick selfie. Stretch your arms out in front of you and look at your palm. Turn around in place and observe how the light changes. Each angle can create a completely different atmosphere.


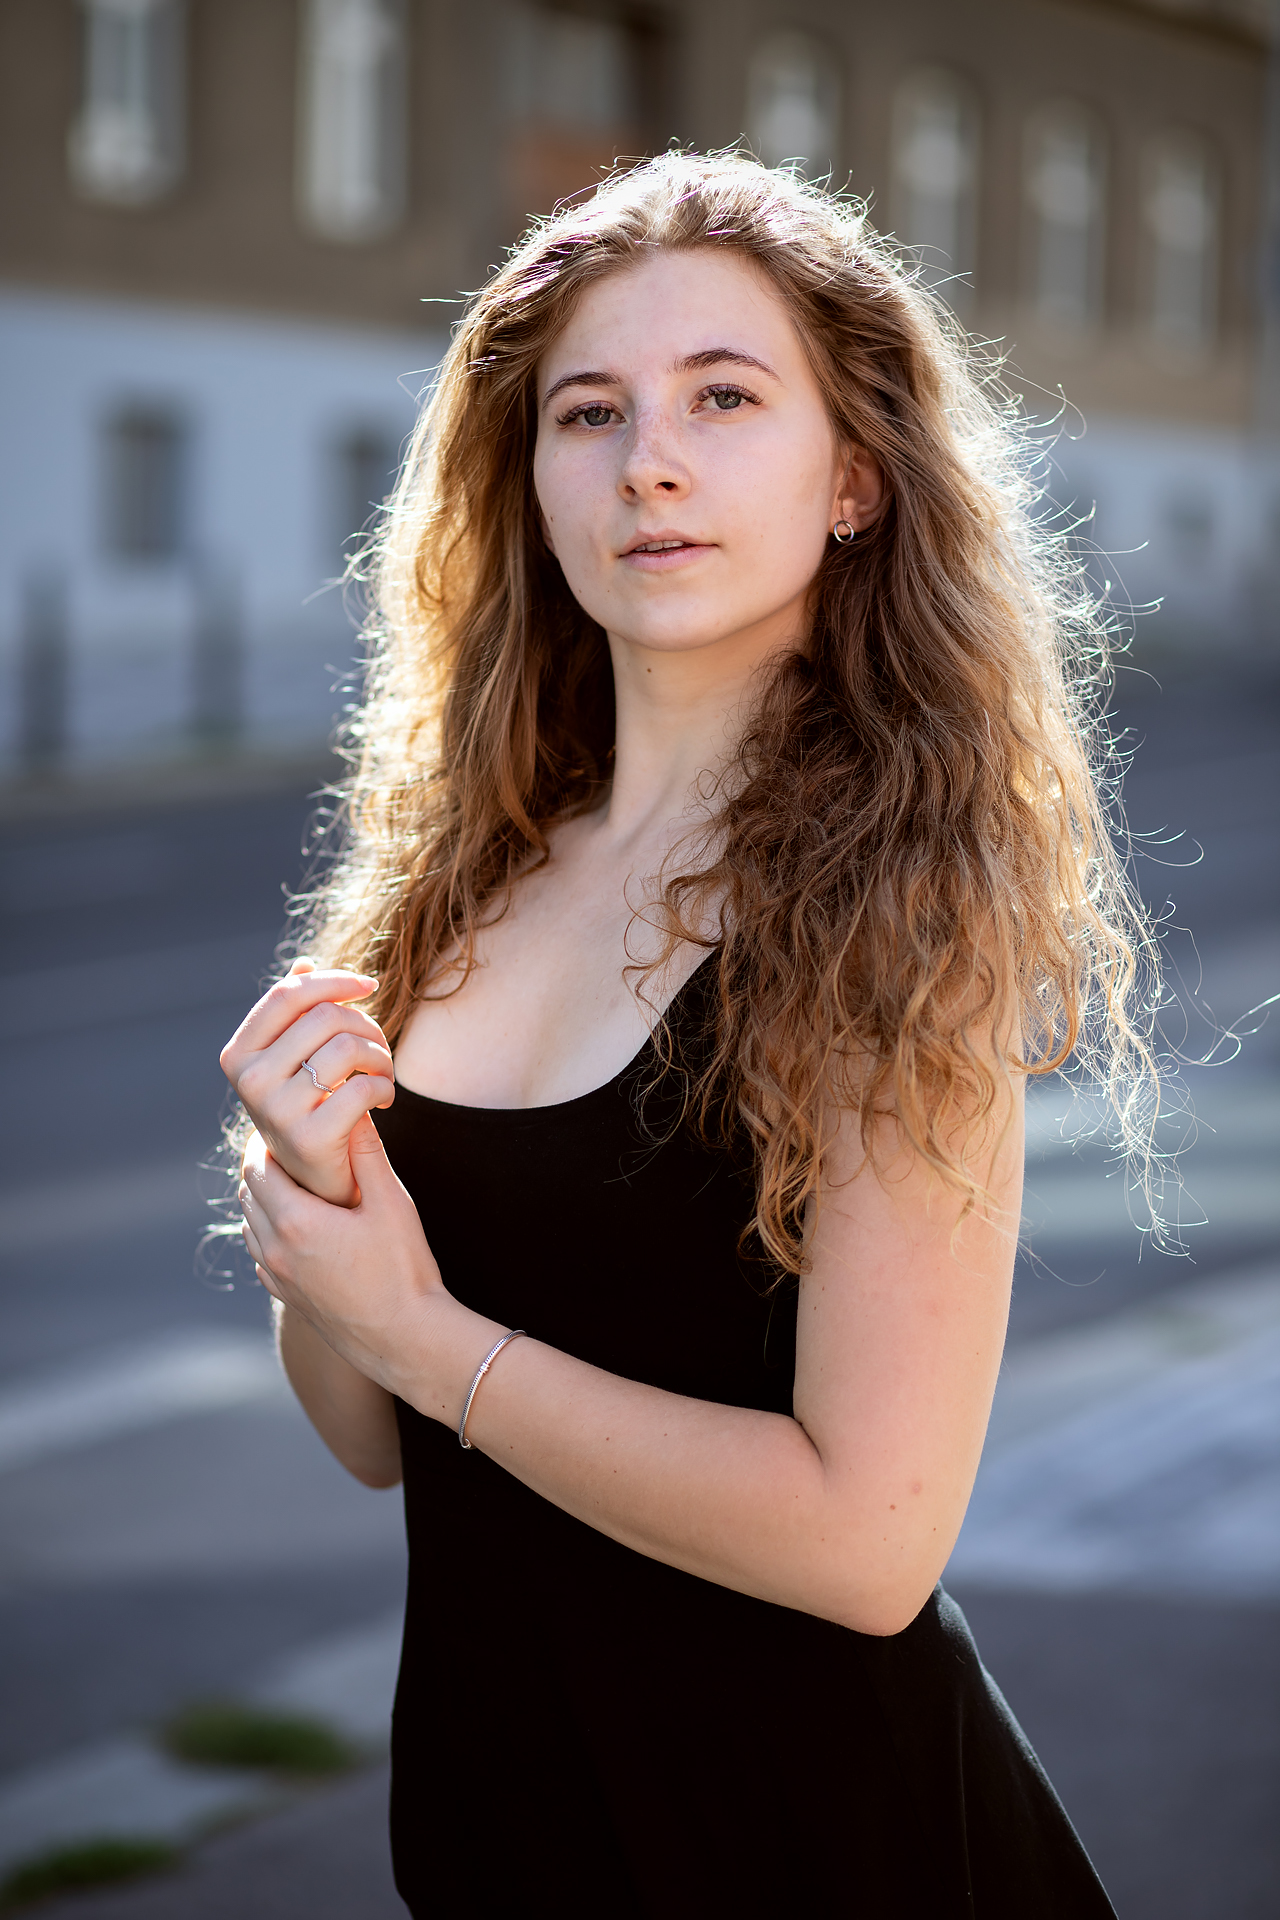
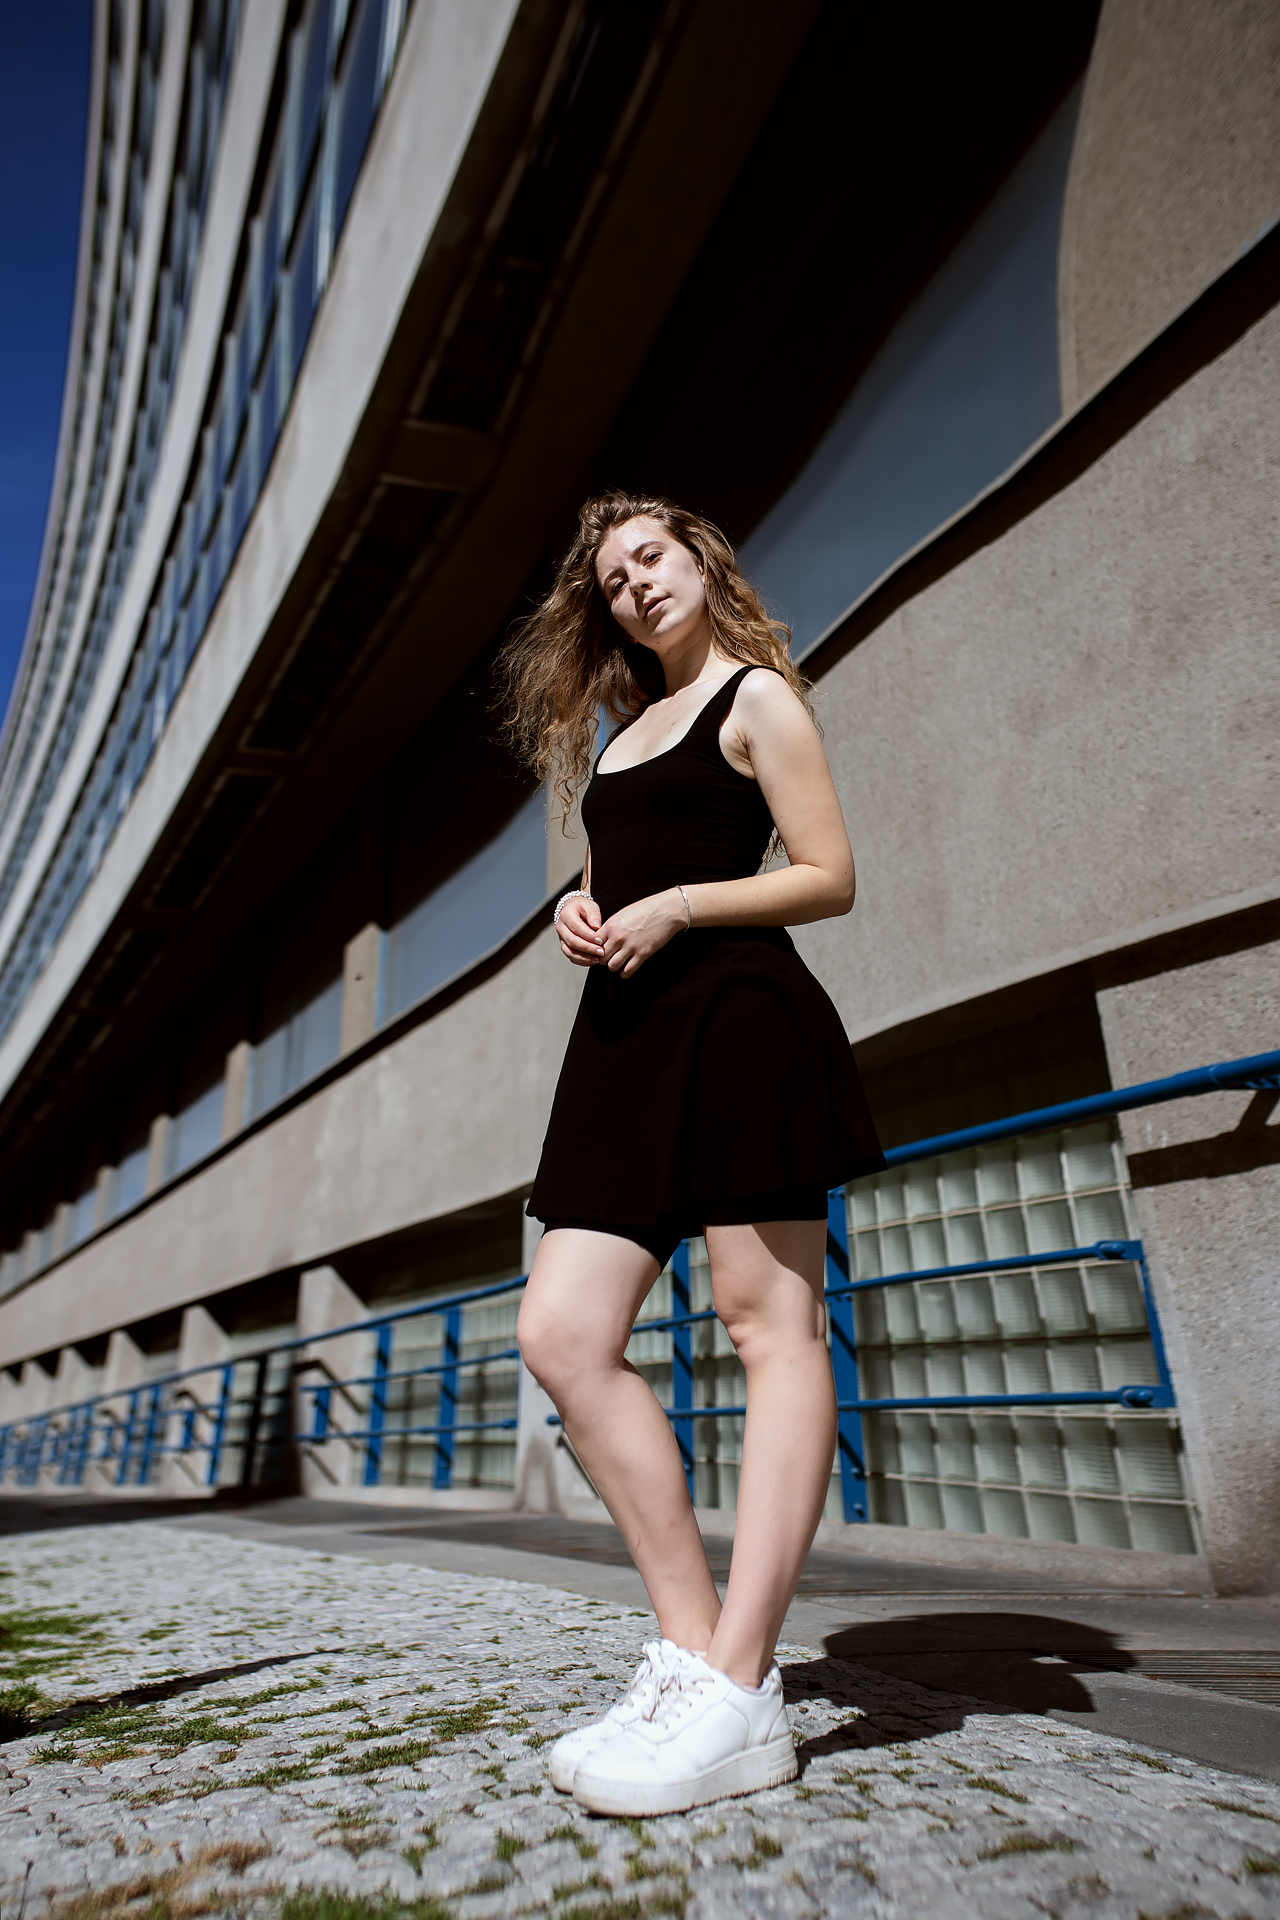
Using hard light
Even harsh sunlight can be tamed, it just takes some care. Avoid having your model face the sun directly, since it makes them squint. Instead, shift the sun slightly to the side or shoot from below, with the light coming from above. Hard light has one advantage: it accentuates textures, skin, hair, or even architecture in the background in a completely different way than soft light. Plus, you can have fun playing with dramatic shadows.
TIP: Reflected light can still be intense. Try using light bouncing off a window. You’ll be surprised how striking the effect can be!

Finding the right light
City photography in bright sunlight doesn’t have to feel like a battle against bad conditions. Once you start noticing reflections, paying attention to the color of surfaces, and experimenting with angles, a whole new world of possibilities opens up. Whether you prefer soft light or the drama of harsh sunlight, city streets offer both. The key is learning to find the light you want and using it as your creative tool.
FAQs
How can I take portraits at midday, when the light is harshest? Look for shade and use reflected light from a large surface, like a wall or building. Direct sunlight usually isn’t flattering for portraits.
How do I know if I’ve found the right light? Use the hand trick. You’ll immediately be able to see how the light falls and how it will look on your subject’s face.
When is hard light better? When you want to emphasize texture—hair, skin, fabric, or architectural details. Hard light is also great for dramatic portraits and silhouettes.
What should I do if the background is distracting? Choose a darker or neutral surface that won’t compete with your subject. Or, turn it into an advantage by using interesting textures and colors as a creative element.
What colors work best for reflective surfaces? White, gray, or beige are best. Colored surfaces (green, red, blue) can cast unwanted color tones on your subject’s skin.