Create Your Own Dreamlike Photos
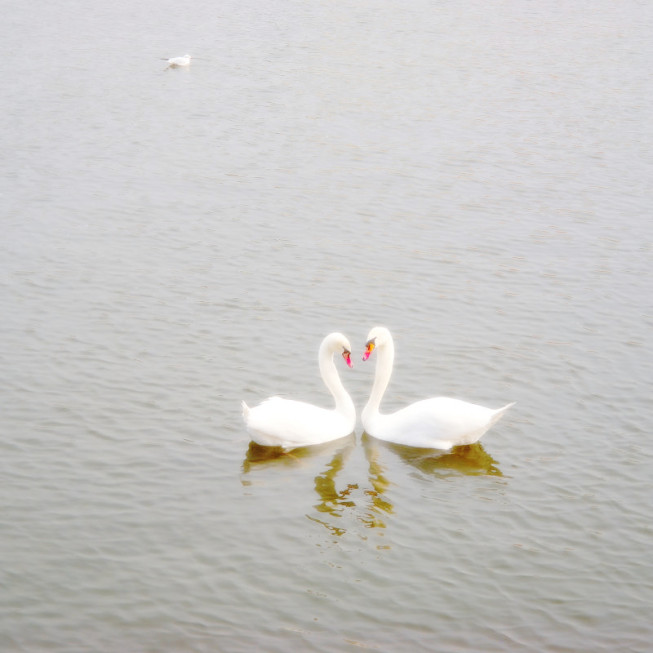
There are a number of ways to give pictures a dreamlike atmosphere. Among them is the “Orton Effect,” which helps you give pictures one-of-a-kind atmosphere in just a few simple steps.
The principle behind the Orton Effect is very simple. It is named for its discoverer, Michael Orton, who used it in film photography. In practice it amounted to taking a picture of the same scene twice, with one shot correctly exposed and focused, and the other deliberately blurred and overexposed out to two degrees of EV.
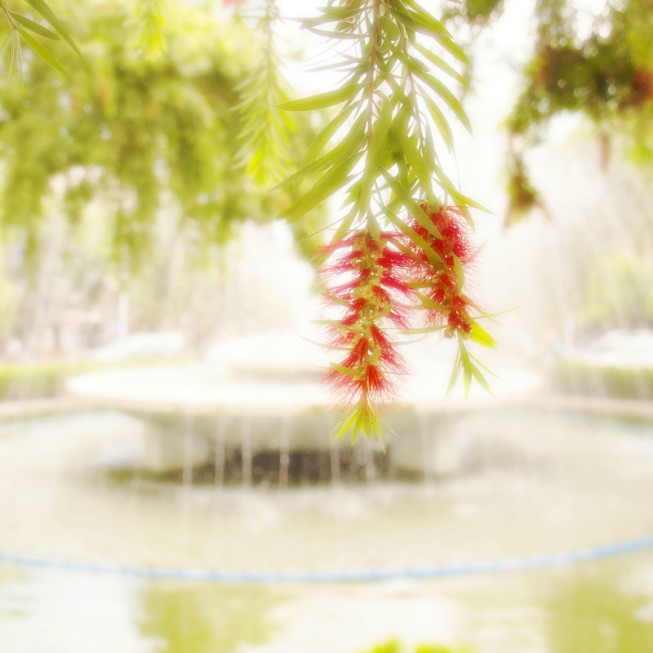
During development he then placed one negative on top of the other and then developed them as one photograph. The result was a picture that looked blurred, yet had clear contours and sufficient detail—a picture with the atmosphere of a dream.
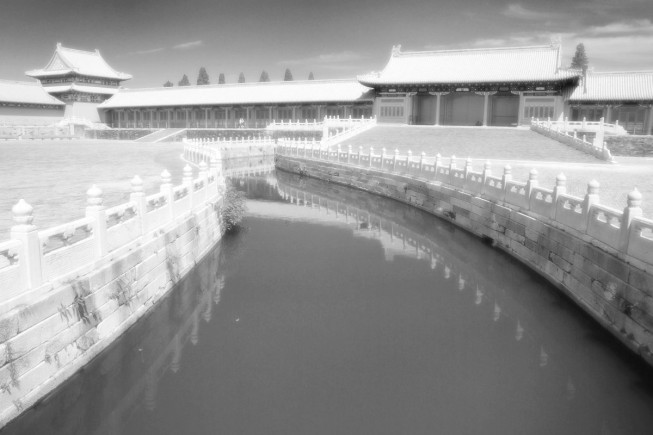
The Orton Effect, Digitally
Even in today’s age of digital photography, the basics of using the Orton Effect are the same as always, that is, you photograph the same scene twice, with one shot “good” and the other overexposed and blurred. But one thing has changed: now if you don’t have the oddly-exposed source picture for the job, you can just make your own.
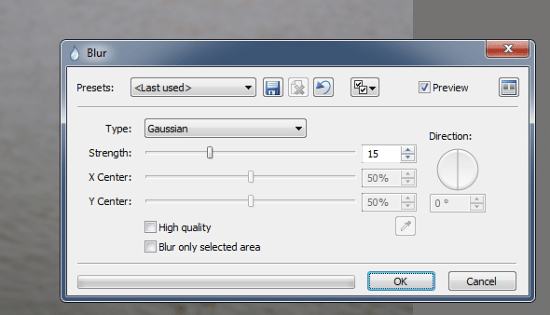
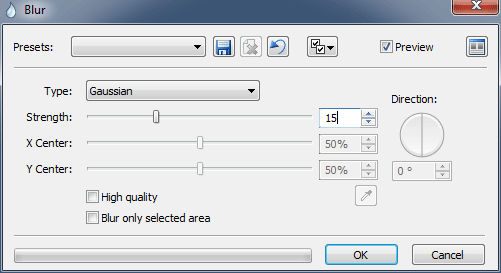
In Zoner Studio, you can use the Blur (Ctrl + 6) function for this. It’s located in the Editor’s Adjust menu. Use the Gaussian blurring type, with an effect strength in the range from 5 to 20. The picture should have visible contours.
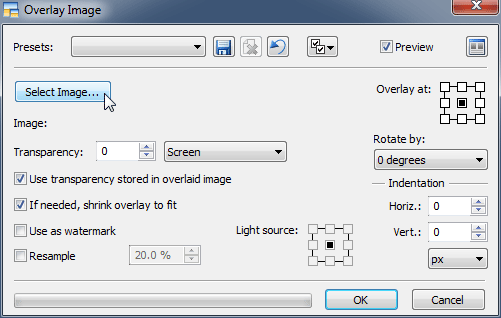
Next, open the original picture and use the Edit menu’s Image Overlay (Ctrl + Shift + T) item to overlay the blurred image atop the original. Find your blurred image by Select Image button, then select the overlay blending mode named Screen. After overlaying the blurred image, adjust a contrast a little using the Levels window.
