Creative Flower Photography: 4 Techniques for Eye-Catching Shots
There are countless ways to photograph flowers, and a simple “snapshot” often isn’t enough these days. If you want your photos to really stand out, use your imagination and try something different. This article contains four creative techniques to help you do just that.
In this article, you’ll learn:
- How to photograph flowers creatively and break away from the usual style.
- How to use long exposure for an original motion effect.
- How to photograph flowers in water and work with color.
- How to create an aesthetic flatlay using flowers.
- How to photograph “levitating” flowers.
- How to work with light to make flowers stand out.
Flowers are one of the most popular photography subjects, but that’s exactly why it can be tough to come up with something fresh. Instead of sticking to classic shots, try changing your approach. Work with motion, water, or unconventional compositions. With just a few simple tricks, even an ordinary flower can become a visually striking subject.
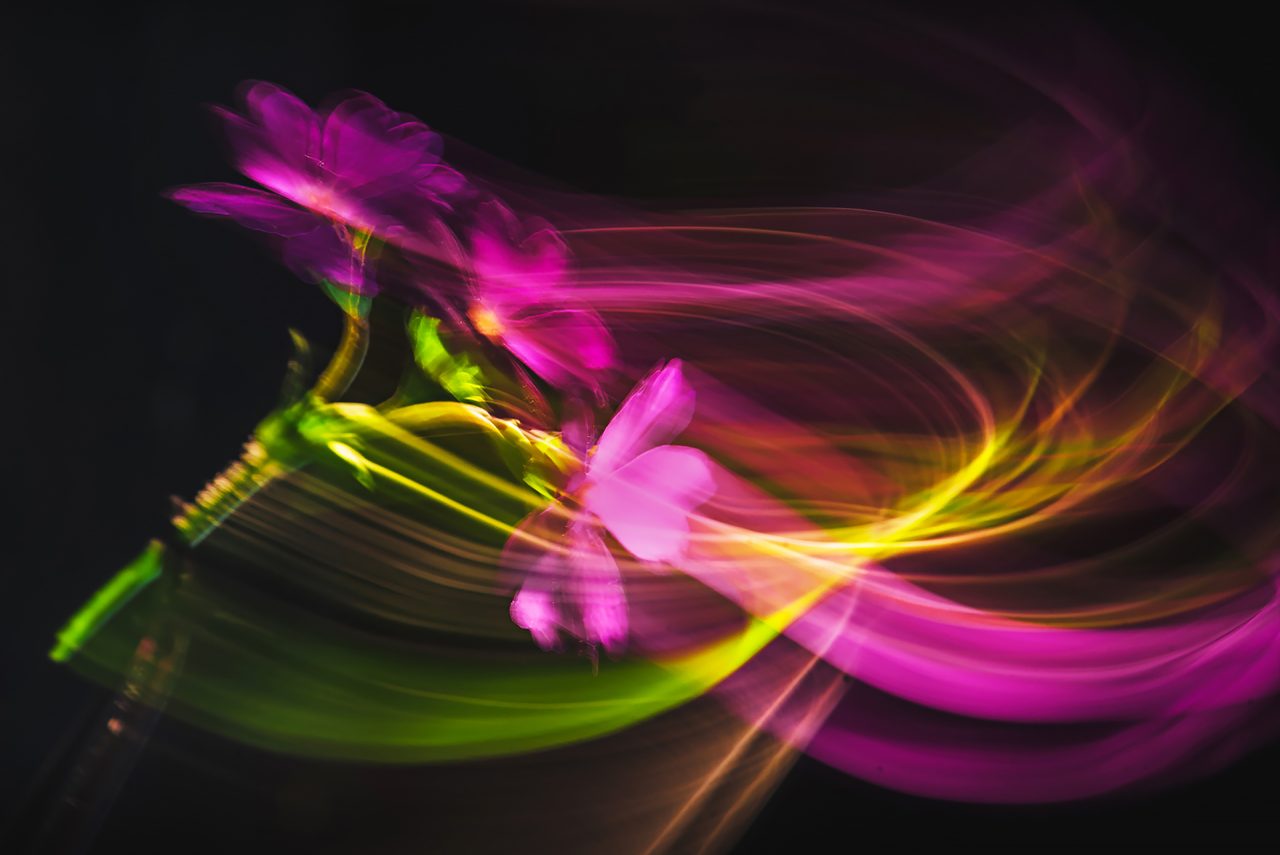
Flower photography using long exposures
Choose a flower with a distinctive shape—one that remains recognizable even when it’s moved. Less is more—a single flower will stand out, while a larger bouquet can easily turn into an indistinguishable blur. Secure the flower in place. Sometimes a simple vase is enough, other times a water-soaked floral foam works better and helps keep the flower fresh. For smaller flowers, you can wrap the stem with wire so your fingers don’t appear in the shot.

If you don’t have a black background, leave enough space behind the flower where the light doesn’t reach. The darkness will form naturally. As for lighting, a combination of backlight and side light works well. Backlight illuminates the petals, while side light adds texture and depth. The best approach is to combine flash with continuous light.
Place your camera on a tripod, focus on the flower, and set the sync speed to first curtain. The flash fires immediately after you press the shutter button. You can then move the flower to create light trails during the remaining exposure. Shoot in manual mode. Set the shutter speed to somewhere between 1/50 and 3 seconds, ISO 100, and adjust the aperture to avoid overexposure. Gently move the flower after the flash fires. It may take a few attempts, but with practice, you’ll start to see more interesting results.
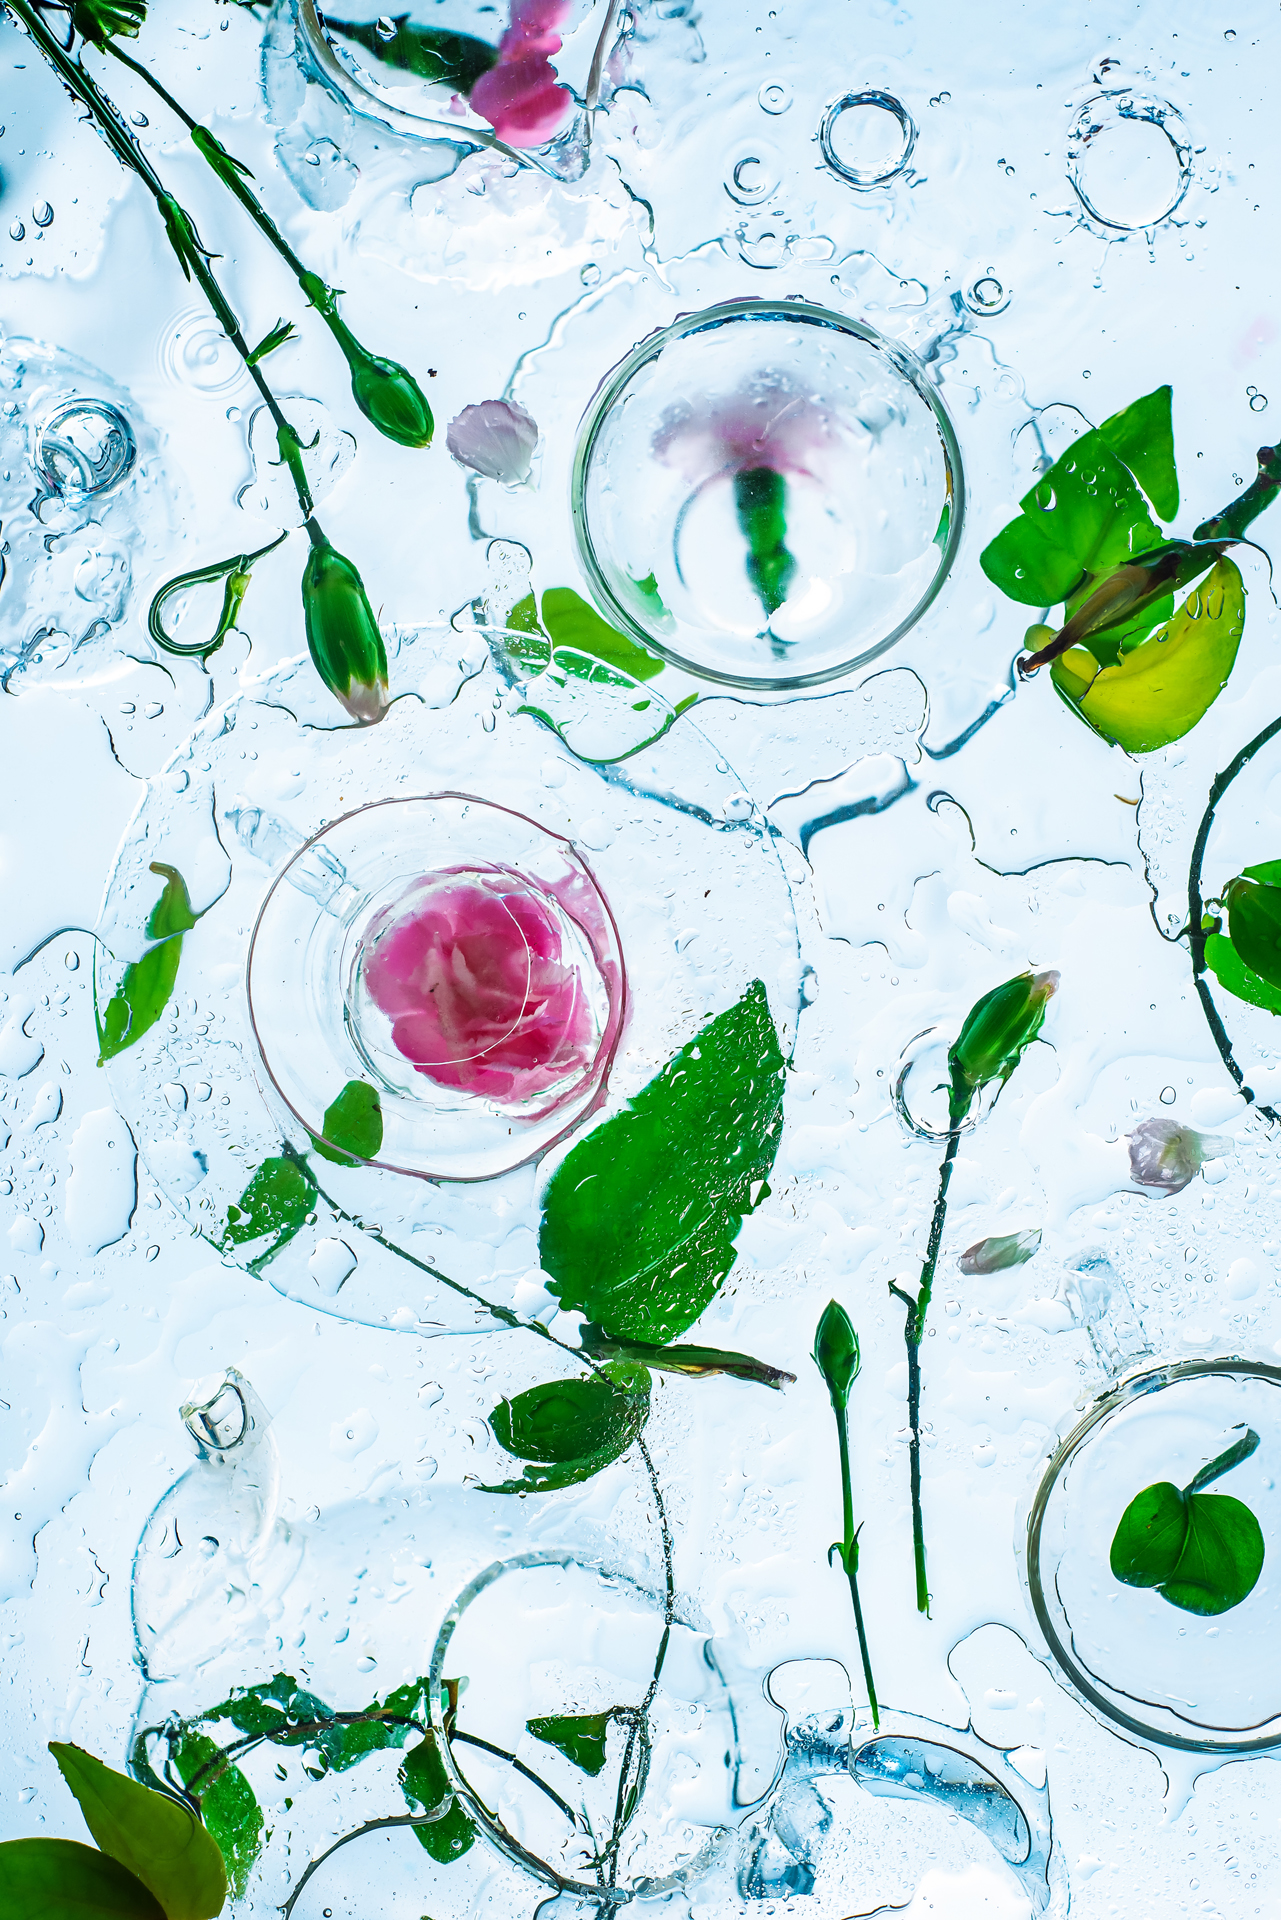
Flower photography with water and dye
For this technique, you need an aquarium (a small one is enough) and dye—acrylic paint, ink, or food coloring. Each behaves differently and produces a unique effect.
Thoroughly clean the aquarium, fill it with water, and remove any air bubbles from the sides. Choose a fresh flower with firm petals, secure it with a clip, and submerge it facing downward. Adjust the lighting based on the type of dye: acrylic works well with side lighting, while ink looks great with backlighting. You can soften the shadows using a reflector. Choose a color that complements the flower—either tone-on-tone or contrasting.

Mount your camera on a tripod, focus, and switch off autofocus so it doesn’t miss the right moment. You can shoot with flash or continuous light. Flash gives you perfectly sharp images—use the lowest possible power and a shutter speed around 1/160 s, adjusting the aperture as needed. With continuous light, you have the advantage of shooting in bursts: set a faster shutter speed (approx. 1/500 s or faster), open the aperture, and increase the ISO if necessary.
Prepare the dye. If using acrylic paint, dilute it slightly so it flows easily into a syringe. Quickly inject it into the water and start shooting immediately—you only have a few seconds before it disperses. It helps to have an assistant. Replace the water and repeat the entire process as needed.
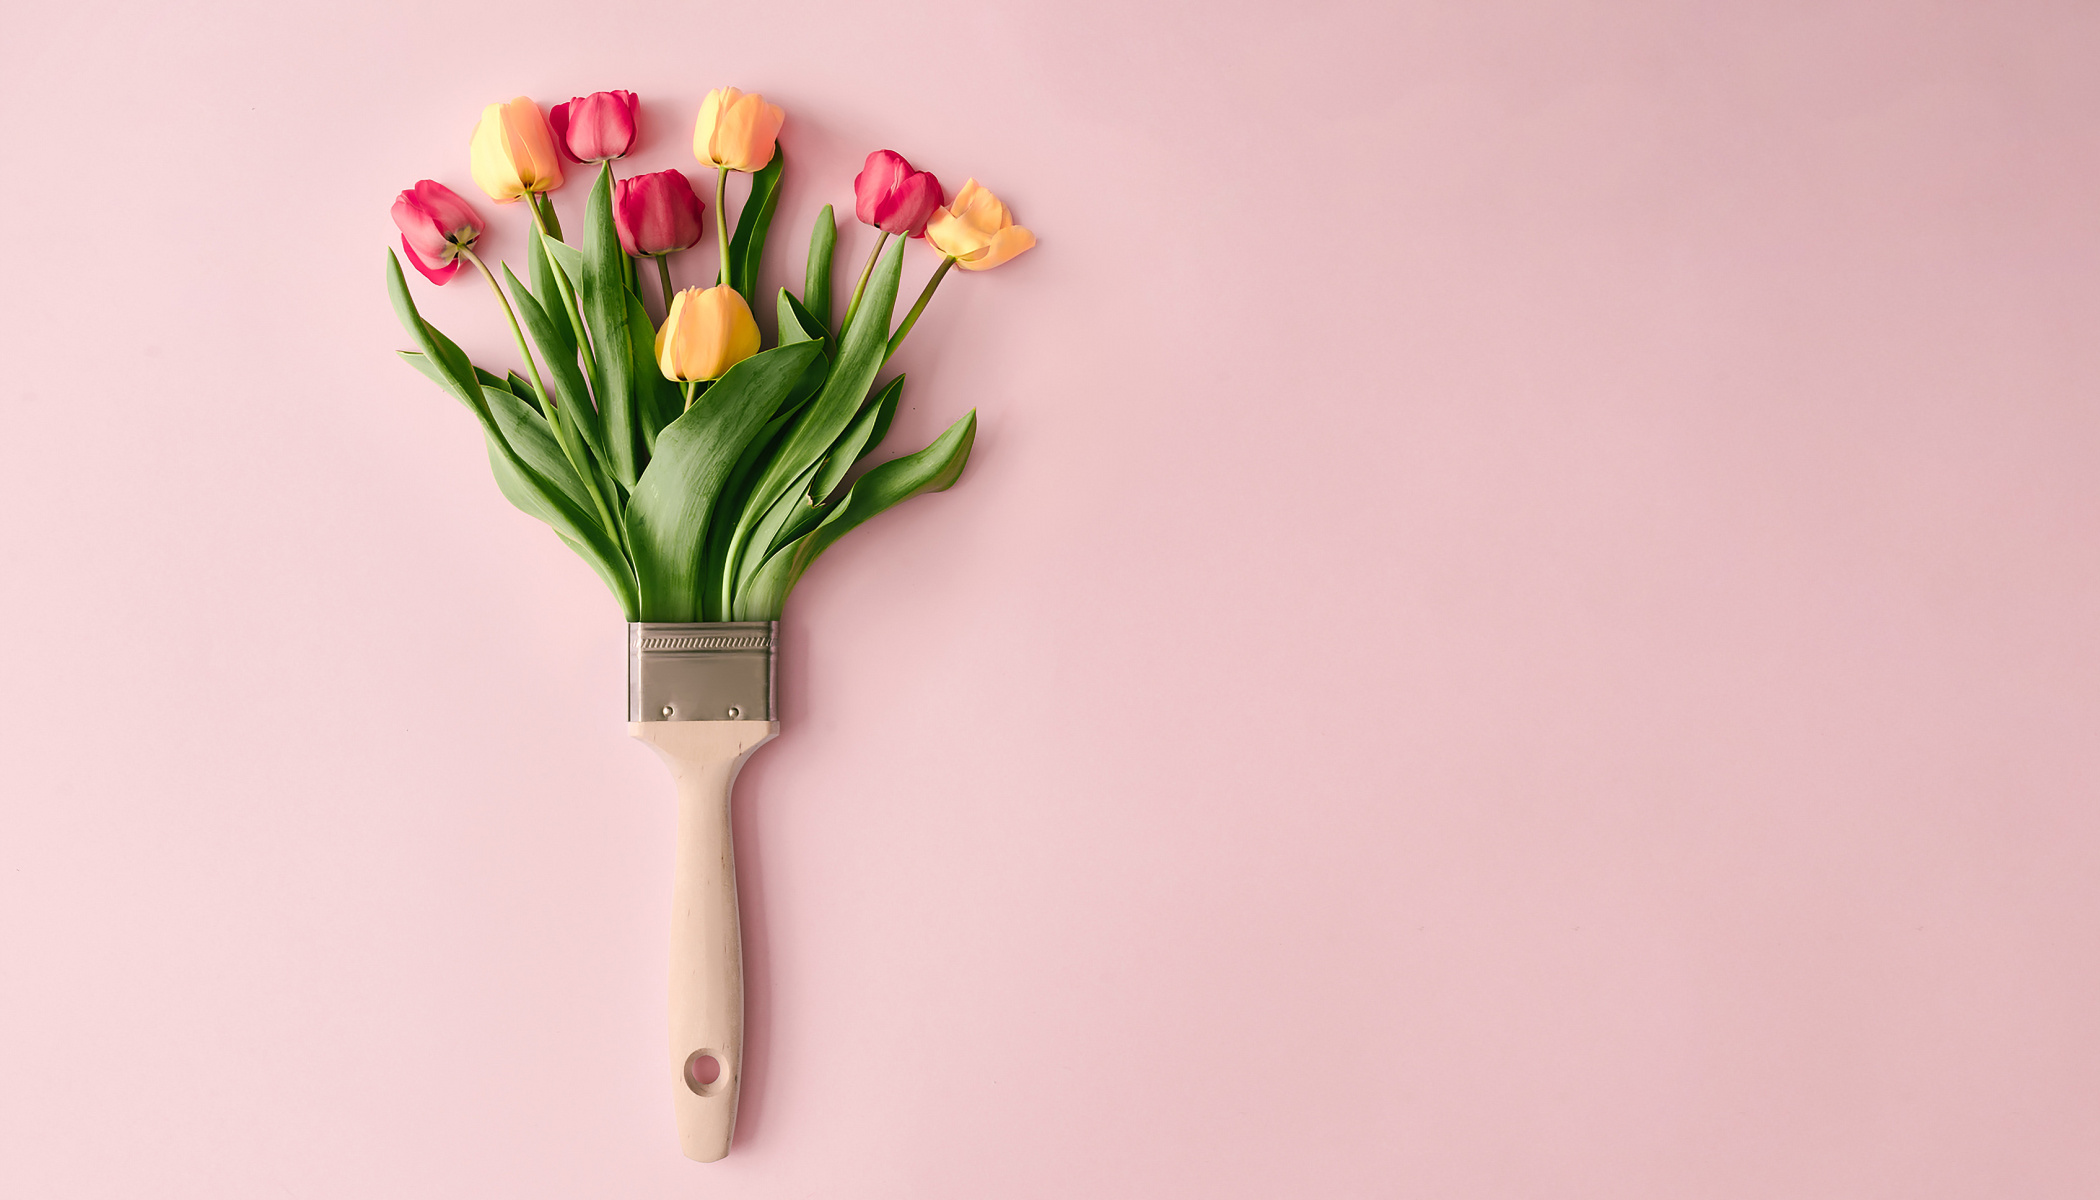
Floral flatlay: How to photograph flowers from above
Flatlay is a popular genre not only in food and product photography, but even portrait photographers sometimes use it. It simply means shooting a scene from above.
The background can be anything—the texture of the table, concrete, colored paper, or frosted or clear Plexiglas. You can buy ready-made backdrops or make your own, for example, from an old pallet. Just make sure it doesn’t draw too much attention away from your subject.

Stick to a limited color palette—one to three colors that complement each other. The same lighting rules apply: light coming from above or slightly from the side looks most natural, and you can fill in shadows with a reflector. Avoid lighting that comes directly from the camera’s axis, which can flatten the scene. Place your camera on a tripod, ideally with an extended arm, and turn on live view so you don’t have to lean over the scene.
Levitation: How to create a “flying” flower effect
You can create the “flying” flower effect either by throwing flowers in the air and capturing them mid-fall, or by securing them in place and editing out the supports later. The second option gives you greater control over the composition, and you don’t have to rush.
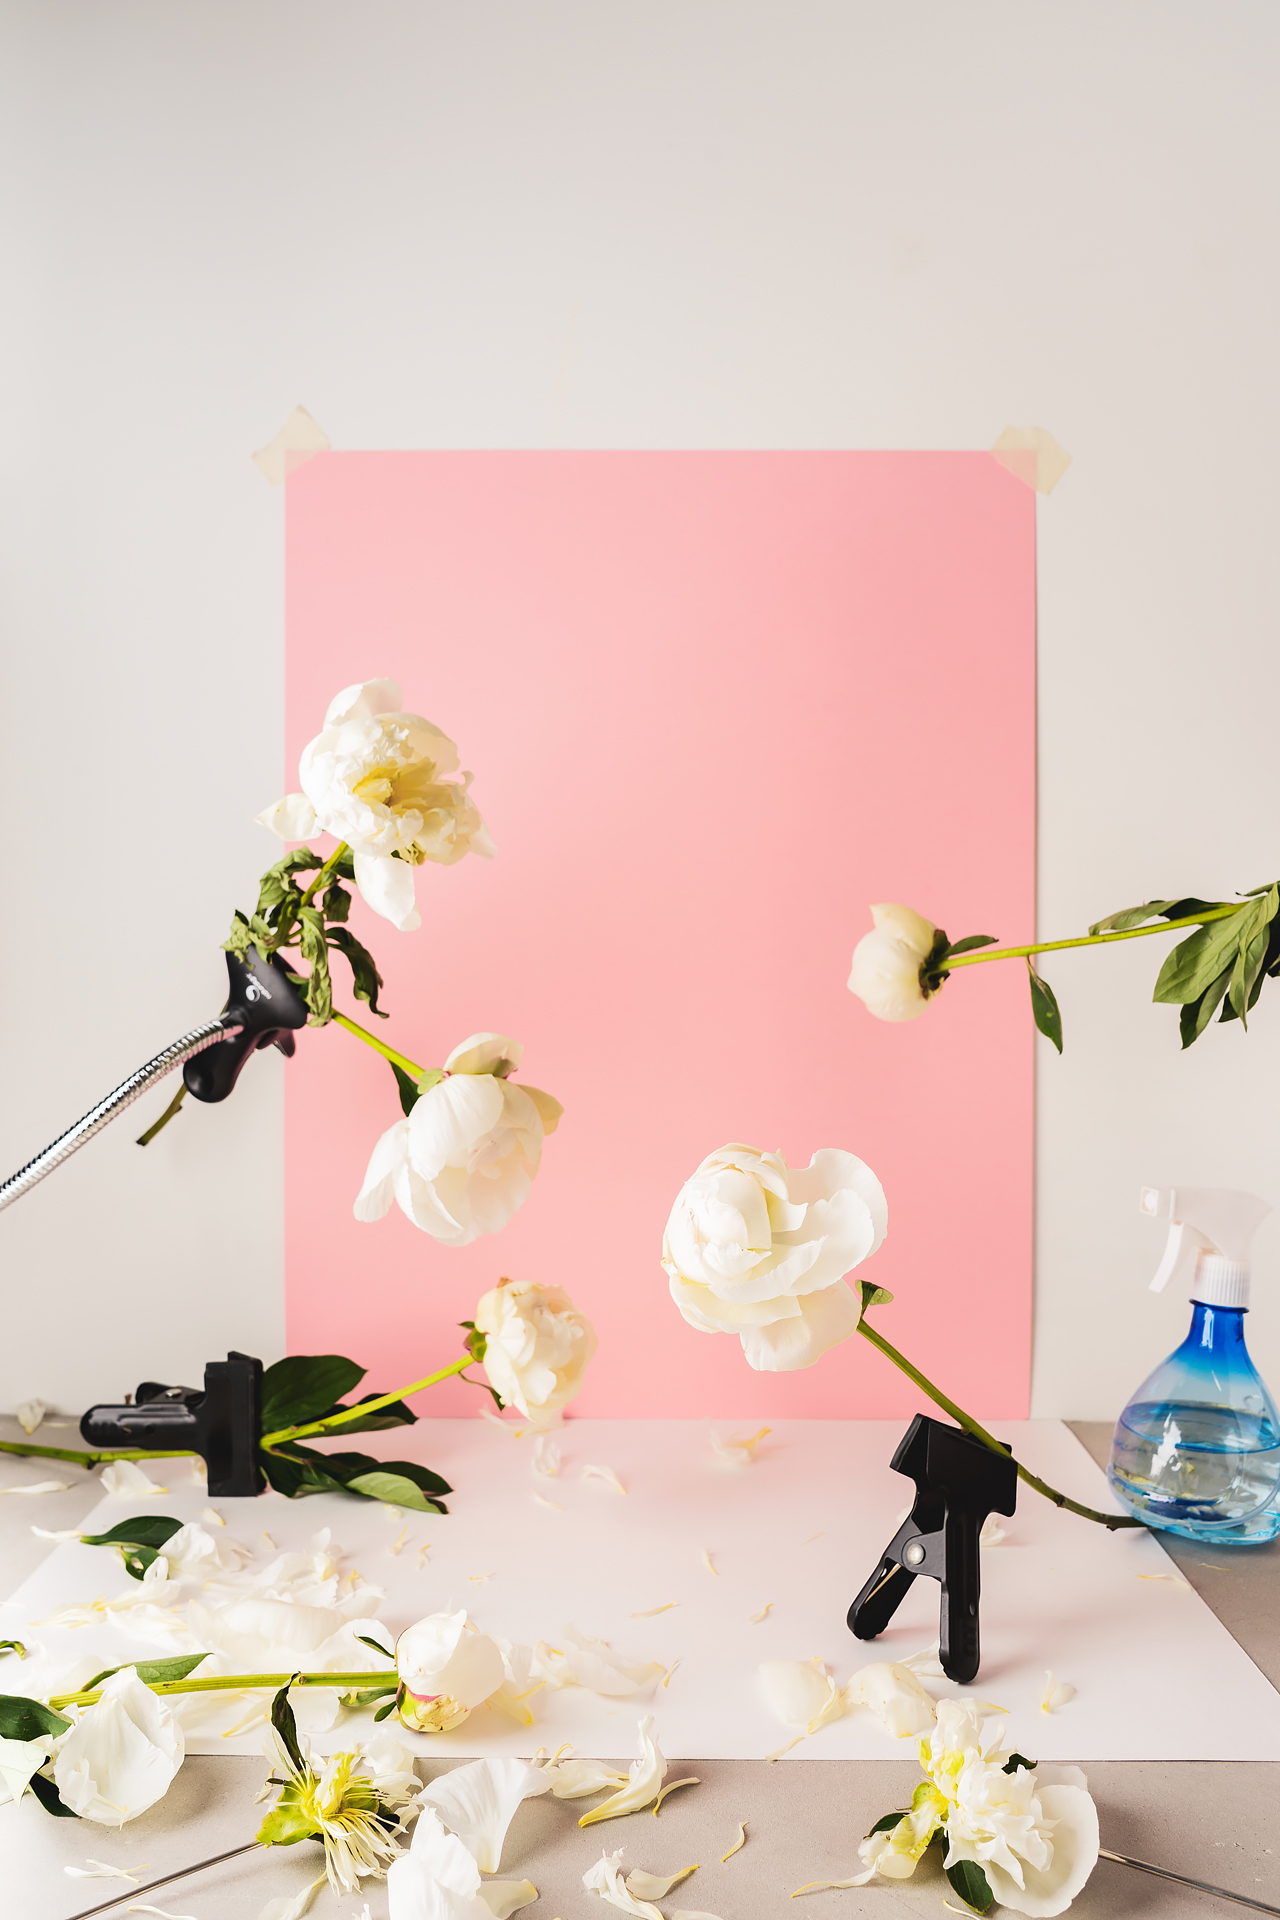
Set up a backdrop and use clips or other holders to suspend the flowers. Arrange them in different directions, so they look as if they’re naturally falling. It’s okay if a part of the support is visible—you can remove it in Zoner Studio. Small details, like petals captured in motion, can bring the image to life.

“Balanced” compositions also look interesting—where individual elements touch, creating a subtle tension. As for lighting, soft, diffused light from above or the sides works best for this setup.
FAQ
How can I photograph flowers in a new and interesting way?
Experiment with techniques like long exposures, shooting in water, or levitation. The key is working with light, movement, and unconventional compositions.
What kind of light is best for flower photography?
Soft, diffused light from the side or behind works best. It helps bring out the flower’s texture and color.
What camera settings should I use for flower photography?
It depends on your shooting style. In general, use a low ISO (e.g., 100), choose your f-number based on the desired depth of field, and adjust shutter speed based on lighting conditions or your desired effect (e.g., slower for long exposures).
How do I photograph flowers underwater?
Use an aquarium with clean water and suitable dye (ink, acrylic paint, or food coloring). Submerge the flower and inject the dye into the water just before taking the photo.
How do you create a levitation effect with flowers?
Secure the flowers using wires or holders, then remove them in post-production. This creates the illusion that the flowers are floating in mid-air.