Do you have a crooked photograph? Straighten your horizon and perspective.

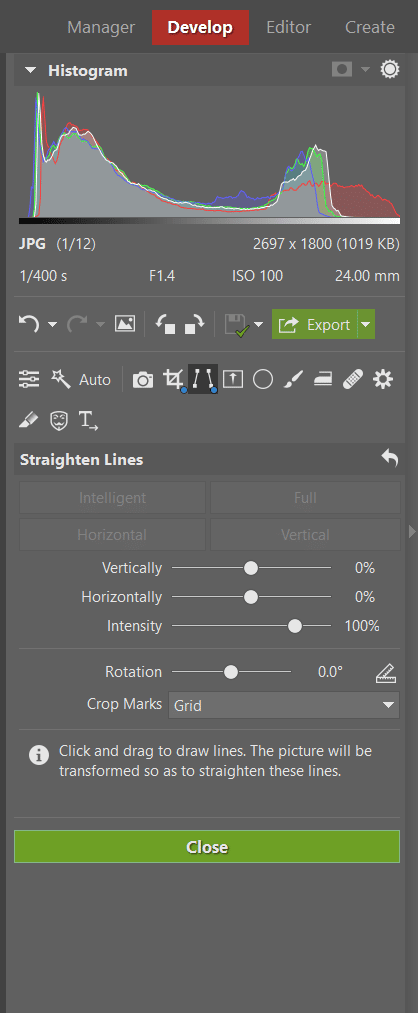
You might find that a photo has a tilted horizon or converging lines that should be parallel. Don’t despair! You don’t need to delete these photos, just straighten them using Zoner Studio.
Even though most modern cameras have a built-in level, it’s not always easy to keep your camera in a level position when pressing the shutter button. It’s often more complicated to find the optical center especially when taking pictures of tall buildings or objects shot with a wide-angle lens.
Straighten your horizon and perspective with a single tool
With Zoner Studio, you can straighten your horizon and other intersecting lines with the help of our simple Straighten Lines tool in the Develop Module. The tool has many options for how, and how much, to straighten your lines.
Intelligent line straightening is, in most cases, your best choice. It straightens every line, but if the straightening were to make the original photo even more crooked, the effect minimizes. Often, this tool is enough to straighten the horizon in your pictures.
Full straightening takes the dominant vertical and horizontal lines in the photo and aligns them into a rectangular frame. Horizontal and Vertical straightening options will straighten only in the direction that their name indicates.
How to straighten your horizon
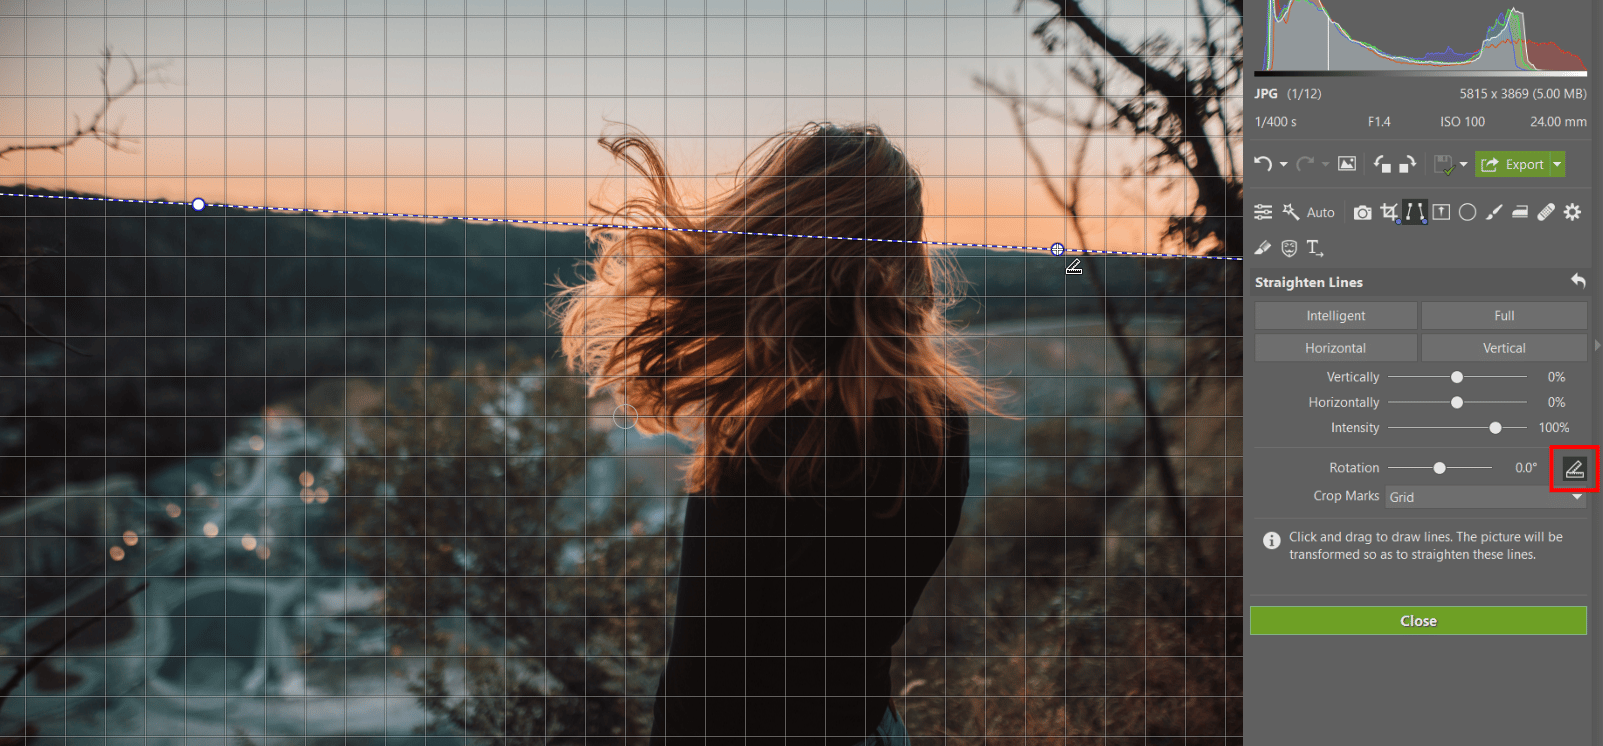
You will find the horizon-straightening feature in the Straighten Lines (K) and Crop (C) tools. Zoner Studio automatically detects where the horizon is and straightens the photograph with its Intelligent Straightening. If it doesn’t work, use the guideline to drag point A to point B yourself in one simple movement. It’s important to find the longest guideline in the selected photo you want to straighten.

Drag the line from point A to point B and confirm the edit by pressing Enter.
The longest horizon guideline gives us the most precise line. Since shorter lines tend to give less precise results, try to always use the longest guideline.

Straighten more lines
When taking pictures against a wall, it is extremely rare to have straight lines in all directions. Also, lines on these walls are often not straight even in real life. However, some dominant lines should be as straight as possible. Automatic tools will assist you with this.

Activate the Straighten Lines (K) tool. We recommend you start with the Intelligent option because it’s the most versatile. The program will automatically insert guidelines which you can move or stretch in a different direction if needed.
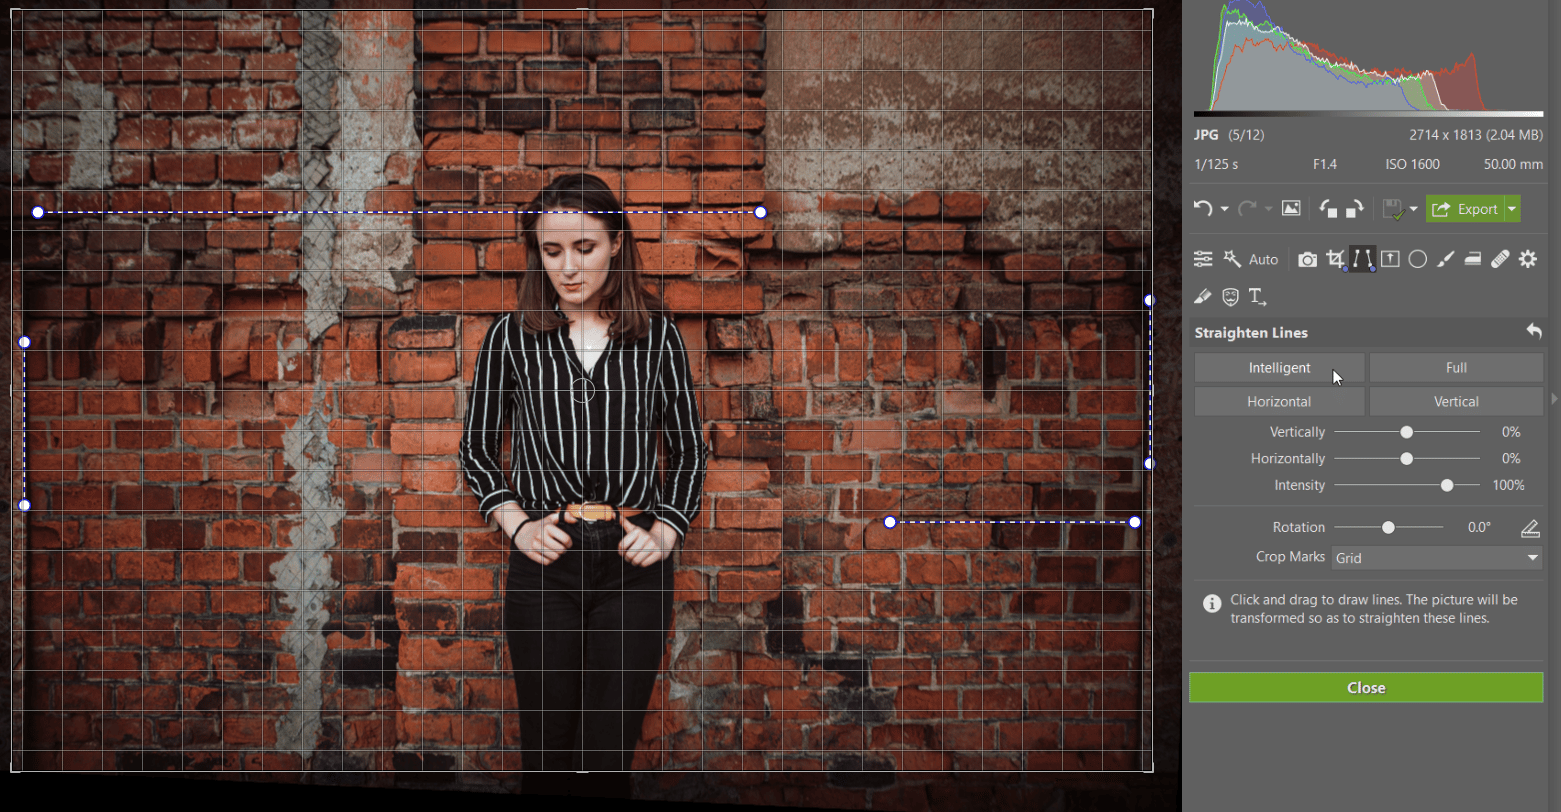

The next photo contains an abundance of straight lines and since they are the main subject of the photo, we need them to be as straight as possible.
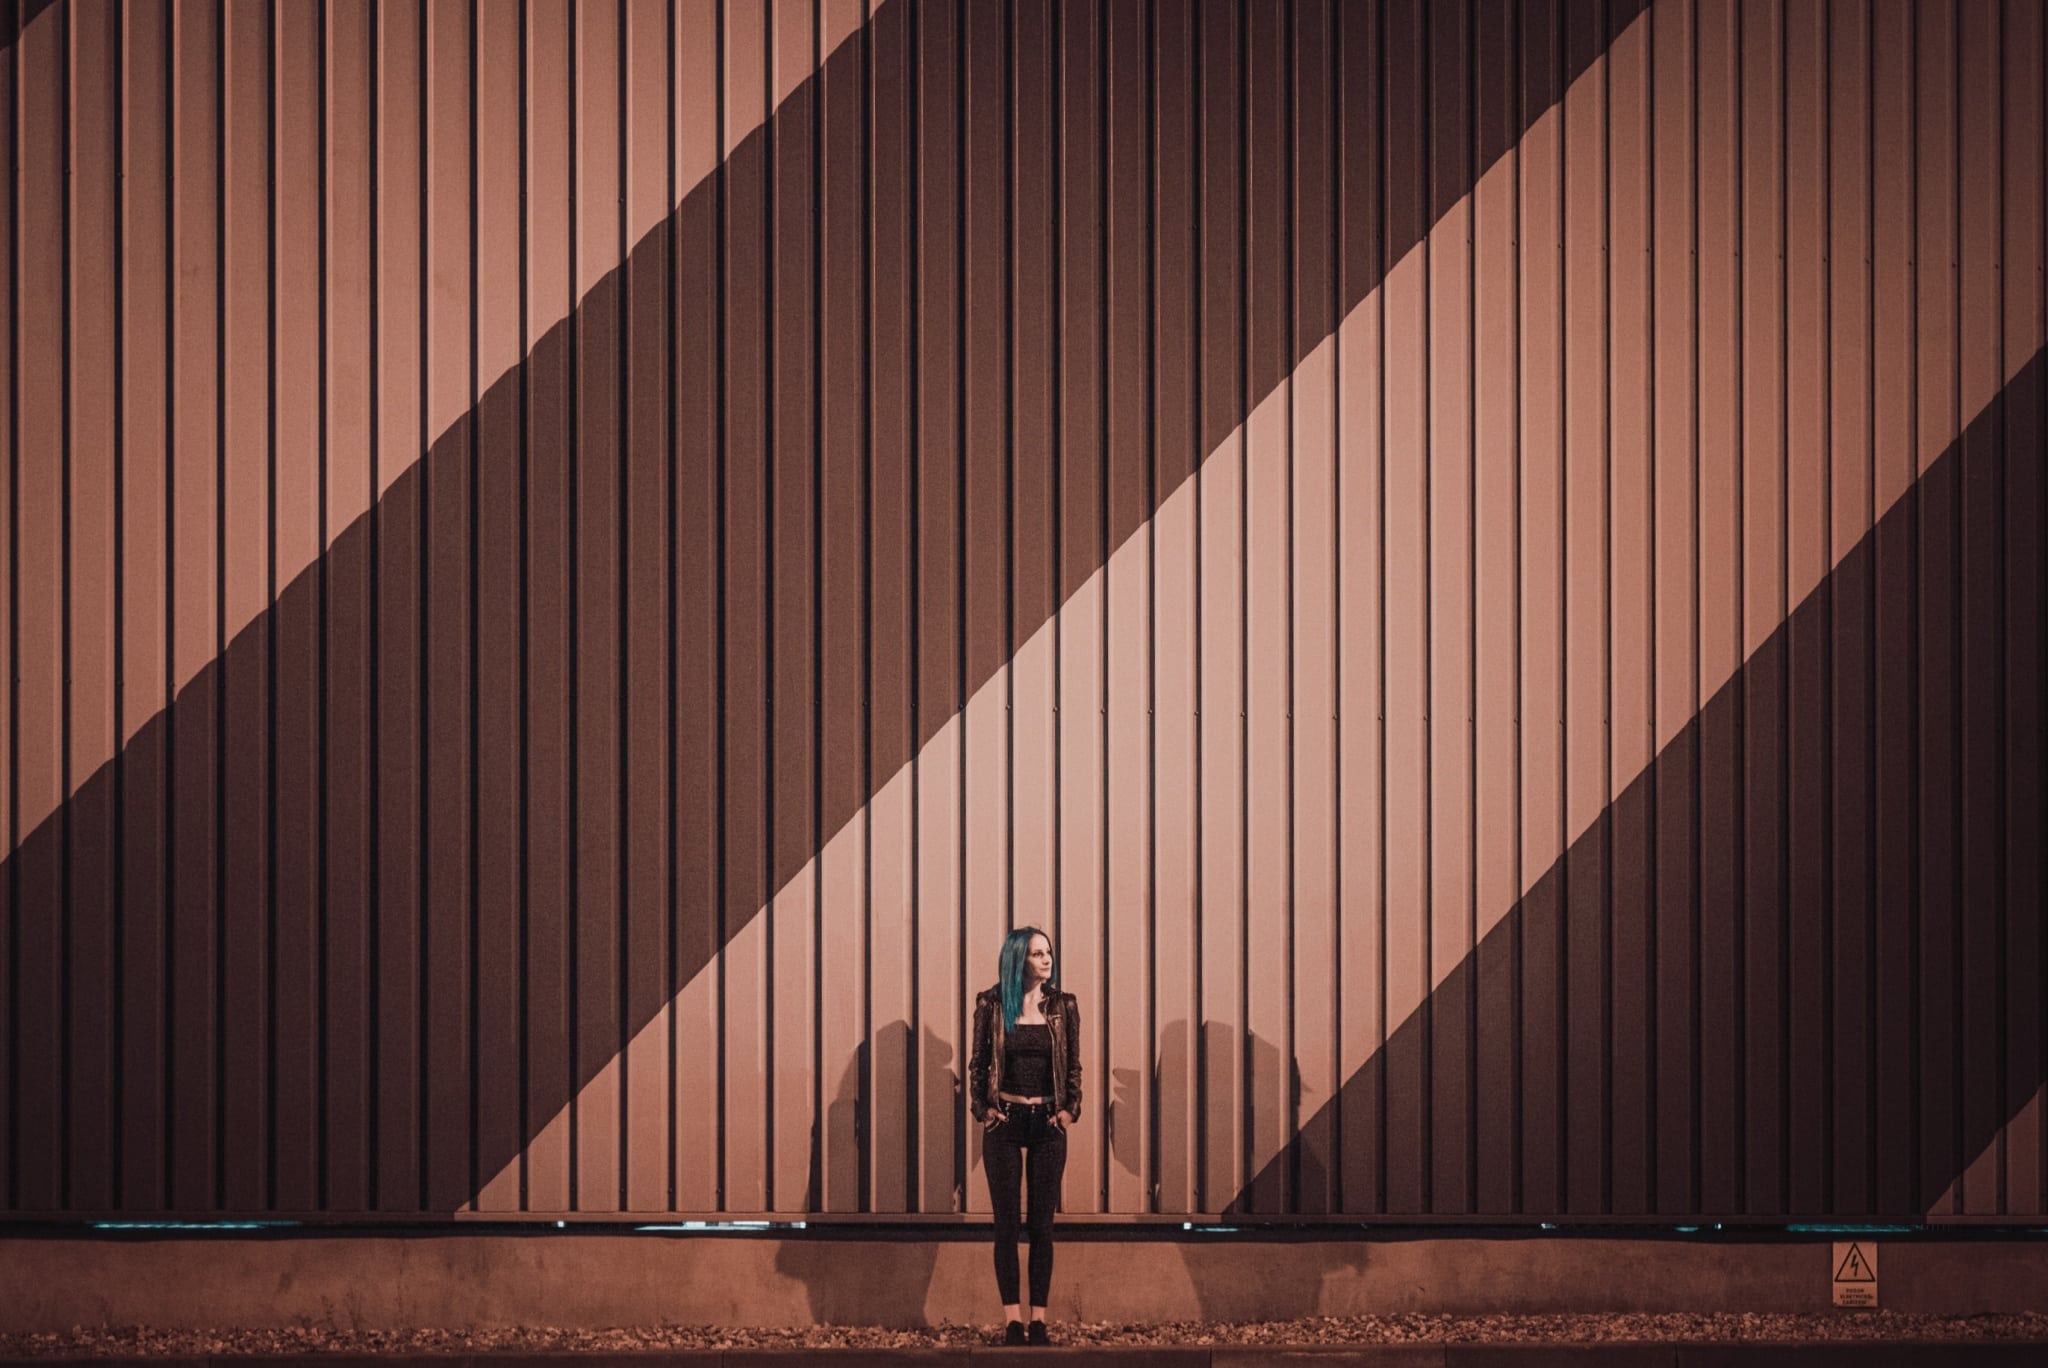
For this photo, it is better to use Full straightening. Since it is only slightly uneven, a large crop is not necessary.
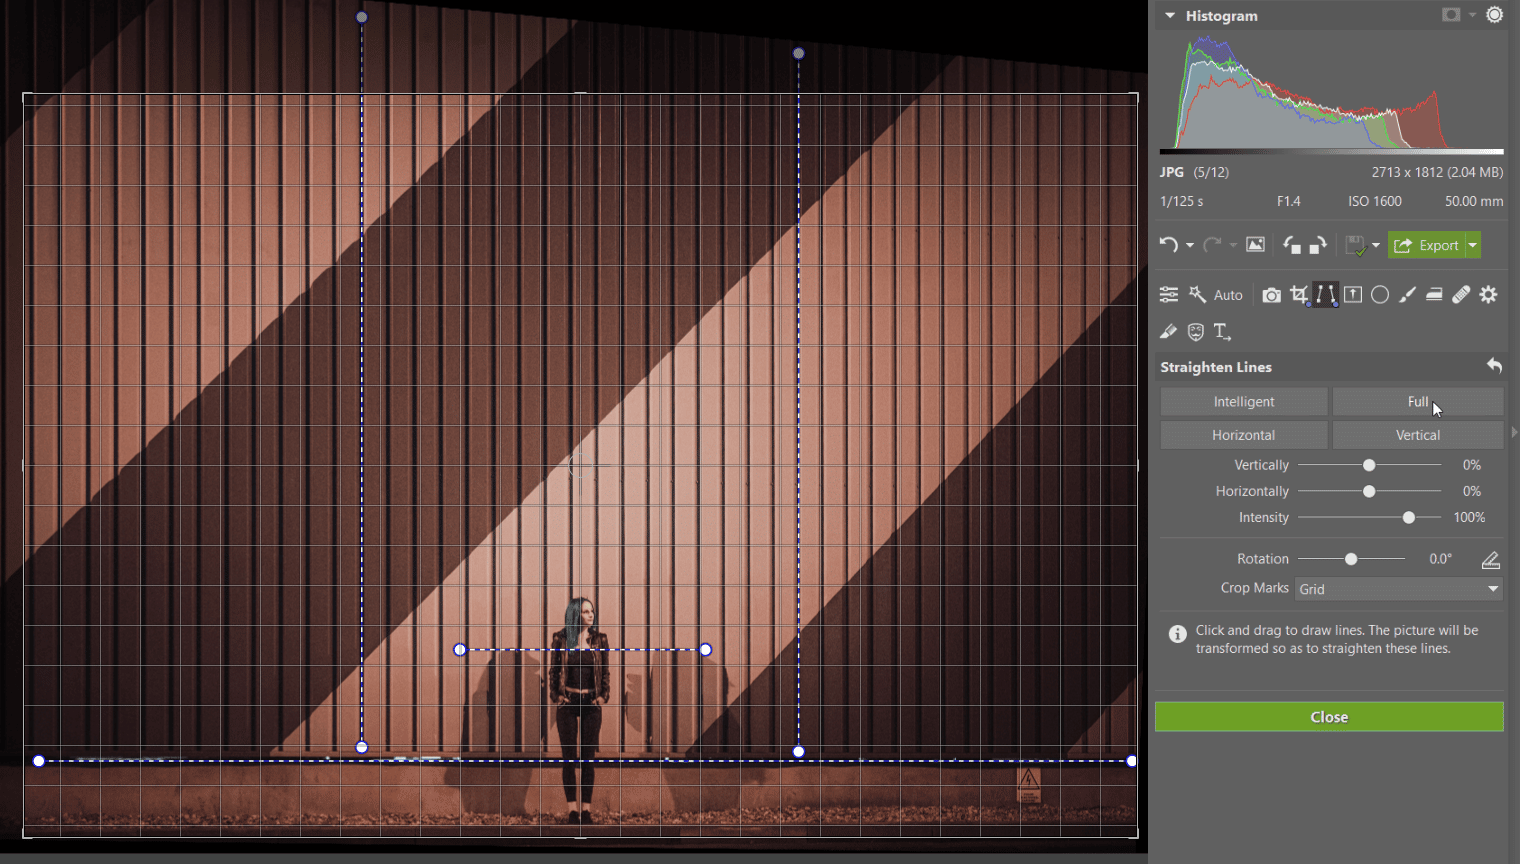
If the automatic adjustment didn’t work, you can follow the same technique you used for straightening the horizon and manually stretch the guideline. Depending on the photo’s complexity, you can stretch two horizontal and two vertical lines. Confirm the edit by pressing Enter. If you use more than two lines in one direction, the program will be unable to distinguish this command and will most likely result in an error.
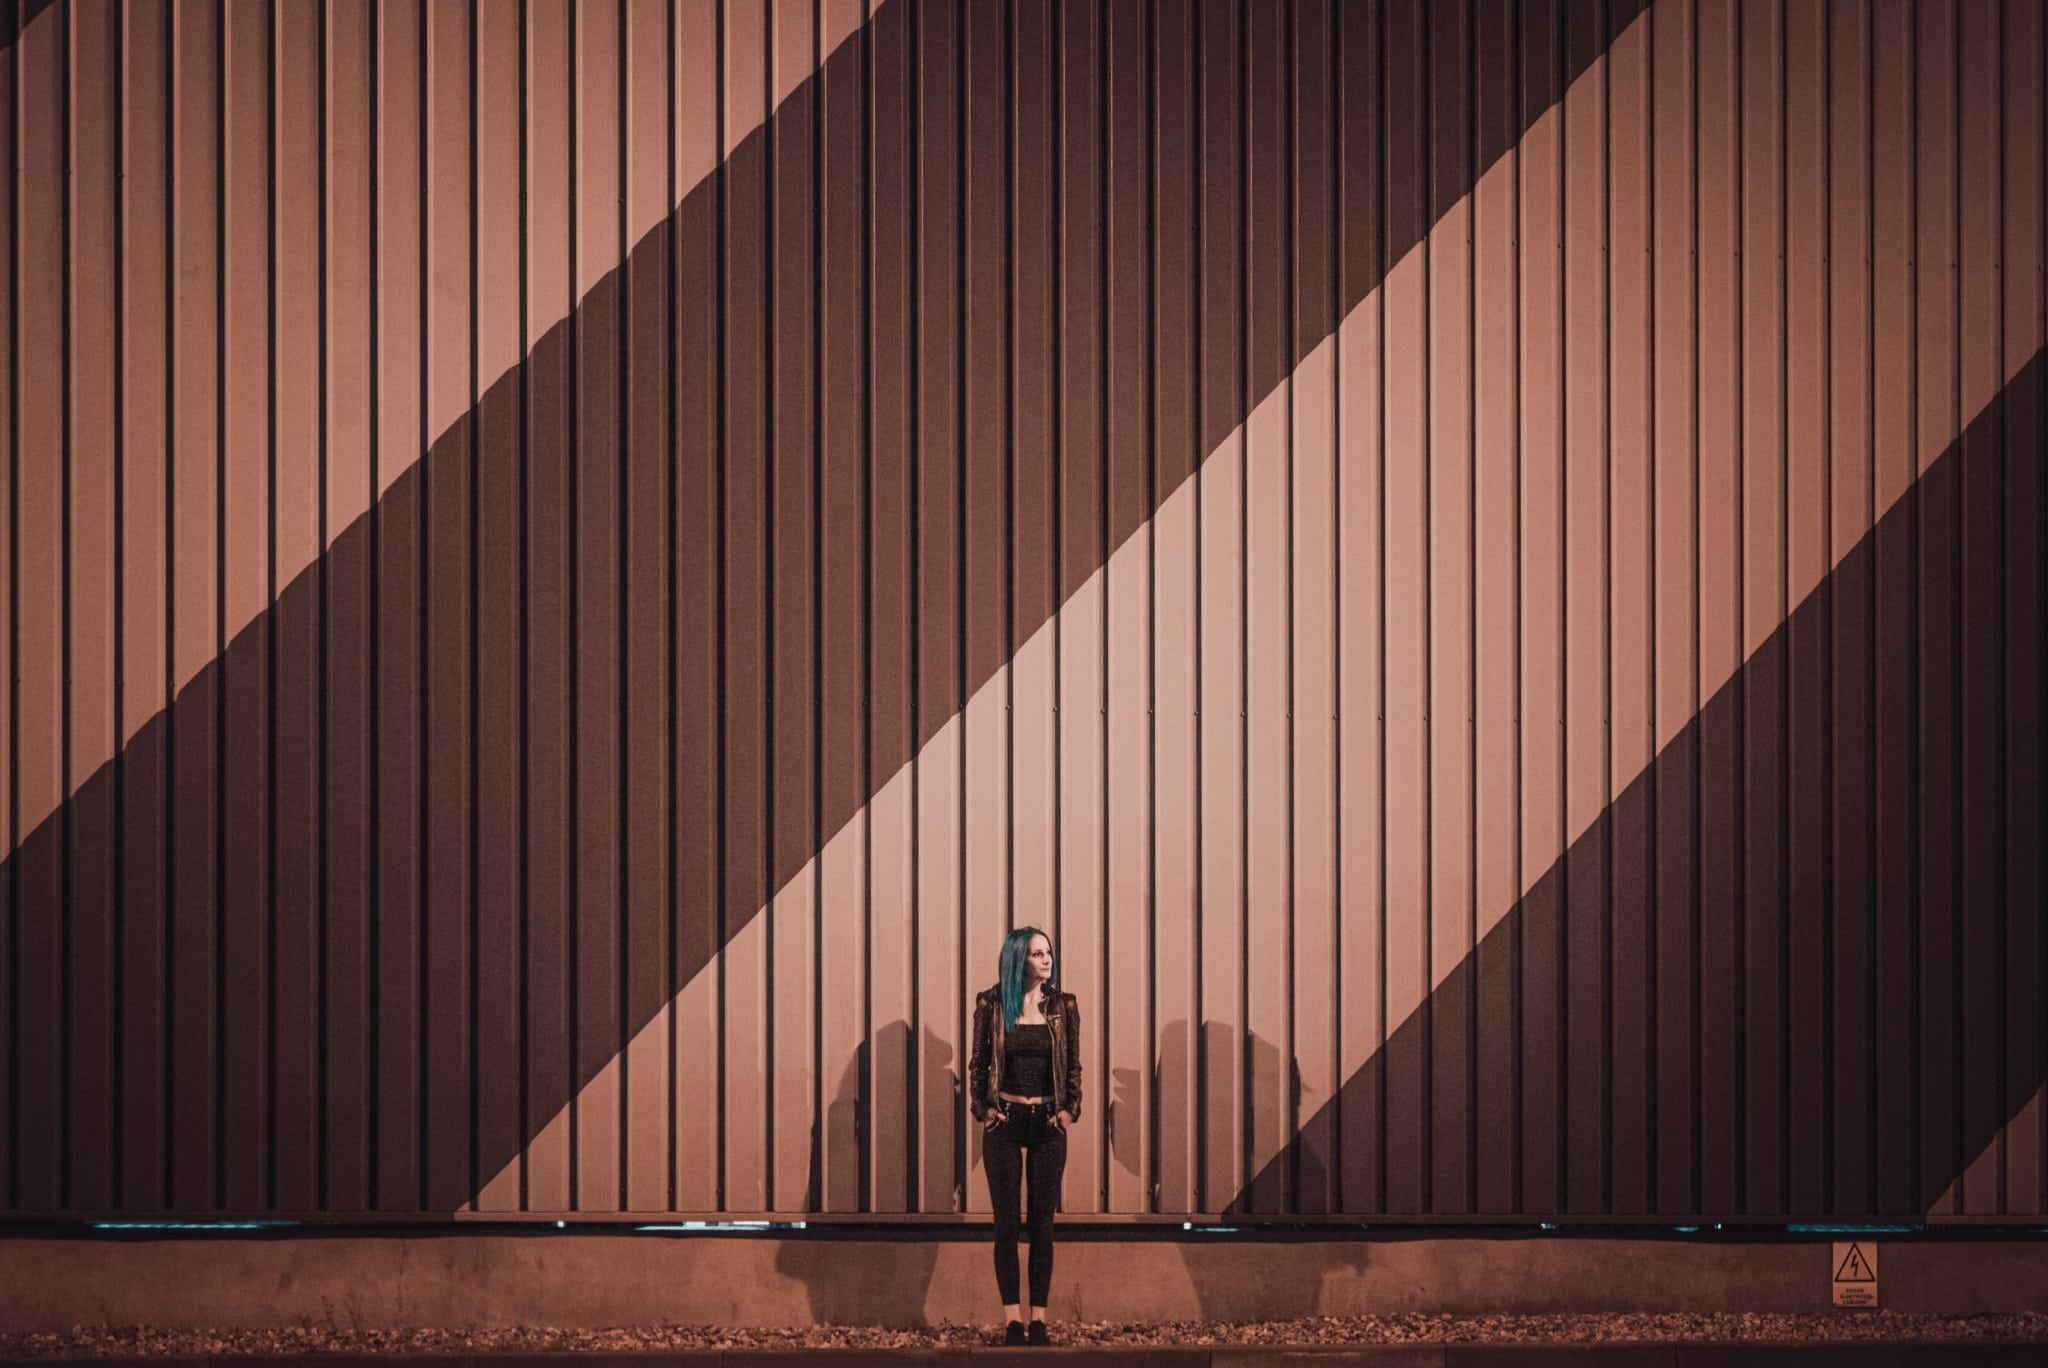
Thanks to both automatic and manual tools, correcting perspective and the horizon can be quick and precise. Download Zoner Studio free for 30 days and try it on your own photos today.
