Editing Photos for Instagram—Add Borders and Avoid Cropping
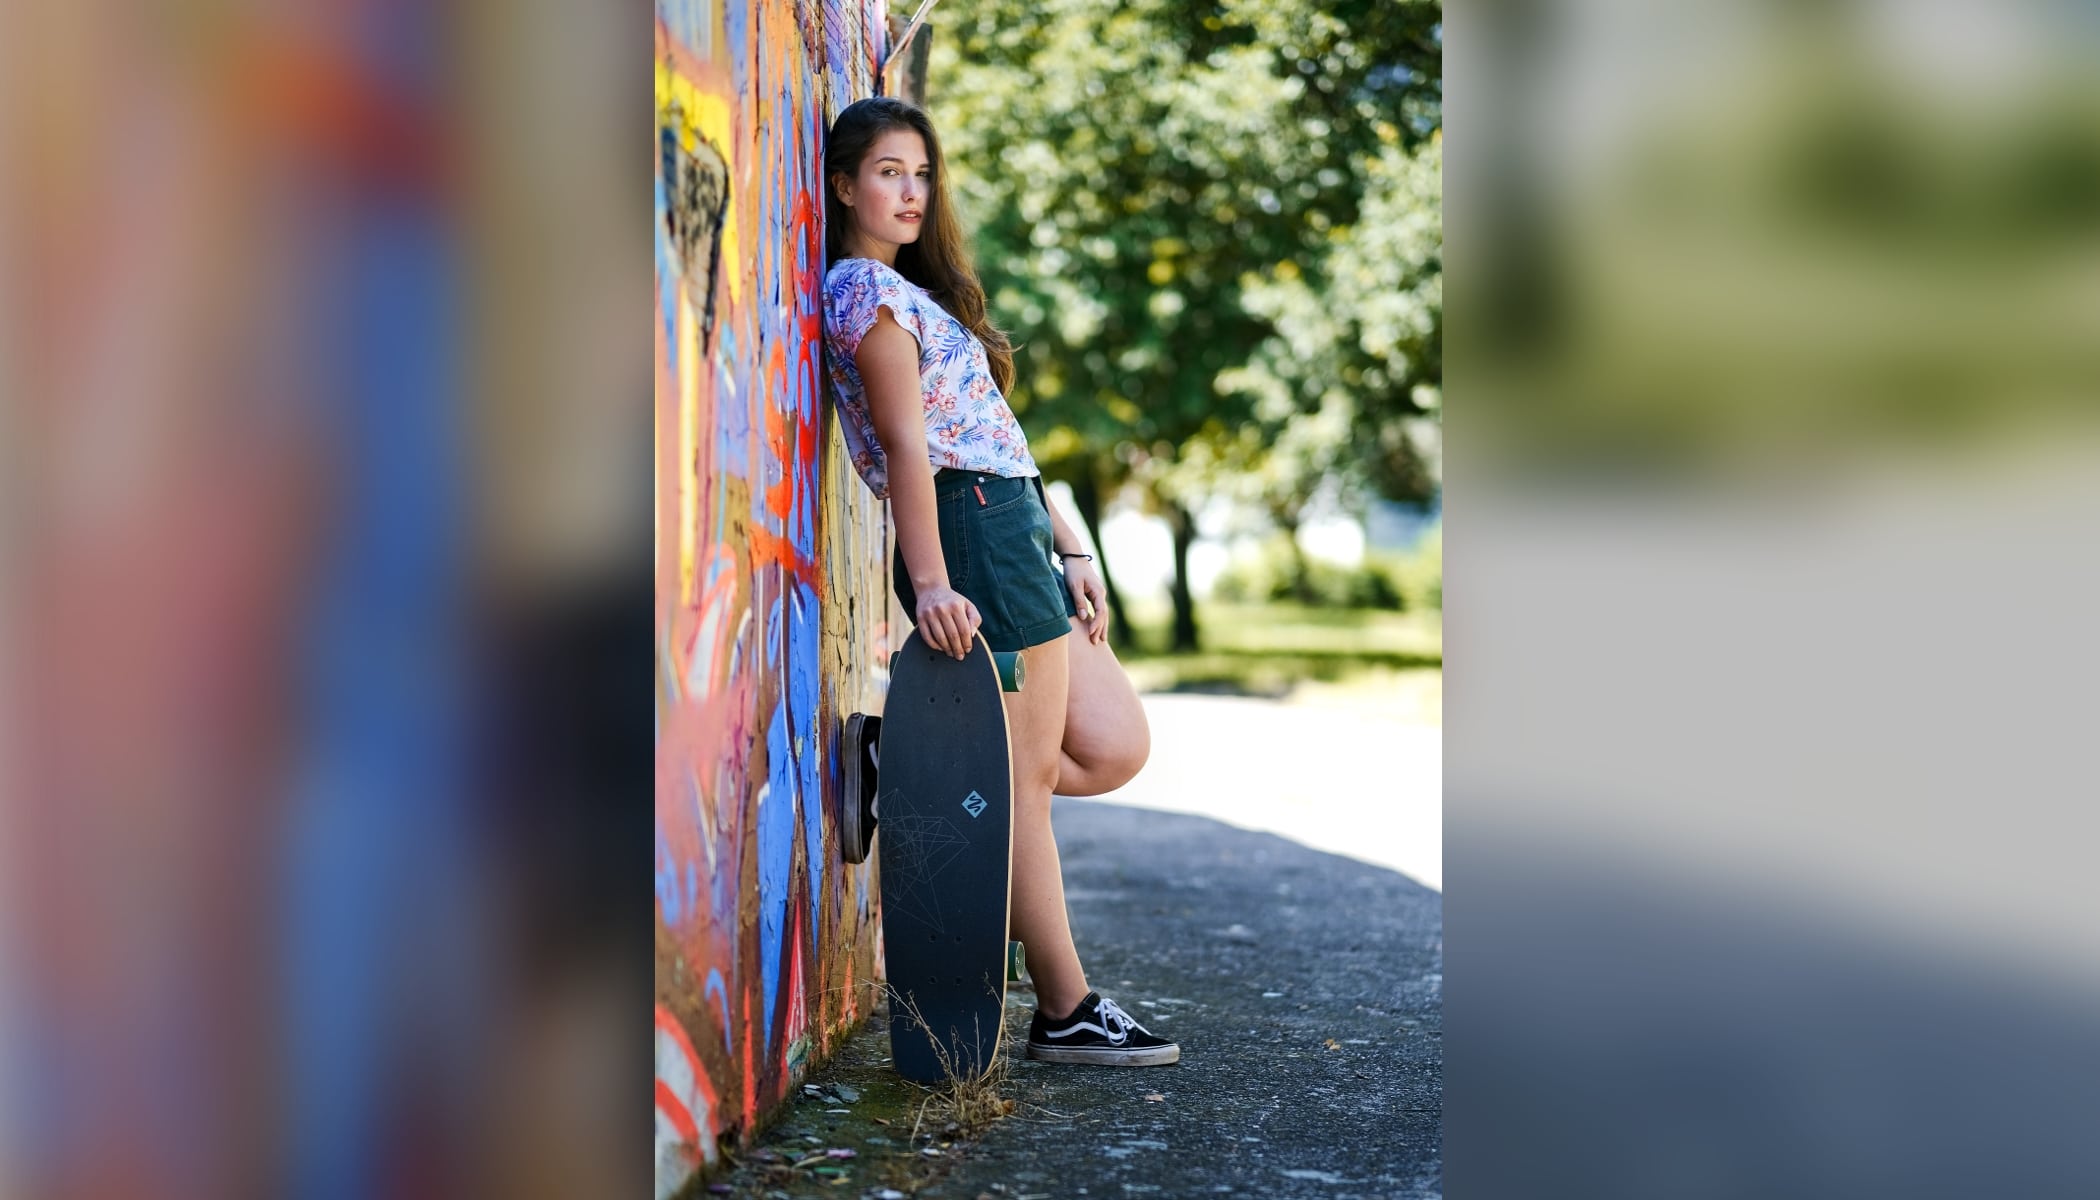
While you can upload your landscape or portrait photos to Instagram, the thumbnail will always be cropped to a square. This isn’t always ideal for photographers. If you want to get around this, just learn a simple trick. Add a border to your photo to avoid cropping. In Zoner Studio, get your photo ready to share, whether it’s for yourself or a client. This will also keep you from needing to use questionable mobile apps that offer similar functions.
Instagram is an app, developed primarily for mobile phones mainly for the sharing of photographs. Ironically, it can be very unkind to photographs. In recent years, it has tried to adapt and allows you to post photos horizontally or vertically. However, in your gallery, the photo will still appear as a square thumbnail.
How to upload portrait and landscape photos to Instagram
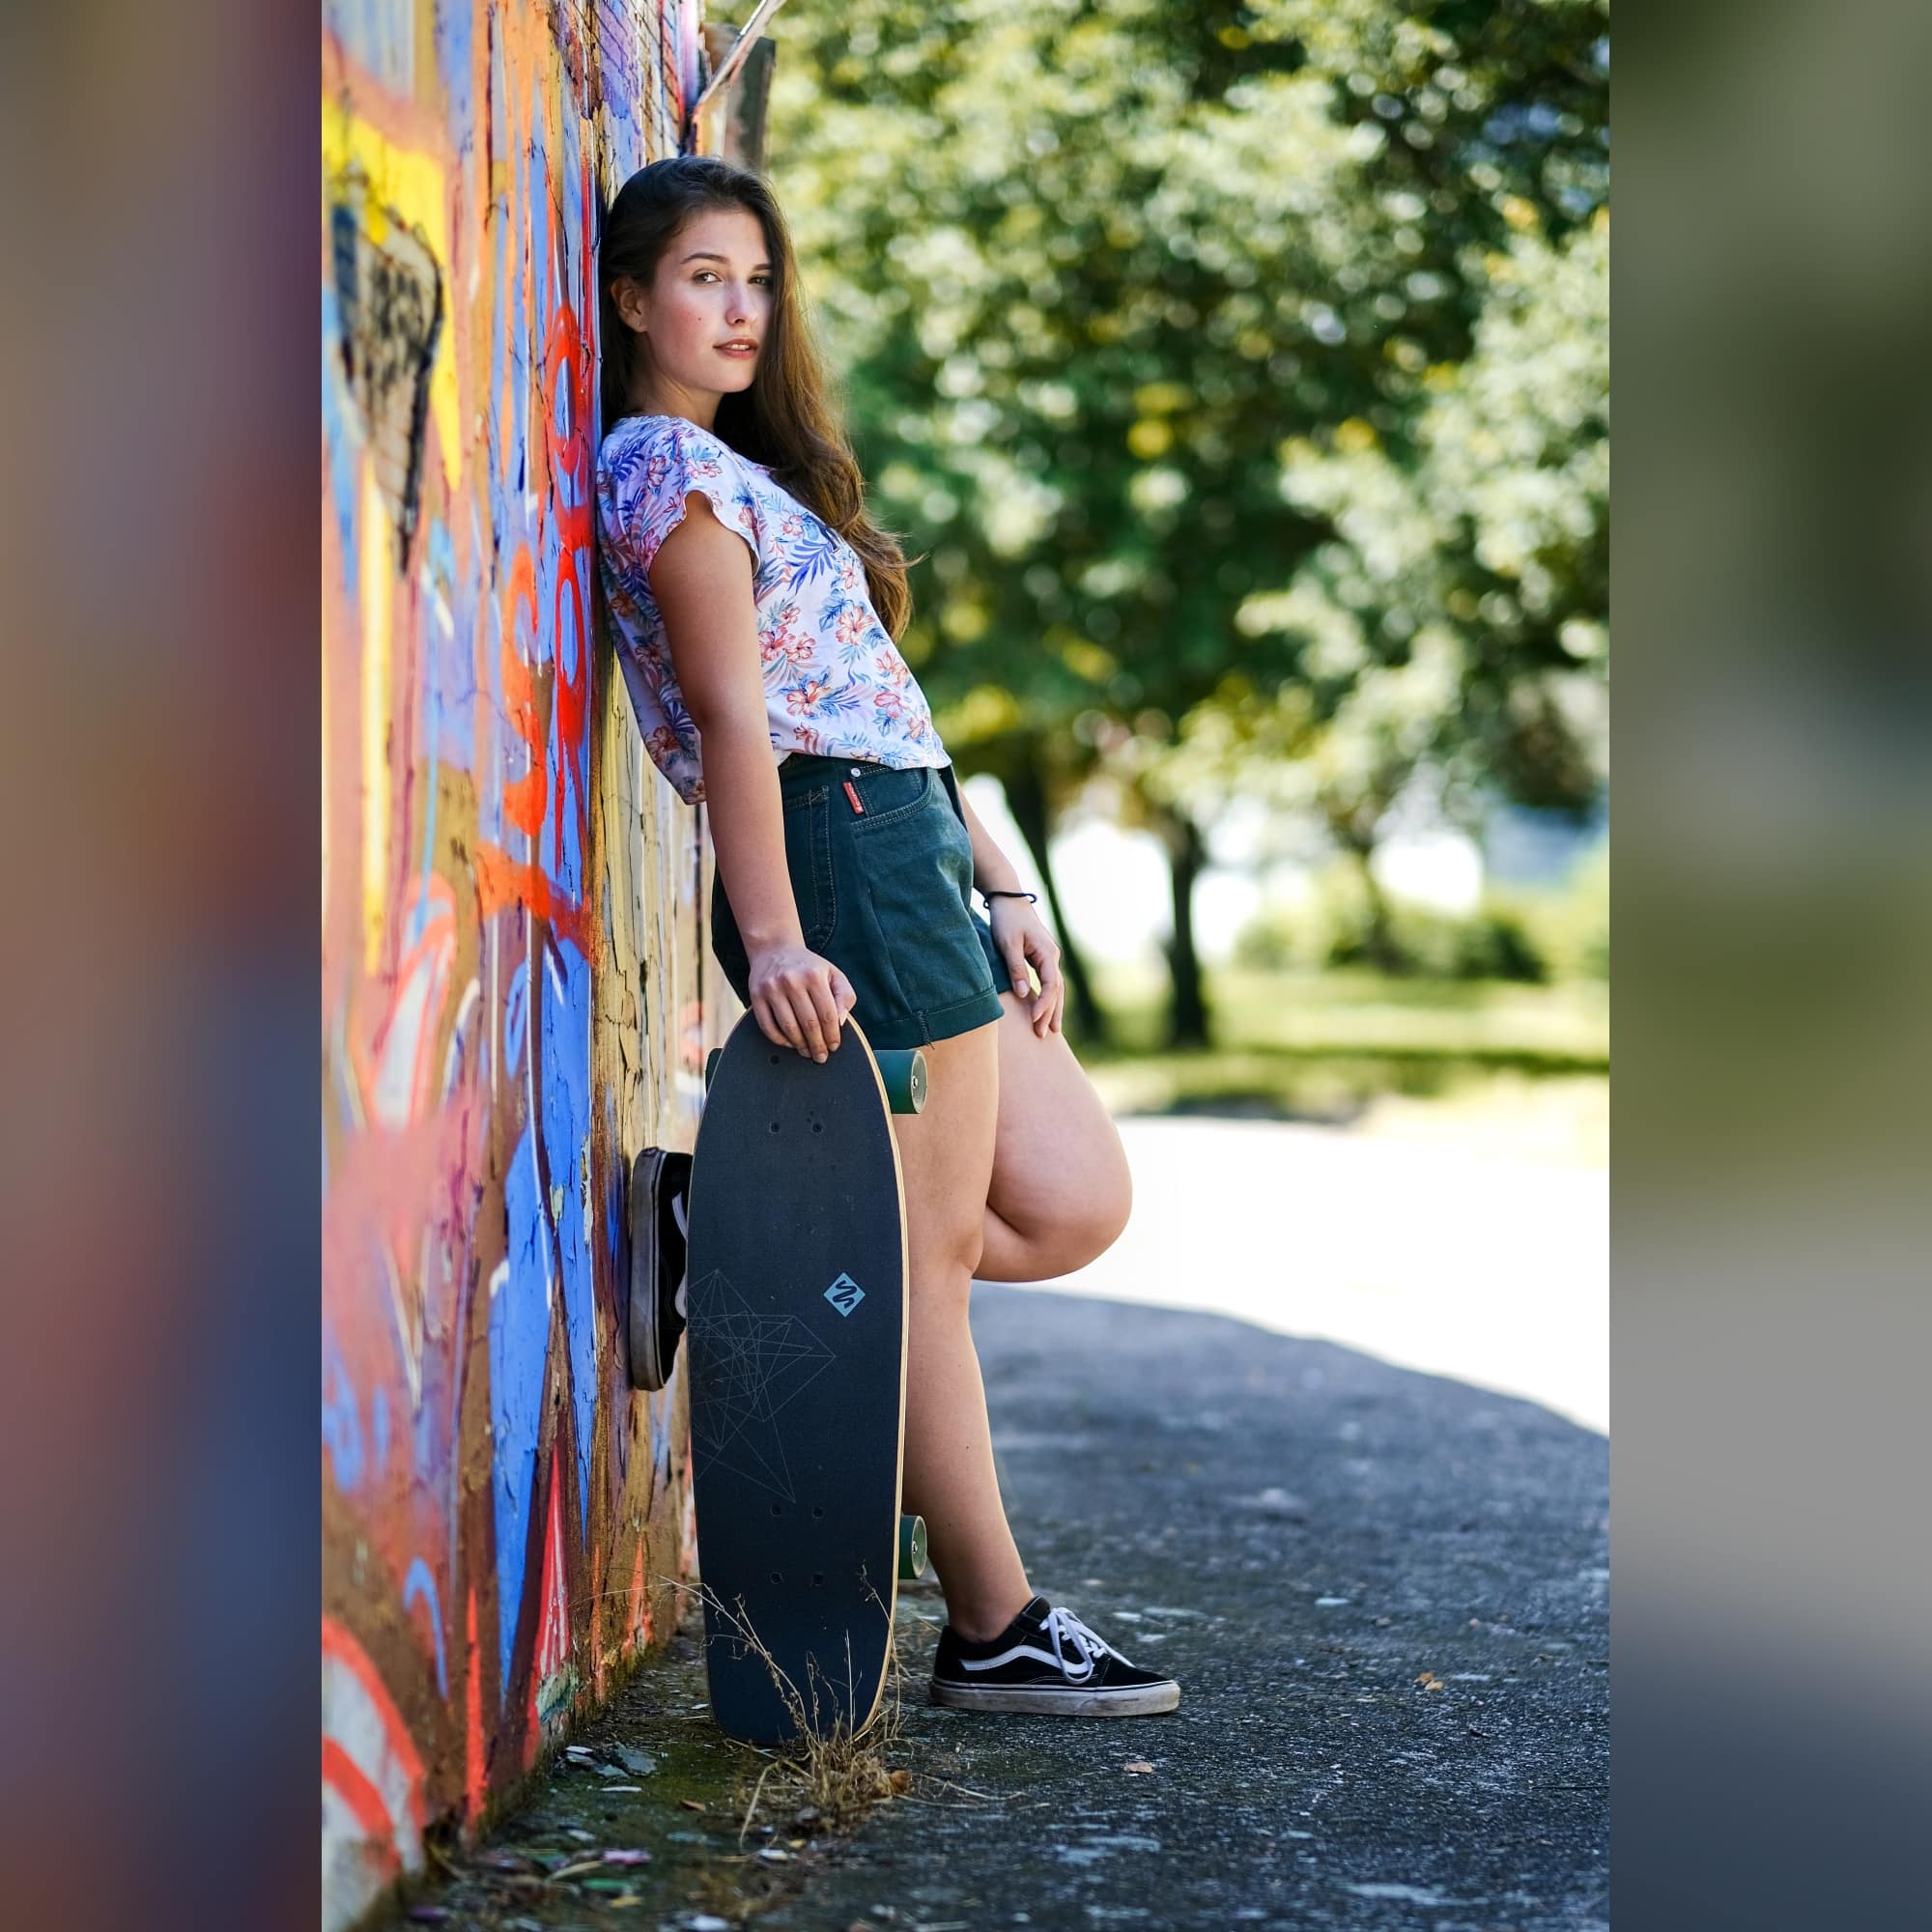
Portrait and landscape photos continue to be a problem because you cannot upload them without cropping. Here’s an innovative solution. All you have to do is add a border and set Instagram’s required square format.
You will now see your landscape or portrait photo not only when opening it, but also in the thumbnail. You cannot do this in the Instagram interface, but you can do it using your photo editing software. In Zoner Studio, you can easily do it with the help of the Batch Filter.
Add borders to your photos
You have options for how you want your borders to look. You can make them different colors, black, or white. The only drawback is that if your followers have a color scheme that is different from yours, this type of border could come off as a bit too much.
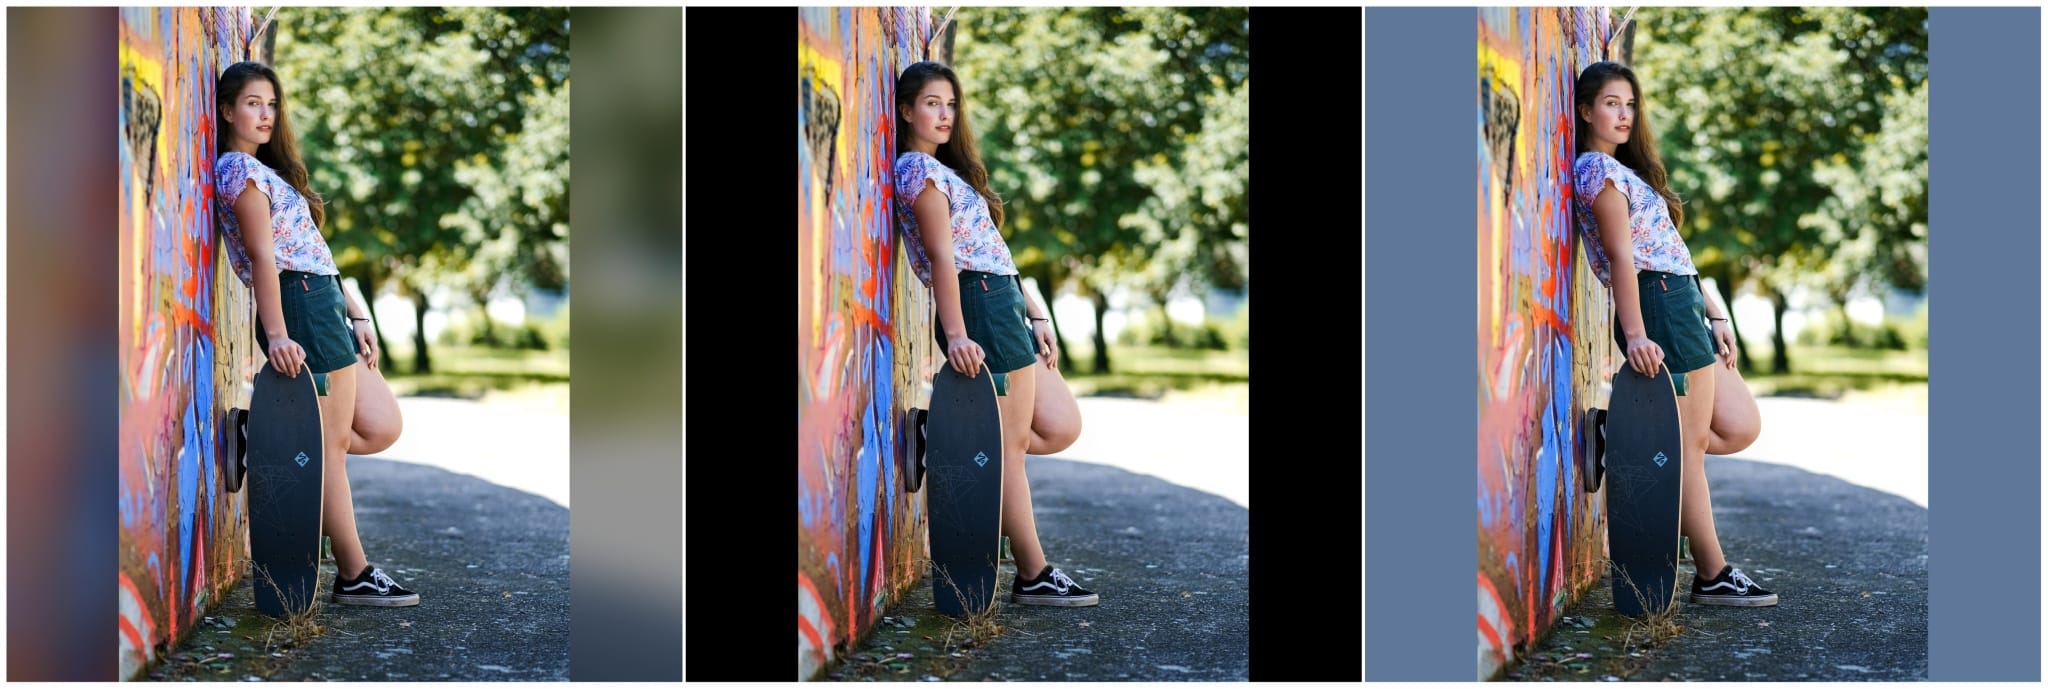
For this reason, we recommend using a border that is made from a blurry version of the original image. You make this using the Batch Filter. You only need to set it up properly. When you save its settings, you can easily edit any number of photos that will all be ready to showcase on Instagram in the future. This is great for those of you who upload to Instagram often. You don’t need to edit each photo separately.
How to add borders
The basic concept is that you make and save fixed settings that are made from two different filters (Resize and Canvas Size):
- Resize ensures that your photos are converted to a size suitable for Instagram.
- Canvas Size ensures that they’ll have a square format and border from a blurred image.
Open the photo in the Manager module and click the Batch Filter icon (Ctrl+Q).
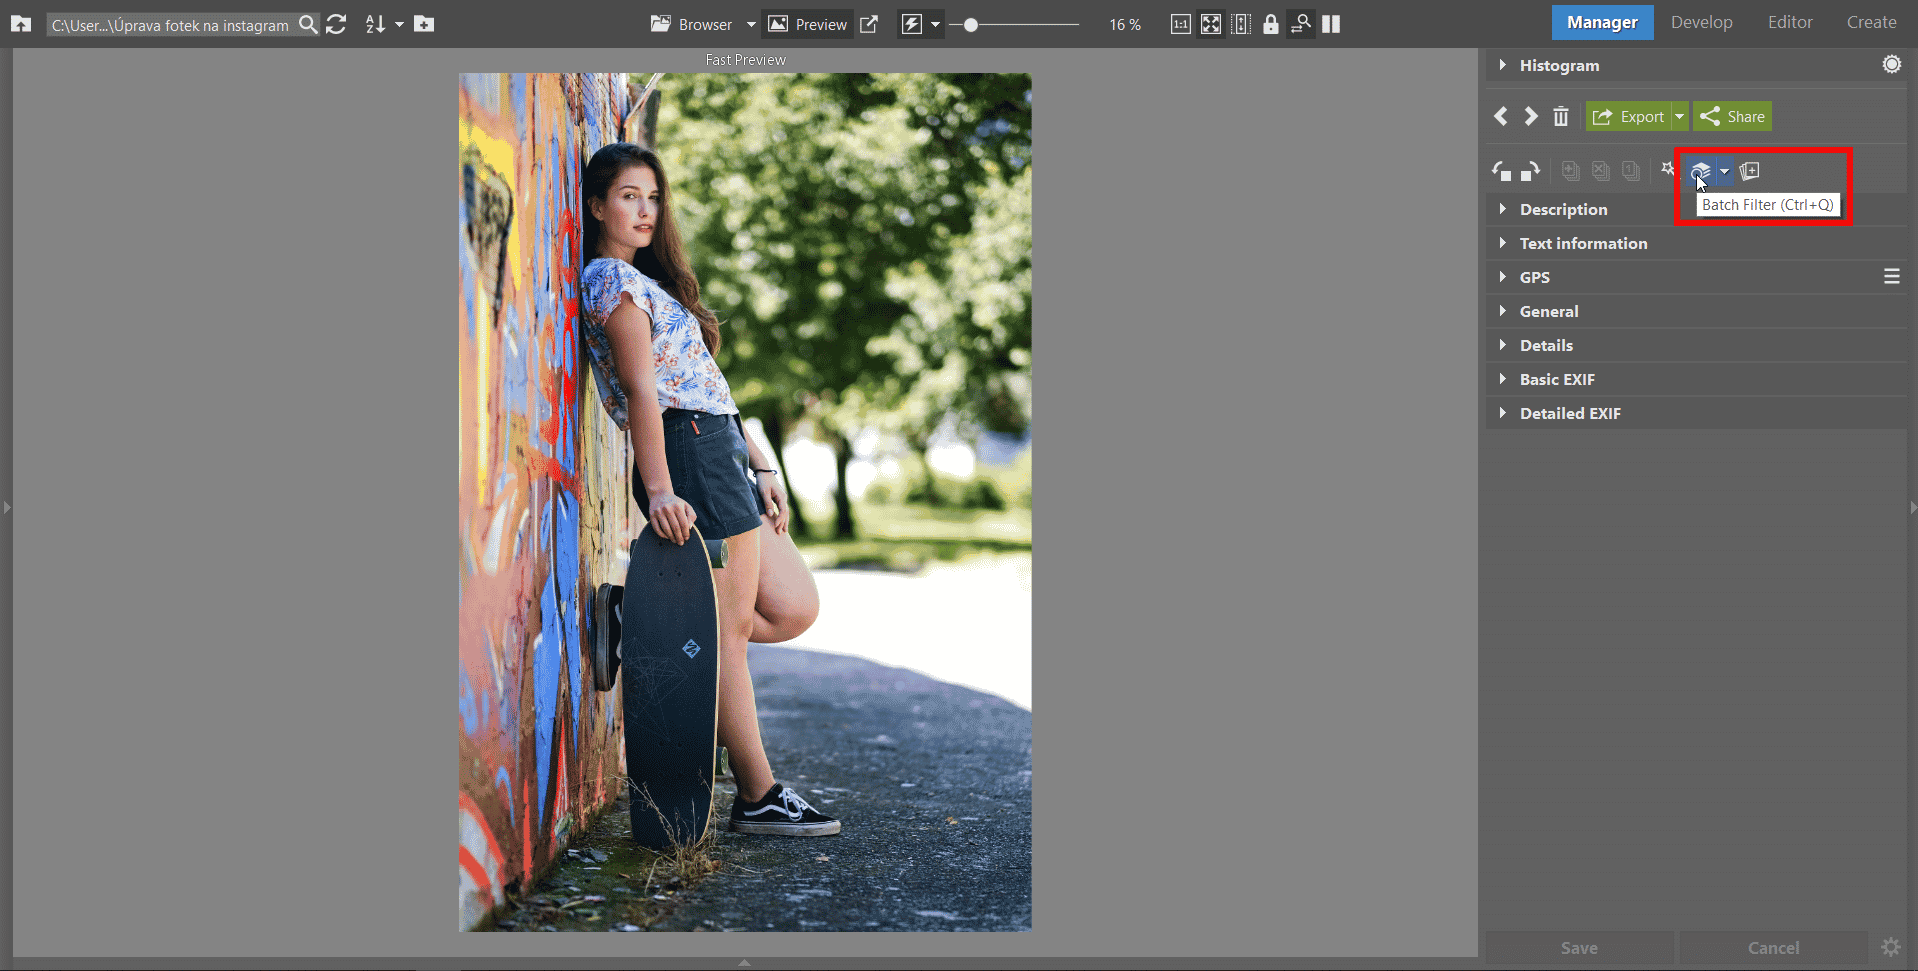
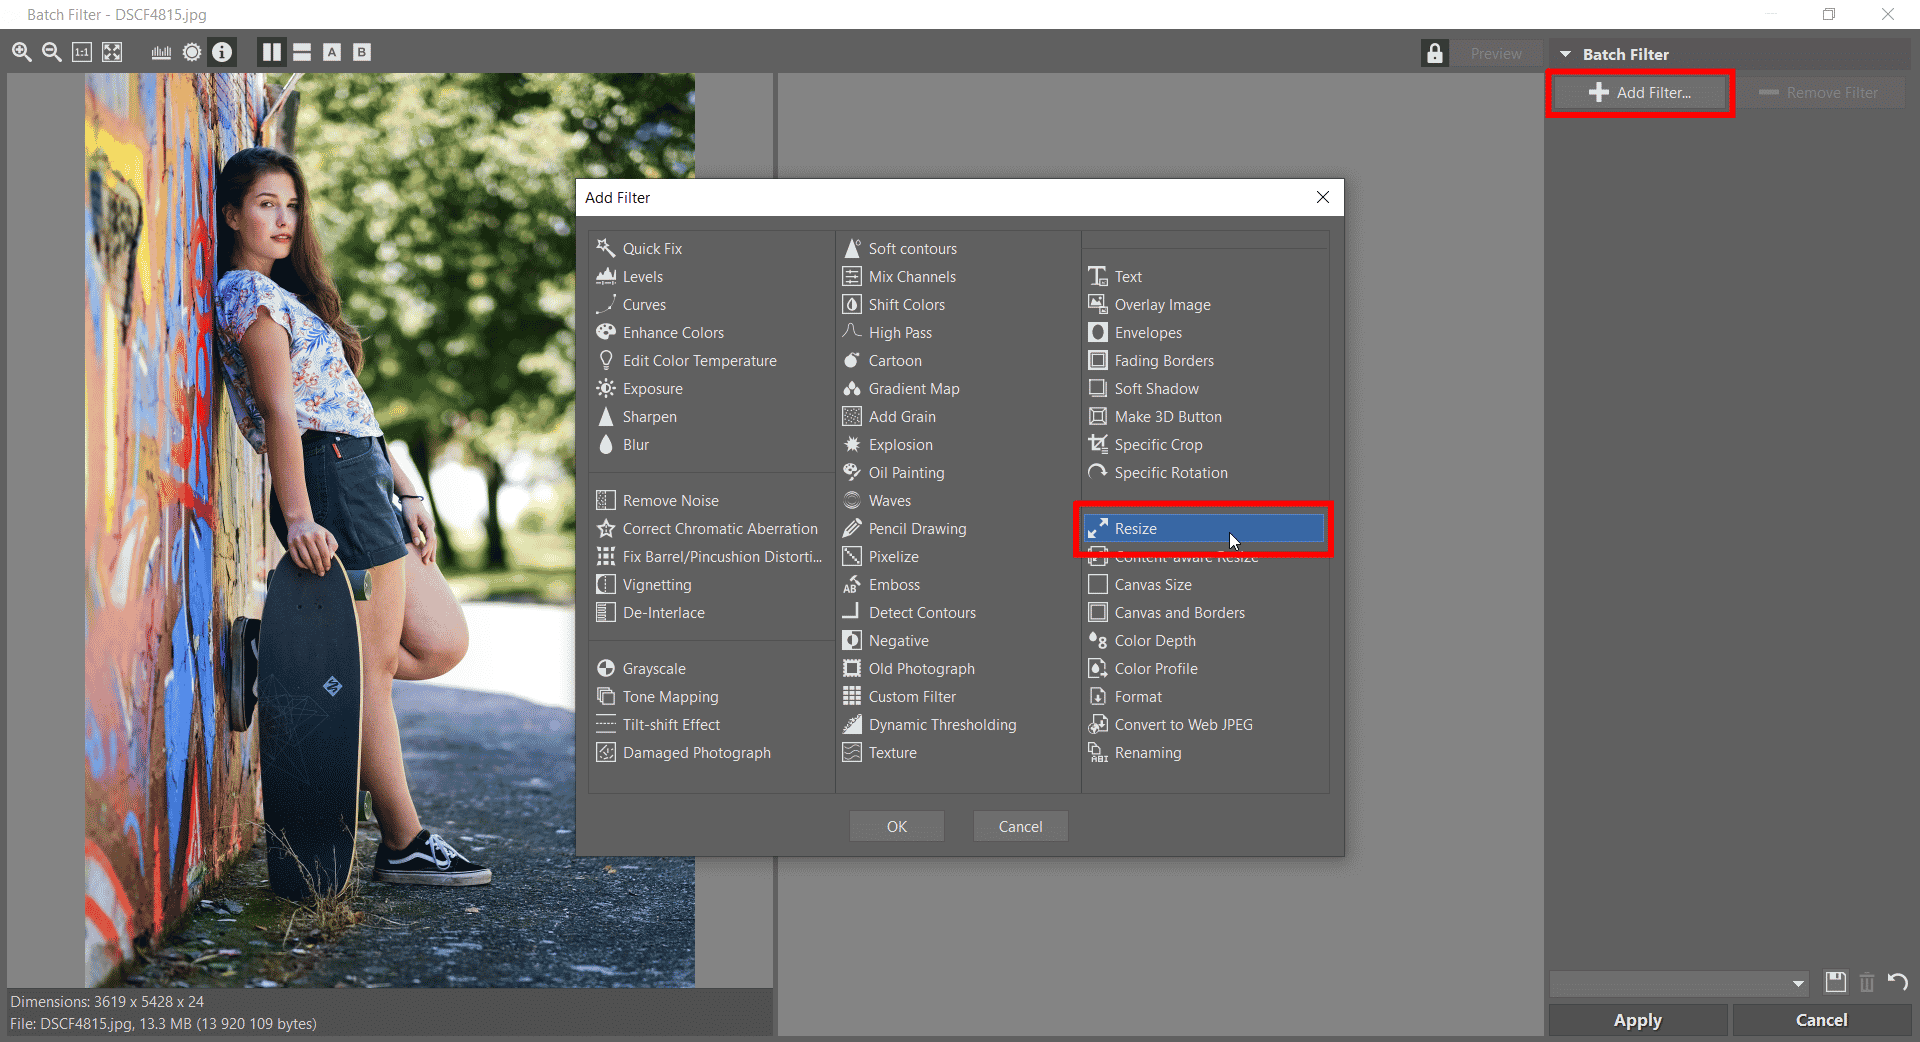
Click the Add Filter button, choose Resize, and confirm by clicking OK.
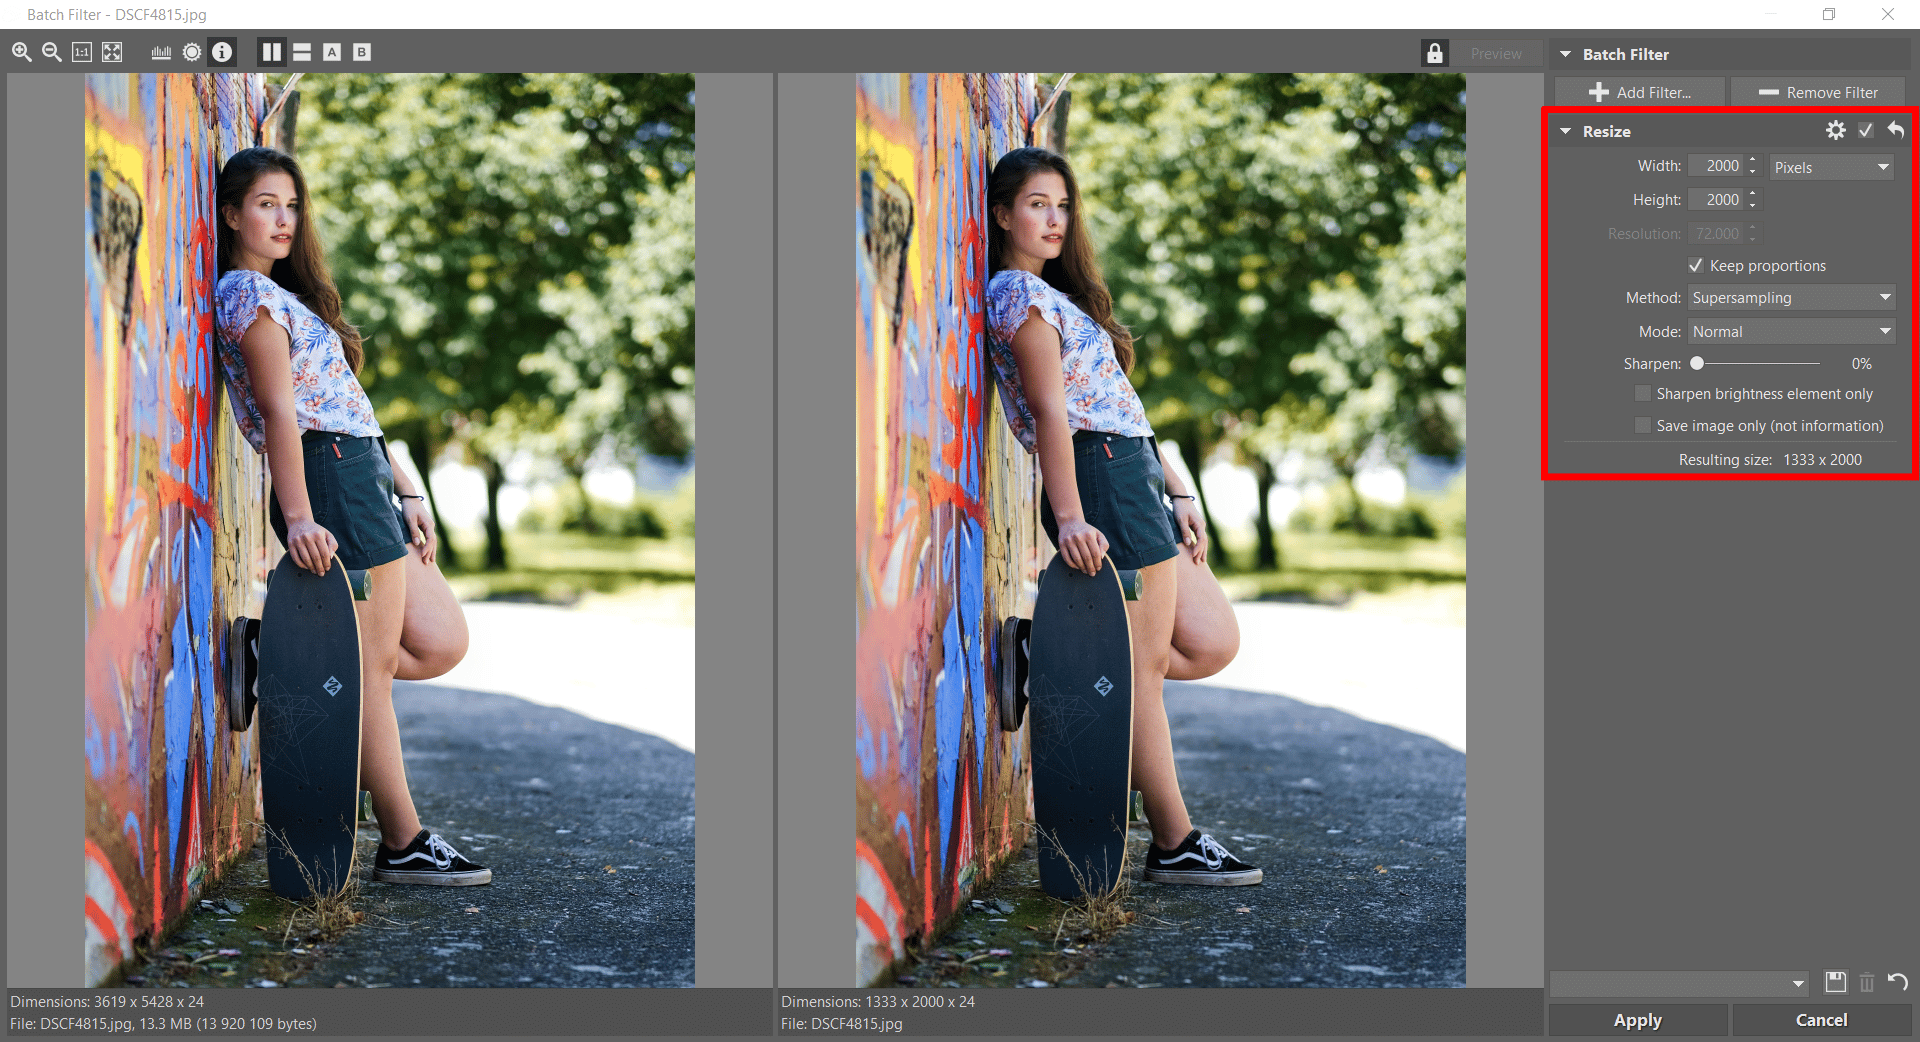
In the Mode menu, select the option Never increase size. This way you’ll make sure that a photo that is too small won’t be stretched when using filters. Enter the dimensions 2000px into the Height and Width field. This is the size suitable for Instagram. Leave the Keep proportions option checked. By entering the same dimensions in both fields, you’ll find that the filter will work for photos with both portrait and landscape orientation.
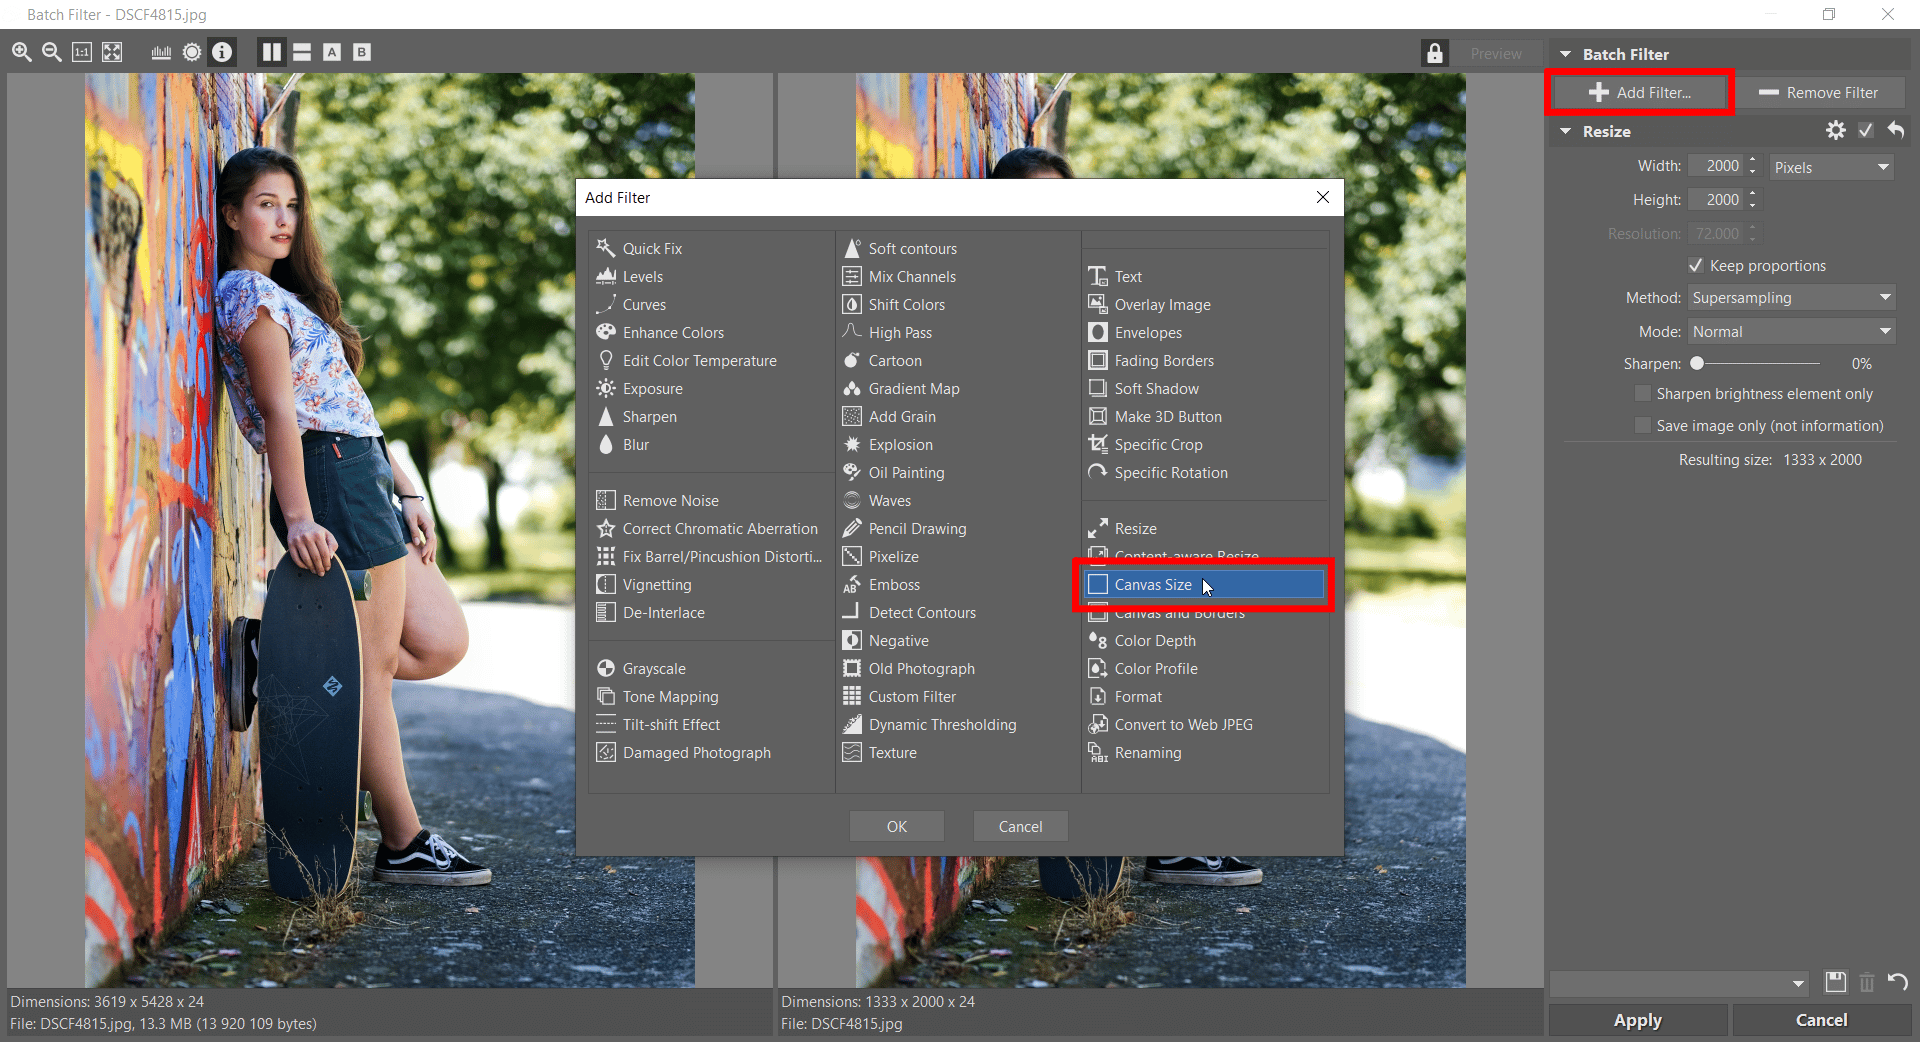
The second to last step is to add the second filter – Canvas Size. Click the Add Filter button and choose Canvas Size. Confirm by clicking OK.
In the dimensions fields, you will again enter 2000 pixels for each side. Your photo will now be converted to a square format, but without cropping. The gaps are filled with the chosen border.
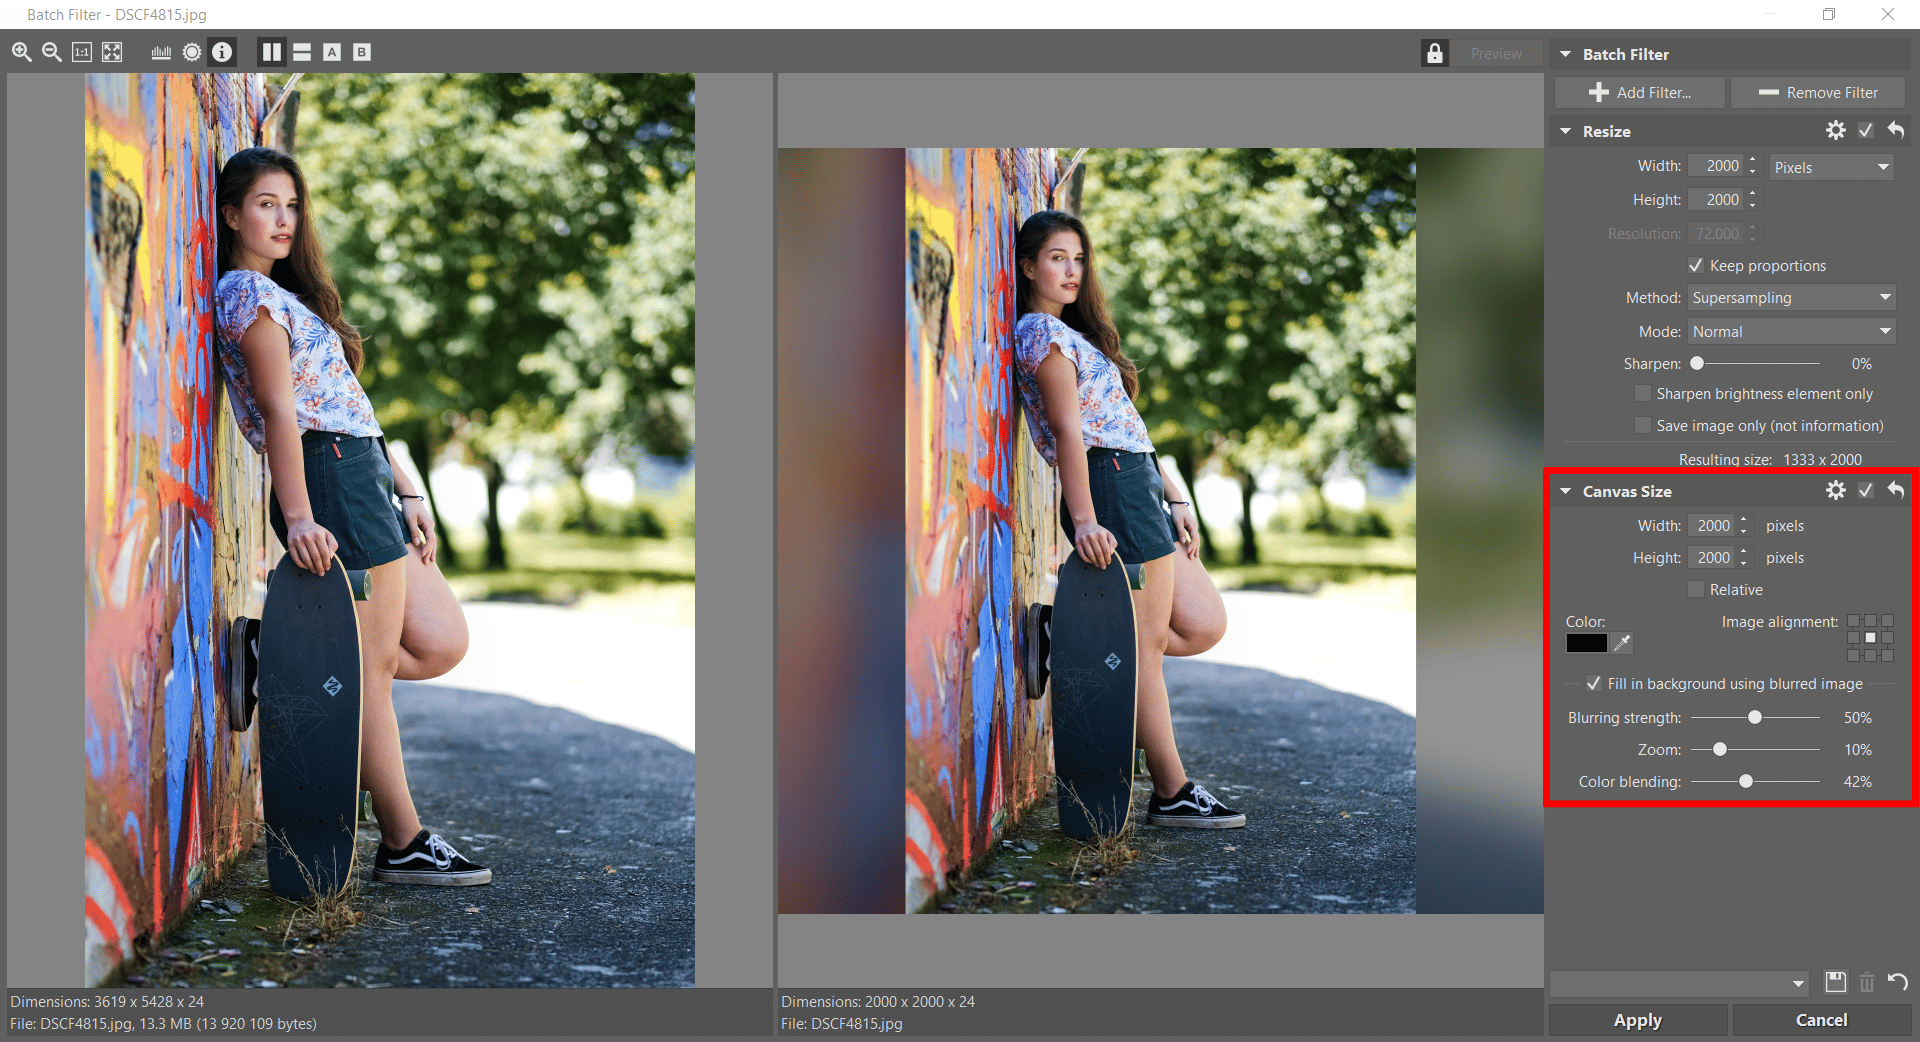
Either select a border of any color or check the box Fill in background using blurred image. Use the Blurring strength, Zoom, and Color blending sliders to fine-tune the final product and create your own unique border. Click the Apply button and your photograph is ready for sharing.
TIP: We recommend you export your photos right away for sharing or save them to a special folder. This is a destructive edit and cannot be changed back!
Save your settings for later
You’re done! Click the disc icon in the bottom part of the Batch Filter window to save and name this setting. You can use it in the future in a matter of a few clicks, individually or as a batch.
Do you want to get your photos Instagram ready in a few clicks? Download Zoner Studio free for 7 days and get right to it.