How to Fix Crooked Photos
Sometimes your pictures can end up with a tilted horizon or oddly-leaning objects that are supposed to be standing straight up. But don’t despair—you don’t have to delete photos like these. Just straighten them in a photo editor.
Crooked photos. Everyone gets them now and then. The reason is simple. It’s not always easy to hold the camera level when you press the trigger. And this despite the fact that most modern cameras have a built-in level that helps to avoid this problem.
Horizon and Perspective Straightening Together in One Tool
In Zoner Studio you can straighten both horizons and other lines using one single, simple tool, without needing to switch among different tools like you had to in earlier versions.
You’ll find the Perspective tool both in the Develop module (home to non-destructive edits) and in the Editor module (which supports work with layers). In both of these modules, look for this tool in the right panel’s toolbar, or press K.
Straightening the Horizon
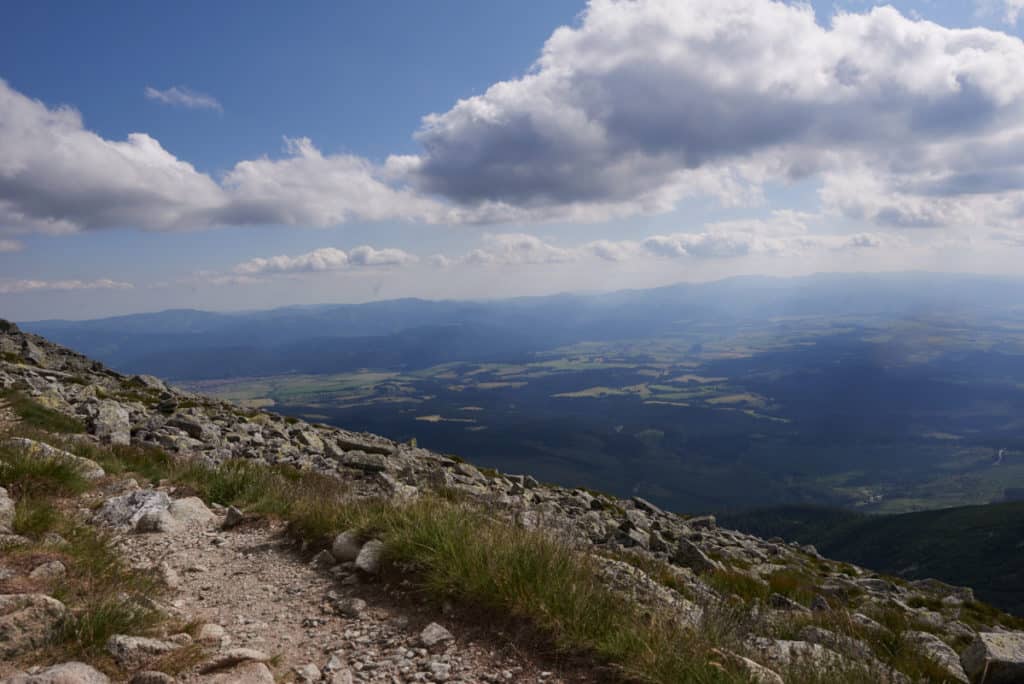
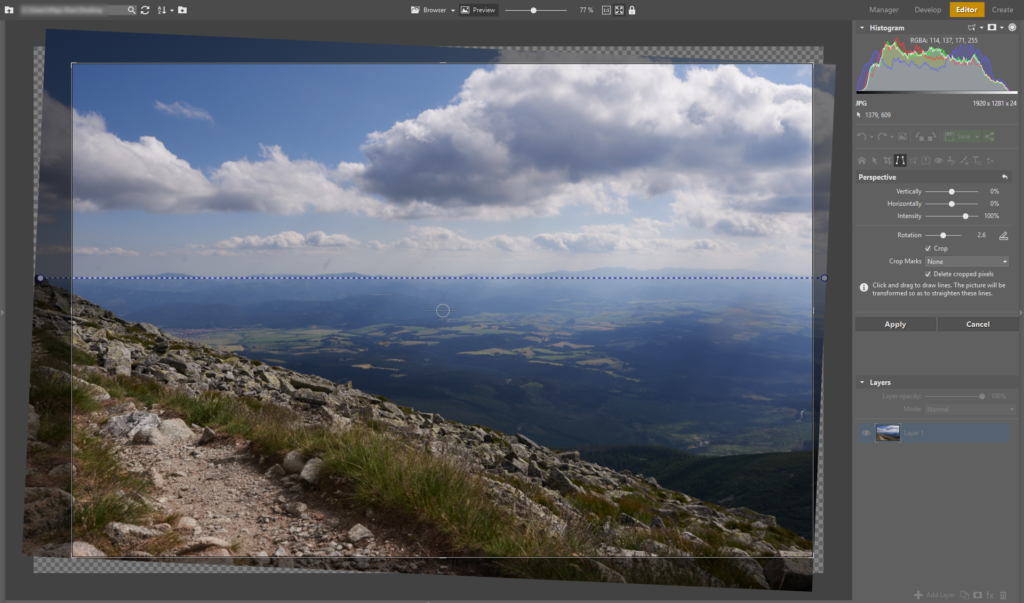
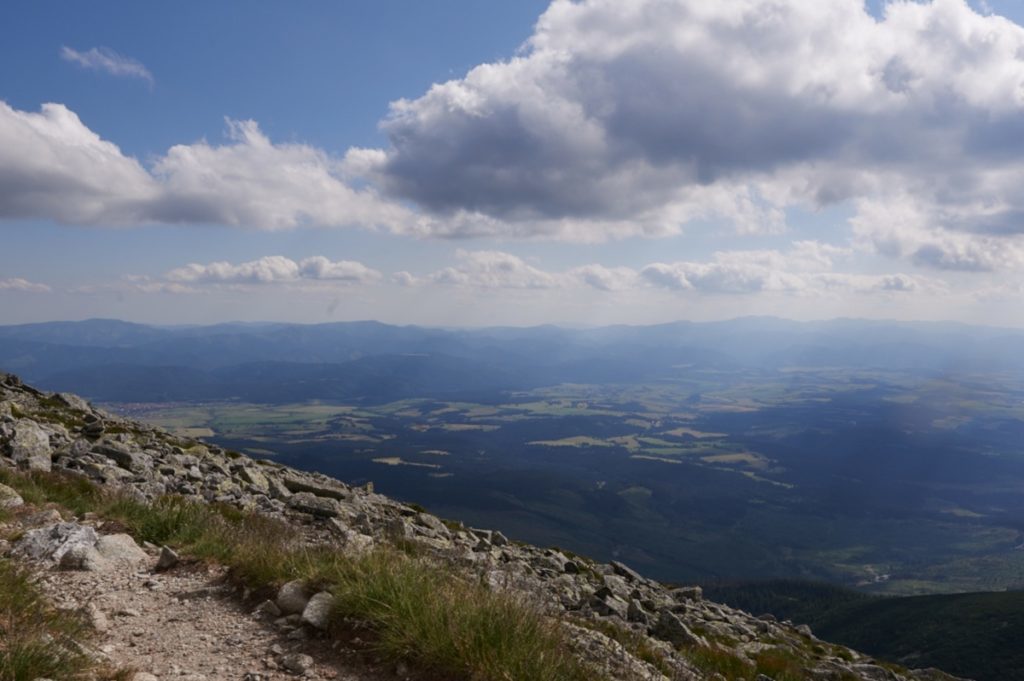
The horizon-straightening feature in Zoner Studio is based on a single horizontal or vertical line that you draw “from point A to point B” just by clicking and dragging the mouse. Before you do that, you’ll want to find the photo’s longest horizon line. Draw out your line from the first point to the second, and then apply the edit by pressing Enter.
You’ll want the longest horizon guideline you can get, because shorter lines tend to give less precise results.
Straightening Perspective
If you’re not photographing something head-on, the odds are that it will have distorted perspective. This is especially true when you’re using a wide-angle lens. But the Perspective tool can fix this problem easily. Here once again, open the photo in Develop or the Editor.
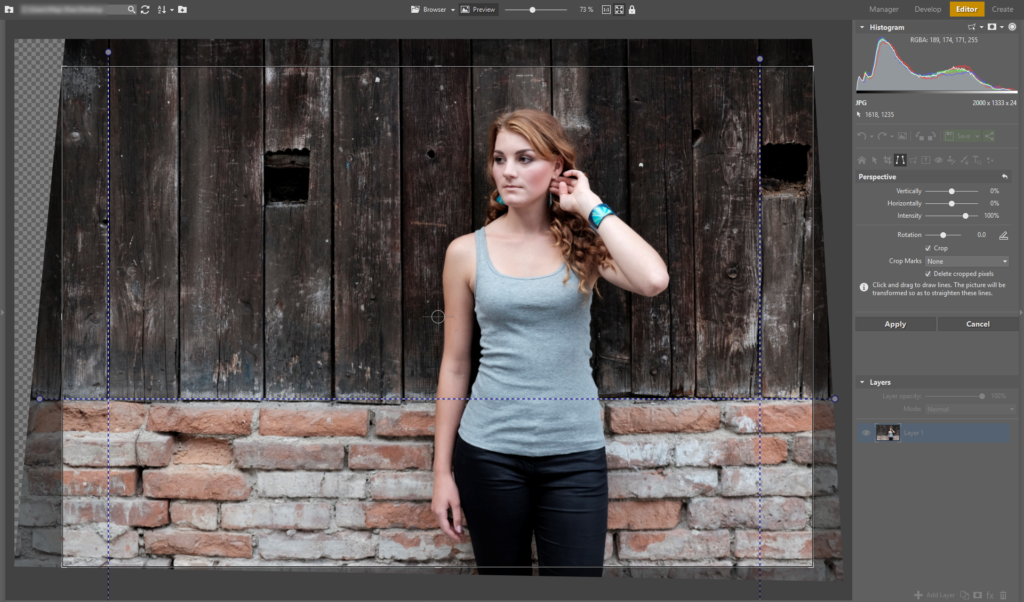
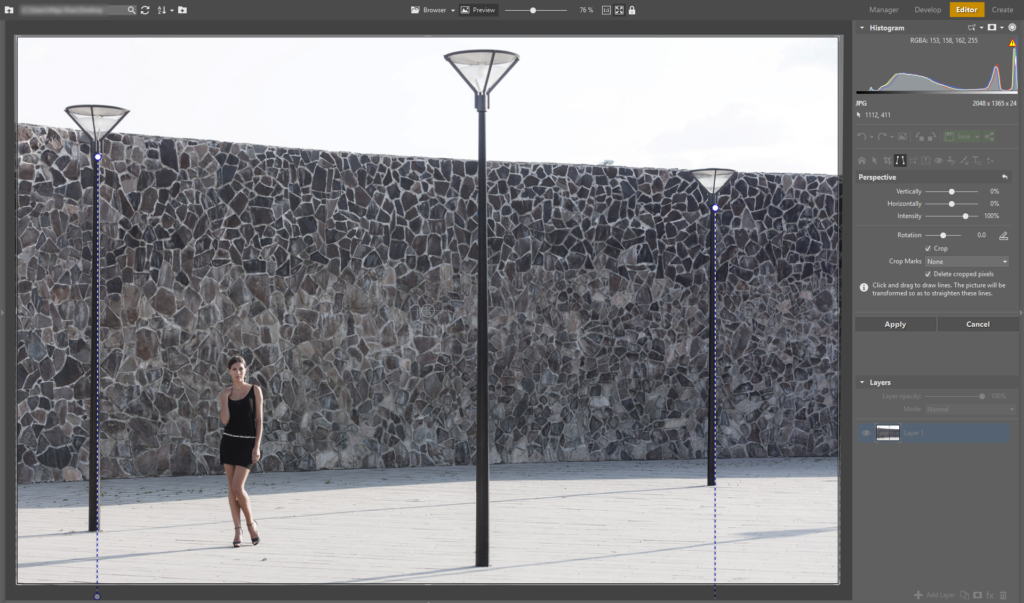
The technique here is very similar to straightening horizons, but you add more guidelines. Activate the Perspective tool by clicking its icon or pressing K, find the longest reference line you can, and drag out a line along it.
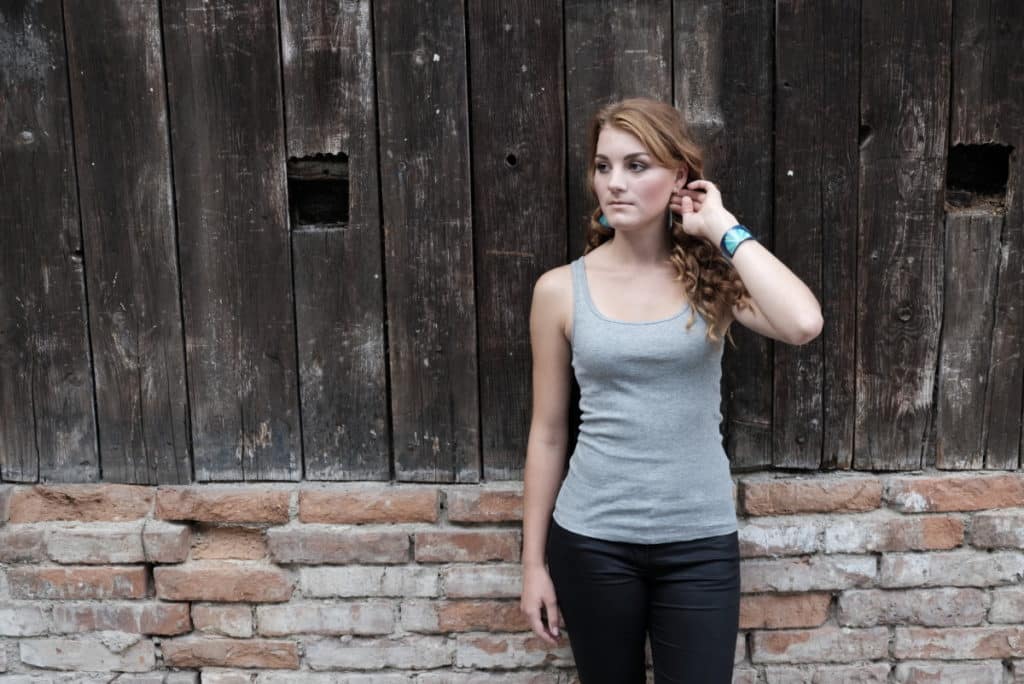
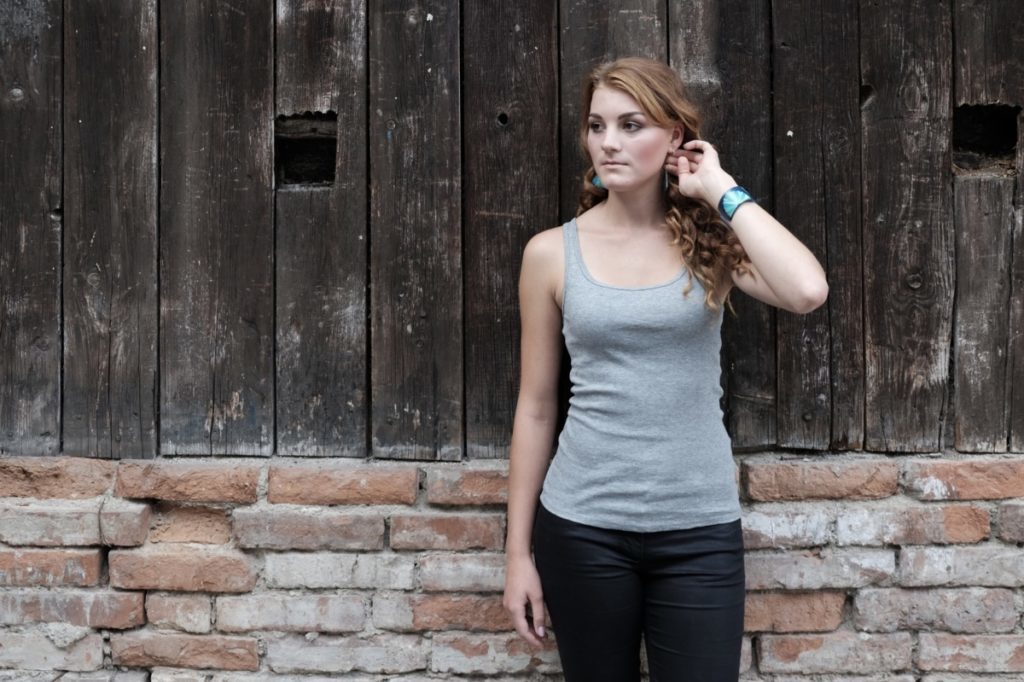
If you leave things at only one line like this, you’re just straightening the horizon again. To actually adjust the perspective, find a second nice, long reference line and draw out a guideline along that line as well. Depending on the photo’s complexity, you can draw out a third and fourth guideline, this time roughly at right angles to the first two. Once again, line them up against long lines in the original picture. That ensures you get the best straightening possible. Press Enter to confirm your changes.
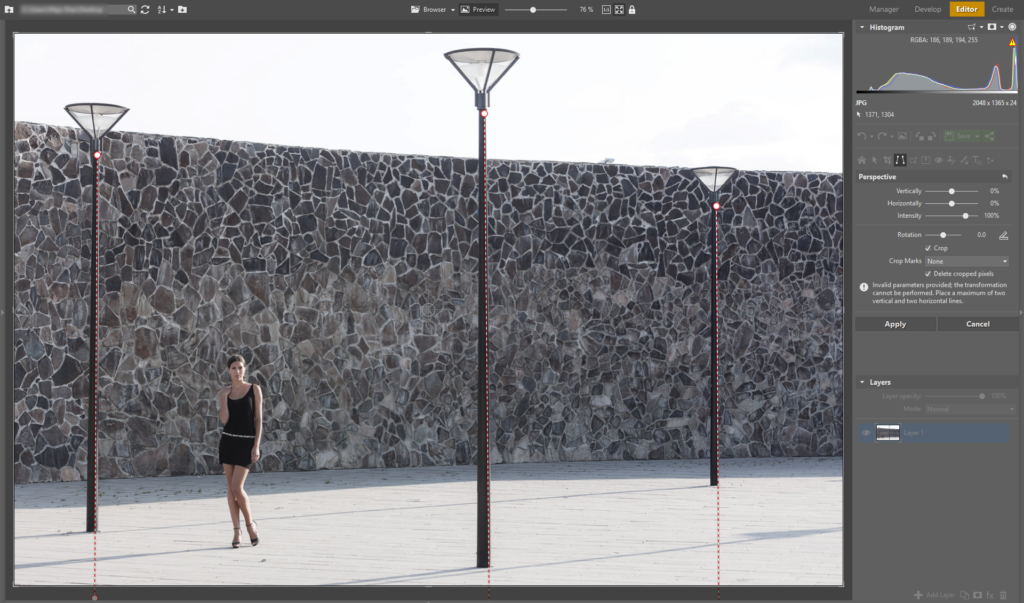
If you use more than two lines in one direction, the program can’t handle this, and it will usually report an error.
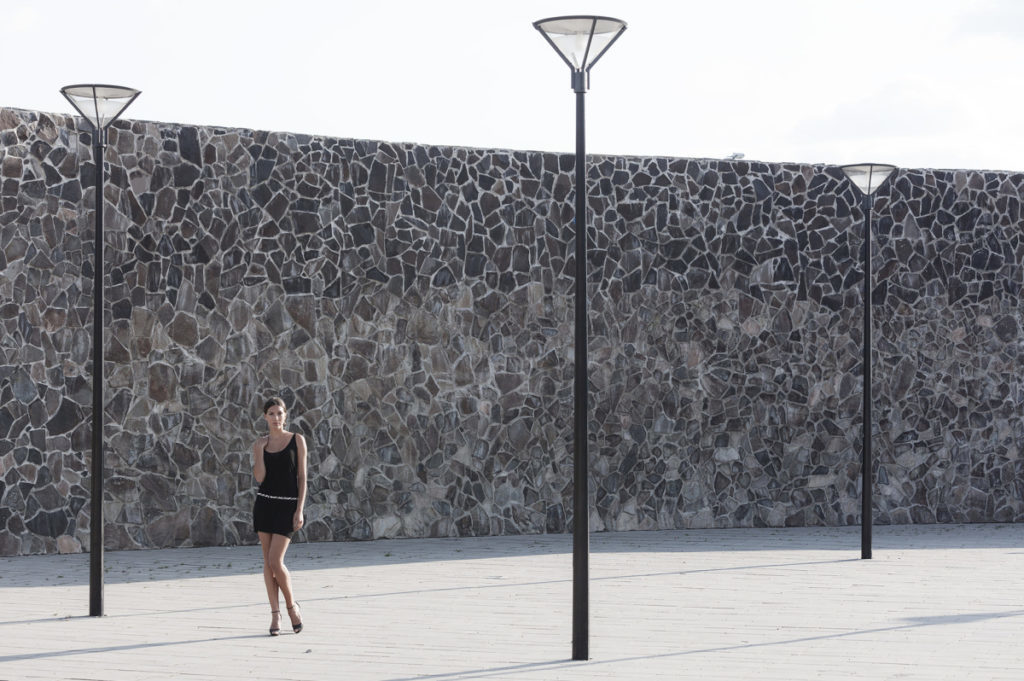
As we’ve shown, Zoner Studio makes straightening horizons and perspective simple and easy. The next time you run into trouble with this kind of imprecision, you’ll have it fixed at home in no time. Get right to it!

