Get Creative on Your Pictures with Blurring Tools
Perfect sharpness in a photo isn’t always something you want. Blurring can come in handy both when fixing mistakes in your photos and as a tool for creative expression.
A number of effects that you could otherwise only get from very expensive equipment or using complicated photographic techniques are easy to simulate in a photo editor using blurring tools.
When to Blur Your Pictures During Photo Editing
Defocusing and blurring are among the most basic kinds of digital photo edits. You’ll encounter them when fixing photos and when correcting certain image defects, as well as during creative photo editing. For example, functions for removing digital noise are based on blurring. You’ll also benefit from blurring when removing JPEG artifacts (that is, the posterization of photos due to high JPEG compression)—and it’s also amateurishly used by amateurs when retouching skin in portraits.
For unsharp photos, you can use the blurring tools to increase the subject;s relative sharpness. In essence what you do here is to noticeably blur everything around the subject. The subject will then look sharper than it actually is.
In this article we’ll look at the tools in Zoner Studio that you can use to blur photos creatively.
Do you need to edit your product photos? You’ll learn to use the following tools:
- Effects > Tilt-shift Effect,
- Adjust > Blur (Ctrl+6),
- Selection > Magnetic Lasso (A),
- Invert Selection (Ctrl+Shift+I),
- Elliptical Selection (O),
- Magic Wand (W),
- Selection Brush (Shift+Q),
- Select All (Ctrl+A),
- Edit > Copy (Ctrl+C),
- Paste (Ctrl+V).
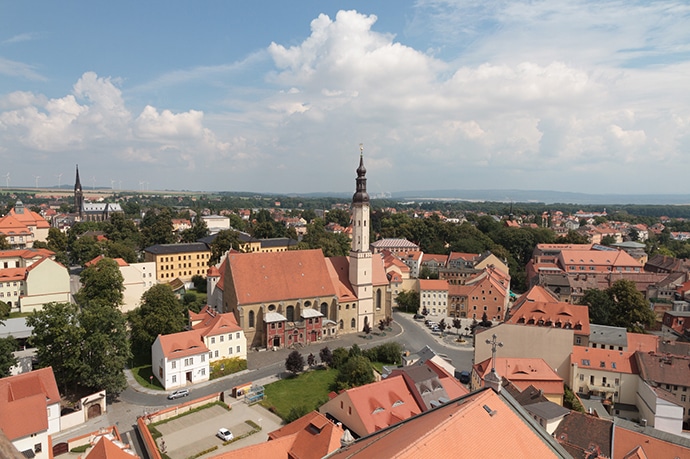
Make It Look Miniature
Tilt-shift lenses are special lenses, used mainly in product photography and architecture photography, that let you tilt and shift the front lens of the lens system relative to the sensor chip. This lets you increase the photo’s depth of field (by tilting the front lens) or straighten receding lines (by shifting the front lens). These tricks can help you to solve perspective problems and add sharpness to the whole frame.
Meanwhile if you tilt the front lens in the opposite way, you can radically reduce the whole photo’s sharpness. This can be put to very good use in e.g. portrait photography, or it can be used to make your subject look like it’s a miniature.
While an unsharp image is hard to sharpen in a photo editor, creating the impression of low depth of field is no problem in, for example, Zoner Studio. You have the Effects > Tilt-shift Effect function available here to create the impression of low depth of field.

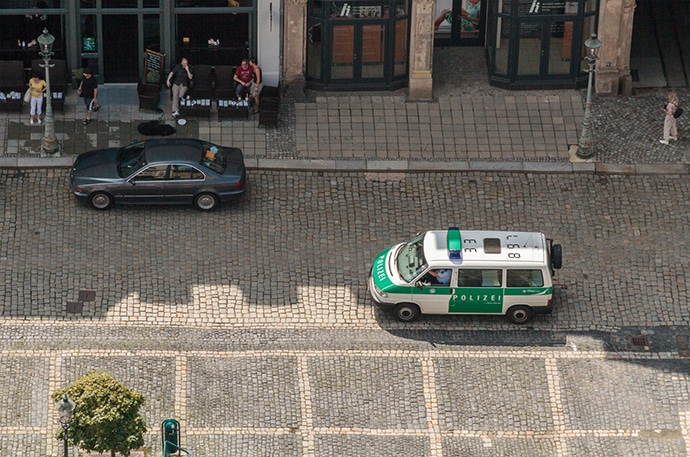

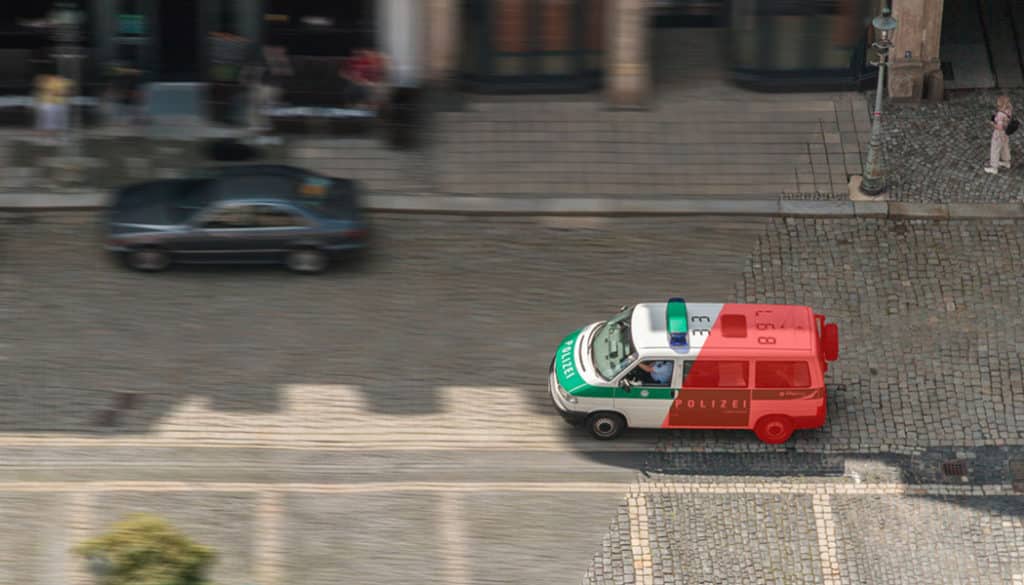
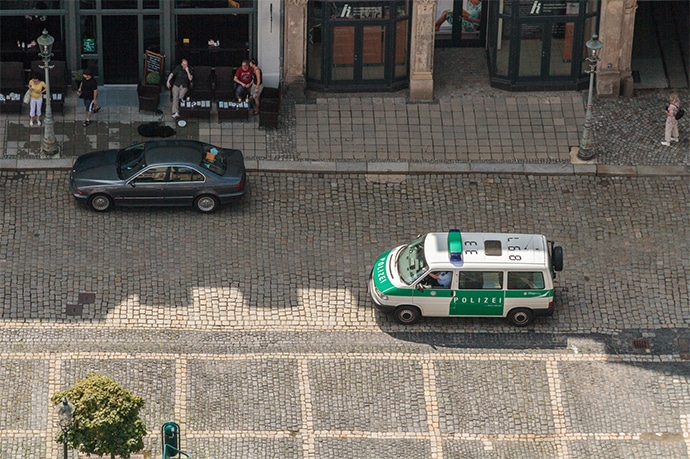
Simulate Blurred Motion for Moving Cars
One very effective way to express motion in a photo is a shooting method called “panning.” Here the photographer follows the motion of a moving object (a car, a runner, etc.) with their camera during the shot. That gives a relatively sharp subject against a blurry background. You can digitally simulate this effect in the Zoner Studio Editor using Adjust > Blur (Ctrl+6).
First you make a selection around the moving object using one of the selection tools (here I used Selection > Magnetic Lasso (A)), and then you invert the selection using Selection > Invert Selection (Ctrl+Shift+I).

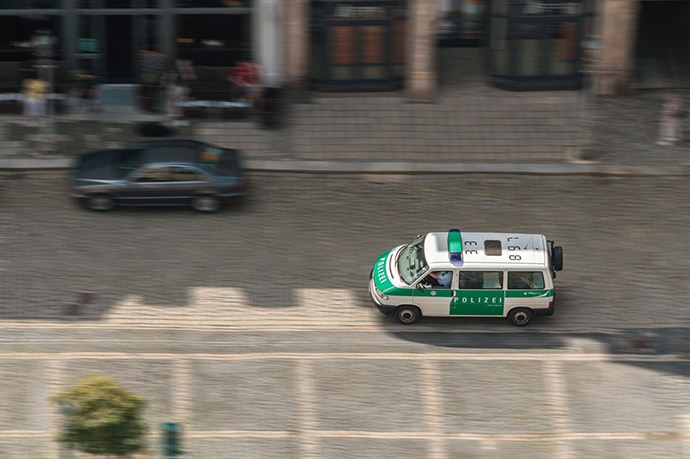
To add motion blur to the background, use Adjust > Blur (Ctrl+6). Choose the blurring type called Directional.

You can then blur the wheels using Rotational blurring. To select the wheels one by one easily, use Selection > Elliptical Selection (O).
Blur Floating Clouds
You can also take advantage of directional blurring in landscape photography to simulate the effects of using a long exposure time. Directional blurring lets you blur clouds in the sky to simulate the situation where they’re moving during a long exposure.


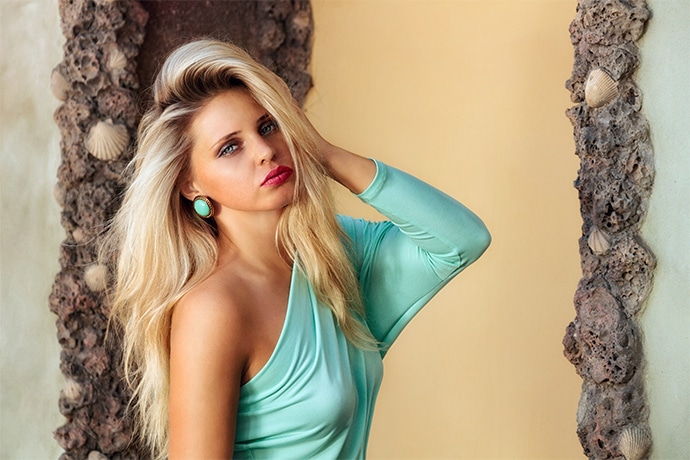
Highlight Your Subject
By combining the use of a wide open aperture (a low f-stop) and a telephoto lens, you can highlight a sharp subject against an unsharp background. This can make a portrait, for example, really stand out. Use Gaussian blurring to get this effect.


Use the Orton Effect for Dreamlike Photos
Michael Orton took his inspiration for this technique from classical watercolor painting. It lets him photograph dreamlike landscapes. He created his pictures using two exposures, with the first one overexposed and unsharp, while the next exposure was properly exposed and correctly focused. His overall photographic process was rather demanding, since the sharp shot had smaller dimensions than the unsharp one, and so he had to compensate by changing the zoom. Because of this, he could only do this work with a tripod and with motionless subjects.
Thanks to the Blending Mode control in Zoner Studio, you can easily simulate the Orton Effect yourself, and do it even for topics where Orton’s actual technique can’t be used. Open your edited photograph, select all of it using Selection > Select All (Ctrl+A), and copy the contents of your selection using Edit > Copy (Ctrl+C).

Next, paste the copied image using Edit > Paste (Ctrl+V). This makes it become a temporary, floating layer. Next, set the “Mode” (the blending mode) to Screen. This gives you a deliberately overexposed image.

Now blur the lightened image using Gaussian blurring in Adjust > Blur (Ctrl+6).

Finally, re-paste a copy of the original image over the blurred and overexposed image, by using Edit > Paste (Ctrl+V). Set the blending mode to Multiply and reduce the Layer Opacity as needed to fine-tune the strength of your homemade Orton Effect.
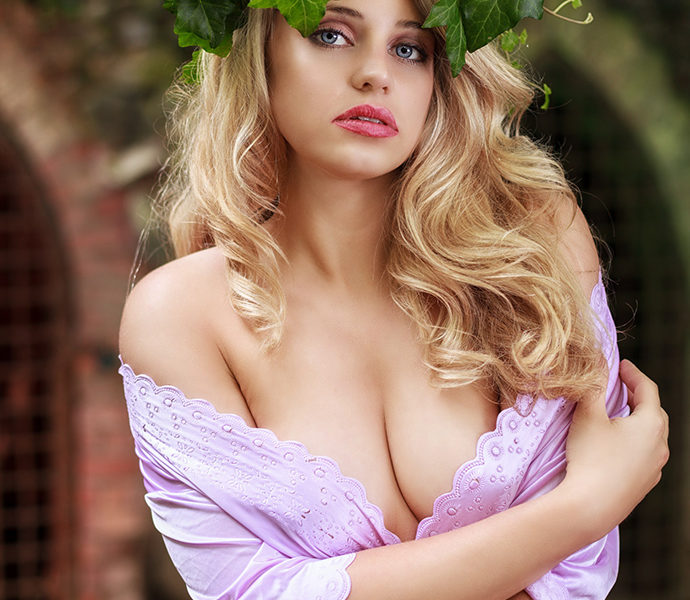

The resulting image gives off a dreamy impression—it really is reminiscent of a watercolor painting.
Learn to Work Creatively with Unsharpness and Blurring
All of the techniques above can be used without ever opening up an editor. With a little camera practice, you can master panning to wonderfully express subjects in motion, and likewise you can work with the aperture and focal length to blur the background behind a subject. But for photos you’ve already taken, the blurring functions in an editor open up the doors to these effects.
The Orton Effect is actually most easily done in an editor, since achieving it during with a camera is complicated—but at the very least, this “live” version doesn’t demand expensive equipment. That’s not so, meanwhile, for the “miniature” effect. Tilt-shift lenses are expensive (they’re mostly useful for people who specialize in professional architectural photography or product photography), so you’ll probably only ever get to try it through an editor. Certain compact cameras do offer a tilt-shift effect, it’s true, but just like on your computer, this is a software adjustment to your photo—it just happens to be done in-camera.
Do you need to edit your product photos? Go through your photo archive and choose the pictures that various blurring effects can bring to life. Try Zoner Studio free for 7 days, and then try out these creative blurring tips for yourself!