Get Great Photo Retouching With (Almost) Just Lightening and Darkening

There’s a wide range of retouching techniques out there, but you may be surprised to learn that one of the most effective and universal portrait techniques is to just lighten and darken certain spots. Read on to learn how to shine with this technique.
Darkening and lightening is typically called “dodging and burning”—but we don’t want this article to be just for people who already know those words. Dodging and burning is an approach that dates back to film photography, where a photographer could expose certain areas longer, to brighten them (dodging), or cover up certain areas, to darken them (burning).
Brightening various parts of a photo like this makes it easy to direct your audience’s attention right to where where you want it. Unwanted spots, on the other hand, get suppressed, to make them unnoticeable.
The forest photo below is a good example: I darkened the original sky and water, because they were attracting too much attention. Meanwhile I brightened the forest to make it really stand out. The result is a picture with a bridge that leads the viewer’s eyes to the forest, unlike the original, where the stream clearly dominated, and so it wasn’t really possible to concentrate on the photo’s other elements.

Canon 40D, Canon EF-S 10-22/2.5-4.5 IS, 1/100 s, f/8, ISO 100, focal length 10 mm
Ideal for Portraits
When you’re retouching skin, of course you want to remove imperfections, but you also want to preserve the skin’s structure. If you just blurred the skin, you’d get an ironed-out, poreless, plastic look that feels cheap.
And so there’s a trick. You see, skin defects like pimples and various protrusions generally don’t destroy the skin; they just deform it, or form a kind of “ripples.” These ripples are only visible in photos because they react to light—the edge that’s nearer to the light source is lighted better, and the other edge is in shadow. So by darkening or lightening these edges, you can make bumps invisible and get perfect skin!
The example below shows how things looked originally, the final result, and a map of the places that were lightened (green) and darkened (red). At the end of the process, the edit has left no noticeable traces, and visually the skin has a fantastic pore structure.

For this kind of retouching (and other kinds as well), a drawing tablet is a great choice, so if you’re serious about retouching, you’ll want to get one.
Effect Brush
There are multiple ways to do your edits in Zoner Studio, including this edit. The Dodge Brush (shortcut: I) and Burn Brush (shortcut: Shift+I) are made for precisely this job, but you can also use the Effect Brush (E) with Brightness set as the effect; this makes the Effect Brush brighten or darken the places that you paint with it.
But we’ll be looking specifically at the Dodge and Burn brushes.

You’ll want to set a fairly high Blur for these brushes, so that the edges of your brightening/darkening strokes aren’t too sharp—otherwise people will notice them. After some basic setup, you just alter the brush’s Diameter and Opacity as needed.
The right diameter to use can vary from low values (2–3) when retouching tiny spots, up to the hundreds when you’re retouching large features. To change the diameter quickly, hold down Shift while rotating the mouse wheel. Always use a low Opacity for these brushes—from 3 to 20 percent. You can always add more later.
One nice retouching skill to learn is how to pan an image even if, like here, you’re not currently using the Pan tool. To do that in Zoner Studio, hold down the space bar and drag the mouse (or your tablet’s stylus).
Let’s go through the whole retouching process, where we’ll be using the Dodge and Burn brushes we’ve just mentioned.
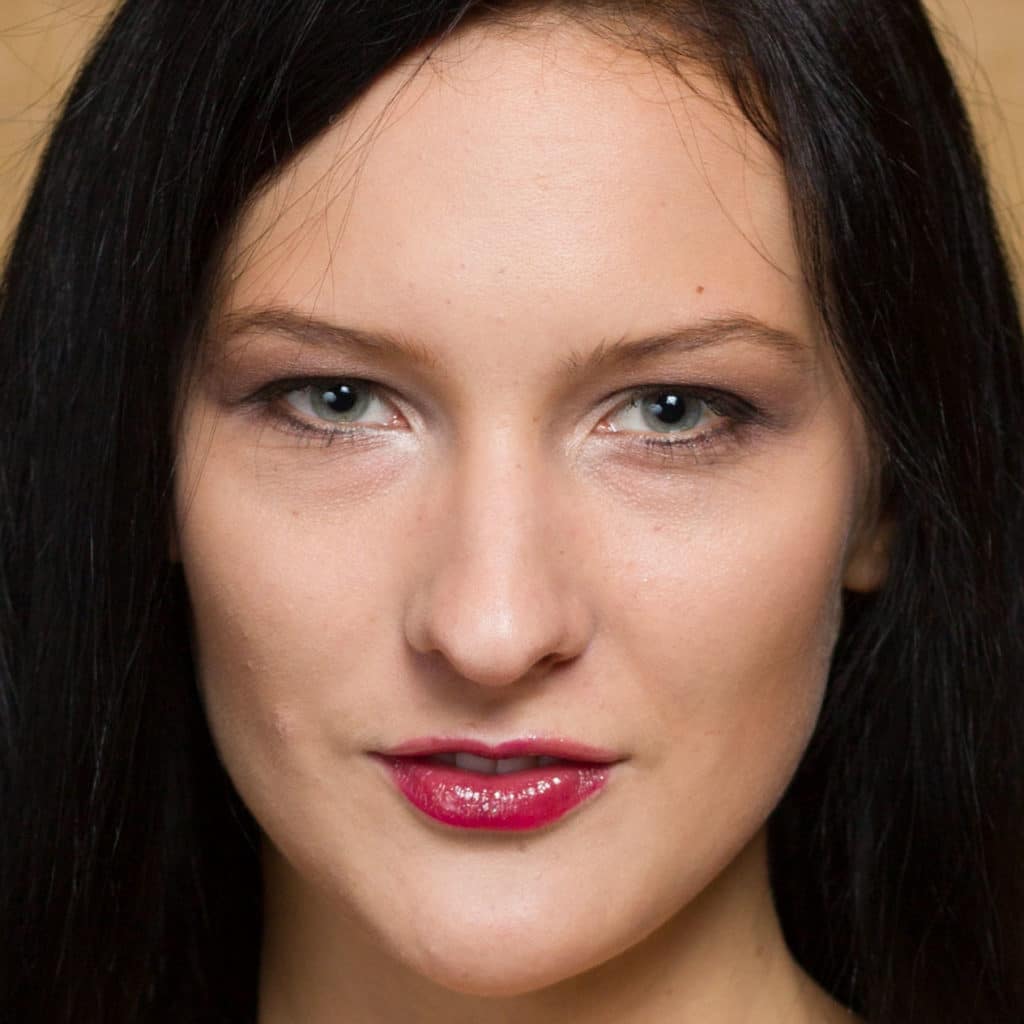
Step 0: The Original
We’ll start with a photo of a beautiful model, whose facial skin defects are far too noticeable due to poorly arranged lighting. I zoomed in close for this whole example, to give you a better view of my changes.

Step 1: Repairing Minor Defects
In my first step, I’ll be removing minor defects, wrinkles, and birthmarks. Even though it may sound strange, brightening the dark birthmark transforms it, too, into normal skin.
For an edit like this, you’d use a small brush with a Diameter of 2 to 5 pixels (depending on the photo’s resolution) and a Strength of 5 to 20 percent (mostly towards the lower end).

After retouching minor defects. To see the changes, move the divider between the two pictures.
Step 2: Repairing Larger Defects
The next phase is more visible, because we’re focusing on larger elements, usually large shadows, that need brightening. These are either under the eyes, around the mouth, or on the cheeks.
Here the tool’s diameter is much larger and more variable depending on what you’re working on. The right opacity is generally very low, around 5 percent. It’s a good idea to occasionally zoom out to fit more of the picture on your screen, since this gives you a better idea of where the problem areas are.
After retouching away the larger defects. To see the changes, move the divider between the two pictures. This step is done by relatively experienced photographers. Here you’re not so much repairing the spots with defects, as enhancing them. You emphasize various skin features like a makeup artist would—by darkening the cheekbones, the chin, and also the whole face along its edges, to make the center of your picture stand out. Other places, on the other hand, get brightened. This subject exceeds the scope of this article, and so I’m just including an illustration of which areas I’ve brightened (green again) and darkened (red). The result is a picture that at first sight is not that different from the previous step, but when you compare the differences, you’ll see.
Modeling facial features. To see the changes, move the divider between the two pictures. I left the eyes for last, but have no doubts: eye edits are important. Here I slightly brightened the whites and the iris, and drew shadows under the eyelids. As a bonus I brightened the reflections in the eyes. Reflections like these add “life,” and so if it they weren’t there, I’d draw them in.
Emphasizing the eyes. To see the changes, move the divider between the two pictures. During my previous edits, I only changed the brightness. But there’s one other effect to go: Shadows are generally more saturated than illuminated areas, and so if you’ve done heavy brightening or darkening somewhere, your new colors can have quite different saturation than their surroundings. This effect is often practically invisible, but if you do notice any problem areas, you can correct them, although this time around you’ll be using tools other than dodging and burning. For my repairs here I used the Paintbrush (not the Effect Brush) with a weakish Opacity of about 30 percent, and the “Color” mode. Then all I had to do was to pull in the color I needed from the problem area’s surroundings (by pressing Ctrl) and brush it onto the place I needed. Also note for example the bridge of the nose, where my previous edits had left a grayish area. In the step we’re looking at, I painted over that with the surrounding skin color.
After color correction. And that’s it. We’ve got a finished, retouched portrait. Pull the slider to compare the differences between the original and my final result:
To see the changes, move the divider between the two pictures. This Dodge and Burn technique is far from the only way to get results. And I personally often also use other, more usual tools, to speed up my work. But modeling features, for example, is hard to do in any other way, and you can get into a situation where nothing else than dodging and burning will do the job. It doesn’t even have to be a portrait; you can also run into this with crumpled sleeping bags—or much stranger subjects. So I recommend that you explore this universal method, because you never know when it will come in handy.Step 3: Modeling Features

Step 4: Eyes
Step 5: Correcting Colors if Needed
A Comparison with the Original
Dodge and Burn Is Only the Beginning


