Give Your Photos a Vintage Look With These 4 Retro Edits
While modern photo technology is getting better and better, more and more people are trying to give their photos a vintage look. They’re trying to imitate old film photos and their defects. So let’s take a look at a few tools that will help you out with creating anything from a black-and-white portrait to a retro still life.
Most people, when they hear the words “old photo,” will think of pictures with faded colors, in black and white, or with some kind of damage. And with the right tools, you can recreate precisely these effects on a computer easily.
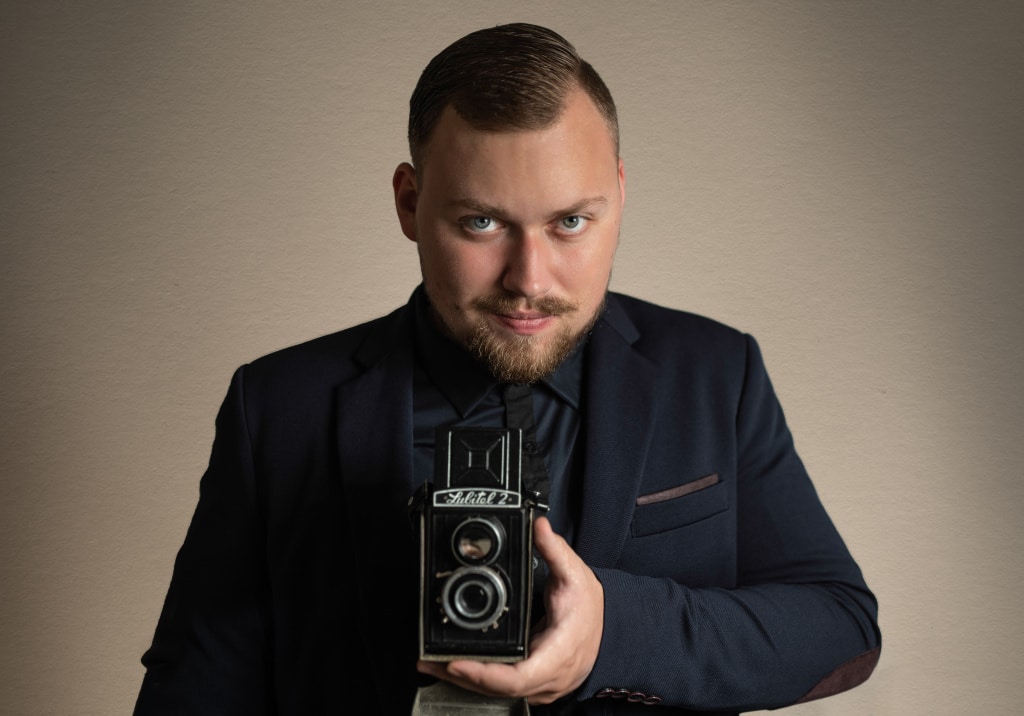
I’ll use this self-portrait to illustrate how.

This photo was lighted with a single octabox from the left at an angle of around 30°. The Russian Lubitel 2 camera was the first prop I had at hand for accenting the vintage look.
Creating a Black and White Portrait
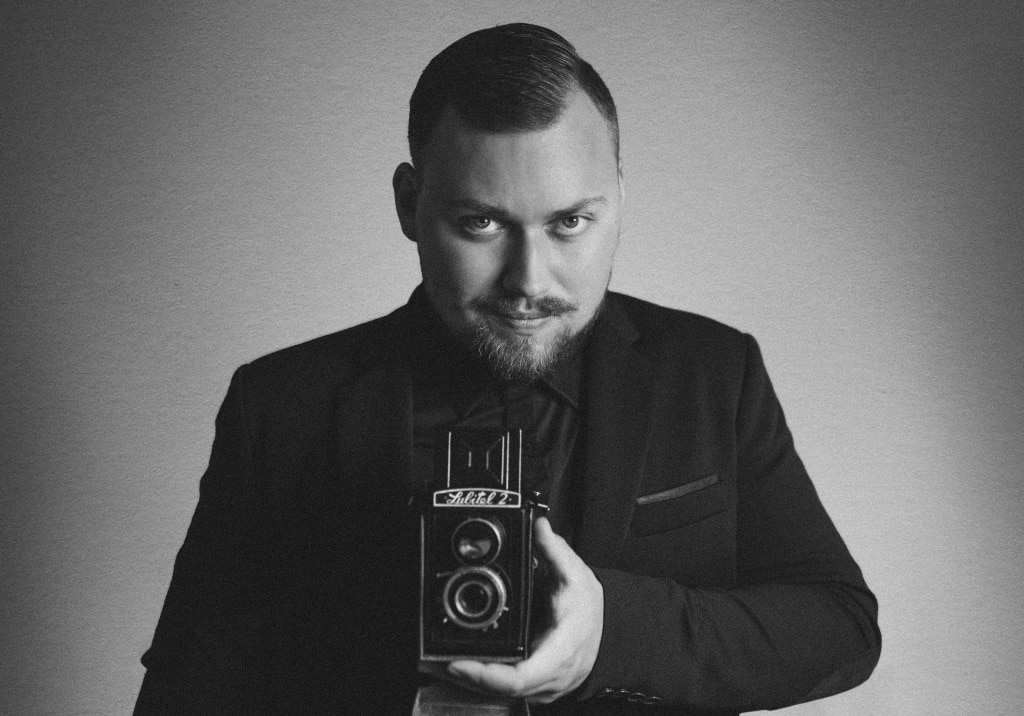
The most basic edit for giving a picture a vintage look is to convert it to black and white. You can, of course, also just shoot straight to black and white. But in general it’s better to take a picture in color and then make it black and white in Zoner Studio. That gives you more control over its final look.
The simplest route is to use Presets for this. You’ll find them in the right panel in the Develop module. There’s a total of nine presets here just for black and white. Run the mouse over their names to quickly preview what they do.

Once you’ve found the preset that fits your photo best, open the Color group in the right panel. Turn on the Grayscale option in that group, and then turn on Manual Channel Mixing.
Adjust the individual channels to see if you can improve the photo a little more on top of what the preset did. For black-and-white portraits, it generally helps quite a bit to suppress the red channel, because that’s where skin defects tend to be—so you’ll get softer skin.
But the best of all is if you try out for yourself what the individual channels do.
Meanwhile, just like with most other edits, there is no one setting to rule them all. It always depends on the picture and on your taste.

You can also use Add Grain to emphasize a photo’s vintage look. You’ll find it among the Effects.
The photo before and after my black-and-white edit.
Simulating a Damaged Photo
The Damaged Photograph function is another option for getting a retro look. You’ll find it in the Editor. Just click the Adjustments button and scroll down to the Effects group.
This function can offer you a number of options for fine-tuning what it does to your photo. To see those, just turn on Advanced settings.
Then I’d suggest clicking on the die at the top right. That sets all the settings randomly. Do that a couple of times to get a feel for what the different settings do. Once you hit on an interesting combination, use the sliders to finalize it.


Adding a Red Reflection
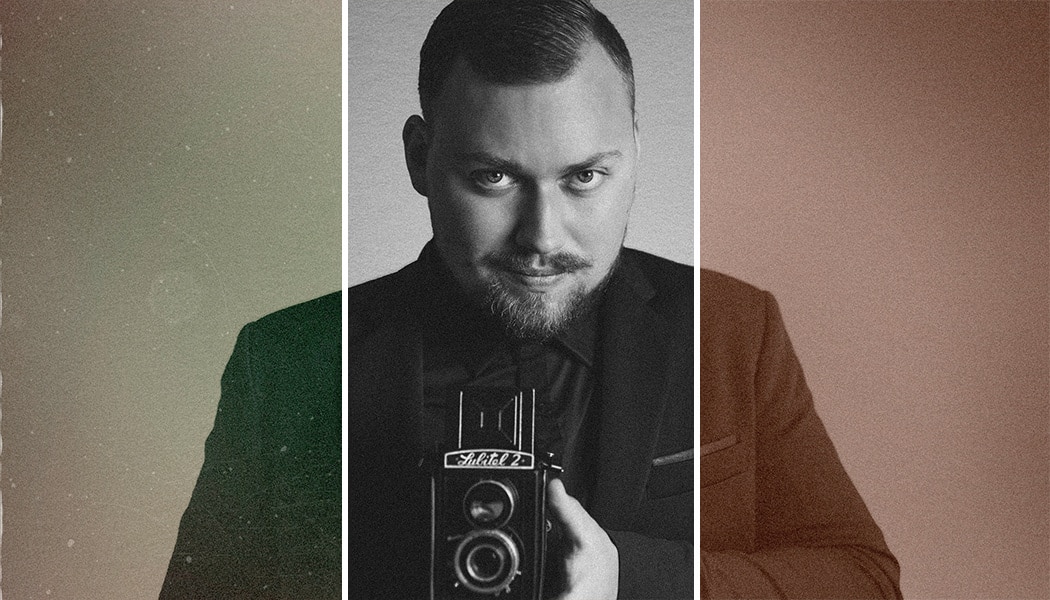
If you’d like to try one more way of making photos look “antique,” try adding a red stripe using the Gradient Filter (G) in the Develop module. Although this defect is less typical than graininess is, with older photos you do run into it from time to time. This was a defect that would occur in film photos when the light crept in to places where it didn’t belong.
To create this effect using the Gradient Filter, follow these steps:
- Set the filter’s color to red,
- increase its Intensity,
- and set its blending Mode to Screen.

Making It Look Like a Polaroid
Among the Quick Filters (F) in the Editor, you’ll find a Polaroid Effect filter. Use it to quickly give a picture the colors and frame that were typical for polaroid photos.
Just click on this effect, and Zoner Studio will automatically crop the photo, adjust its colors, and frame it. Then just click Apply to confirm the effect.

Just be careful not to overdo it!
The tools and techniques I’ve mentioned are for amplifying the atmosphere of a photo when you want it to feel nostalgic. But they’re definitely not for rescuing boring photos by slapping on a strong effect.
So be careful and use these tricks with caution, so that you don’t create kitsch instead of a beautiful photo. Less is more… as is often the case.
Still, these edits can sometimes enhance your photos. So download Zoner Studio, try it free for 7 days, and get started.