High Pass: Master Contrast and Sharpness

Among the many new features in the latest version of Zoner Studio is the High Pass effect, a tool that helps photographers like you to sharpen photos and increase their contrast. Ah, but how? Read on to find out.
High Pass is one of the great features added in version 17 of Zoner Studio. You may have heard this term before in pros’ discussions of how they sharpen their photos. They use it as an alternative to traditional sharpening. But High Pass can do other things too—for example, it can fine-tune contrast. In short, High Pass lets you do very interesting things with photos!
Striking Contours, Lots of Neutral Gray
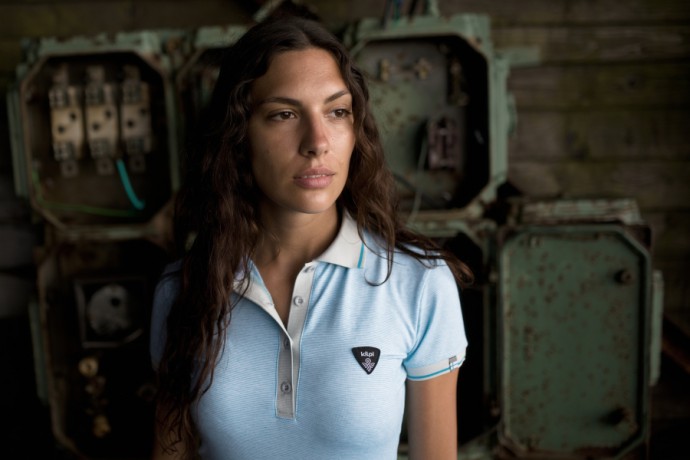
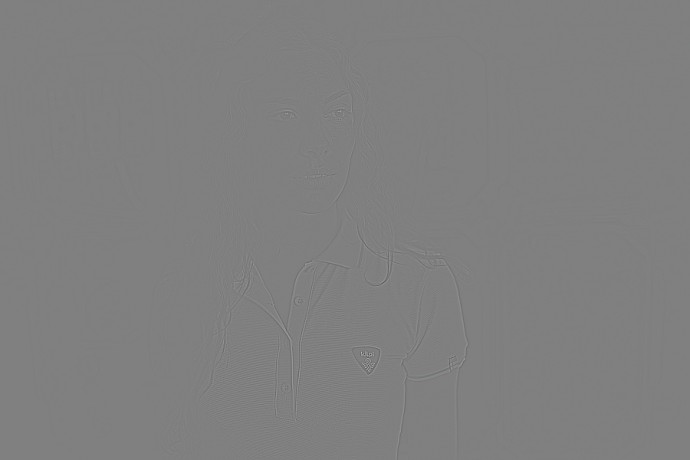
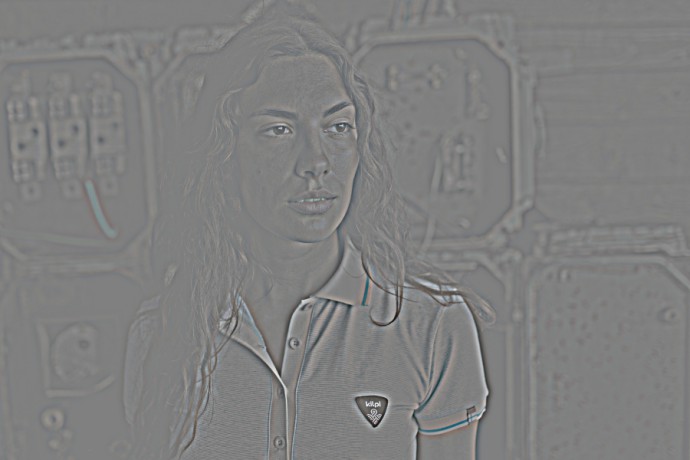
The High Pass filter emphasizes all the edges inside a photo, because it emphasizes all its high-contrast places. High Pass desaturates the rest—the low-contrast surfaces—into neutral grays.
With effective use of the Mode setting, you can also increase contrast in certain parts of the photo only. (More on that below.)
You can then also take advantage of this effect for sharpening. You end up sharpening only the high-contrast contours in the photo—the places where sharpening matters most. And also, you can see in advance specifically which areas in the photo you are sharpening.
Compared to other effects, High Pass has very few settings. But it has all it needs. Just set the Radius—essentially the effect strength—in pixels. And then set how the High Pass is used by setting the Mode—Normal, Overlay, or Soft Light.
Normal—this mode just applies the effect as-is, so it doesn’t help you adjust contrast. But it’s still useful in its own way, as you’ll see below. But it’s still useful! It’s a good way to preview the effect’s strength and where it will be applied.
Overlay—this mode strongly increases contrast. It darkens colors that are darker than neutral gray, and lightens lighter colors.
Soft Light—this mildly increases contrast; it might be called a significantly gentler version of Overlay.
You can control how the High Pass edit overall is applied to the original picture by setting the blending mode for the Editing Layer where your High Pass edit resides. That does unfortunately mean that “Mode” appears twice in the right-hand Side Panel. The first “Mode” from the top is specific to High Pass, and the second one, with more options, is the standard choice of blending mode for the Editing Layer. The modes available here are the same as for any other edit. We covered several useful blending modes in a recent article. For High Pass, you’ll mainly appreciate three of them: Multiply, Overlay, and Soft Light. Below the Mode is the standard Layer Opacity control.
To get the best picture of where and how strongly High Pass will affect your picture, set both Modes to Normal, lower the Radius to zero, and start raising it. You’ll see neutral gray within single-color surfaces and darkening/lightening on high-contrast edges. The higher the Radius, the more space is taken up by the transitions—and the less space is left for neutral grays.
Sharpening
For mild sharpening of a picture that you’ve shrunk for publishing on the Internet, we recommend setting a Radius of 0.2 to 0.4 pixels; at Internet-ready resolutions, any higher setting will oversharpen the picture. But trust your own judgment and ignore the above when you see fit.
Set the High Pass effect’s Mode to Soft Light. (Normal is useful for review only, and Overlay is too aggressive for sharpening.) Then fine-tune the sharpening strength by adjusting the Layer Opacity. In most cases you’ll want a level around 60-75%.
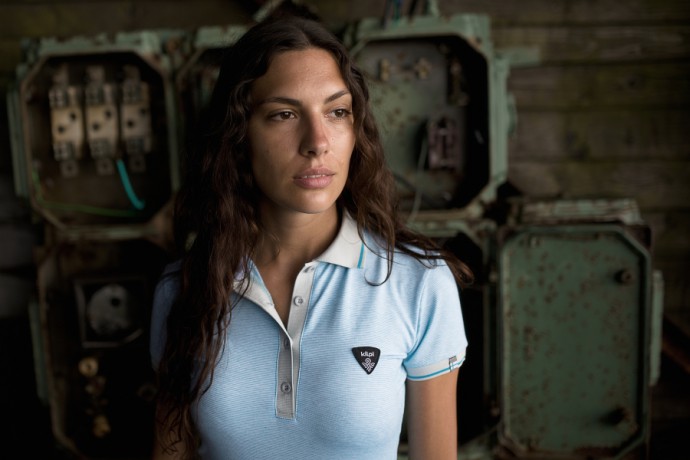
Then save your photo for the Web. It’s ready to go for the Internet!
Work with Contrast
You can also use High Pass to fine-tune contrast in certain places only, using a fairly simple workflow. For maximum control over the effect, use the Normal mode and gradually increase the Radius. The High Pass effect will gradually spread throughout the photo as you raise the Radius.
Once the effect has spread to the places where you wish to increase contrast, change the blending mode to Soft Light (or to Overlay for a stronger effect). After you have some experience with this technique, you can skip the work in Normal mode, and just apply the effect via Soft Light or Overlay directly.
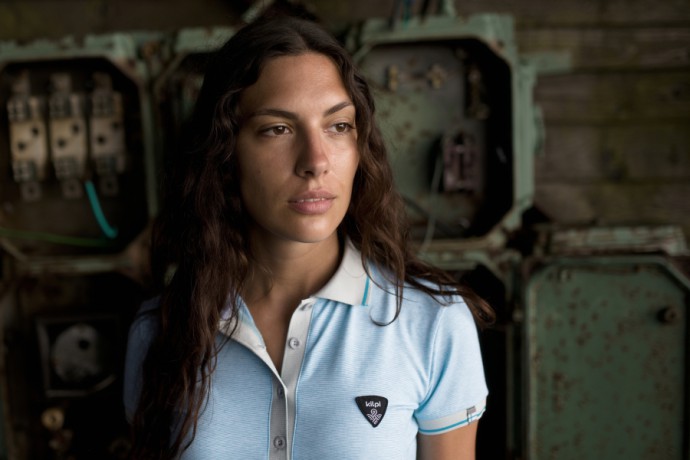
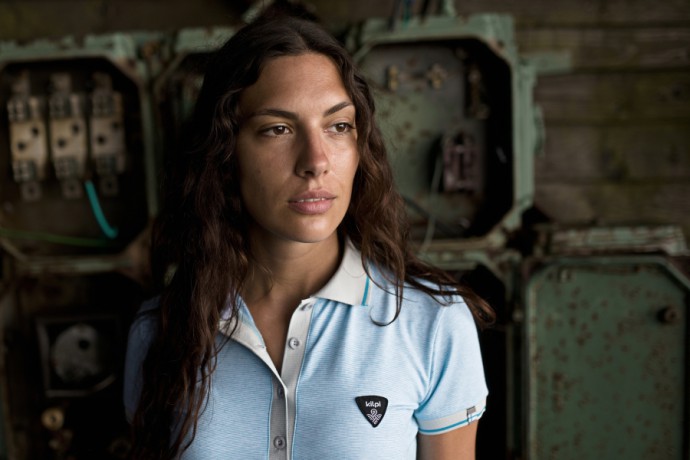
Here are some before-and-afters for High Pass edits:
Sharpening using High Pass
The final picture and the original. Drag the slide control to compare the differences.
Enhancing contrast using High Pass
The final picture and the original. Drag the slide control to compare the differences.
High Pass is used by photographers who want more control over their photo editing. It offers them a number of ways to give photos a signature look. That makes it a key part of every professional photographer’s toolkit.
Want to try out High Pass based sharpening and contrast adjustment for yourself? Download Zoner Studio 17 and try it free for 7 days.