Shoot, Open, Stitch—Here’s How to Create a Panorama
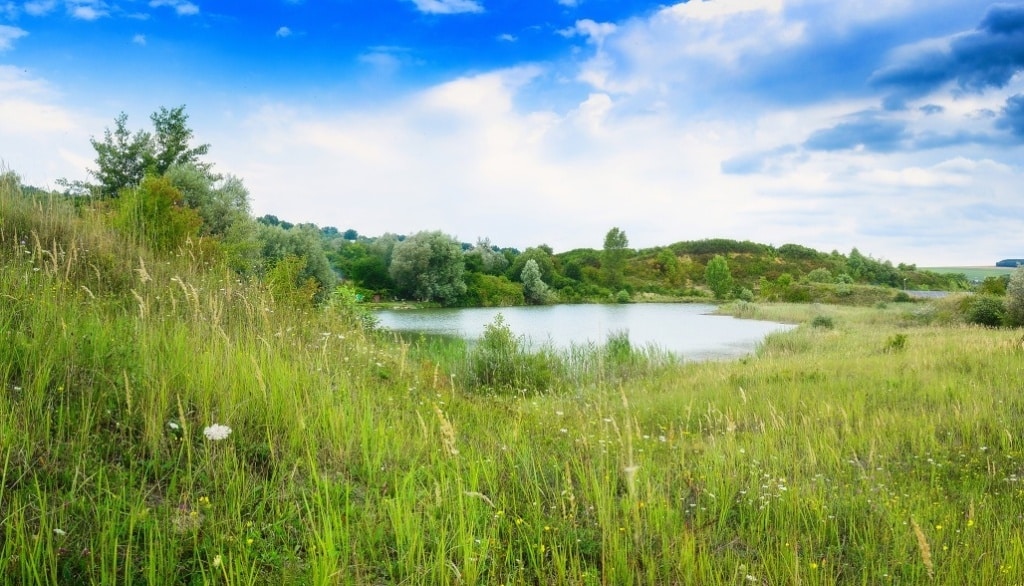
Breathtaking wide-angle shots have been a favorite since the days of 35mm film. But how do you create a panorama where the pictures flow into each other correctly, with no stitching lines visible between them? It’s simpler than you’d think. You just need the right photos and a few minutes’ time, and you too can make a panorama.
Picking the right site is the foundation. You see, not every location will look good as a panorama. You can end up stitching your shots together and then finding out that your final photo is bland and you didn’t even need to make that panorama. So first think everything through well—just as if you were shooting to 35mm film.
How to Take the Pictures for Your Panorama
There’s a few things you’ll need make sure to do in order to be sure your panorama will look good. First, switch your camera in advance into manual mode (M) and set exposure values that fit the given scene well. Then leave these same values for all of the pictures.
Second, make sure your individual picture-pairs overlap by at least one third. That will make it very easy to stitch them together.
Third, have your camera in portrait orientation when taking your shots. If it’s turned the ordinary way, your panorama will be an unpleasantly narrow “noodle.”
There are 3 basic ways you can rotate your camera to take in the landscape when you’re taking your source pictures:
- You can hold it firmly in your hands and rotate your body in the direction in which you want the panorama to continue. This has the big advantage of being fast. But you’ll have to count on needing considerable editing to fix the distortion that arises when you turn the camera in an arc like this.
- Fasten your camera onto a tripod, then turn it on the tripod. That lets you use a lower ISO and exposure length. Then the light will describe the landscape better. However, here you’re still turning your camera on the axis of its sensor and not its lens, so you will still have to expect some distortion.
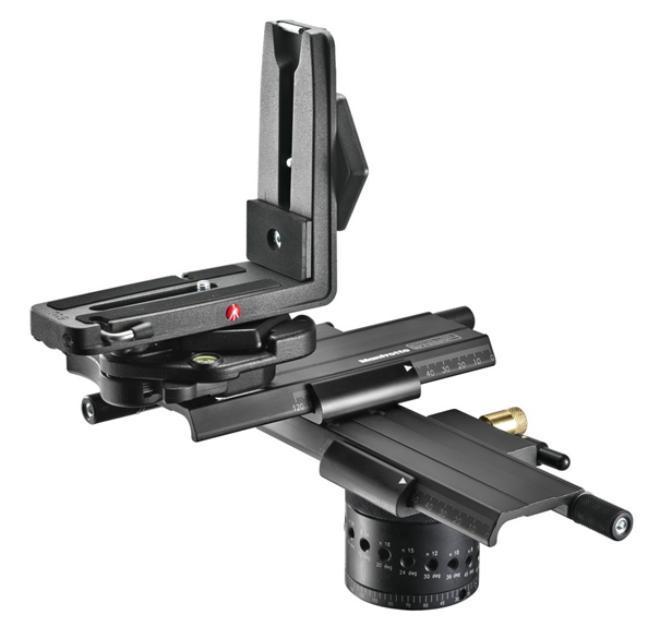
- Use a tripod with a panoramic head, which will let you set a nodal point. That will let you get rid of distortion and make your pictures tie into each other perfectly. However, besides the need to buy extra equipment, this has the disadvantage of needing extra setup time. Nevertheless, the result is worth it.
I personally use the first two of these methods. But at the same time, I also always take an extra photo or two to make room for possible cropping and distortion correction.
Once you’ve taken your source photos, don’t forget to also check their exposure and sharpness. After all, there are some errors that you’ll have major trouble fixing on a computer.
How to Turn Photos into a Panorama
Now you just need to meld these photos into one picture. We’ll show you how through an example with five shots in portrait orientation.
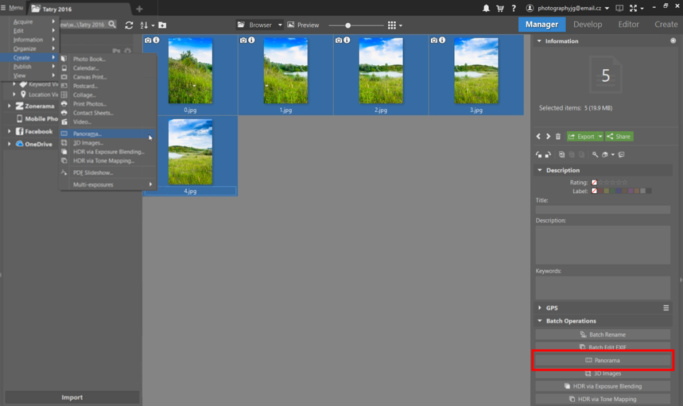
In Zoner Studio, go to the Manager and pick the pictures that you want to join.
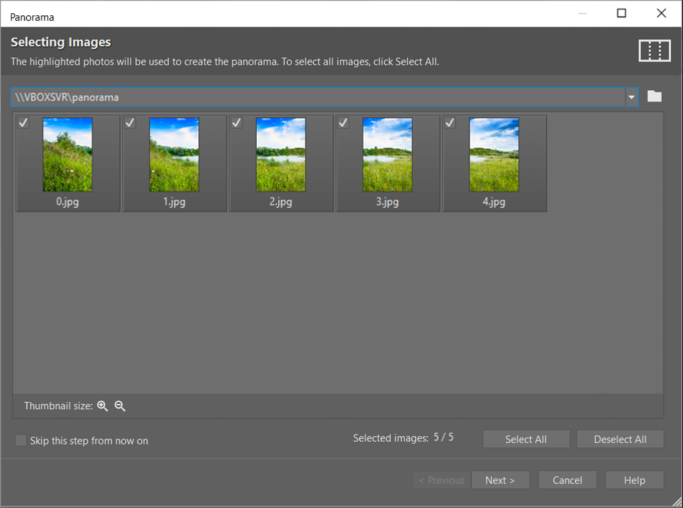
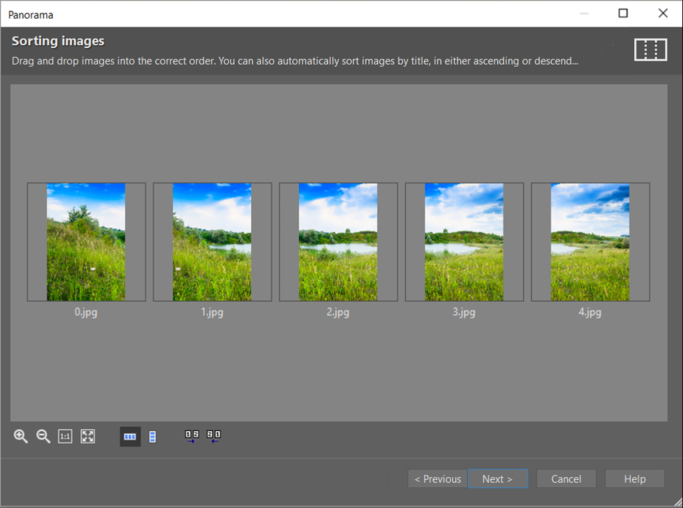
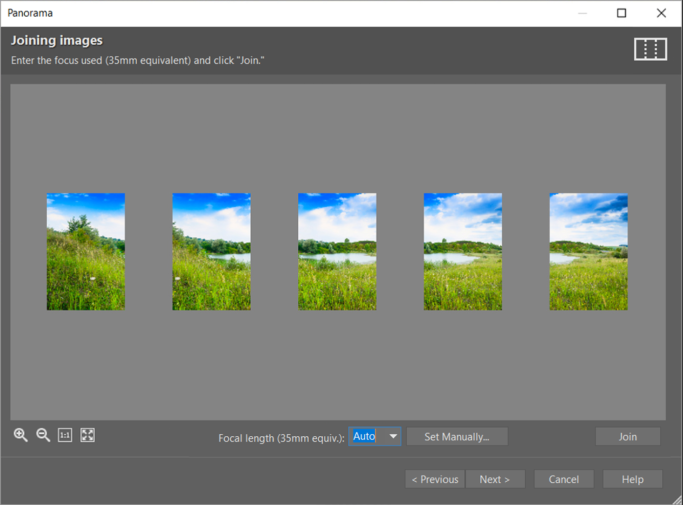
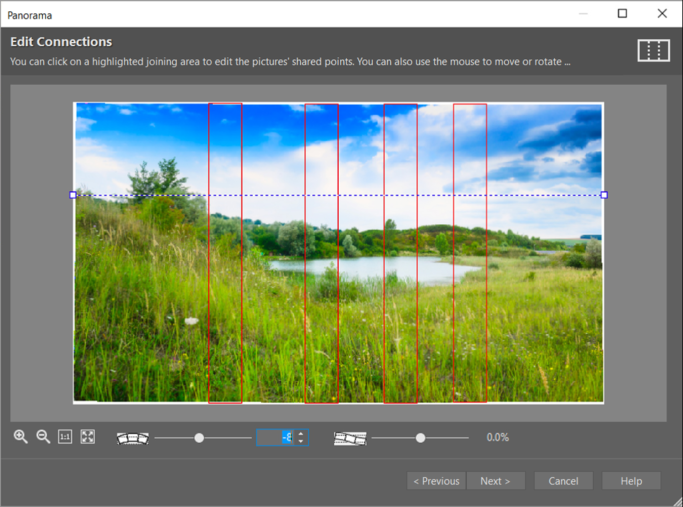
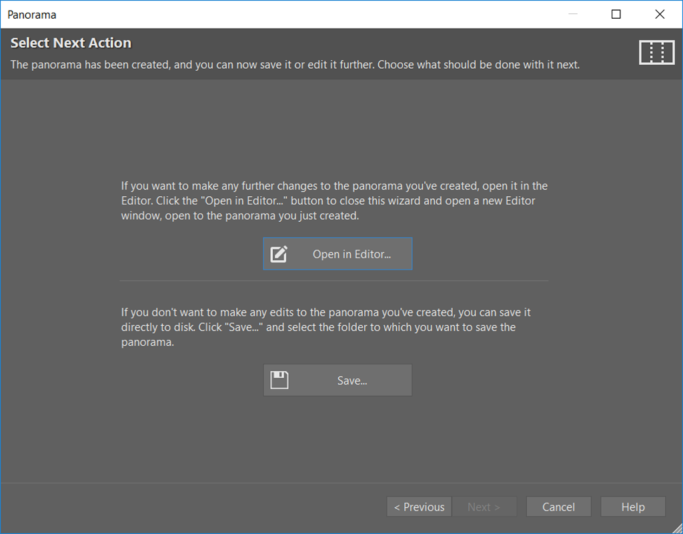
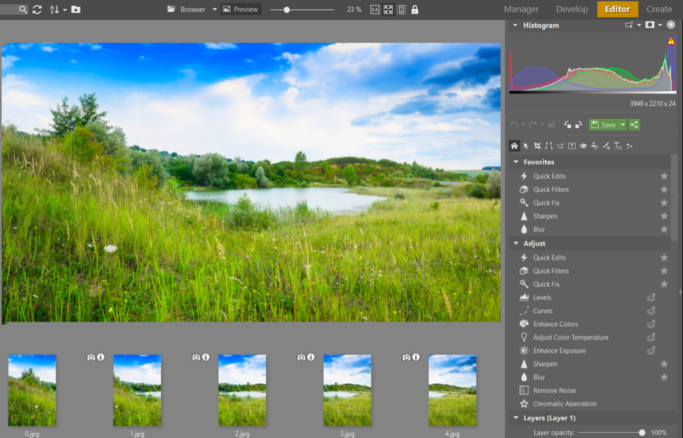
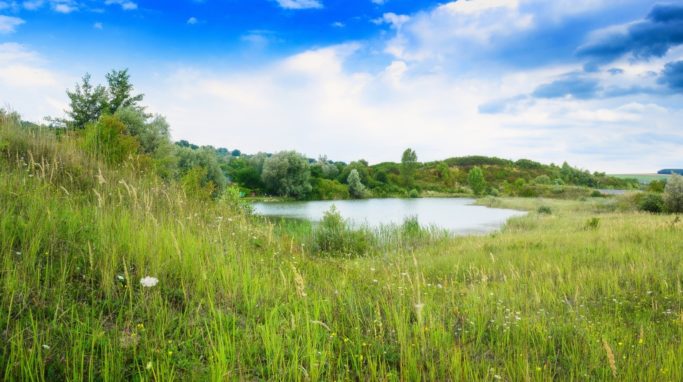
As you can see, you can create a panorama in just a few minutes, including both taking and joining the pictures. And you don’t have to worry about imprecise joins.
Give panoramas a try. Download Zoner Studio and use the 30-day free trial, and you’ll create them quickly without complicated manual alignment.