How to Make a Photo Calendar with Children
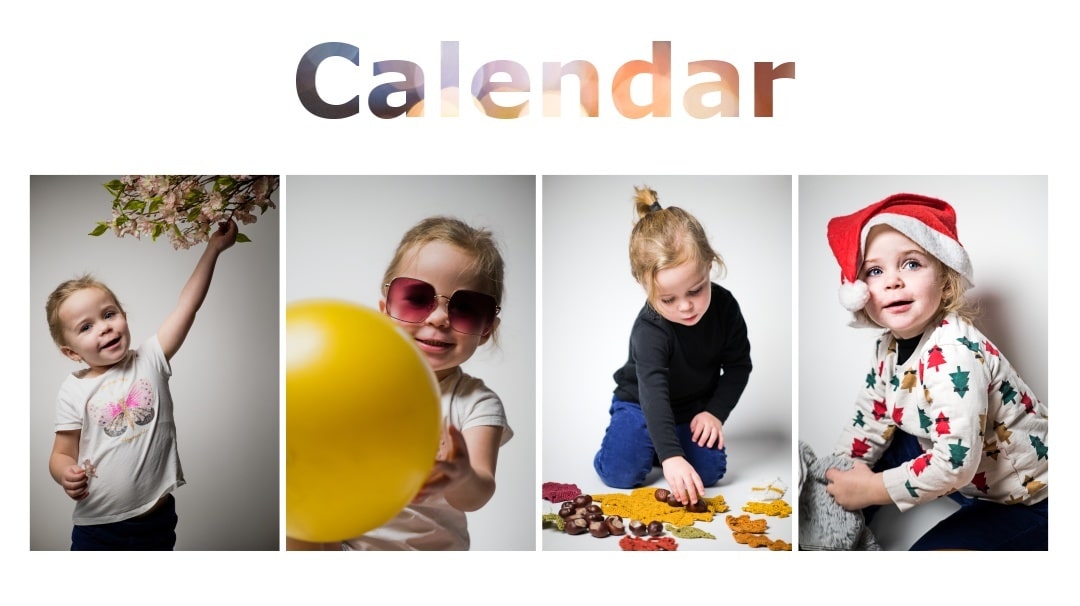
A photo calendar is an extremely popular gift, especially for Christmas. As the Christmas season approaches, we’ll show you how to shoot a one-of-a-kind personalized photo calendar that is sure to bring joy to your loved ones!
Zoner Studio offers many photo products in the Print module, including a customizable photo calendar. Most people make calendars filled with various photos taken throughout the year. However, other options can be a fun challenge for photographers and amateurs alike.
Every month of the year evokes a certain symbol or tradition. For December, it’s Christmas. February is the month of love because of Valentine’s Day. Easter in March or April, and summer months are often characterized by vacation photos. The fall follows with school pictures, Halloween, and falling leaves.
Let’s see how a photographer can carry over these symbols to create a unique representation of each month using different props, scenes, and poses. And what better way to demonstrate this than with children. Kids are perfect subjects for this type of photo shoot.
Props
For this type of photo shoot, your setup must be well thought out. Shooting in a studio is easier to some extent because you won’t have to spend a lot of time on your lighting or background. On the other hand, the children will be more relaxed and more likely to give you happier expressions in a home environment.
The props are your responsibility, so either provide them or ask the family to bring them along.
Our suggestions for each month are:
- January – skis, ice skates, winter hats, scarf, and mittens
- February – heart-shaped pillow, winter hat, scarf, and mittens
- March – Easter eggs, tulips, daffodils, garden tools and clothes
- April – Easter eggs, tulips, daffodils, sand toys, bike, scooter
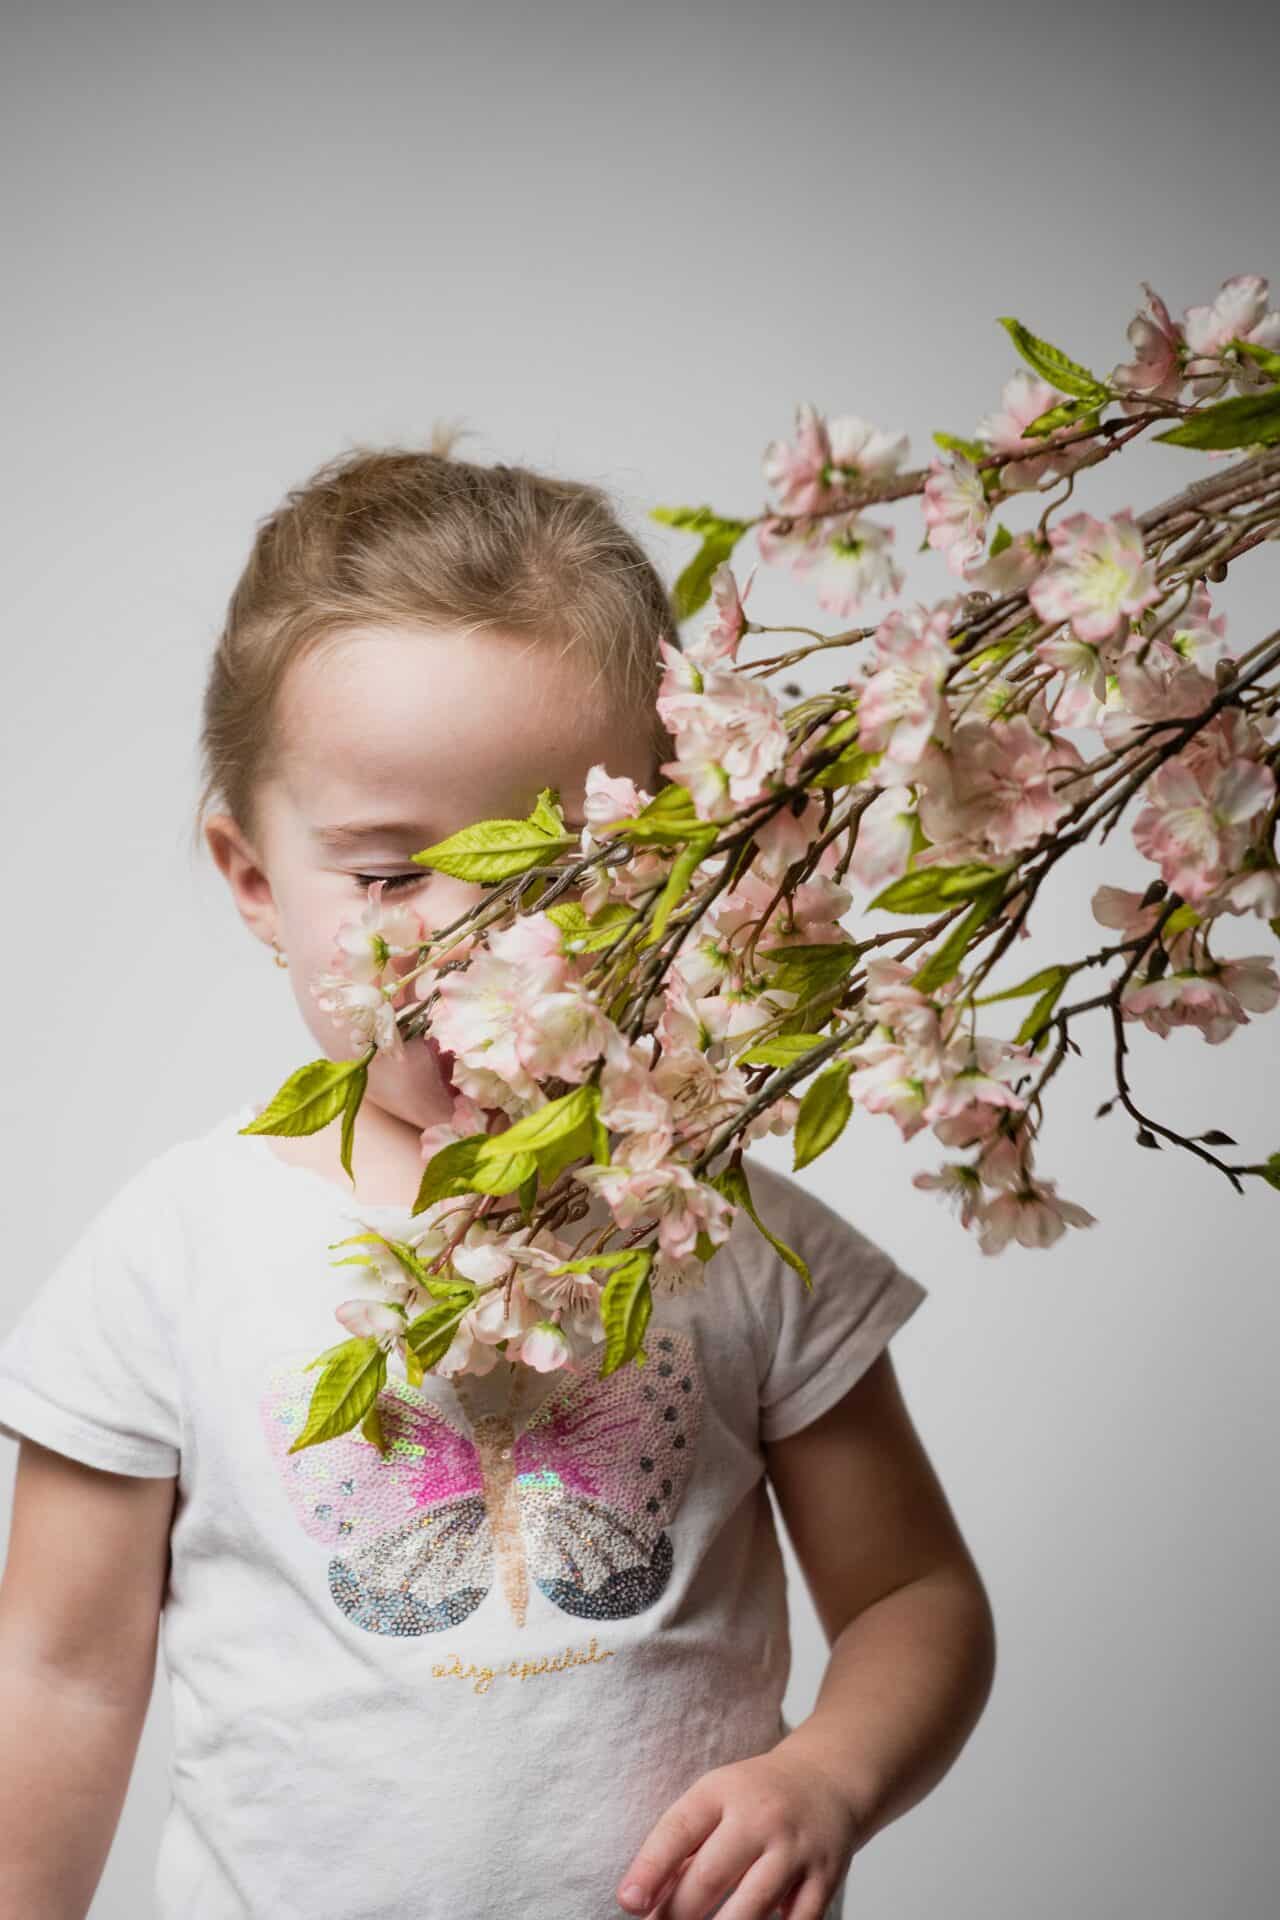
- May – tree branches with blossoming flowers (can be artificial), a wreath made from flowers, long beads
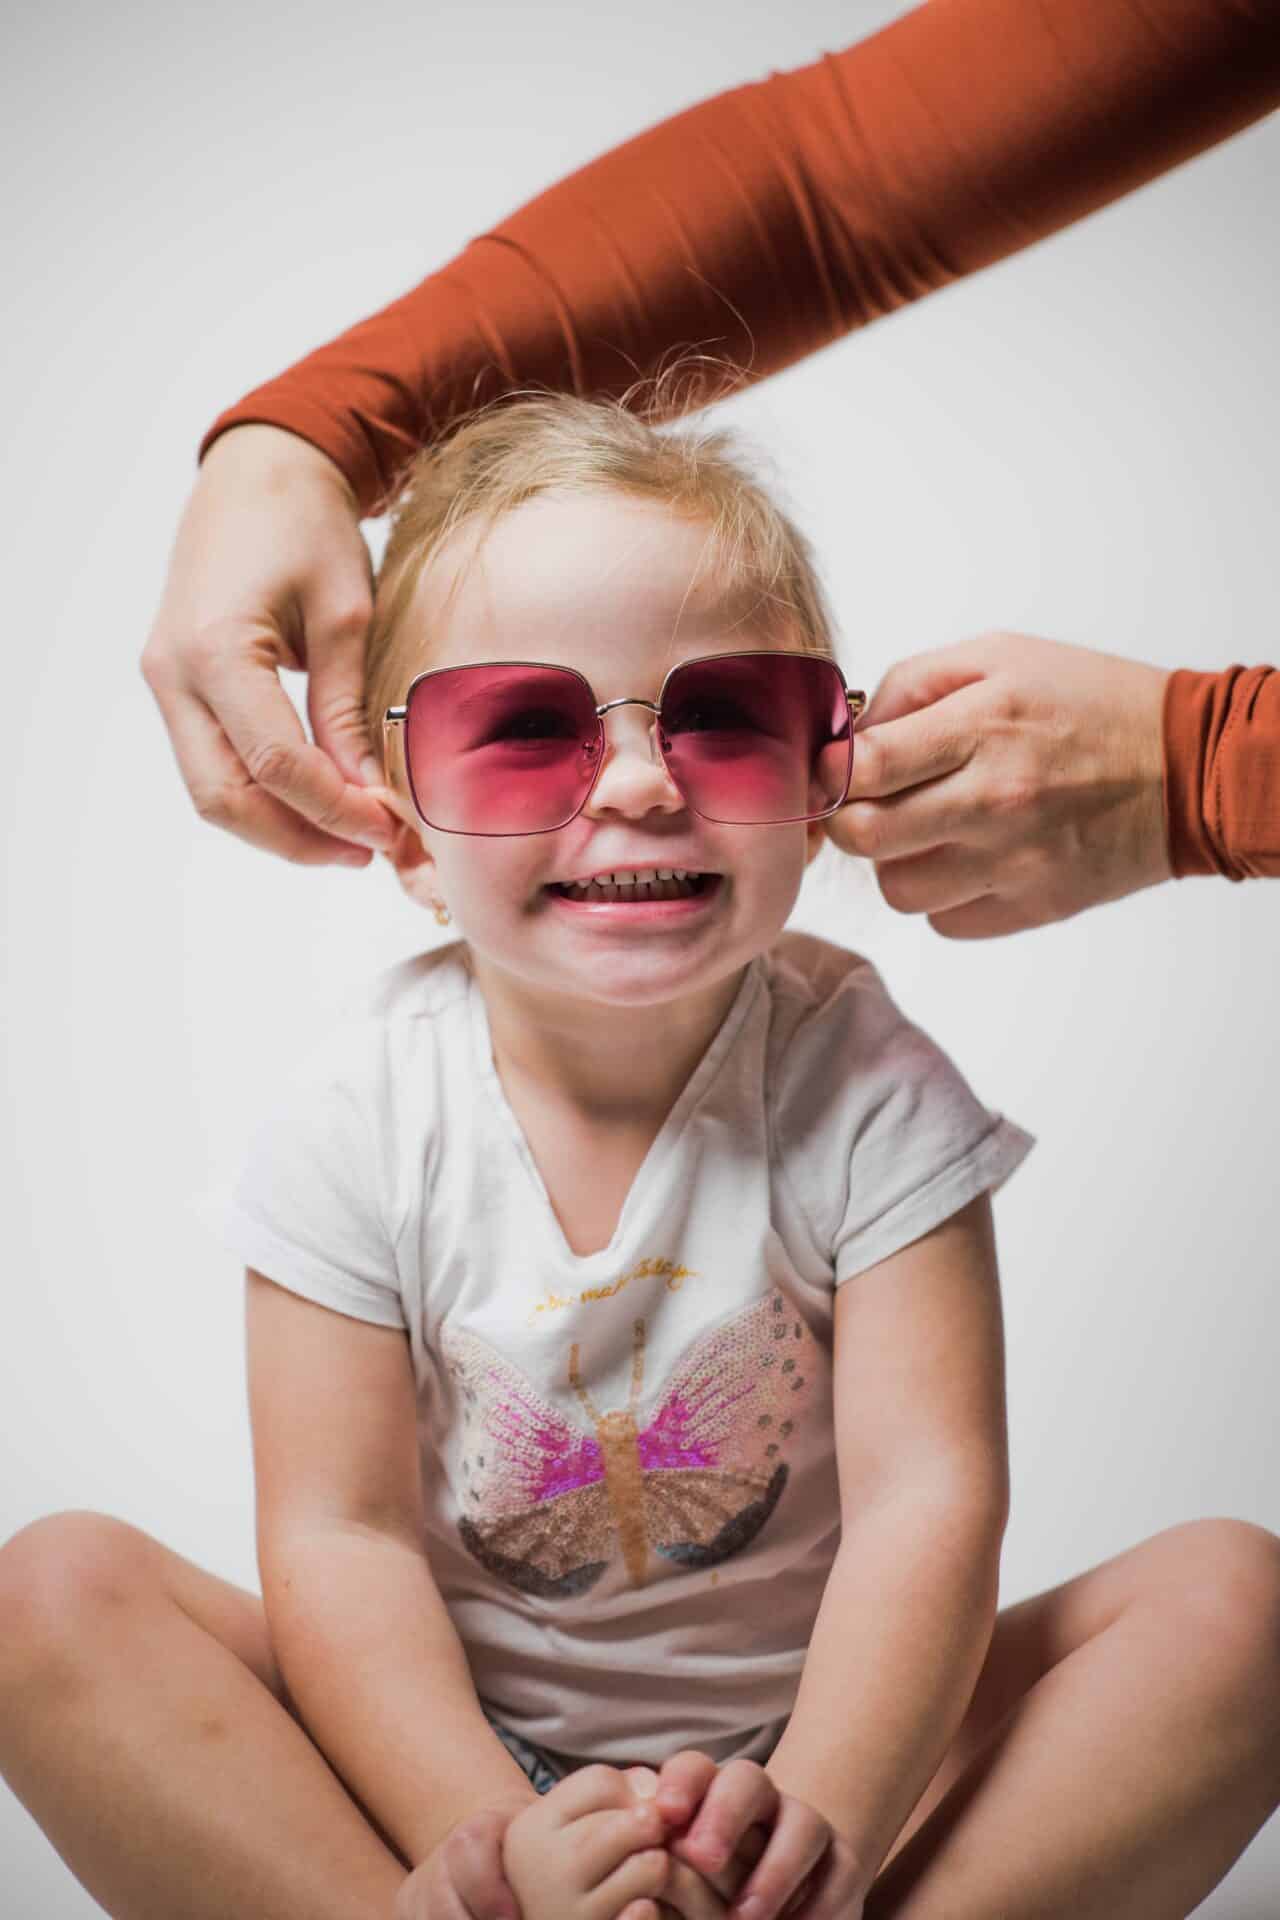
- June – strawberries, flowers, sunglasses :)
- July – swimsuit, towels, beachball, sports equipment, sun hats, sunglasses
- August – swimsuit, towel, beachball, towel, sports equipment, sun hats, sunglasses
- September – books, glasses, school supplies
- October – pumpkins, kites, Halloween costumes
- November – fall leaves, candles (boys can wear fake mustaches 😀 – Movember)
- December – Christmas lights, gifts, Christmas decorations, New Year’s Eve confetti
Changing the children’s wardrobe can be quite challenging, especially for the younger ones who are just forming their personalities. Therefore, you can simplify things by choosing outfits that can be used for several months.

If you have more than one outfit for the shoot, it’s a good idea to get the children ready for multiple wardrobe changes. For example, try making it a game. Little girls might like the idea much more if they think of it as a fashion show.
We definitely recommend having drinks and snacks on hand for the children (milk for the youngest models). Some cookies or treats will also help a great deal.
Tablets or mobile phones can also help keep the kids entertained while you prepare the scene. Be careful that they don’t get so into their devices that you can’t pull them away.
Studio vs at-home photo shoot
When shooting in a studio, you don’t have to worry about providing the lighting or background, which you simply set up as needed and is usually included in the space.

Have the parents bring along their little ones’ favorite toys to cheer them up if needed.
Try multiple lenses. In a studio, depending on its size, we would recommend 24-70mm or 70-200mm full-frame lenses.
At home, portraits lenses will probably give you the best bang for your buck. They’ll save you a lot of work in post-production because they give natural bokeh. You can create your own bokeh using spring flowers or Christmas-themed bokeh with a Christmas tree or star.
There are pros and cons to doing an at-home shoot. The age of the children is always an important factor to consider. For example, photographing a bab at home will be easier than setting up elaborate scenes for older children.
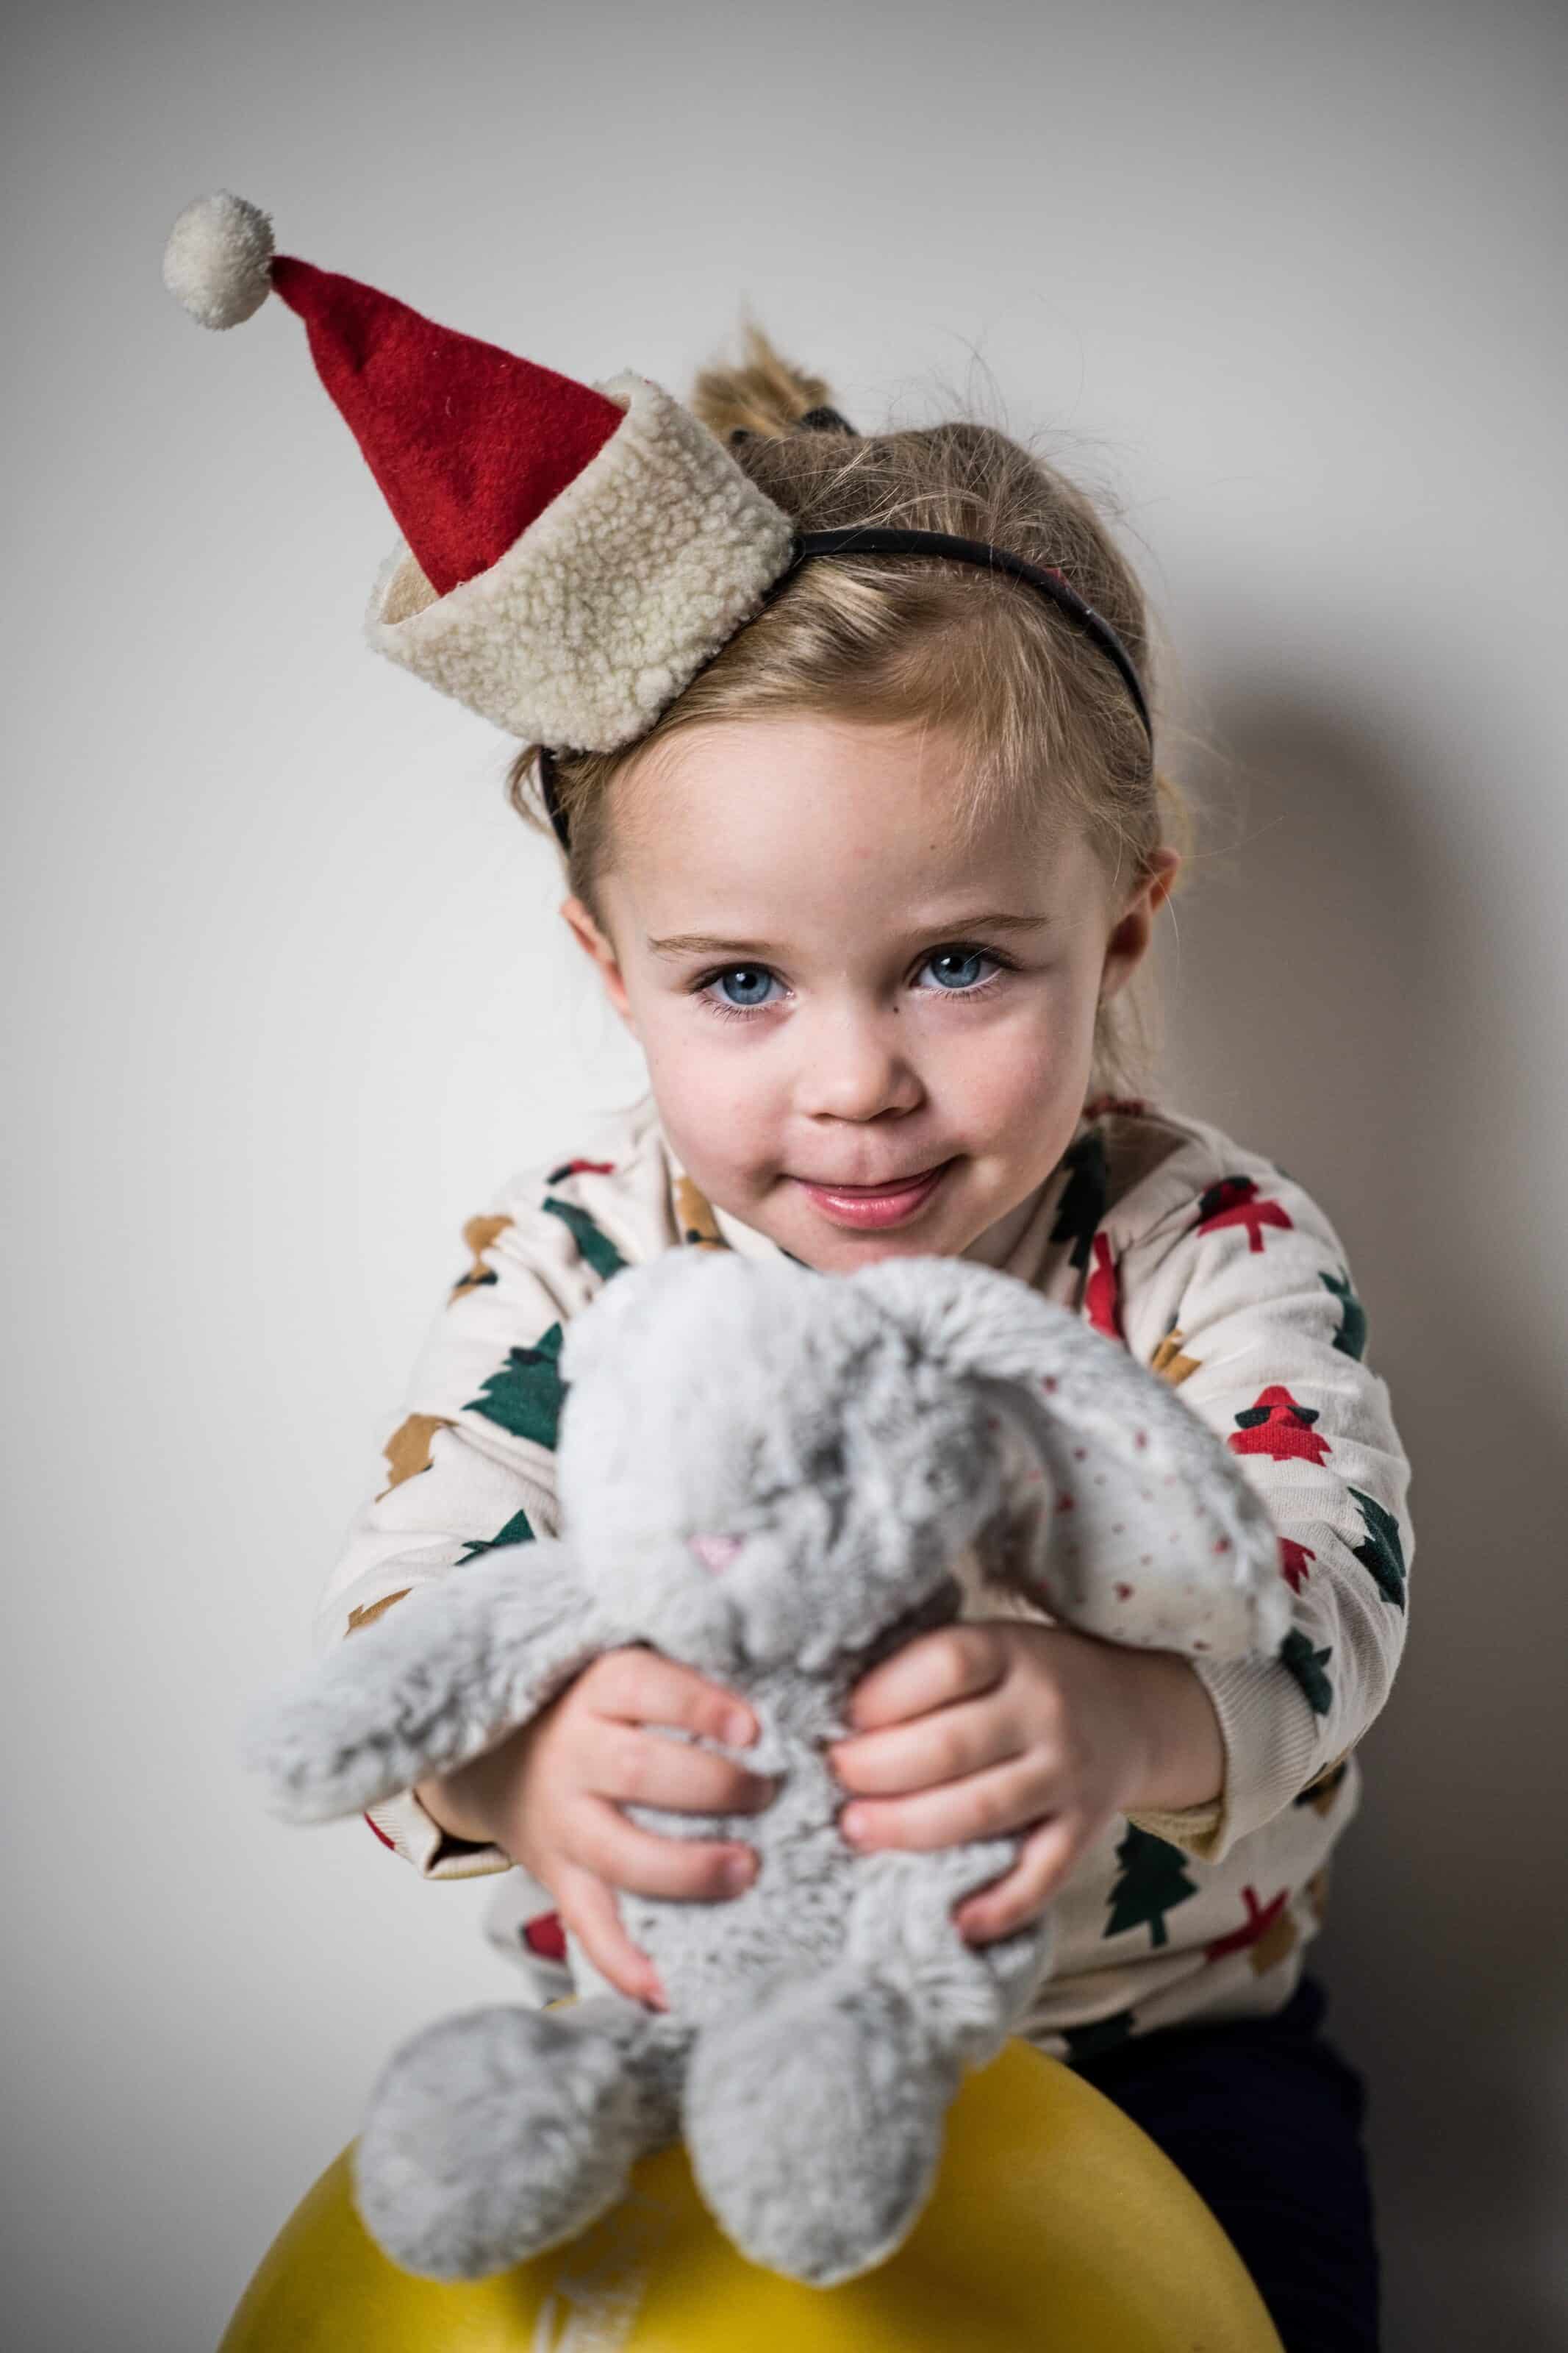 Choosing the right background is an important part of the shoot. Because you’ll need to keep rearranging them, using sheets is sometimes more trouble than it’s worth.

At home you can use the couch if it’s a single color or a wall with at least a meter of space.
We recommend shooting in daylight. If you don’t bring your own lighting, use a lamp and a white cloth to soften the light. If you have a reflector on hand, be sure to use it. If you don’t have one yet, be sure to ask Santa for one because it’s something every photographer can use.
Let the months of the year be your guide
Shooting a project of this magnitude is time-consuming. Decide which months you are going to start with. Again, the age of the children plays a big role here. They aren’t as patient as adults, can’t control their emotions, are brutally honest, and can get bored quickly. Allow 2.5-3 hours. At least a third of that time will be spent changing and the other third getting them to look where they need to.
Let the parents know what your method will be. Small children can surprise you by putting anything you give them in their mouths. Older kids can be shy, afraid of strangers, or annoyed that parents are making them do something (yet again).
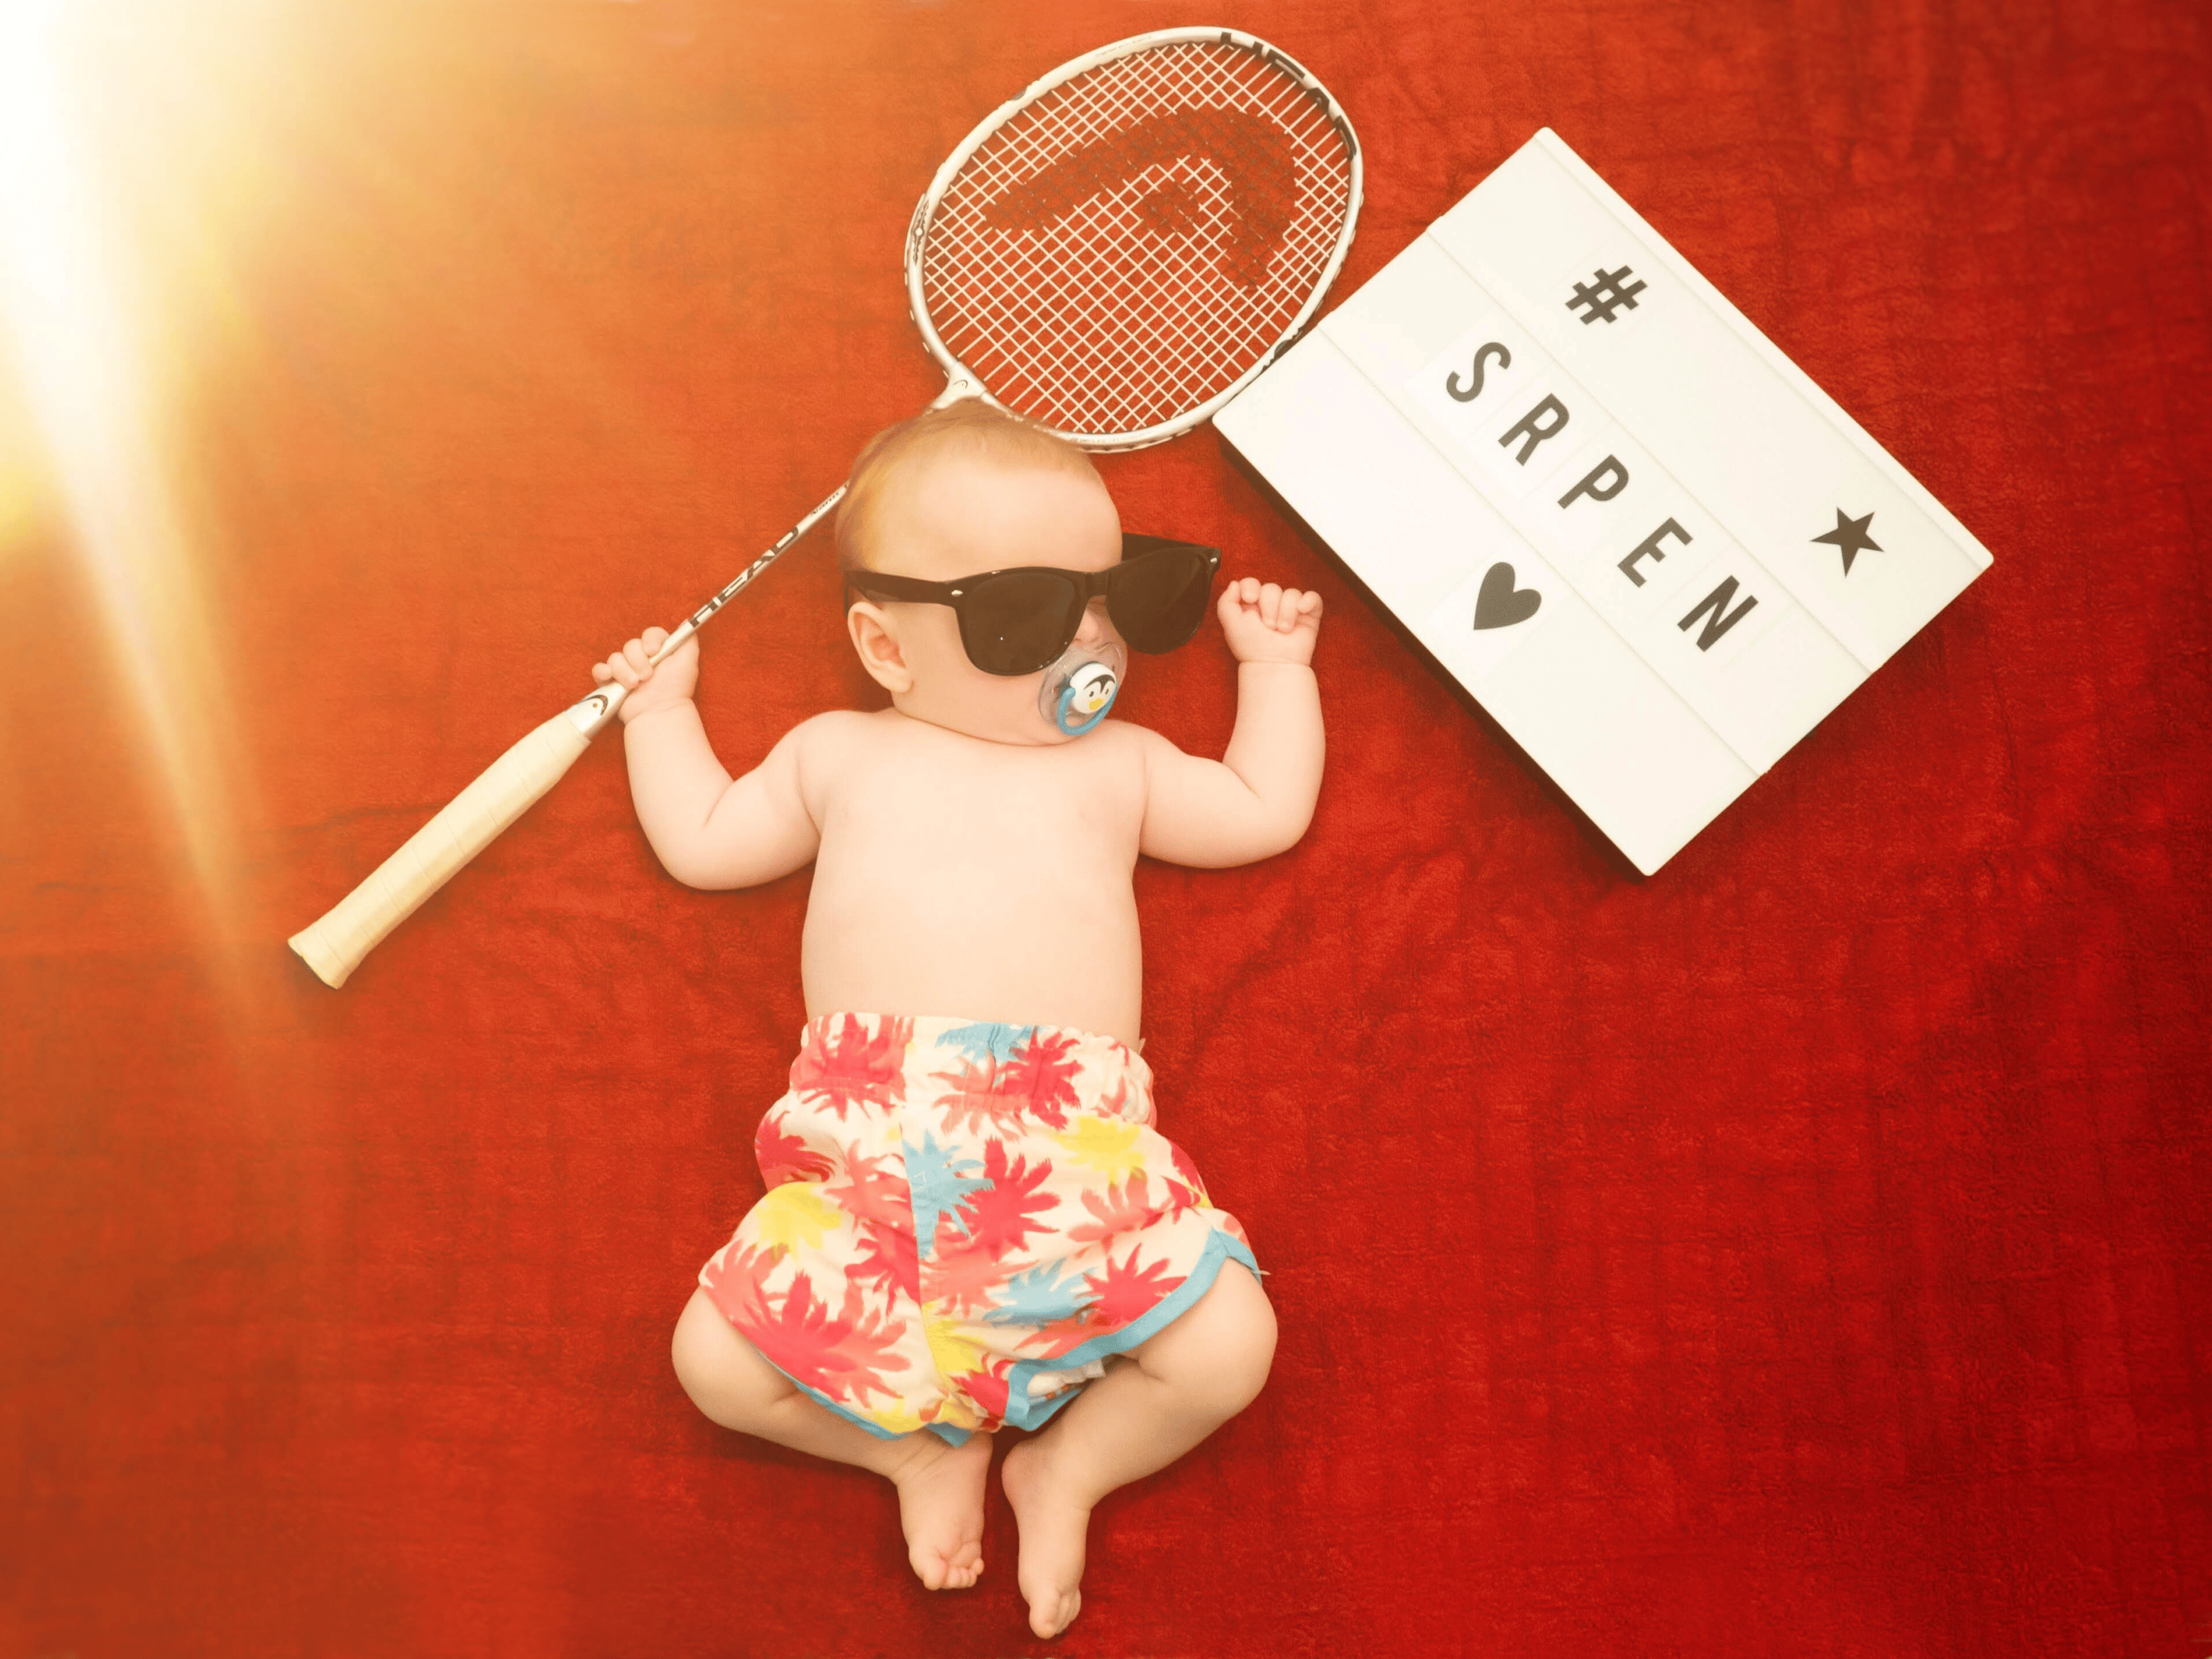
We tried doing a sequential monthly photo shoot with a small child. We thought July and August turned out quite well. Thanks to the baby being asleep, we were able to move her quite easily. We used sunglasses while she was “sunbathing” on a towel. We also laid the baby on her side and decorated the scene around her using a ball and baseball cap.
For older children, try starting with the spring months, then fall, moving on to winter hats, and finally “cool off” a bit with shorts in summer.
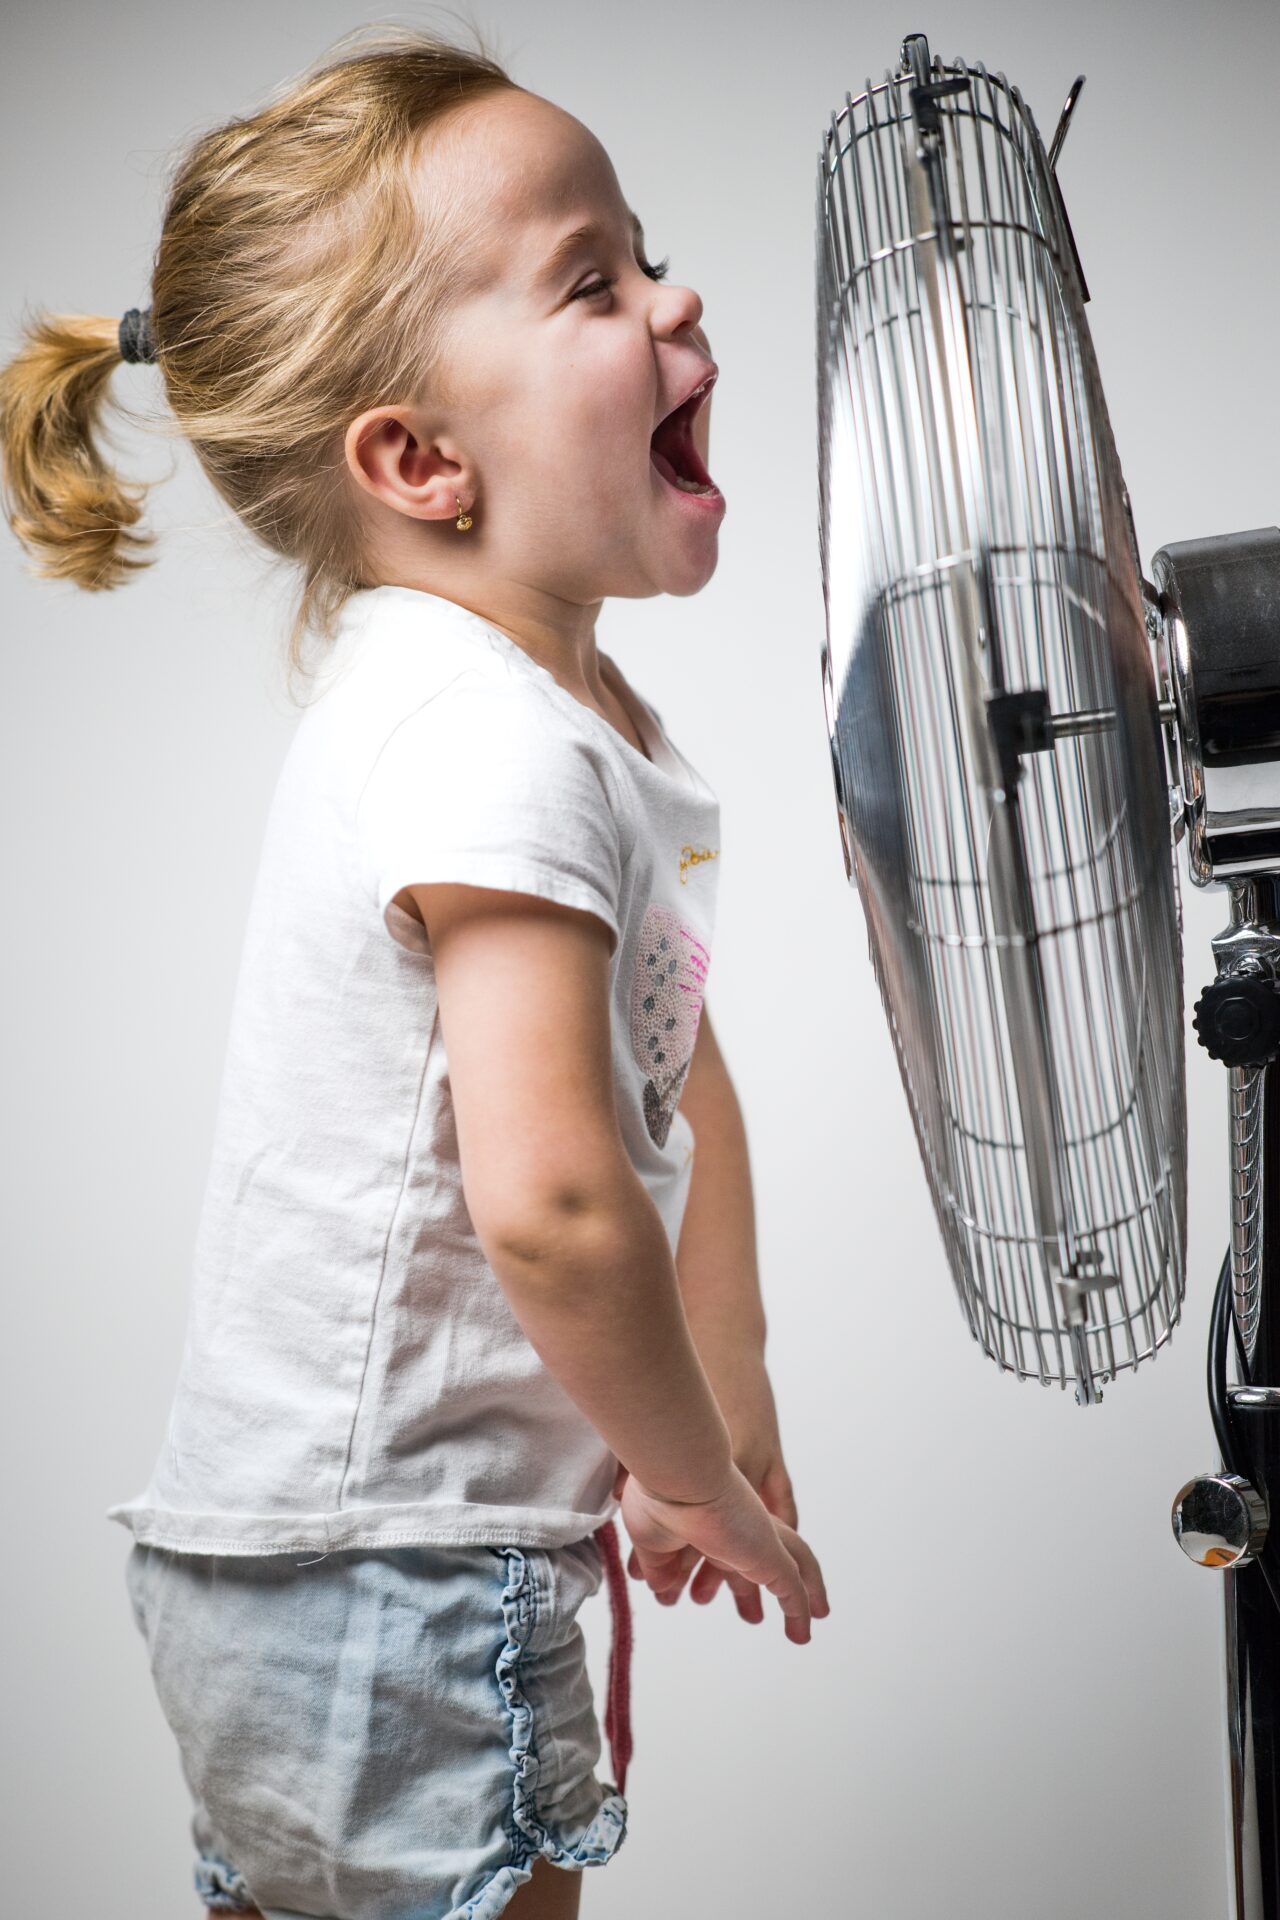
Every child is different, so the way you approach the photo shoot will vary. Some kids will have enough after two seasons, they may get hot (keep in mind the lighting gives off heat), and so the summer months with sports equipment may be a better and more fun option. Bundling up in a scarf and hat may work better at the end. The Christmas lights will be the icing on the cake.
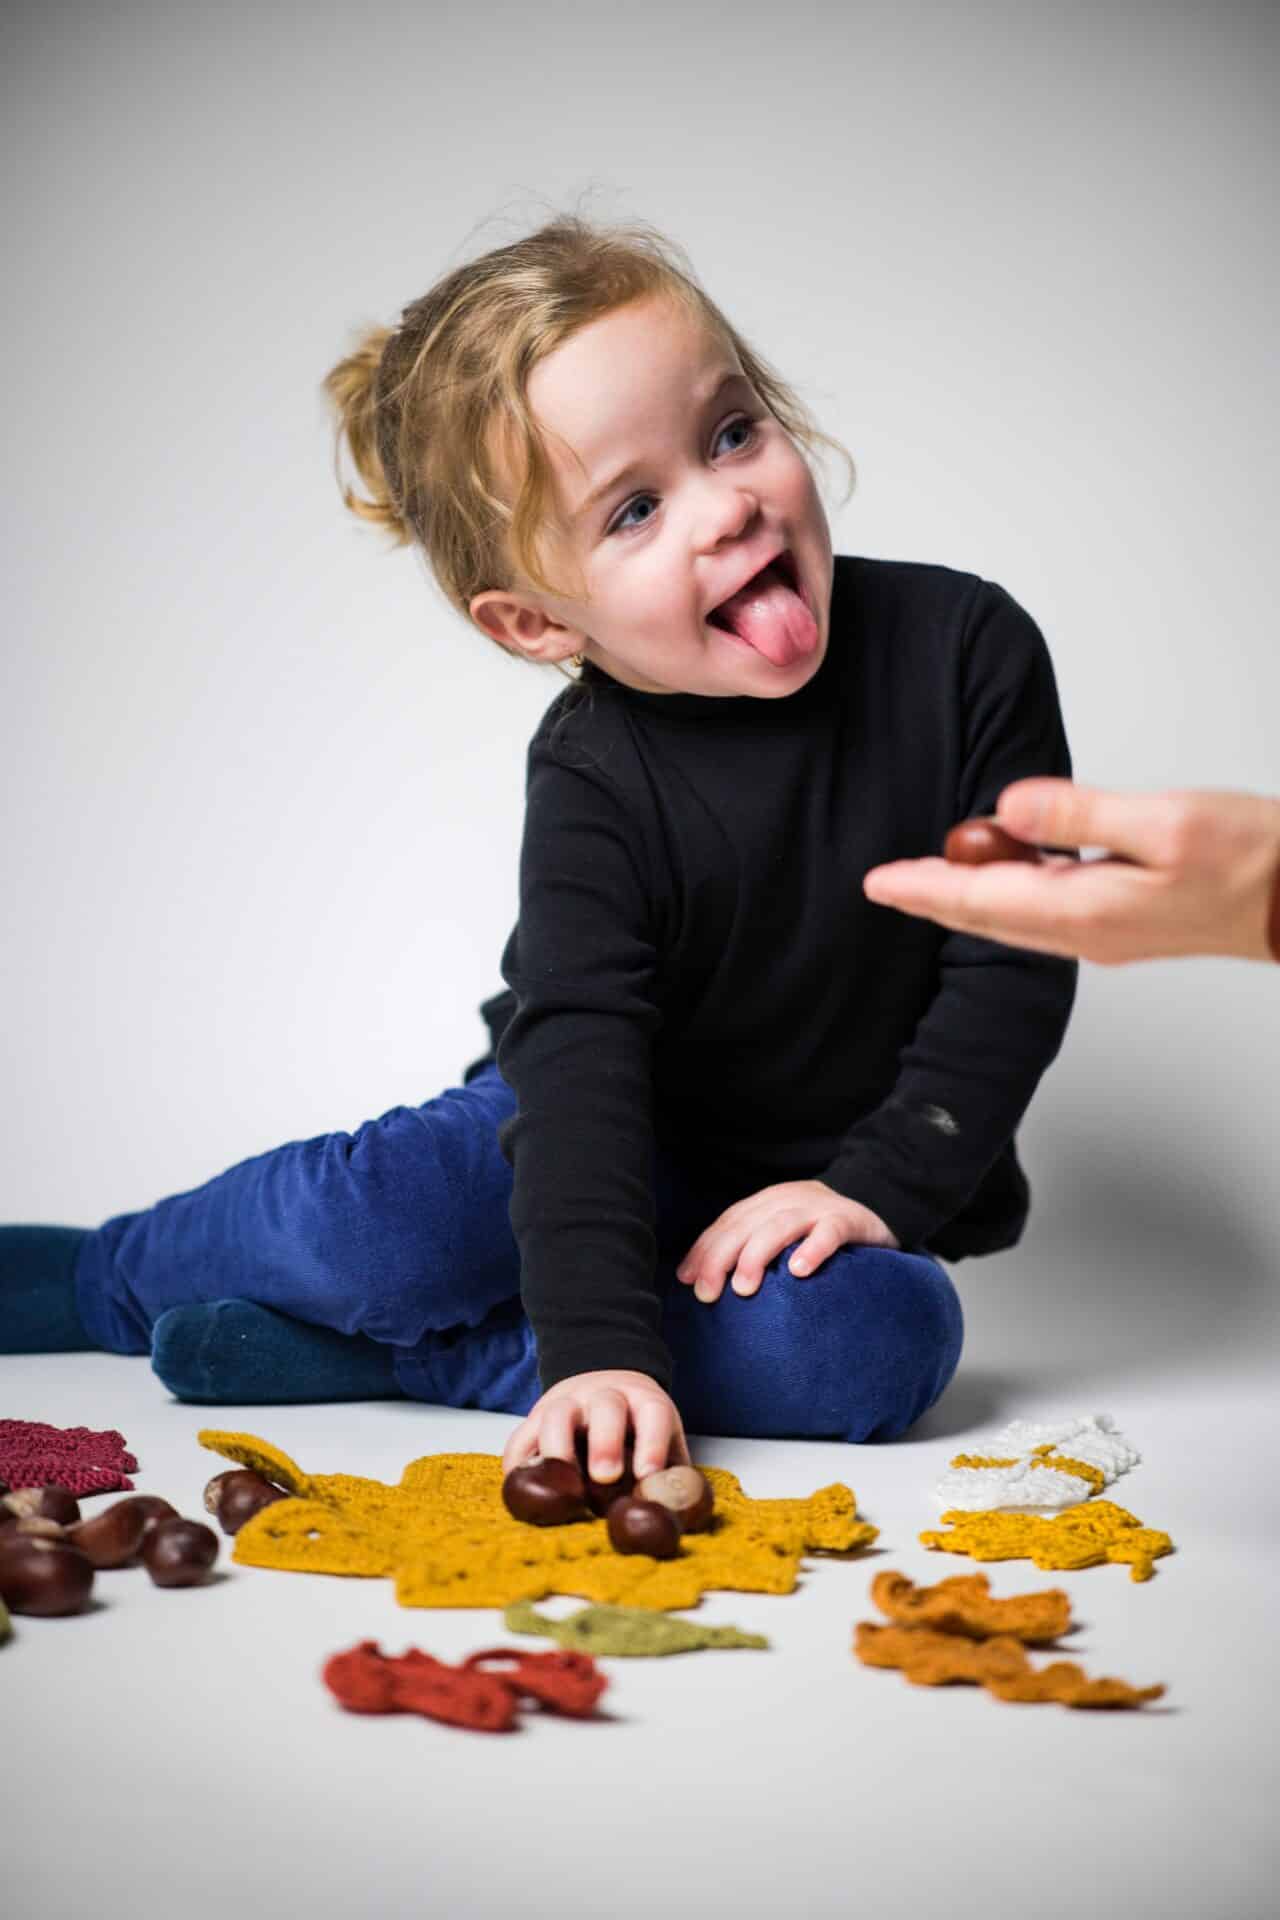
Report from our studio
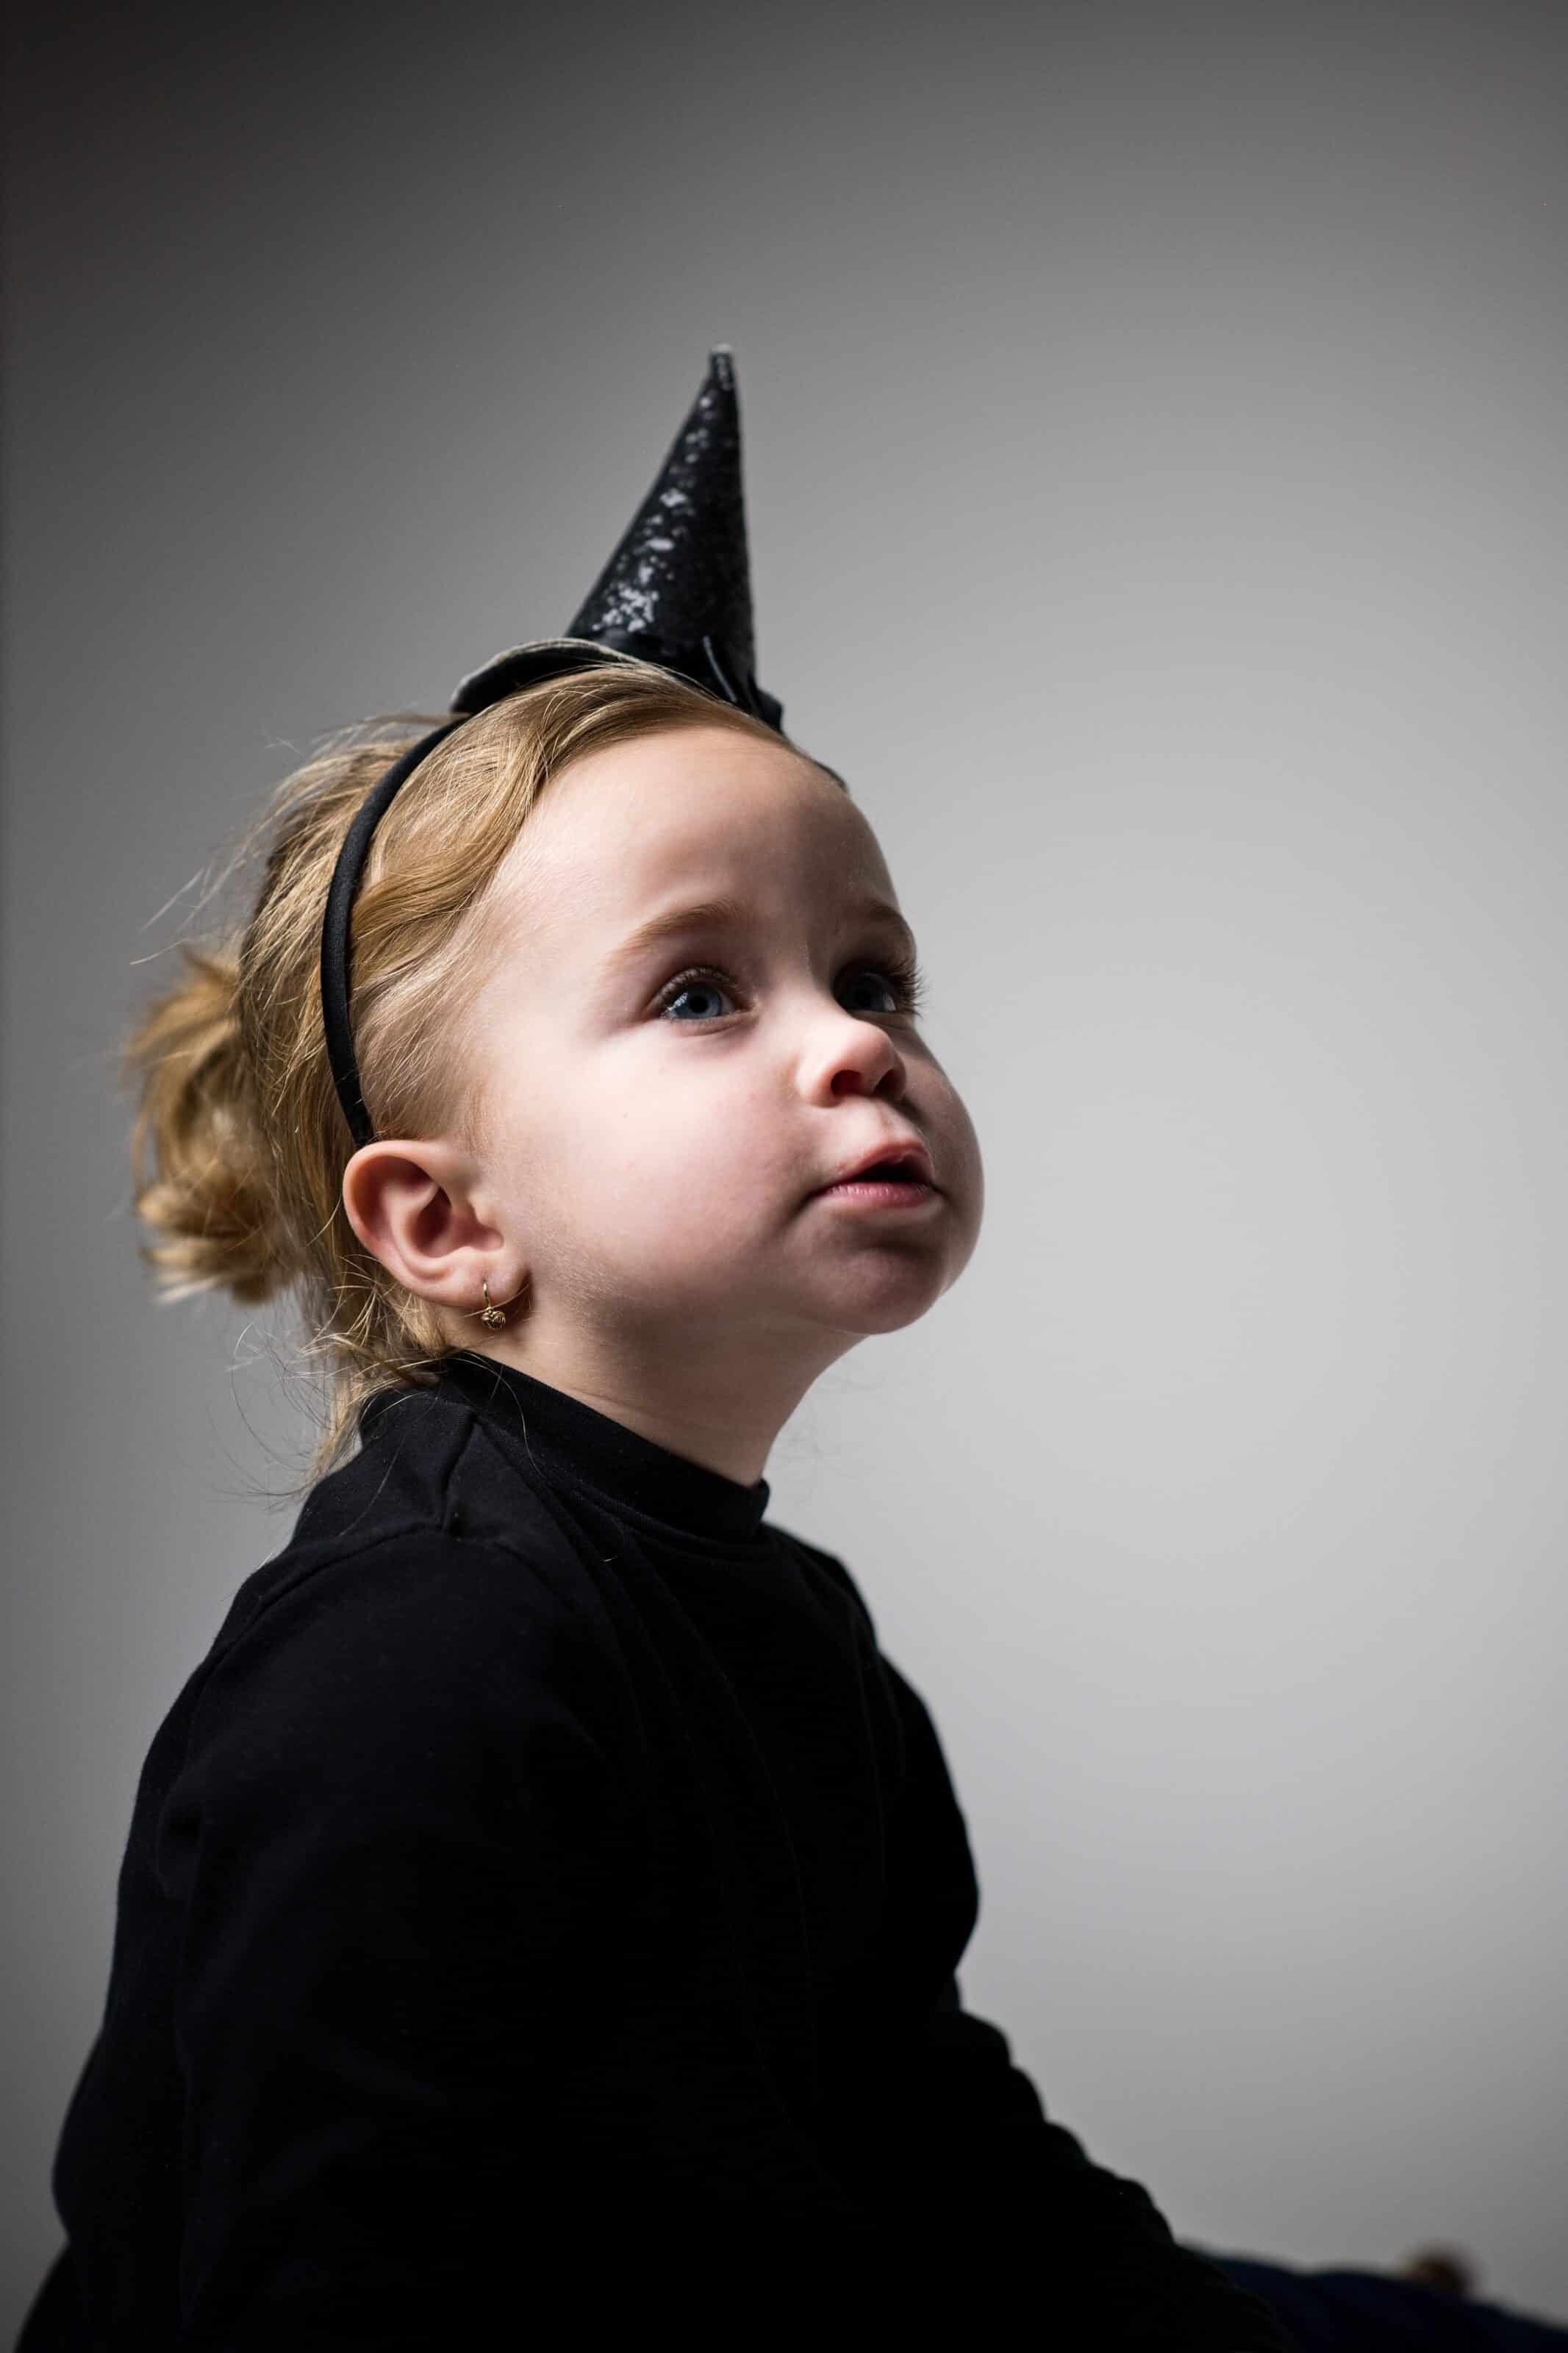
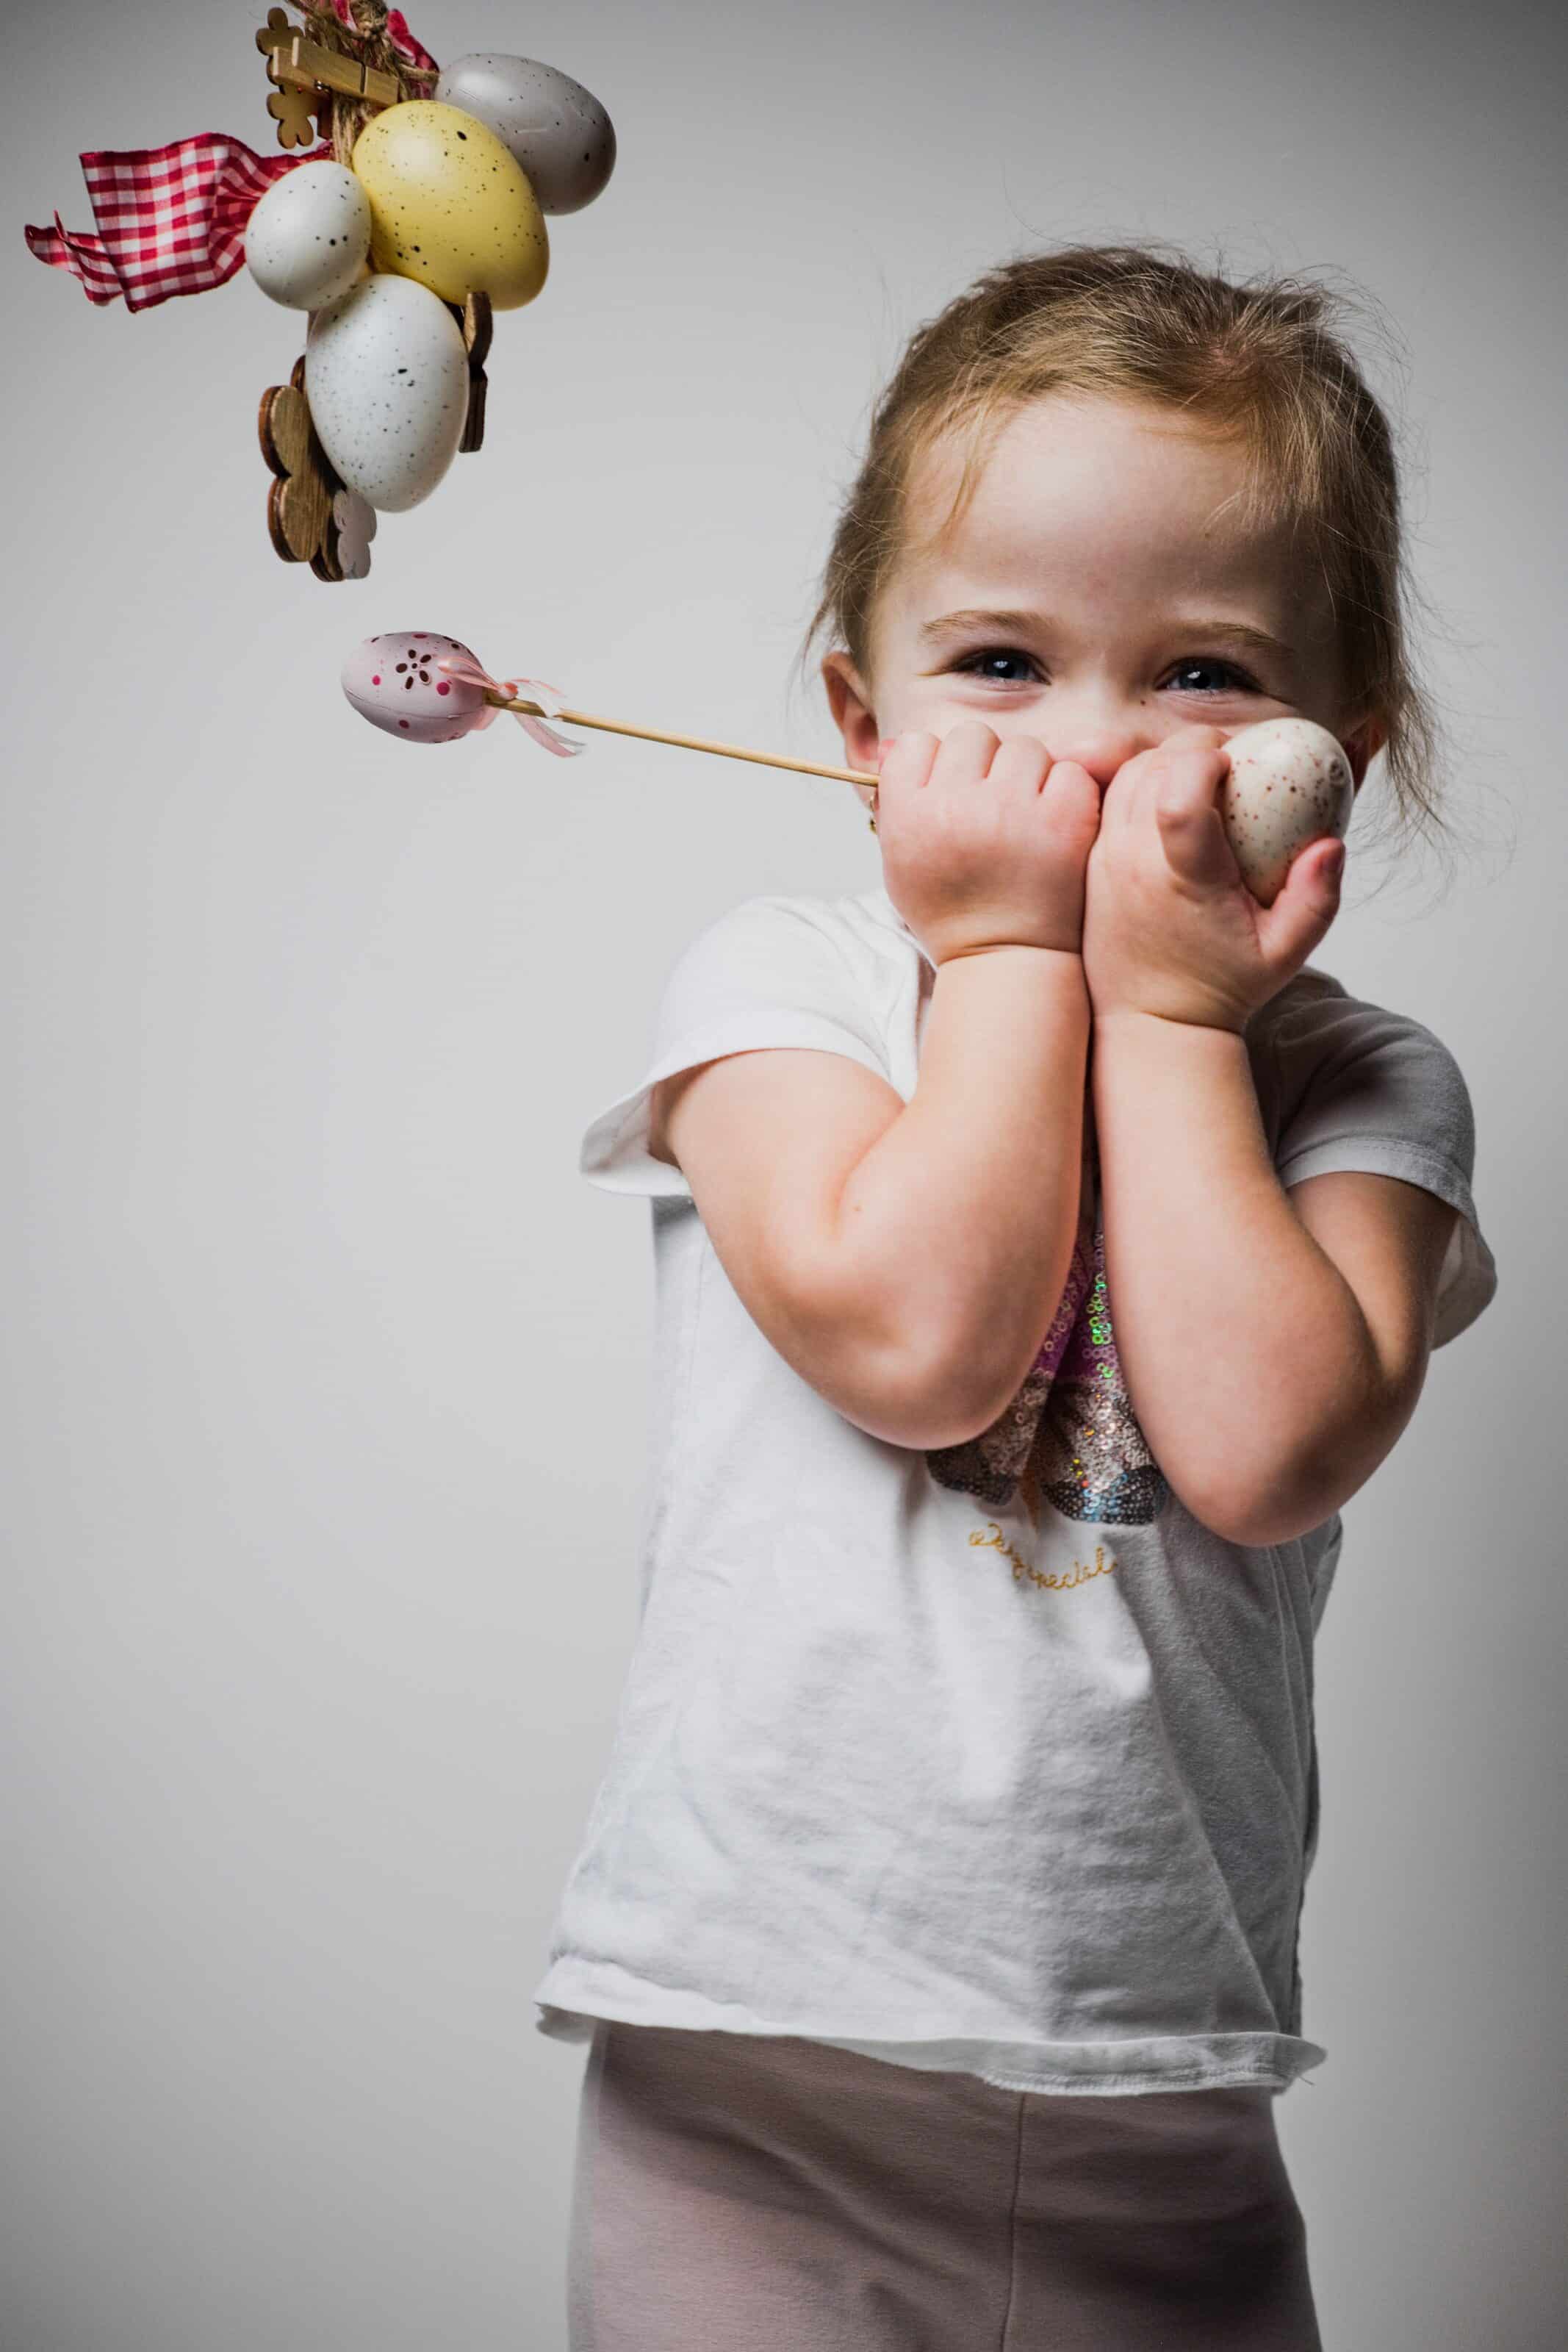
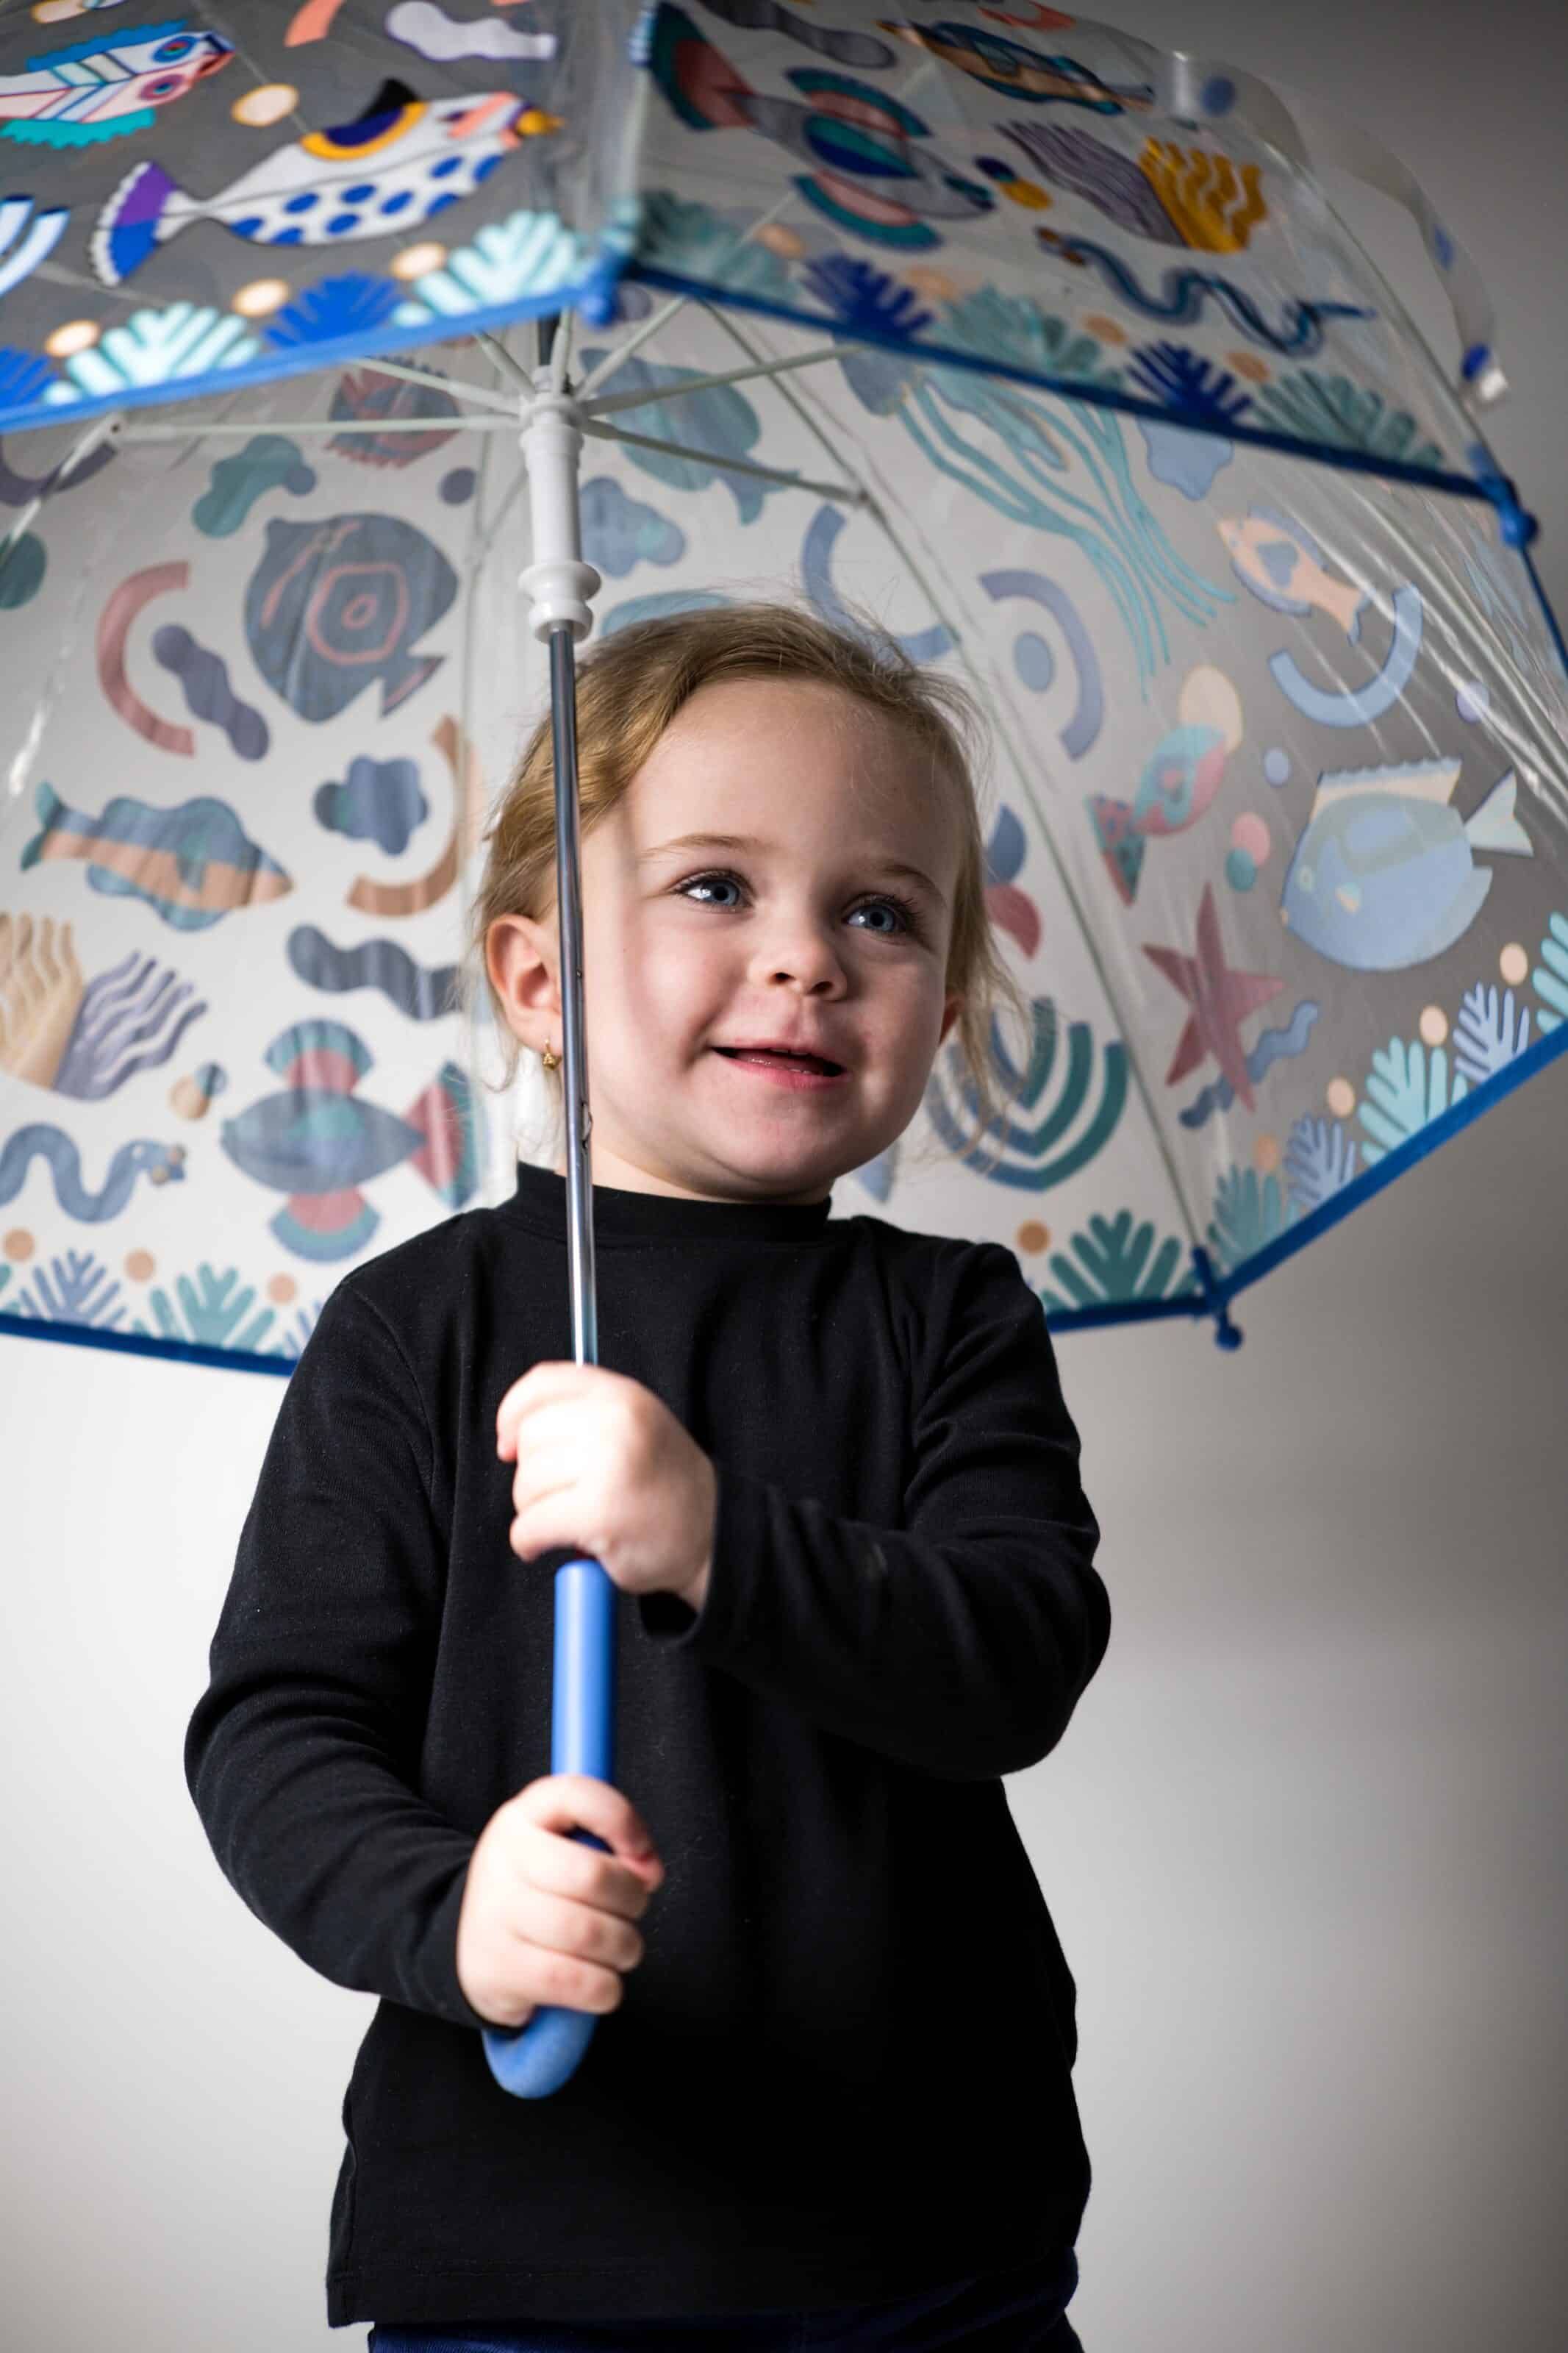
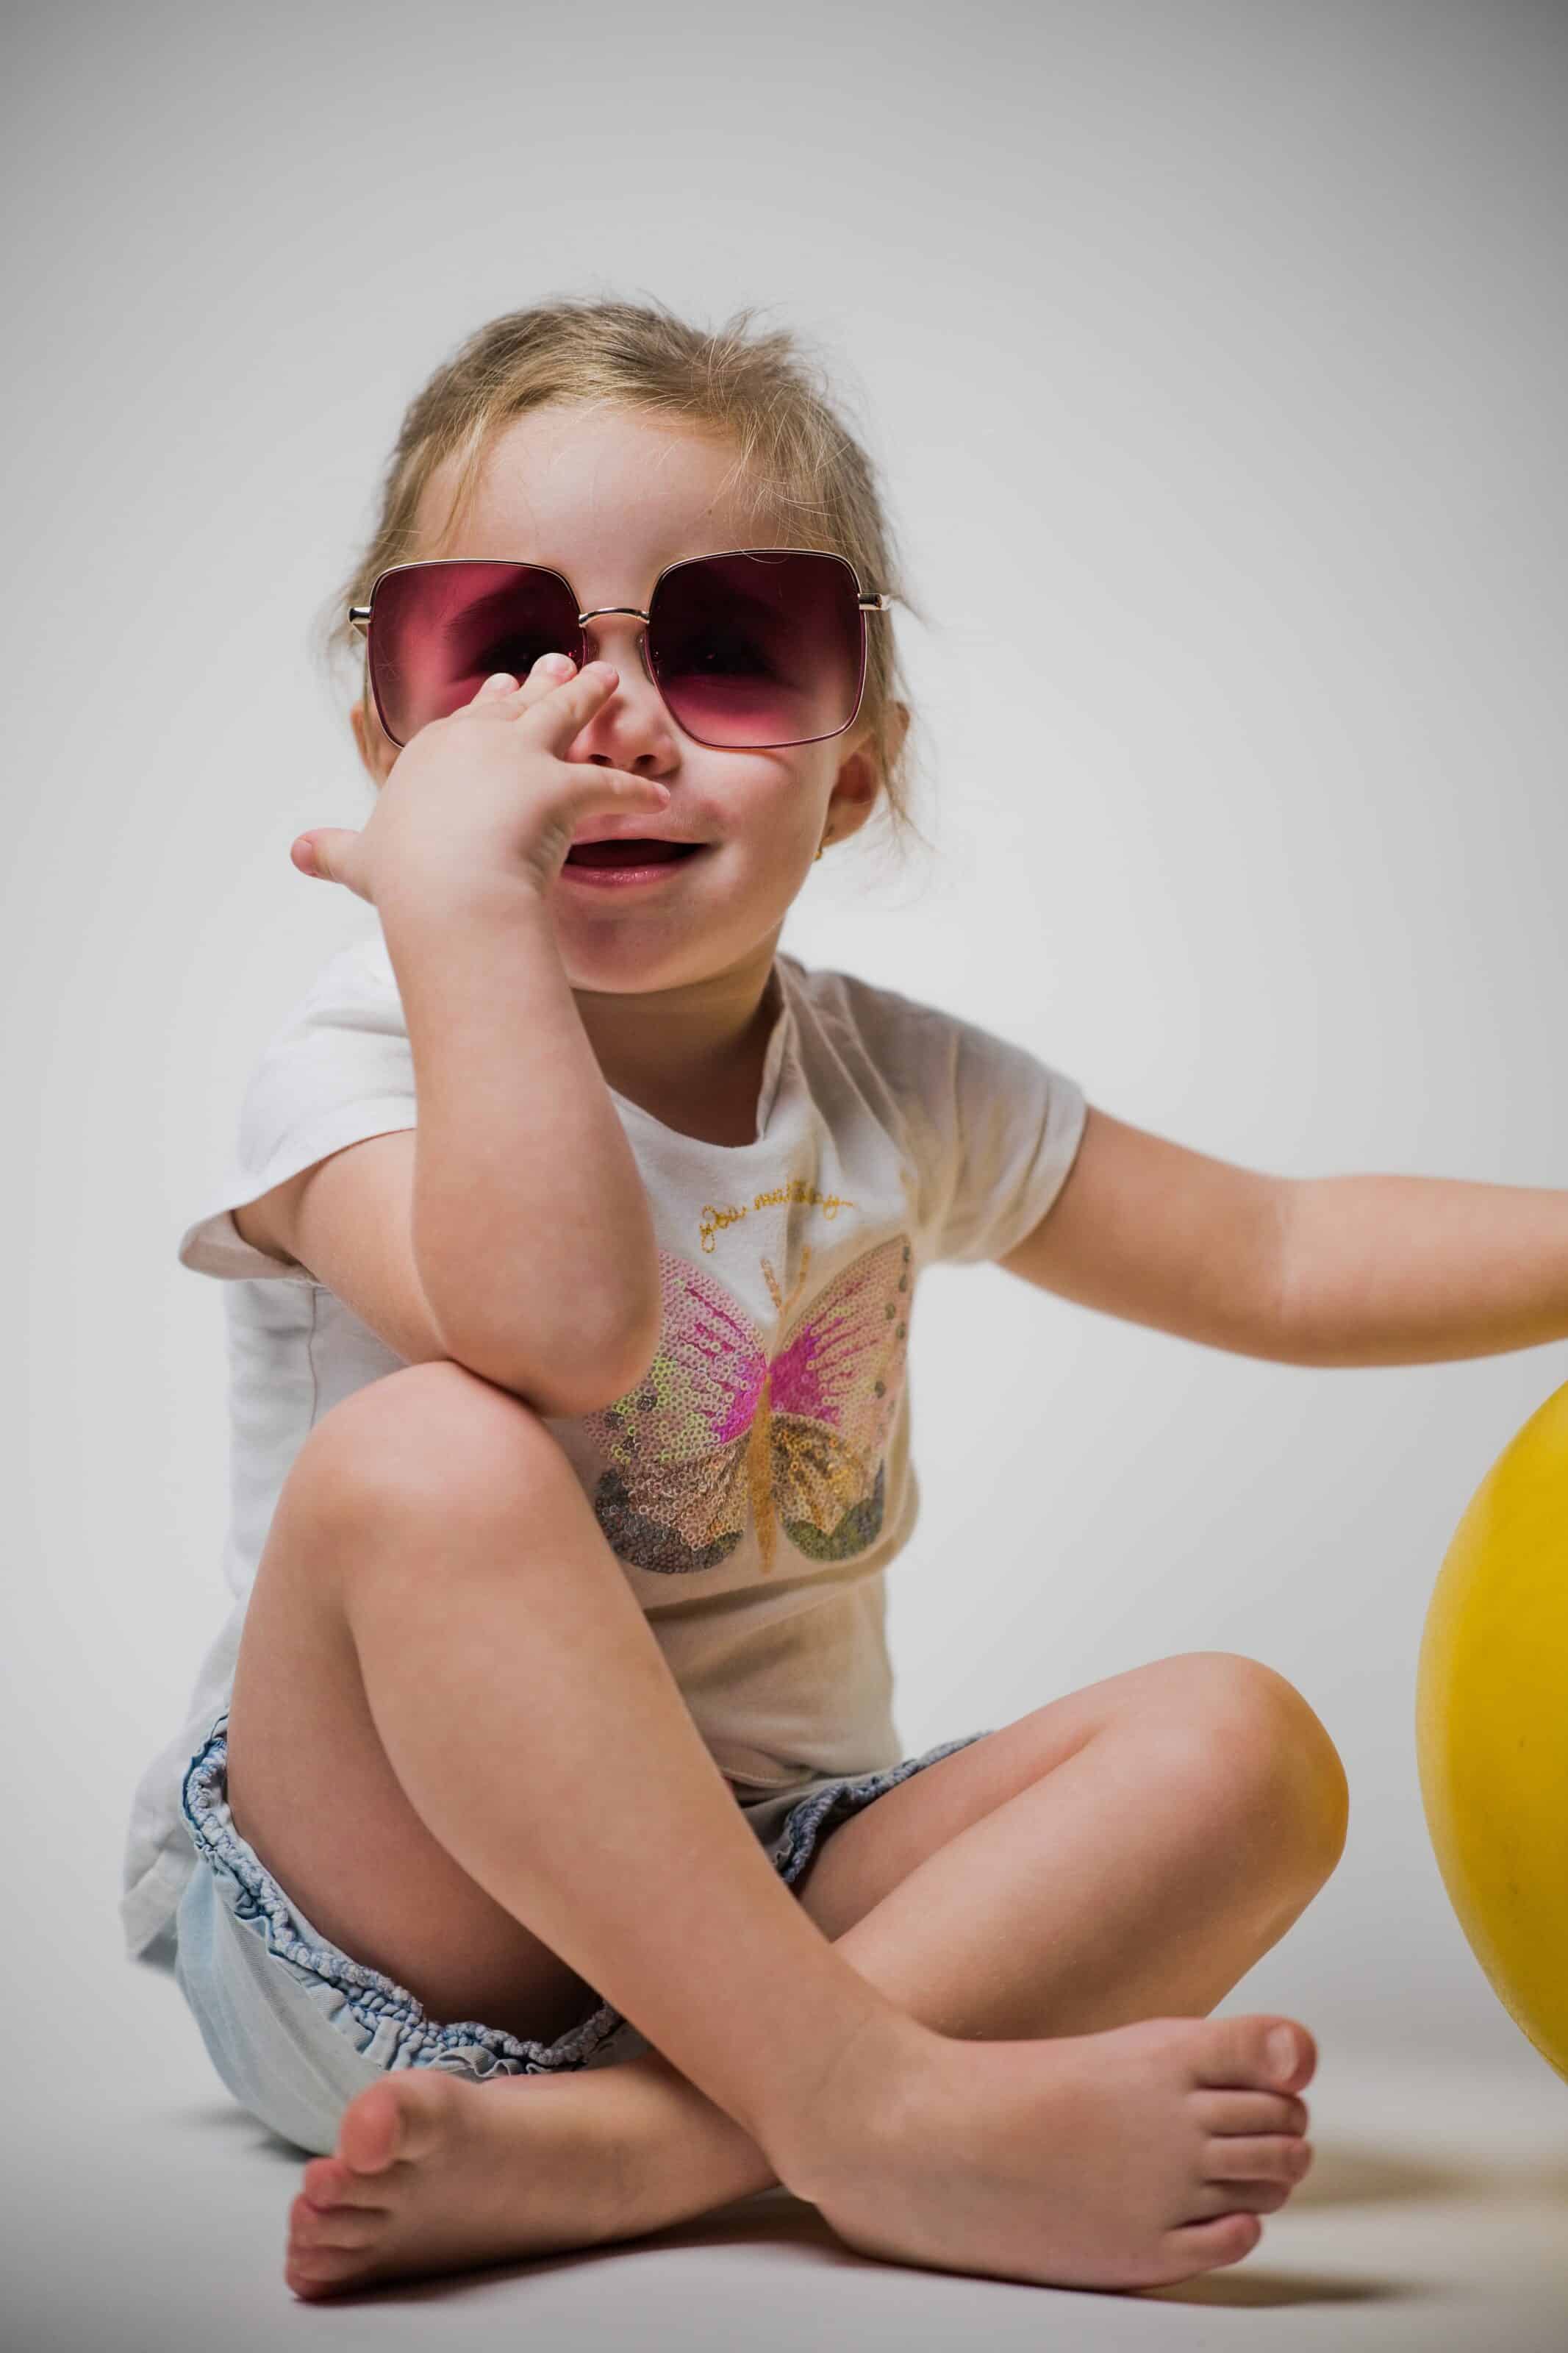
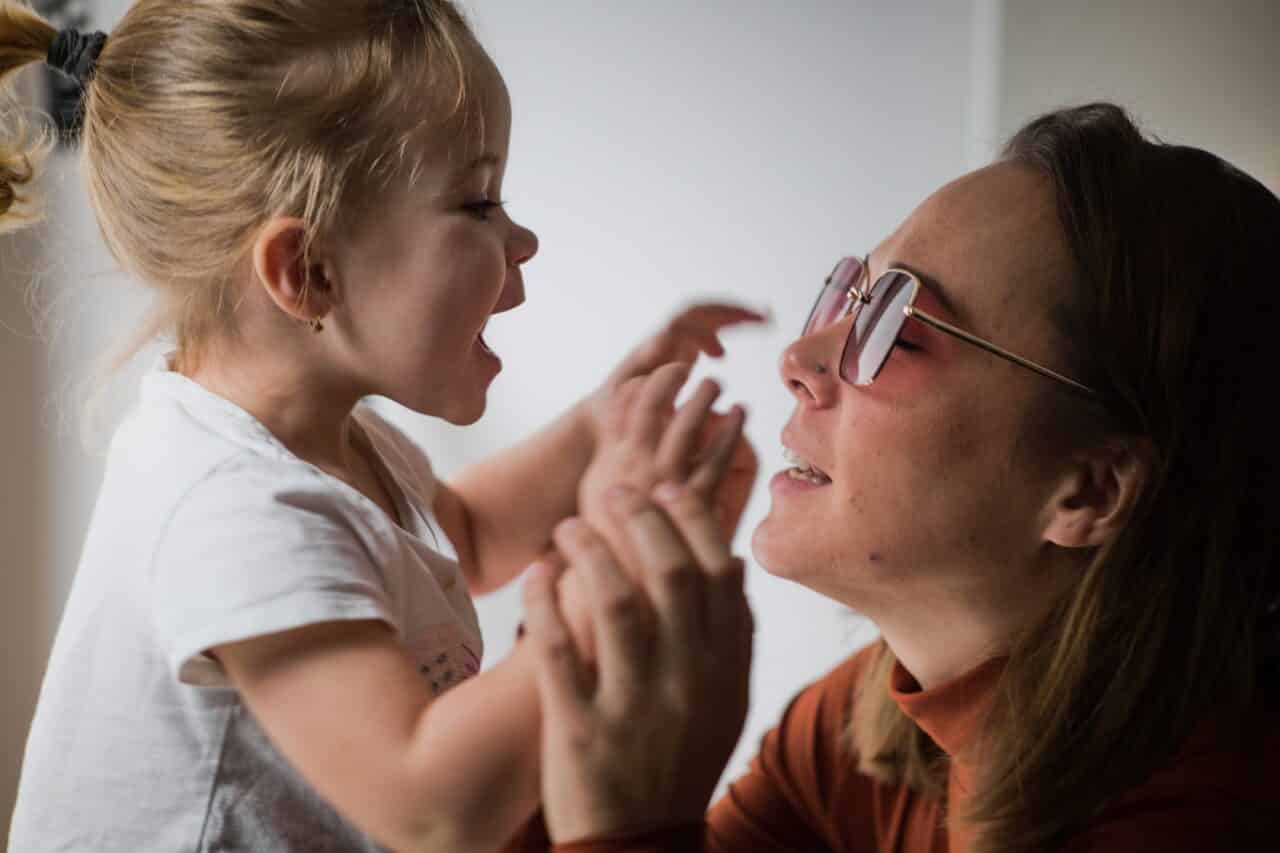
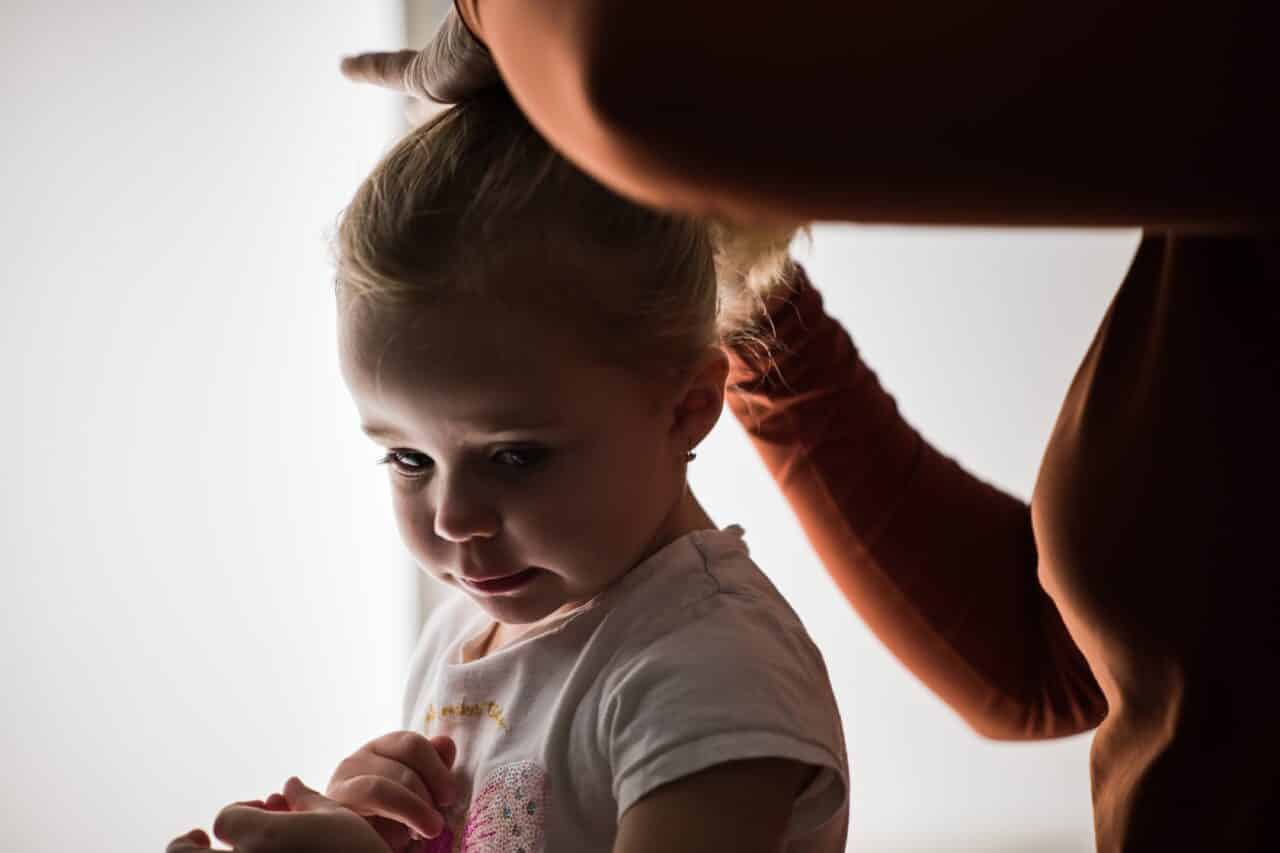
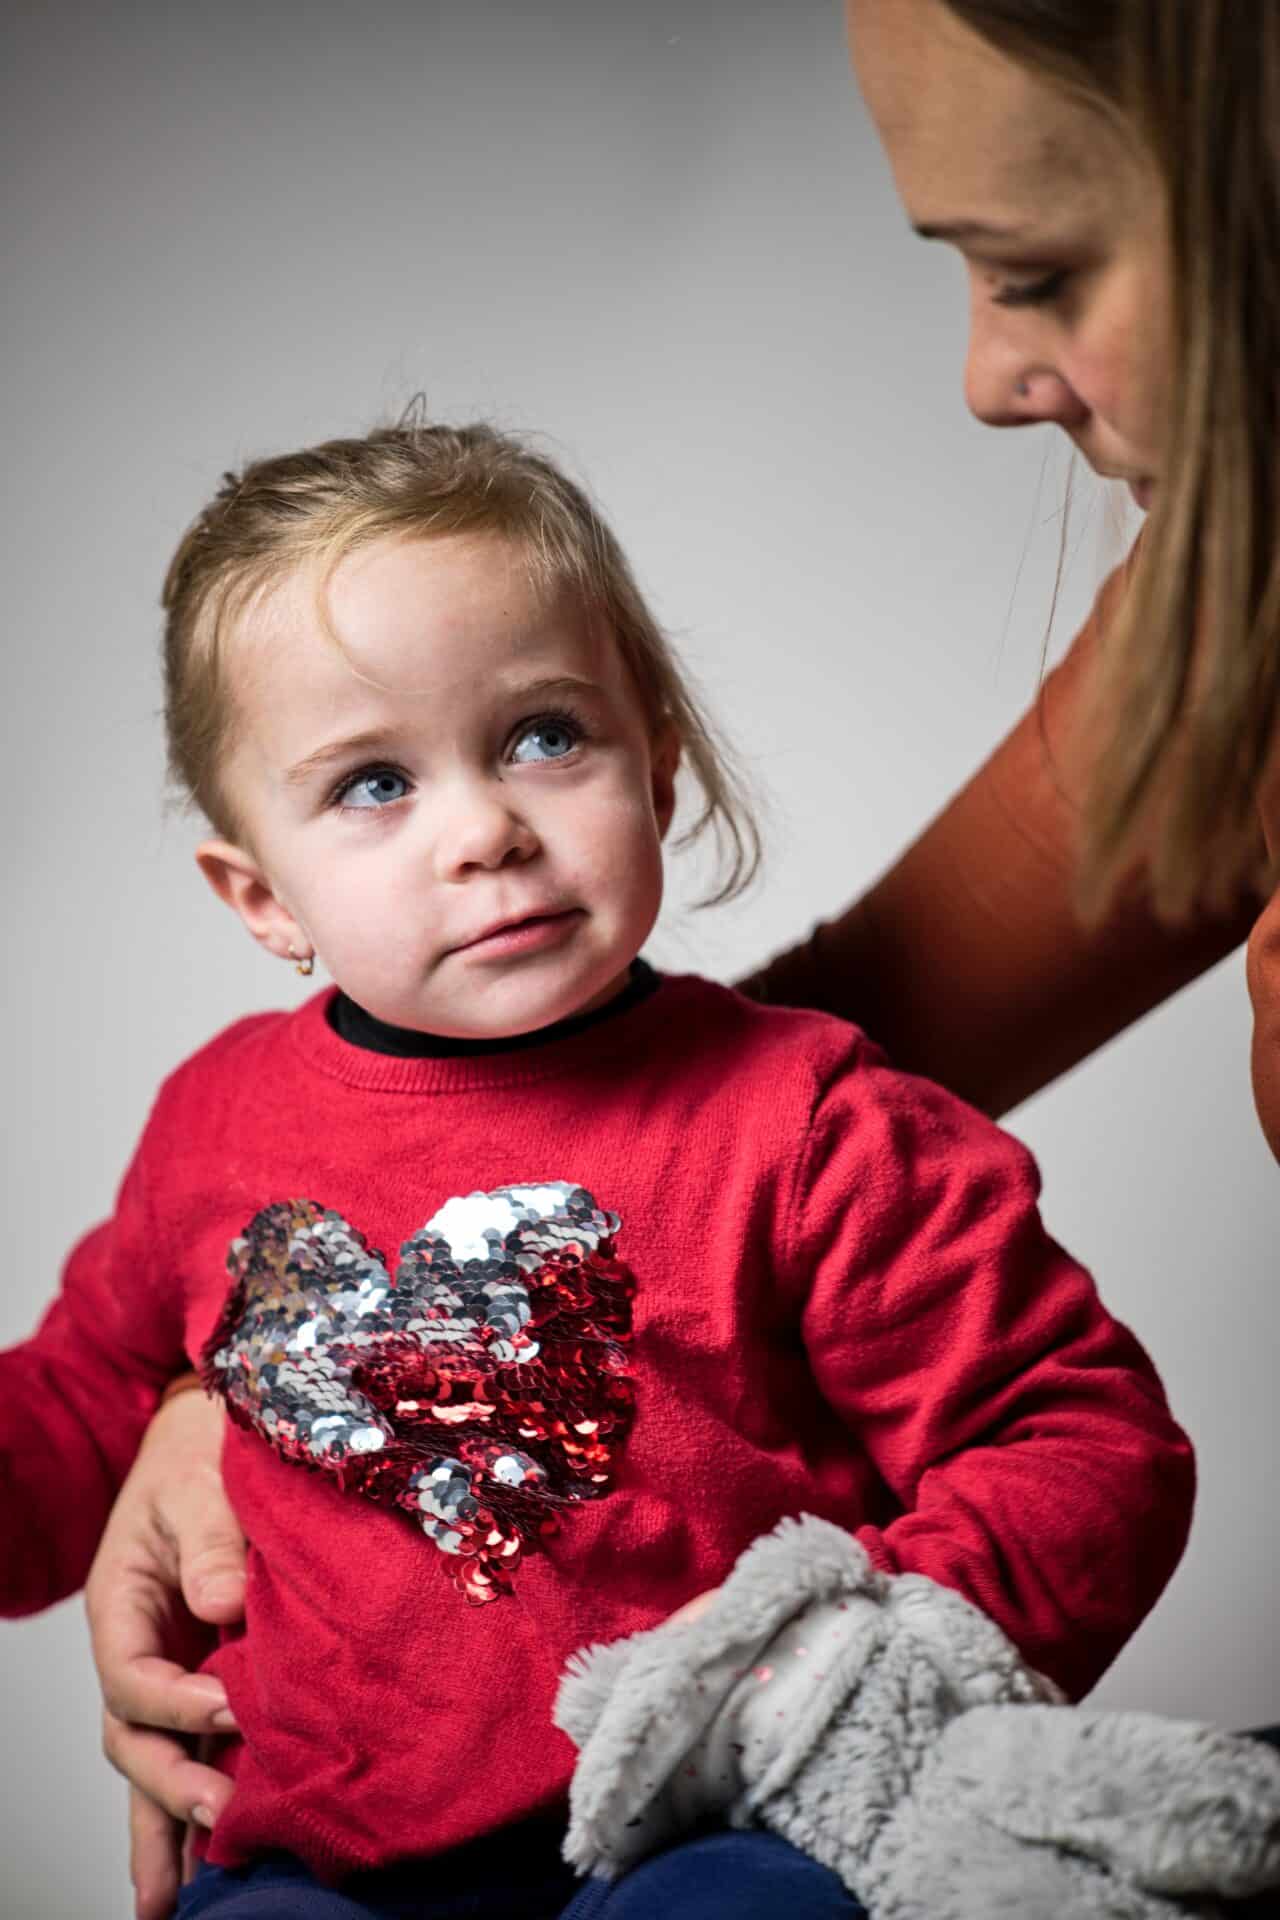
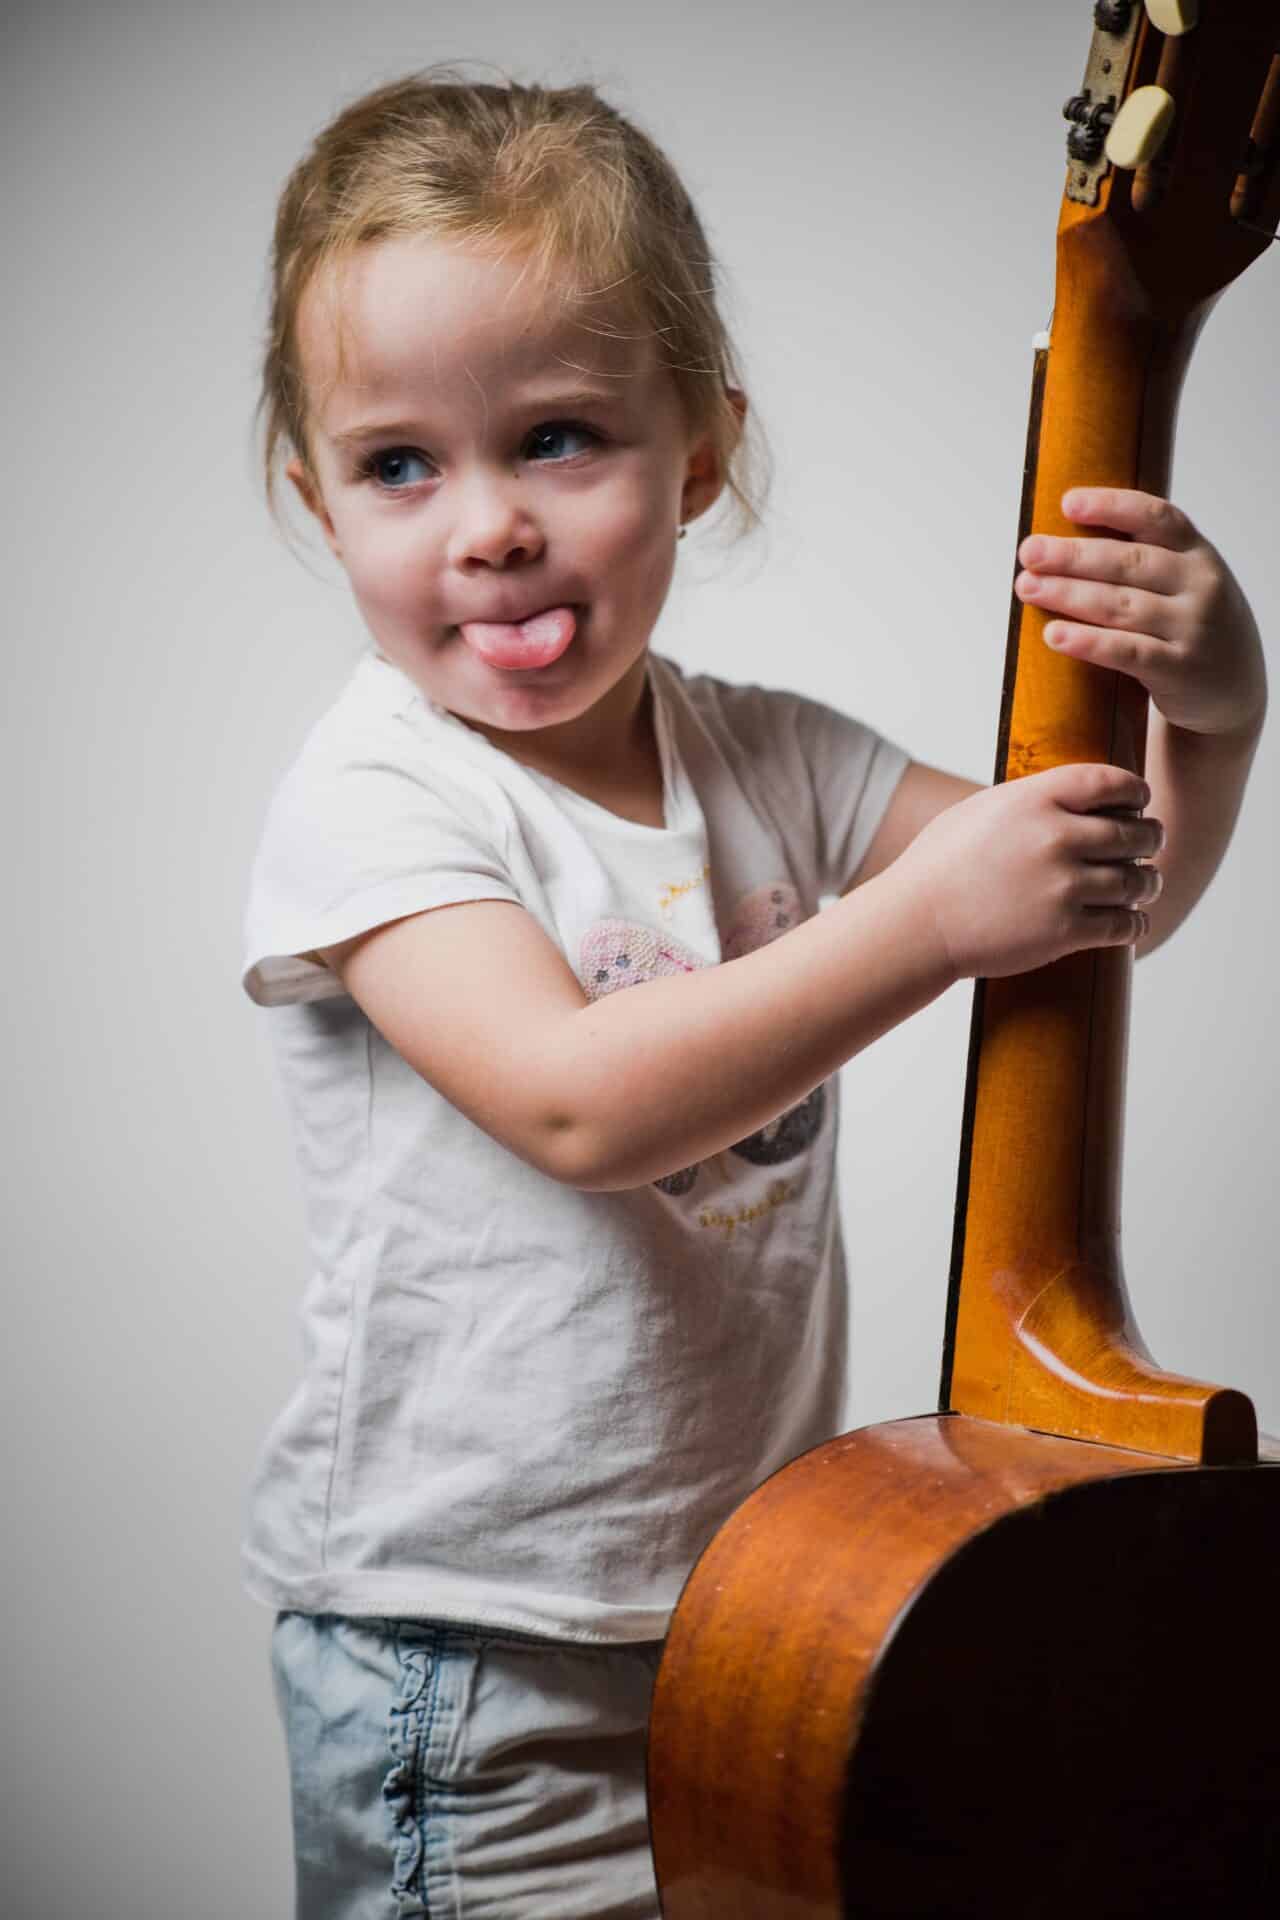
We tried this photo shoot for ourselves. See for yourself :-)
In closing
Don’t be disappointed if something doesn’t go according to plan. This is normal when working with children. It’s good to be prepared and expect the unexpected. This is easier said than done. A guide is a great tool, but don’t be afraid to just go for it, even if the child does something that wasn’t planned. The result is always worth it and the look on the face of the lucky recipients of the photo calendar will be priceless.
And if you are interested in how to create and order a calendar in Zoner Studio, watch our video.
