Learn the What, Where and How of Photographing Motorcycles at Every Speed
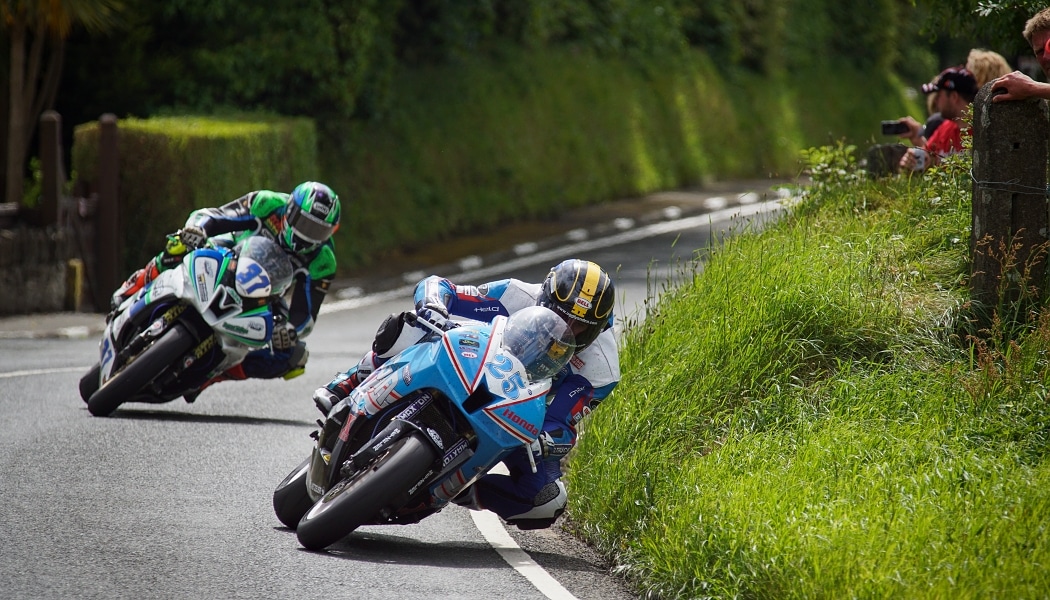
Like every genre, motorcycle photography has its specifics: you have to choose the right place, composition, and equipment. But above all you have to think about your own safety. That’s why we have a few basic tips for you on how to take impressive photos of even the fastest motorcycles.
There are two basic kinds of motorcycle photography:
- on the road,
- and at the track.
Photographing Motorcycles on the Road
For photography on the road, safety comes first.
If you’re standing at the edge of a curve, you can take great pictures, but you’re also in a quite dangerous place. If the rider falls, that’s always an explosive situation, and it’s not good to be in the way of the bike. The results can be fatal.
Think about your subject’s safety, too. For you to get the ideal picture, they will usually have to ride past you several times. So pick a spot where there’s not a lot of traffic.
Or time your shoot based on traffic. Consider doing it in the evening—the roads will be emptier, and the setting sun will improve your photo.
And don’t forget that your motorcyclist will also need room to turn their bike before and after the shot.
Photographing Motorbikes at the Track
You can also take your pictures from the stands. But in that case, forget about racing circuits. At these, the stands are so far from the track that you’ll hardly be able to photograph anything.
However, if for example you’re at a motocross track or a road-racing track, where spectators sit much closer, you can take interesting pictures even from the spectator zone. And often better photos than the accredited photographers will be taking.
Yet you might still want to stand in a better spot outside of that zone. Then the simplest route is to contact a newspaper and offer to take pictures for a race gallery for them. After that you can ask the organizer for accreditation.
Definitely don’t try to sneak or break into these non-public spots. It’s unsafe. Because of the dangers near the track, accredited photographers sign liability papers and are instructed on safe behavior in their spots.
A Considered Composition
Plan your composition around more than just the bike. Do you want a pic of a chopper barreling towards you down a tree-lined road, or of a showy swerve on a curve?
Think about the time of day and the position of the sun as well before you choose your spot.
And it’s also important for your subject to truly be a good rider! Photos from the curves will always look better with a pro than with a novice. Fortunately, finding pros at the races is easy.
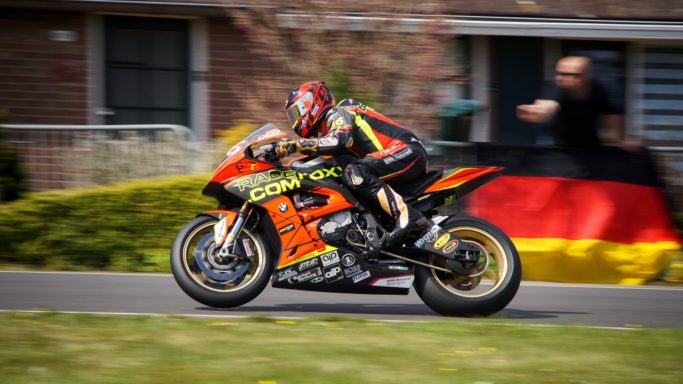
Sony A68, Sigma 50–150mm f/2.8 EX DC HSM, 1/320 s, f/6.3, ISO 200, focal length 150 mm
Use a Real Camera
You’ll want to go for the longer focal lengths when photographing motorcycles. It also pays to have a fast autofocus and a decent lens speed.
So forget about using a smartphone or a basic compact. Although an ultrazoom is the best choice of all, ideally you’ll want at least an APS-C DSLR, or an appropriate camera with similar technology (e.g. a compact with exchangeable lenses), and two lenses to go with it.
Basic Lenses Will Do
When you’re starting out, two basic zooms are enough—one with a range of 17–50 mm, the other a 70–300 mm telephoto. But meanwhile you’ll have to expect decreased lens speeds at the long end. So if you take your motorcycle photography seriously, it’s best to go for a 70–200/2.8.
On the other hand you’ll often be standing very far from the bikes, and for that a 300 mm lens will come in handy. Fortunately an APS-C will help you out here through its crop factor. A full-frame camera is a sub-par choice unless your kit includes lenses with lengths of 300 mm and up.
I personally use fairly cheap gear, and it’s not the barrier that some say it is. Sure, things will go great with a 300mm 2.8 lens and a camera that shrugs at ISOs of 1000+, but you can take nice pictures with cheaper gear too.
And you may already have the above gear at home, saving you a shopping trip. Still… you might want to buy a monopod. It will definitely come in handy with long lenses.
How to Shoot
You’ve picked your spot and your gear, so now let’s get started.
Generally it’s good to start in the semi-automatic shutter priority mode and gradually work your way towards full manual. When you’re photographing motorcycles in motion, there are two basic angles that you’ll be moving around between.
Side Shots (and Similar Shots)
For side shots, you’ll mainly need a wide lens and a relatively slow exposure.
Choose your focal length based on the distance, and your speed based on the motorcycle’s speed at your spot. There are some places where 1/100 s or longer is enough for an impressive photo, and others where you’ll struggle for sharpness even at 1/500 s. Here you’ll just have to practice.
Also don’t forget that on a moving motorcycle, the wheels are spinning and so is the chain set, and sometimes the clutch can be seen spinning too. It’s definitely no problem if their motion can be seen in your picture too. But it’s all a matter of taste.
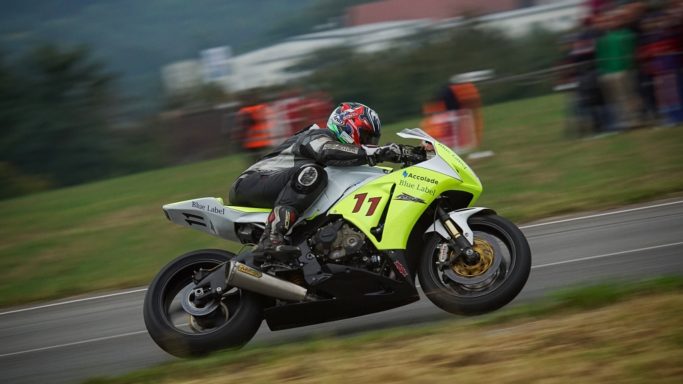
Sony A68, Sigma 70–200 mm F2,8 EX DG OS HSM, 1/200 s, F6.3, ISO 500, focal length 180 mm
When you’re photographing motorcycles in motion from the side, you also have the option of panning. This technique gives you a blurred background while the rider and the bike stay sharp. It makes your picture feel more dynamic.
When you’re panning, you take advantage of the bike’s motion by focusing on it and then following it in your viewfinder. To get the best effect here, focus on the cycle’s center. Press the trigger in all the way when the side of the bike is facing straight at you. Feel free to use a one-point center focus. That will be the easiest at first.
When you’re taking pictures at the track, take advantage of the fact that every racer will ride past your camera several times. Start with faster speeds (just to be sure), and then keep reducing the speed for as long as the shots stay sharp.
Your aperture choice is important too. For panning you want to use a high f-stop. Don’t be afraid to go even as high as f/8 or f/11.
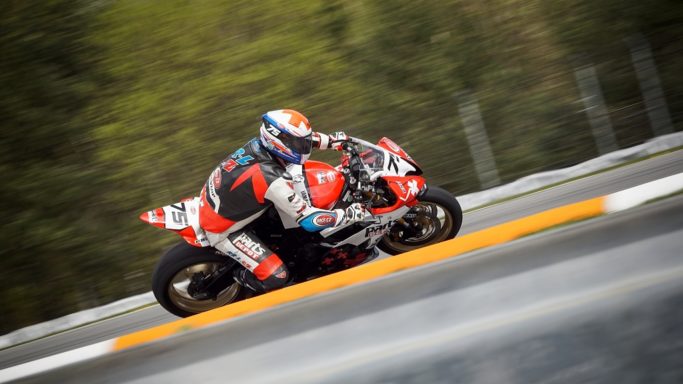
Sony A68, Sigma 50-150mm f/2.8 EX DC HSM, 1/200 s, F11, ISO 125, focal length 80 mm
Frontal Shots
The second option is a shot more or less from the front. More or less… practically nobody wants to stand directly in front of a moving motorcycle. Note that the longer your lens, the narrower the angle in which you can photograph the bike. Long lenses will change your perspective as well.
If you do go long, choose a low f-stop to make your subject “pop,” and take full advantage of a fast lens.
But remember, the shallow depth of field here cuts both ways. If you focus on the front of a bike, its rider may be blurry. It’s individual, but I’ve had the best luck with always sticking at two f-stops over the minimum.
You’ll want to work with fast exposures too. The bike may be heading towards you as fast as 60–70 m/s. So if you choose a shutter speed of around 1/100 s, it will travel over half a meter during the shot. Often in extra-fast segments you’ll get good use out of speeds as fast as 1/2000 s.
Cameras need some time to focus as well. So fast lenses with ultrasonic focusing and fast cameras that have advanced focusing systems are an advantage.
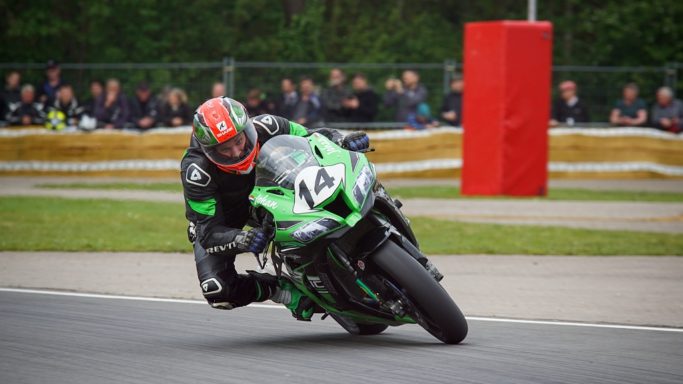
Sony A68, Sigma 70–200 mm F2,8 EX DG OS HSM, 1/500 s, F5.0, ISO 250, focal length 200 mm
Manual Focus at These Speeds?
Sure—Try It. I’ve found that in especially tough conditions, it pays to focus on a point manually, use pre-focusing in the camera settings, and then shoot without automatic focusing.
The disadvantage is that you can’t react to unusual events and you’re focusing on one spot.
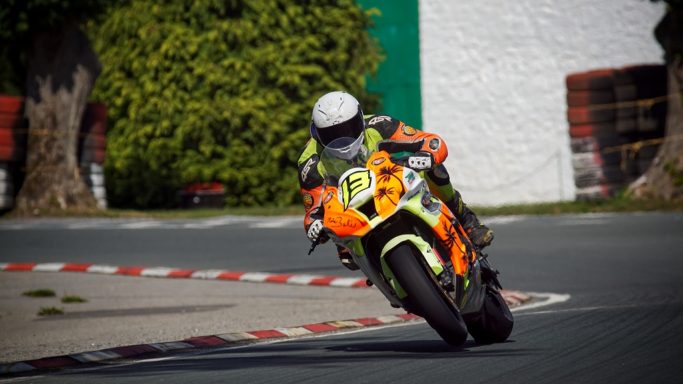
Sony A68, Sigma 70–200 mm F2,8 EX DG OS HSM, 1/1250 s, F5.6, ISO 125, focal length 280 mm
Watch Out for Slow, Small Cards
If multiple riders are leaving the gate in a row, or you want pictures from the race’s start, then you need to pump out lots of shots in sequence. So you’ll want a big, fast memory card. Until you’ve gotten the hang of things, it will be nothing special to shoot 1,000 pictures and throw away 950.
One other thing: once you have one decent picture, think up a new idea for the next one fast. Otherwise you risk filling up your card with near-duplicates.
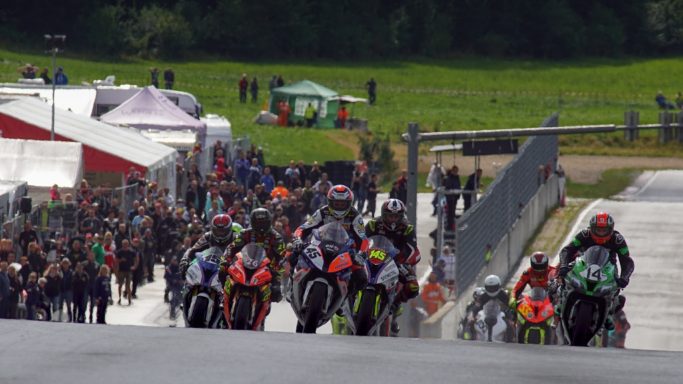
Sony A68, Sigma 100-300mm F 4.0 APO EX DG IF, 1/1000 s, F6.3, ISO 125, focal length 300 mm
JPEG or RAW?
You can of course shoot to JPG, and that does mean you’ll rarely fill up your card. But RAW is a very good choice. Just remember, though, that it makes fast cards a necessity.
RAW will make it easier to edit your photos in Zoner Studio. But more on that some other time.
Don’t Fear the Chopper
If you’re level-headed and you don’t run risks, there’s nothing to fear. Just try out the advice here, and you’ll definitely get rolling fast. After that you just need to practice.
The advantage of this genre is that it doesn’t demand the kind of patience that, say, animal photography does. And you don’t even have to get up early to catch rocks in the morning mist, like you would for landscape photography!