How to Photograph Pets
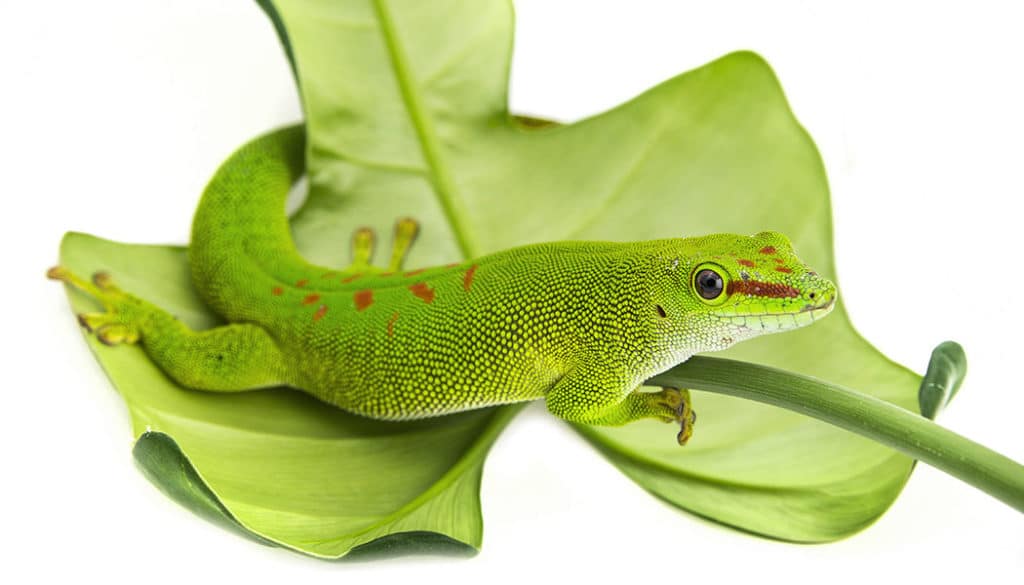
Are you or your child raising a pet at home? And have you ever had the thought that your pet might be a superb subject for a photo? We have a few tips for you on how to make these photos clever and interesting.
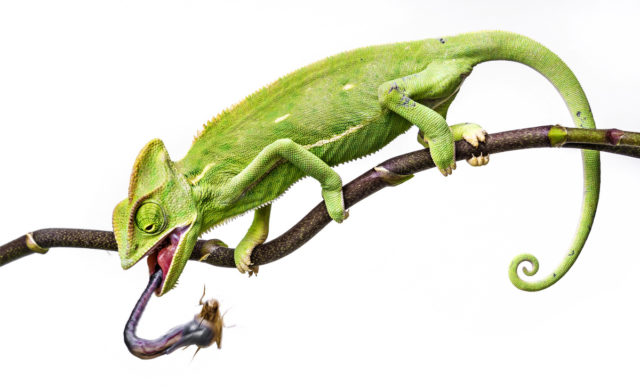
The first thing you should do is to answer the question of where you’re going to take the pictures: indoors using a flash, or outdoors, where you can get by with just daylight? If you have an external flash that you can detach from the camera body, try both possibilities. The advantage of the flash is that it lets you capture even very rapid action, like in the following picture, where a chameleon has just hunted down a cricket.
What Background to Choose
When you’re doing this at home, you have a number of options. For example you can use white paper, which will create a neutral background. Pictures like these are suitable as illustrations for articles or books, because there’s a minimum of leaves or grass to hide the animal. If you want to be more creative, you can choose paper with various colors as your background. You can buy some surprisingly large sheets, much larger than traditional Letter/A4, even in an ordinary office supplies shop.
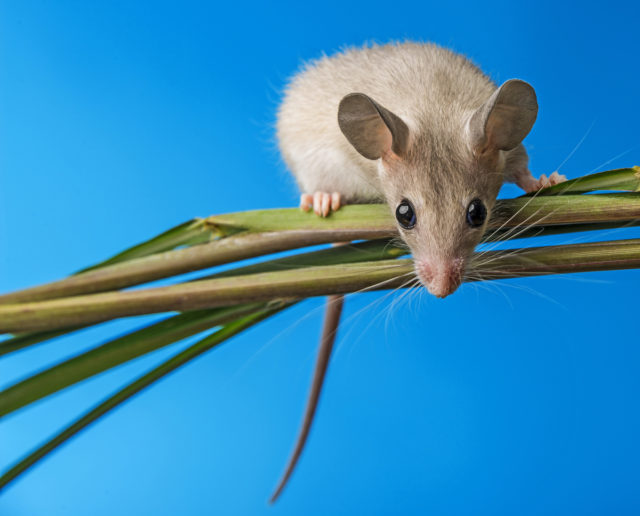
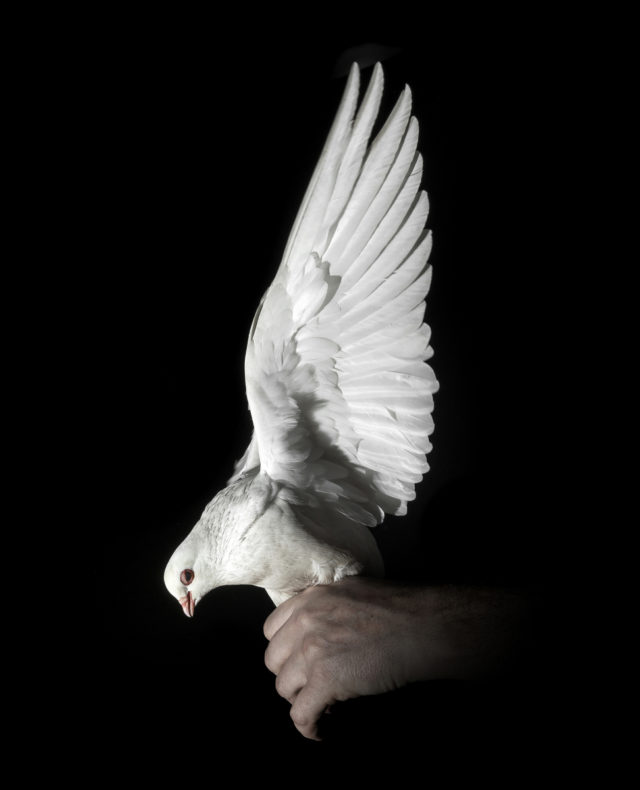
Nikon D800, Nikon 28–300/3.5–5.6, 1/320 s, f/16, ISO 100, focal length 38 mm
Natural Backgrounds
When you want to create the suggestion of a natural background, your situation is even simpler. You prepare moss, grass, and pieces of bark on a table of some sort. (Collect it all outdoors in advance.) Try to unify the color scheme and the “jaggedness” of the environment you’re preparing. Then place the animal within it.
If you aren’t looking to create a precise copy of a given type of environment, then you can be creative and play with colors, and even add flowers, fruit, or pinecones to your composition—whatever you like.
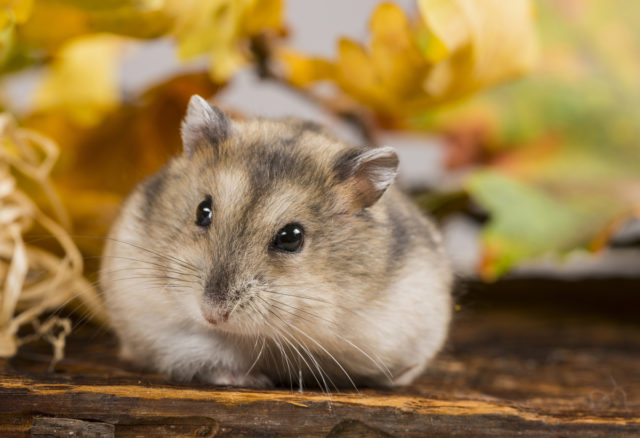
Fun with Pets
Animal photography should be fun for the animals. Take advantage of their natural needs to hide and play. Create various climbing frames, and use toys or a shirt as a hiding place. Hopefully I don’t even have to remind you that praise and snacks make photography more fun for your animal friends. Your animal should have photography linked in its thoughts with something pleasant, as that’s the only way it will cooperate.
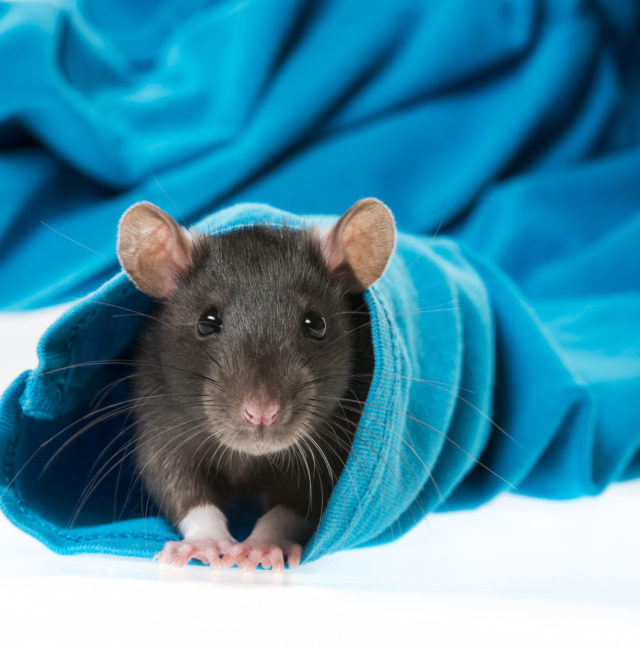
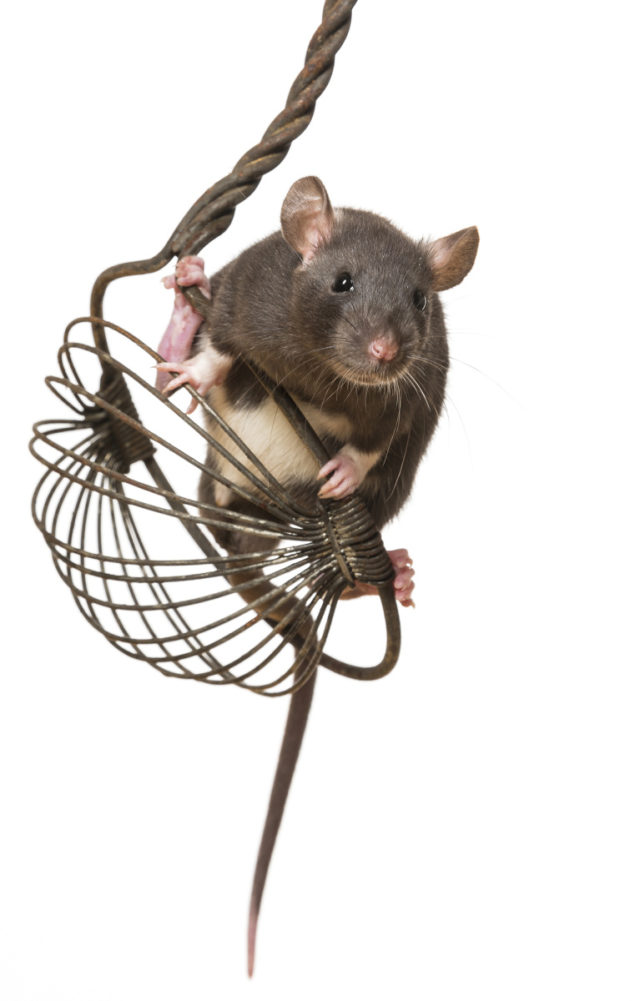
Give Your Animal a Snack—You’ll Gain Time
As you know, the right treat distracts your animal from the shoot. It will be concerned with how to reach the treat, and you can take your pictures in peace. If you don’t want the treat to be visible, you can hide it behind a part of the environment.
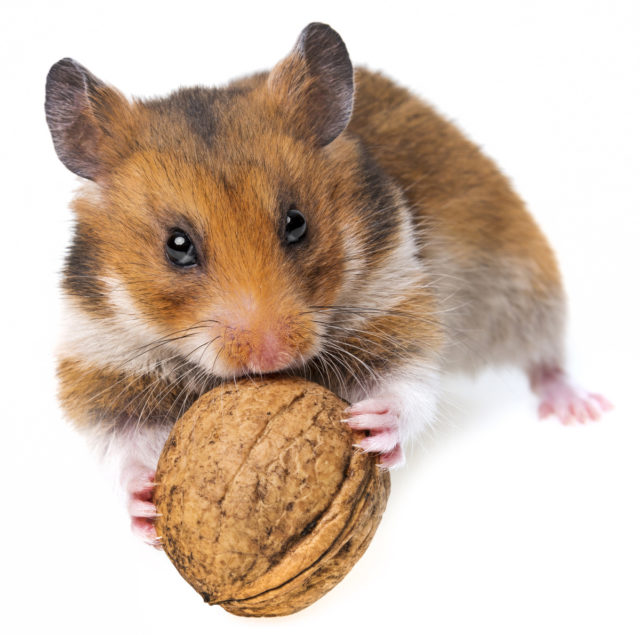
Taking Pictures Outdoors
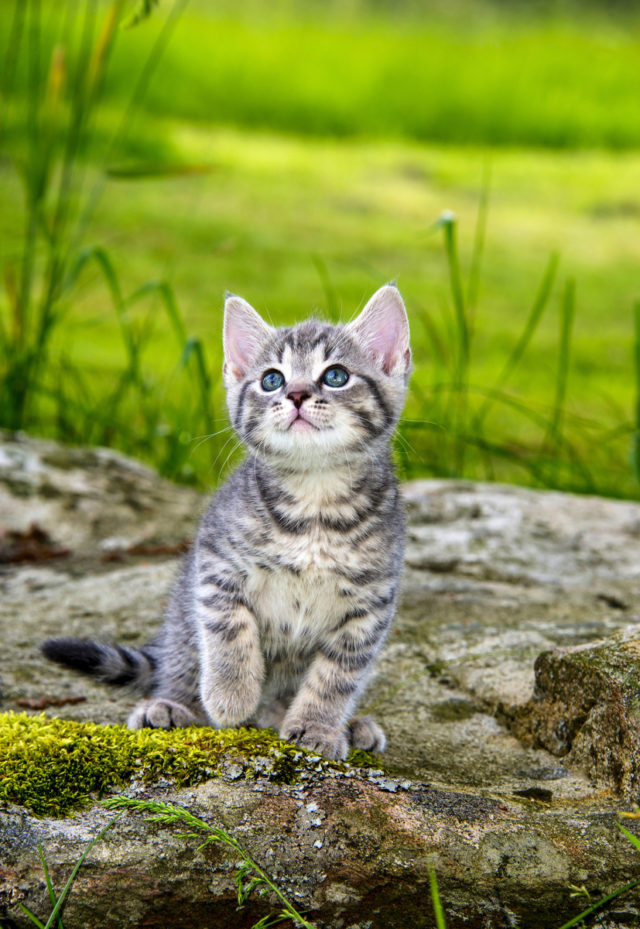
If you don’t have a flash available, you can work similarly outdoors. The situation is simpler in that you don’t have to create an environment for the animal; you can find one instead, or just fine-tune it—with flowers, moss, or perhaps grass. You can create a background for the picture with a bokeh of blurred natural elements such as bushes, flowers, etc.
Take Your Pictures from the Animal’s Eye Level
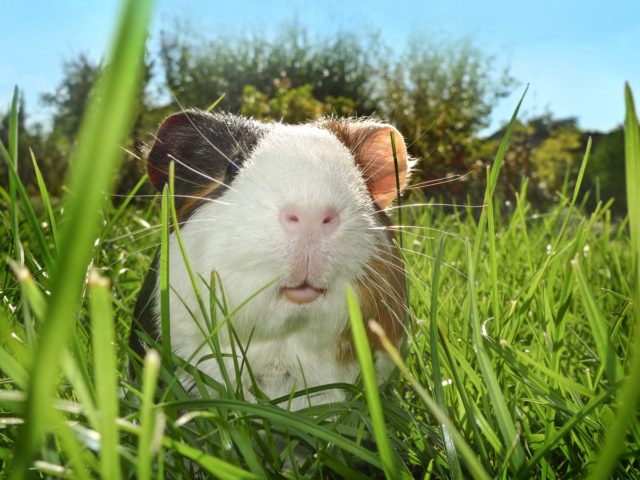
Not even humans look attractive when you photograph them from below. So take your pictures from the animal’s eye level. That will give you a better composition and a better expression for the animal. You can also choose to shoot from a little below, but these pictures are unusual. That’s because we’re generally accustomed to observing small animals from above—so we see their back and the top of their head. The view from eye to eye is much more interesting. If the animal is small and you don’t want to lie in the grass, then place it in an elevated place, such as a nice stone overgrown with moss.
Several Practical Tips in Closing
You need to prepare an animal for a shoot similarly as you would prepare it for a pet show, and that means combing its fur and wiping off its eyes so that there isn’t any sleep in them. The animal has to be clean and in the very best condition.
Watch out for distracting elements in the background. Often you’ll be totally focused on the animal, and you can miss the fact that there’s a branch or a bit of the cage showing in the photo.
You need to have everything prepared before the shoot—both the environment and the treats. Wait to bring the animal to the site until just before you take the picture, so that it’s not tired. Work only for as long as the animal is having fun. You shouldn’t force it, or otherwise you’ll make it hate photography.
It will help a lot if you have an assistant who entertains the animal, gives it a reward, and talks to it—this will give you an animal with a better expression. Your assistant will also watch to make sure that the animal does not run out of the frame or fall from somewhere.
Choose a short exposure time, roughly from 1/125 to 1/500 s—It depends on how quickly your animal is moving. Your photo should not be suffering motion blurring. Choose a relatively open aperture to ensure a low depth of field. The goal is a sharp animal and, usually, a suppressed, blurred background. Use the lowest possible ISO, so that the photo is not degraded by noise.
For photography like this, short zoom telephoto lenses are a suitable choice, as they let you quickly change your composition. For small animals, macro lenses also pay off. Sometimes you may also get use out of a wide lens if you want to do creative deformation.
Personally I shoot to the RAW format, which offers superb possibilities for post-editing on a computer. In Zoner Studio I can adjust my exposure—brighten dark places and suppress places that have been overexposed, for example on white fur, using the functions for darkening bright tones and brightening shadows.
You Both Should Be Having Fun
Even though at the start things may not go as you imagined, photography has to be fun for both you and the animal. If your pet is enjoying the shoot, then you can repeat it and obtain a photo that matches your expectations. Photographing animals is mainly about patience, good preparation, and empathy.