How to Remove Color Casts from Photos in Zoner Studio
A color cast can ruin an otherwise great photo, whether it’s yellow lighting, blue shadows, or a green reflection from the surroundings. In this article, I show you how to easily remove color casts in Zoner Studio. From quick White Balance adjustments to more advanced techniques using masks and Color Shift.
In this article, you’ll learn:
- How to remove color casts using White Balance.
- When to use local adjustments and masks.
- How to adjust colors in a photo.
- How tone curves work in Color Shift.
- How to apply targeted adjustments to specific shades.
- How to combine masks for complex lighting situations.
Color casts can occur for various reasons. The most common causes are:
- Incorrect white balance, or a mix of different color temperatures
- Large colored surfaces that reflect light (grass, colored walls, etc.)
- Technical issues, such as color shifts at very high ISO.
So how do you remove color casts? It’s not complicated. We’ll be working in the Develop module of Zoner Studio.
How to correct color casts using White Balance
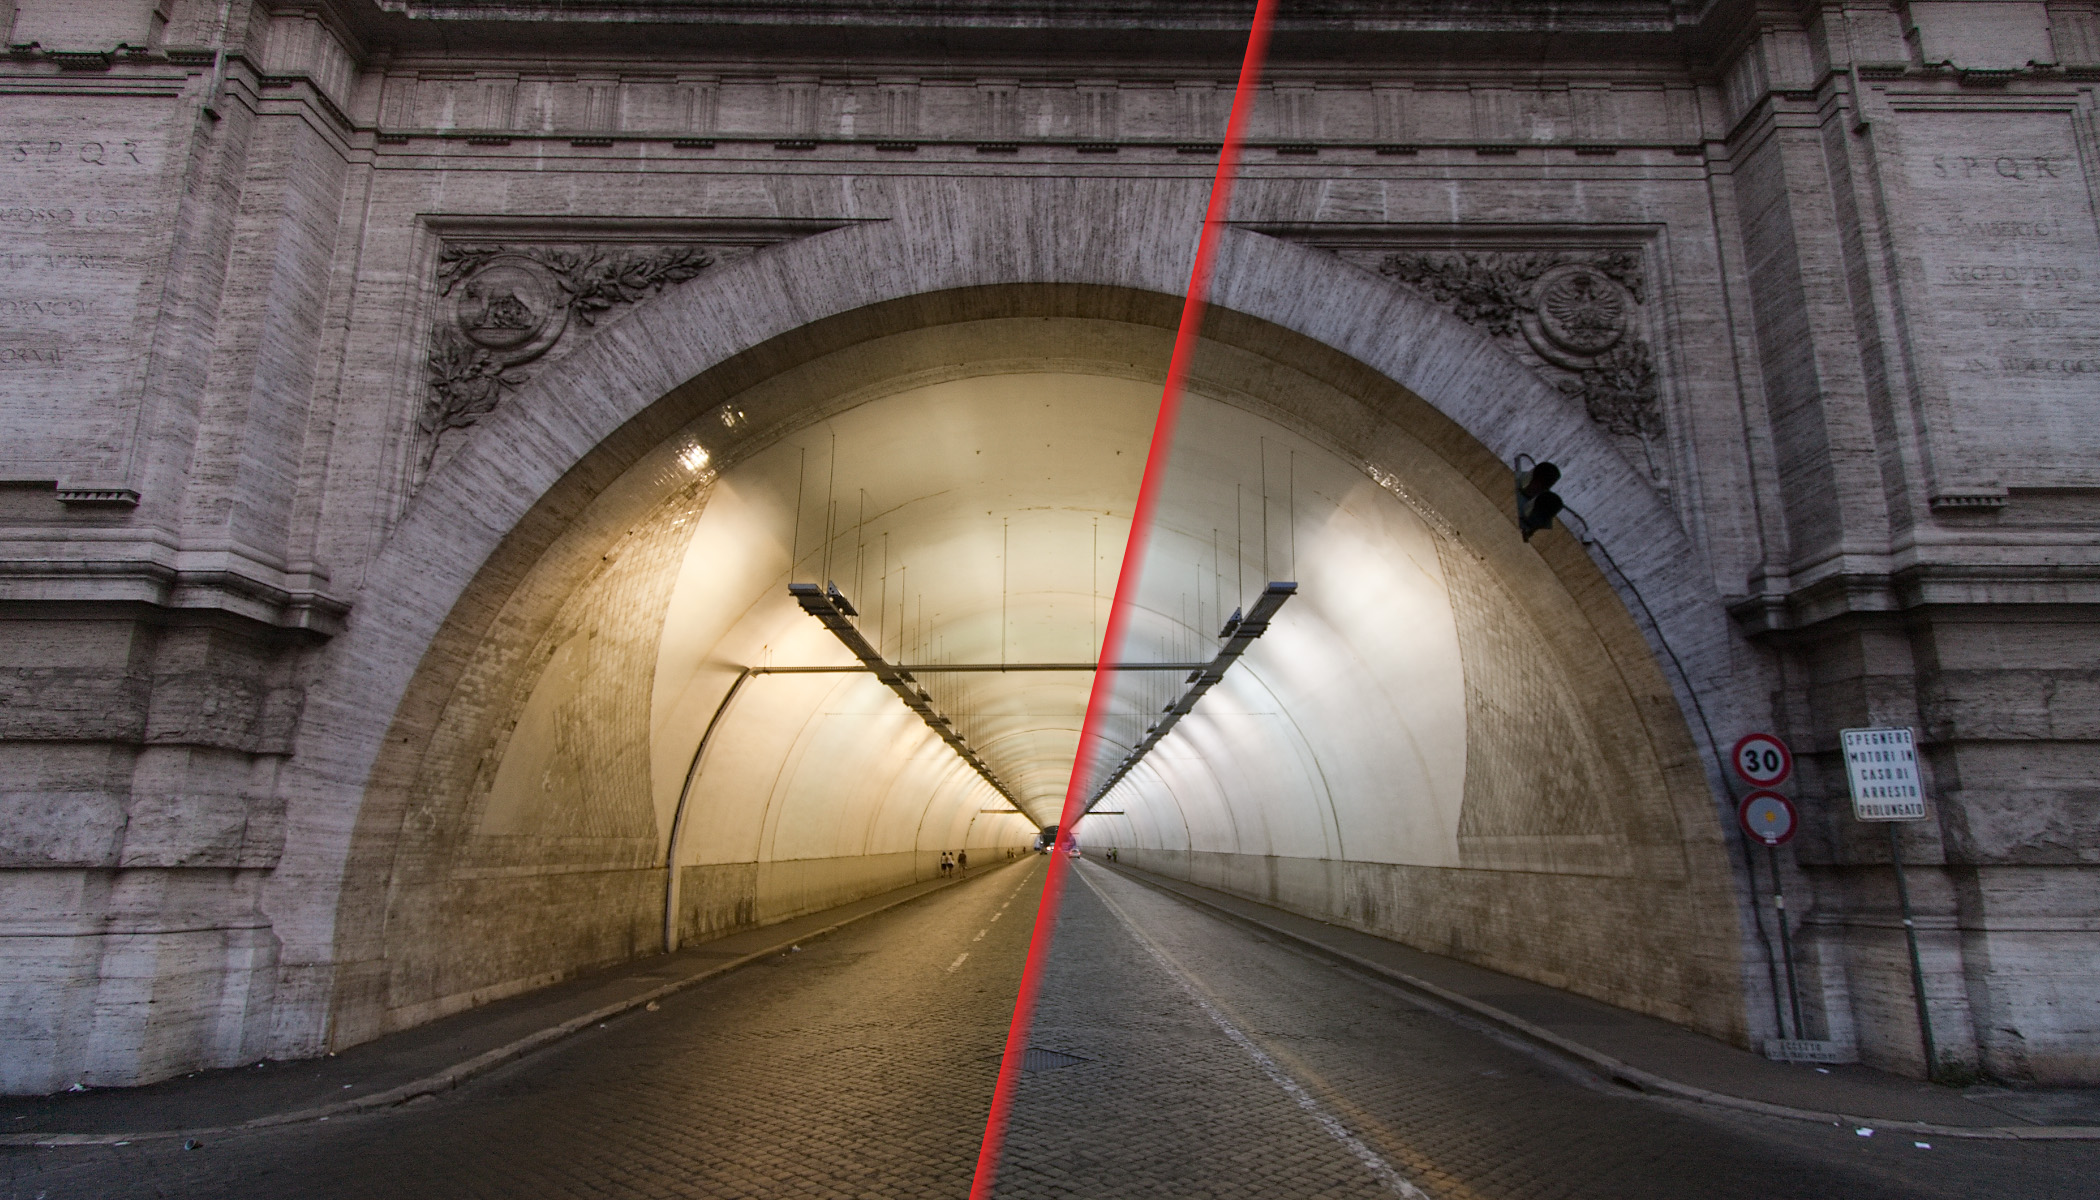
We start with the most common method: adjusting the Temperature slider under White Balance. This is a quick and effective way to correct the overall color cast across the entire photo, and it’s a good place to start.
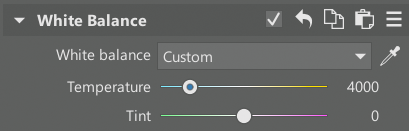
The original orange color cast is removed by adjusting White Balance.
White Balance corrections have a higher chance of success when working with RAW files because they contain more information about the colors in the scene.
How to correct a color cast in a specific part of a photo
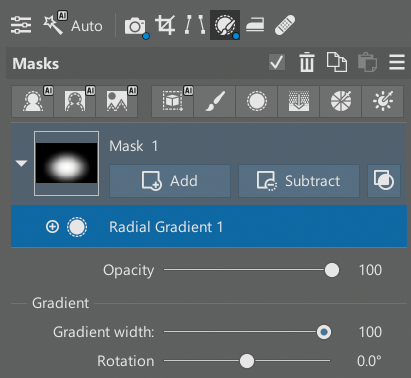
But what two different light sources with different colors are mixed in one scene? White balance can still help, but you need to apply it to only a specific part of the photo using a mask. The mask you choose depends on the situation.
If areas with different lighting are clearly separated—such as left and right—try using a Radial or Linear gradient.
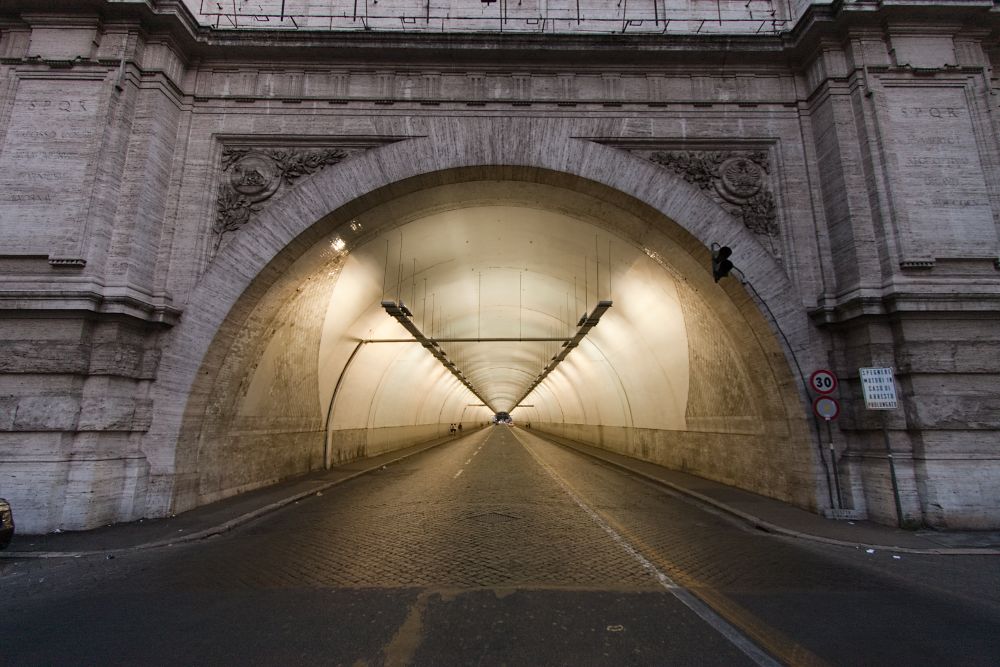
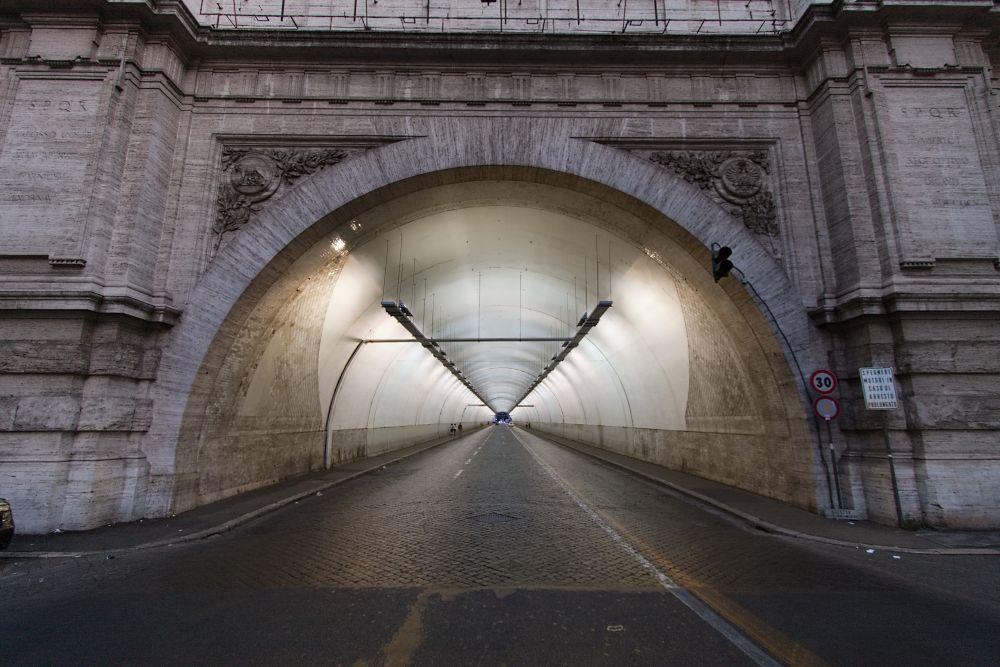
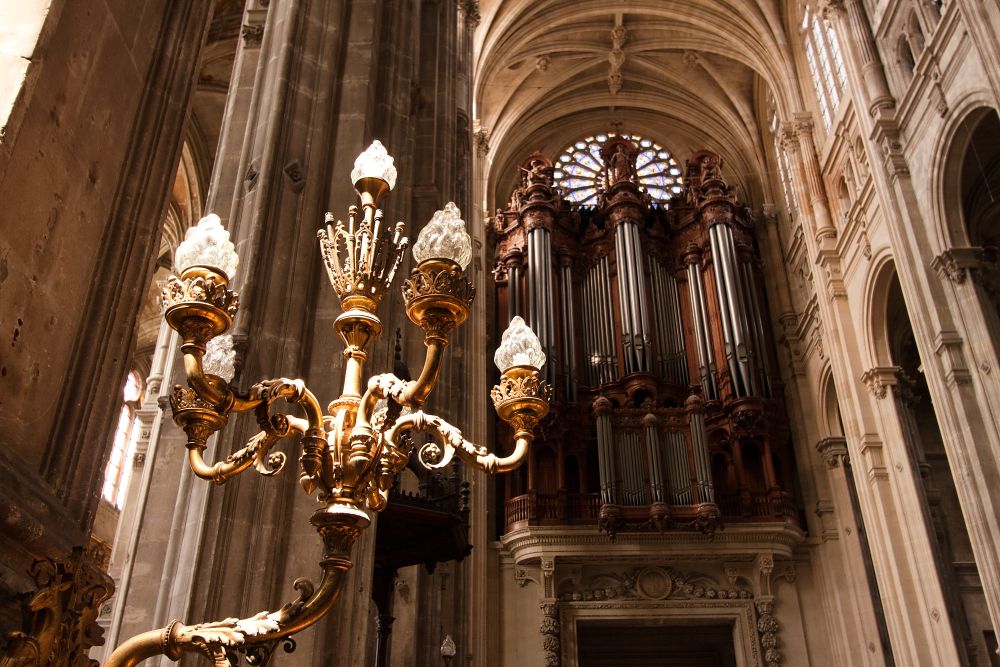
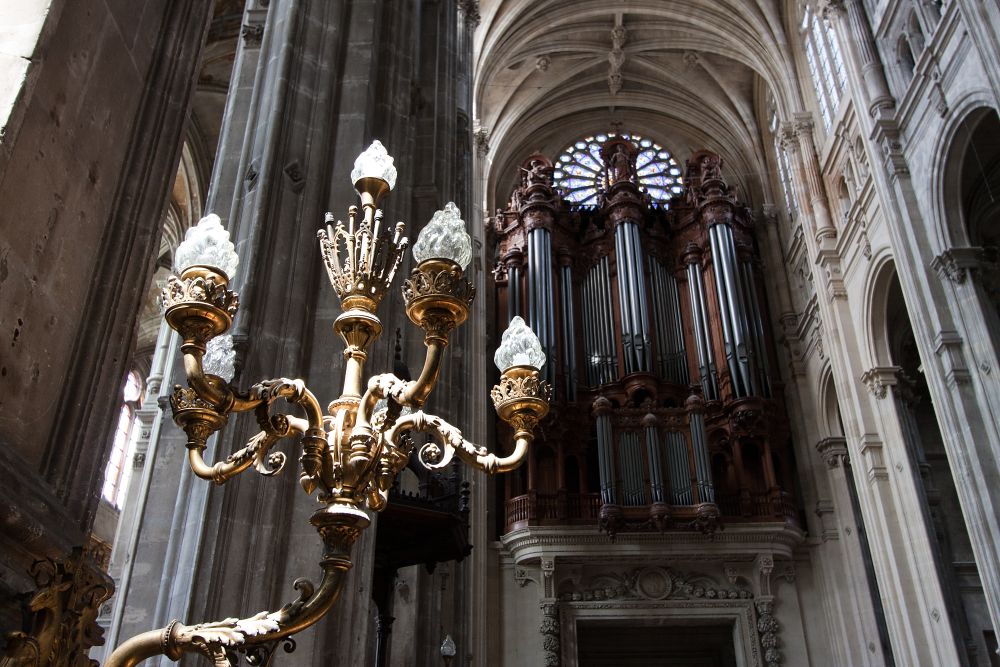
Version before and after local adjustment of the yellow color cast.
Gradients have smooth edges, so even if the selection isn’t perfect, the effect fades gradually at the edges, and small inaccuracies won’t be noticeable. If the areas are separated by a sharper edge like a doorway to a differently lit room—a brush can help you create a more precise mask.
Masks aren’t limited to white balance and can be used for other adjustments as well.
Shift Primary Colors: Adjusting individual colors in a photo
Shift Primary Colors in the right panel of Develop offers a slightly different approach. It allows for additional global color adjustments beyond White Balance, especially the ability to increase or decrease the saturation of individual color channels.
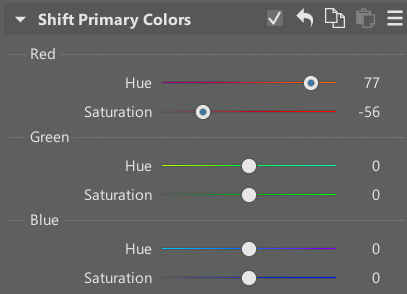
These sliders are useful for general adjustments, but especially helpful if your camera consistently produces a slight color cast or you don’t like its color rendering. You can fine-tune your preferences and apply them to other photos without adjusting the temperature for each one.
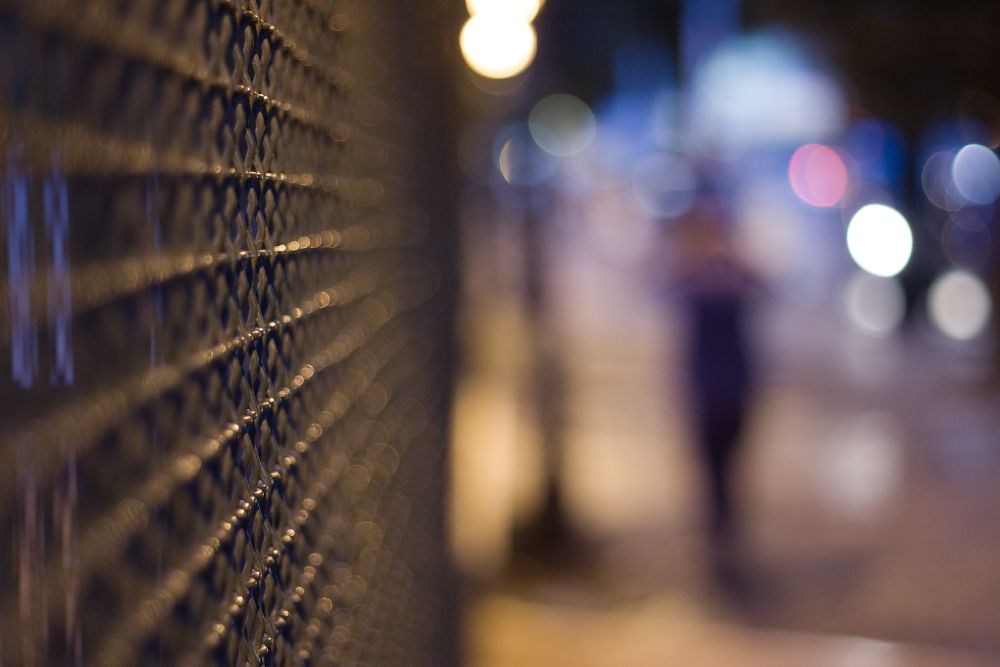
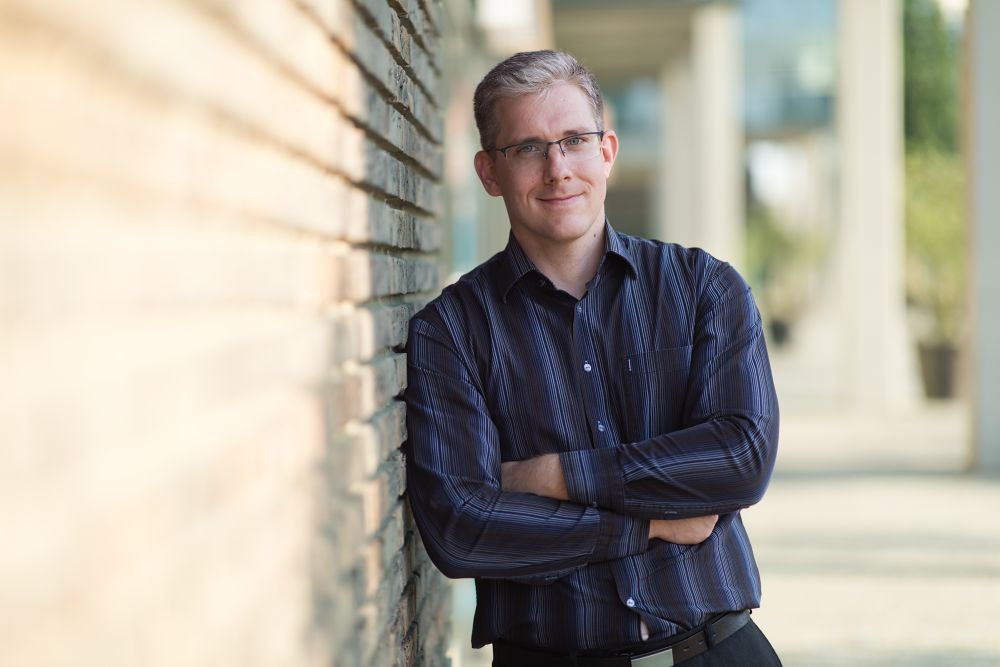
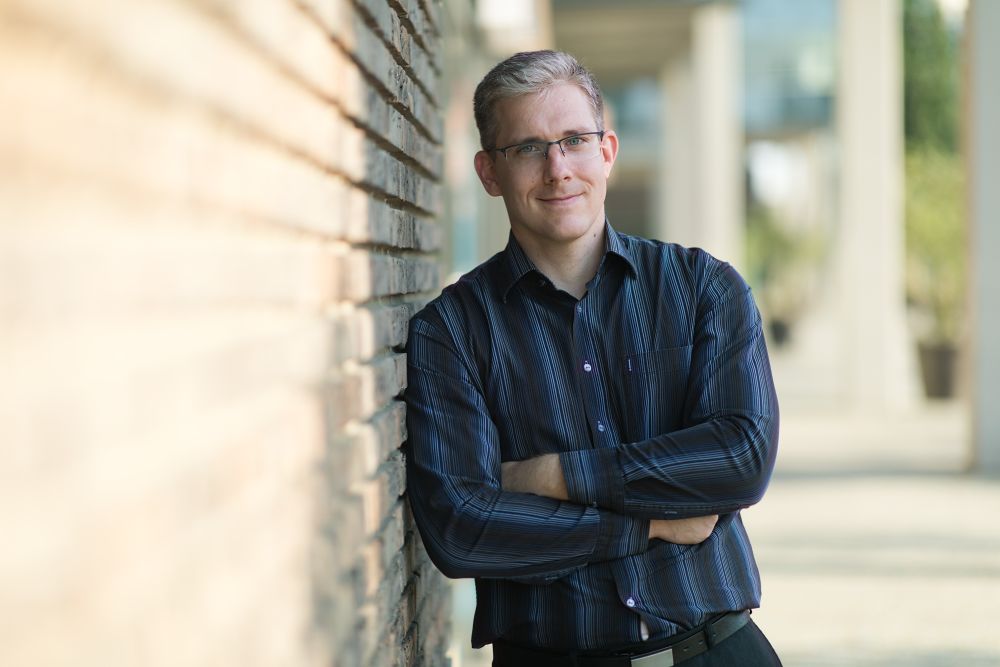
A slight purple cast was reduced using Shift Primary Colors.
Advanced color correction using curves
Tone Curves are another advanced tool for correcting color casts. Like the previous adjustments, they can affect the overall color balance of the image. The key is to switch from the main curve, which primarily controls brightness, to individual color channels. These let you add or subtract red, green, and blue, and even apply these adjustments only to highlights or shadows.
Unlike the previous tools described above, this makes it easier to fix issues like blue shadows.
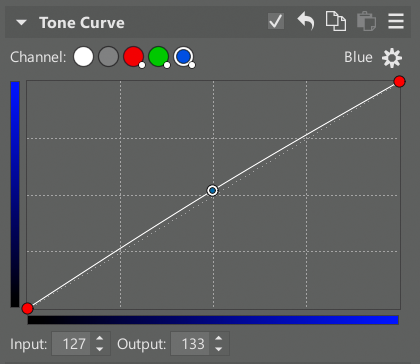
Minor curve adjustments have reduced the original color cast. In this case, White Balance would produce a similar result, but Curves are useful when White Balance alone isn’t enough.
Correcting specific colors
Now we’re getting into more precise color adjustments, where the Color Shift tool—specifically the Advanced tab—comes in handy. This allows you to easily target a specific problematic color in the image and change its tint.
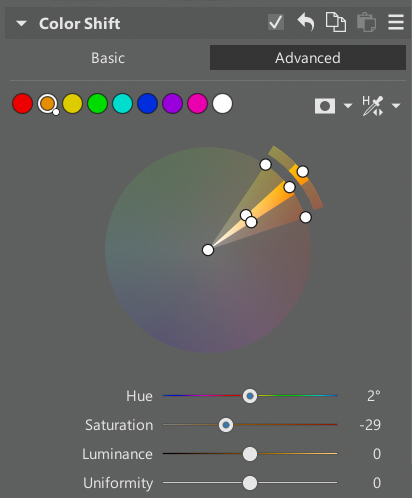
Simply choose from the predefined color ranges or define your own to precisely select the colors you want to adjust. Then adjust the Hue slider, along with Saturation or Uniformity, if needed. These tools help you deal with color casts depending on the situation.

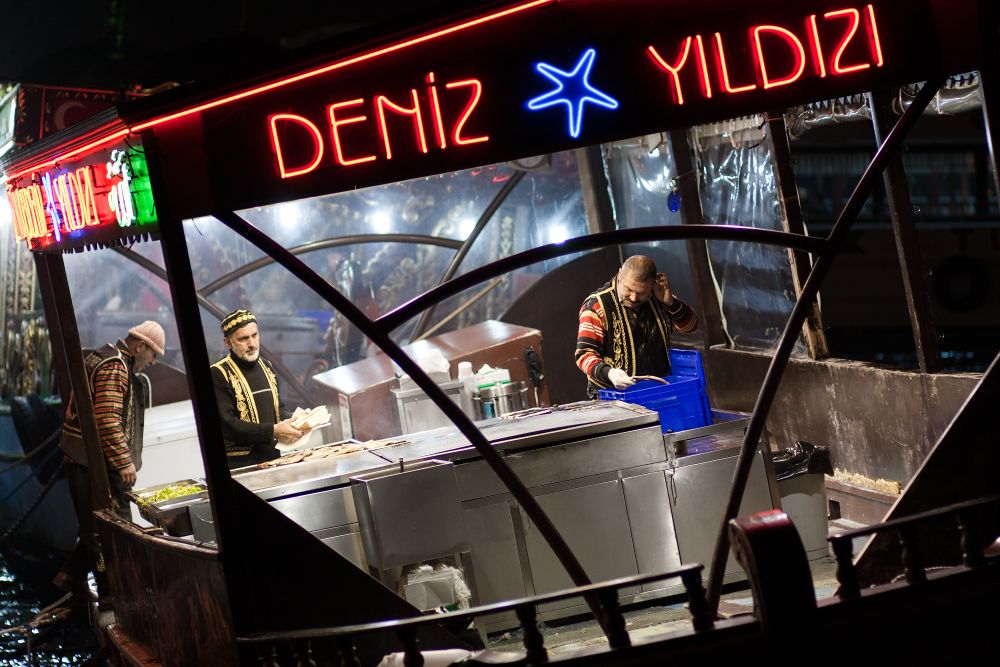
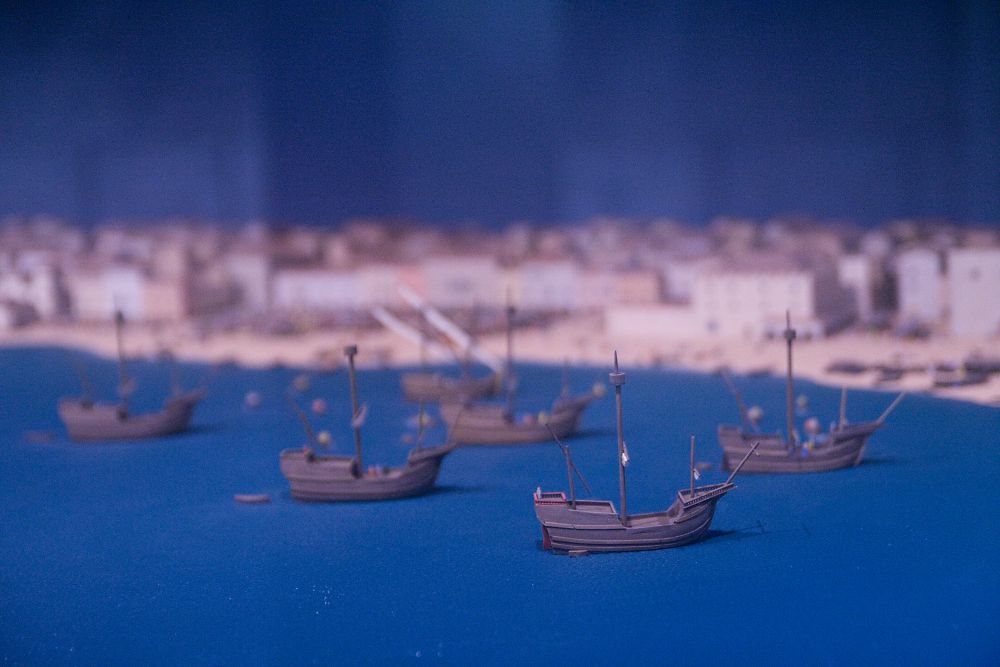
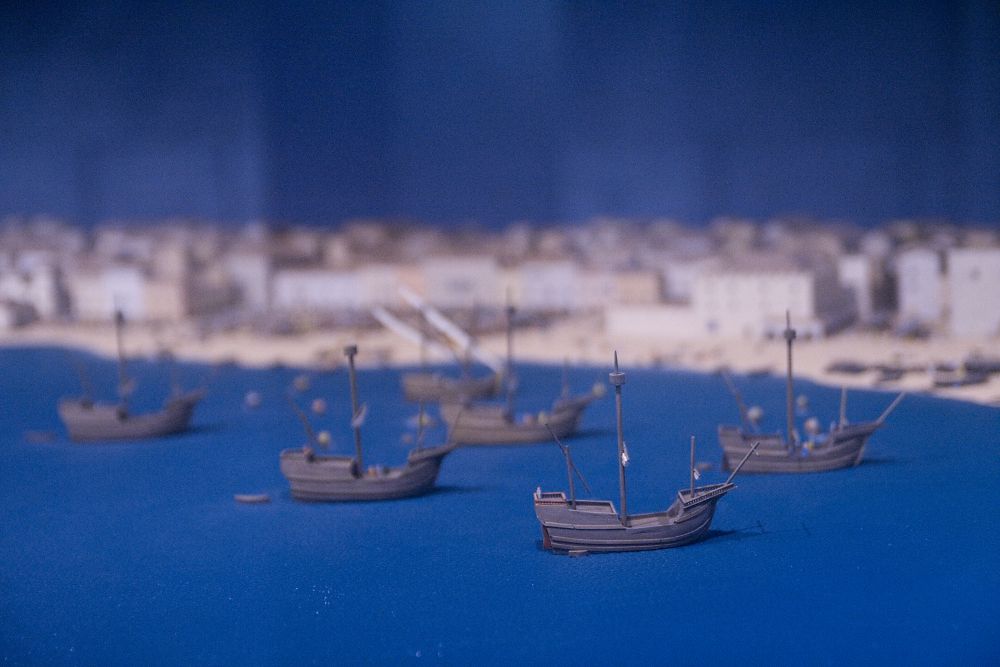
The cooks on the rocking Turkish ship are strongly lit by a nearby light source, which gives them overly saturated colors. Color Shift helps reduce this saturation.
Advanced masking: Precise color adjustments
I’ve already covered basic masking with gradients, but that’s just the beginning of what Zoner Studio can do.
In addition to different types of masks, you can subtract them from each other or combine them. This gives you advanced selection tools for more complex situations.
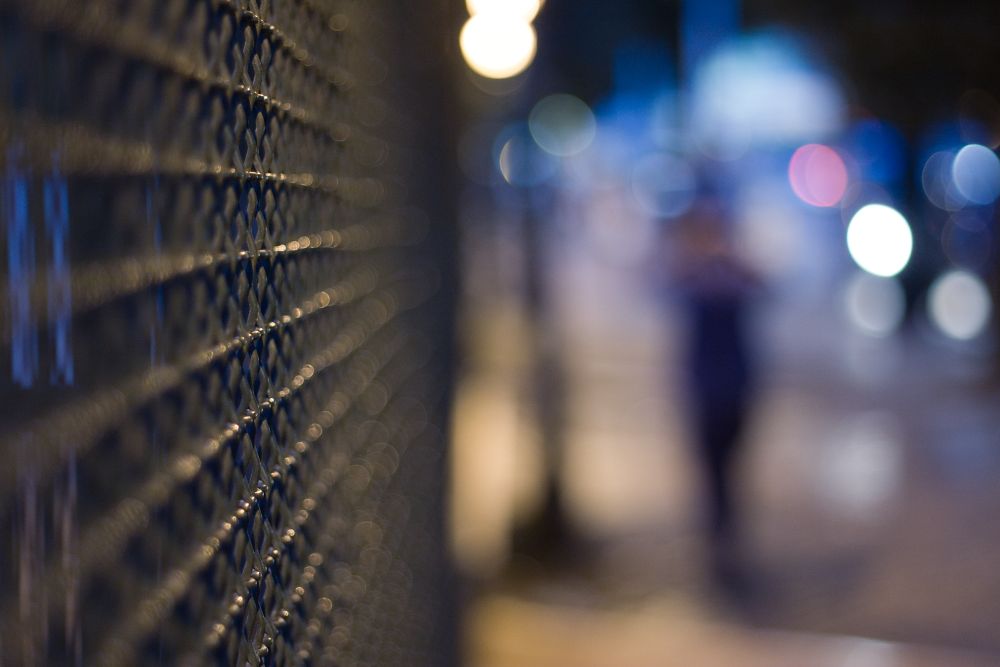
I demonstrate this with a photo of a model standing in the shade, and instead of direct sunlight, light reflected from green trees falls on his face. As a result, his face has a green tint, but only in the brighter areas. White Balance would work well, but how do you apply it only to that specific part?

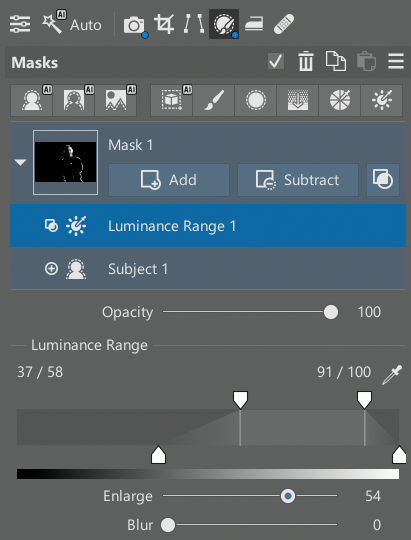
Masks make this possible. I start with the Subject AI Mask. Then I add a Luminance Range AI Mask using the Add button. I limit it to brighter tones only. Then, I adjust the colors using White Balance or Split Toning. The adjustment applies only to the bright areas of the subject.
Below, you can see what happens if the adjustment is applied to the entire subject—the model’s left half becomes overly red. That’s why it’s necessary to limit color adjustments to high-luminance areas.
A green tint corrected across the entire subject shifts part of the face too far toward purple. In the second example, the correction is applied only to the brighter areas, producing a more natural result.
Color casts are easy to fix
Color casts don’t have to be a problem. In most cases, adjusting White Balance is enough. For more complex situations, Zoner Studio gives you the tools to handle them using masks and more precise color adjustments.
FAQs
How do I remove color casts from photos?
The quickest way is to adjust White Balance (Temperature and Tint). For more complex cases, use masks or selective color adjustments.
Why does my photo have a yellow or blue color cast?
This is usually caused by incorrect white balance or mixed lighting (e.g., daylight and incandescent light).
Is it better to shoot in RAW?
Yes. RAW contains more color information, making corrections more accurate and of higher quality.
How do I correct color casts in only part of a photo?
Use masks (linear, radial, or brush) and adjust white balance only in the selected area.
When should you use Color Shift instead of White Balance?
When you need to adjust a specific color, such as skin tones, rather than the entire image.
How do you remove a green color cast from skin tones?
Use selective Color Shift or combine masks and White Balance adjustments.