How To Start a Podcast: Guide to Podcast Equipment
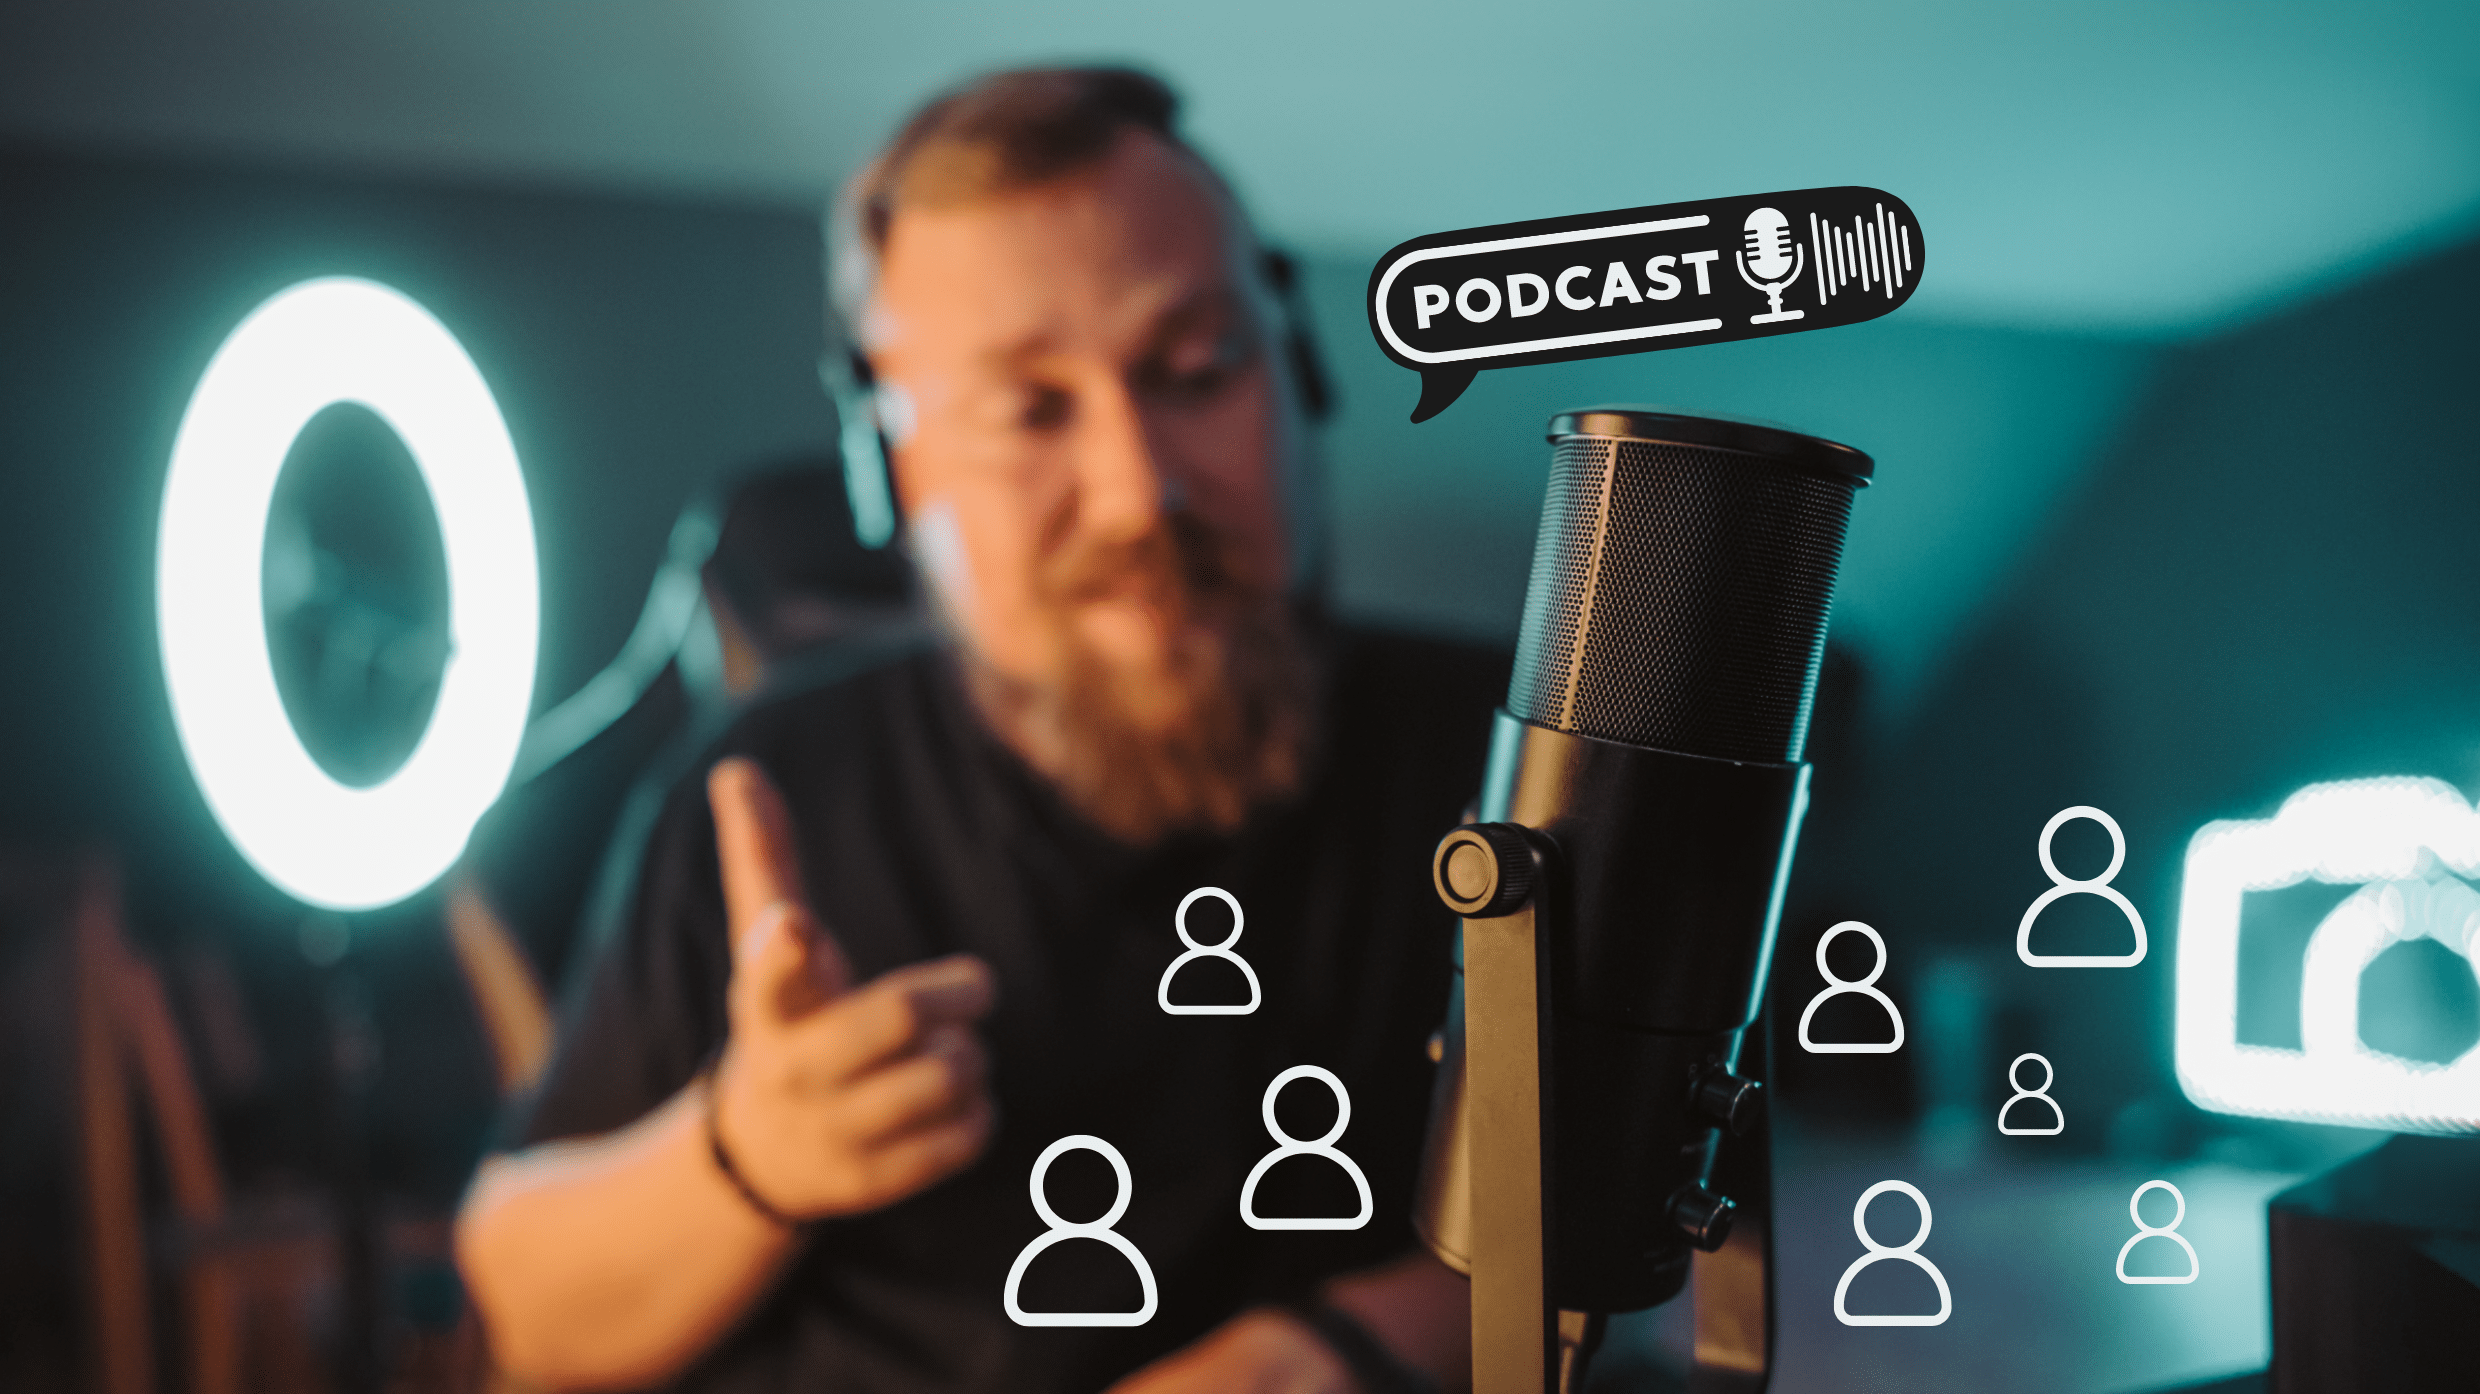
Podcasting has exploded in recent years and it’s no wonder why. It’s a relatively easy way for creators to get their ideas out into the world. For listeners, it’s an easy way to get information when you can’t or don’t want to read written text. Whether you’re driving, at bedtime, working out, or any other time.
A podcast is a form of digital broadcasting based on the spoken word, where content creators create audio (sometimes video) episodes that are available online. Podcasts cover a wide range of topics from educational to entertainment. They have become popular due to their accessibility and flexibility.
A short history of podcasting
Podcasting started gaining popularity in the early 2000s when technology and internet bandwidth allowed the easy distribution of large audio files. The word “podcast” is a combination of the “iPod” and “broadcast.”
The basics of podcasting
Before you start recording podcasts, think about what you want to discuss, how, and your position. Decide your podcast’s schedule, length, and other essentials:
1. Your podcast topic and audience
Choose a topic that interests you and you are able to create content about on a regular basis. It should be specific enough to appeal to a certain audience, but broad enough to allow for growth and change.
2. Consistency
Regularly releasing podcasts is key. Create a schedule for releasing episodes. Regularity helps build trust and keeps your listeners engaged.
3. Structure and format
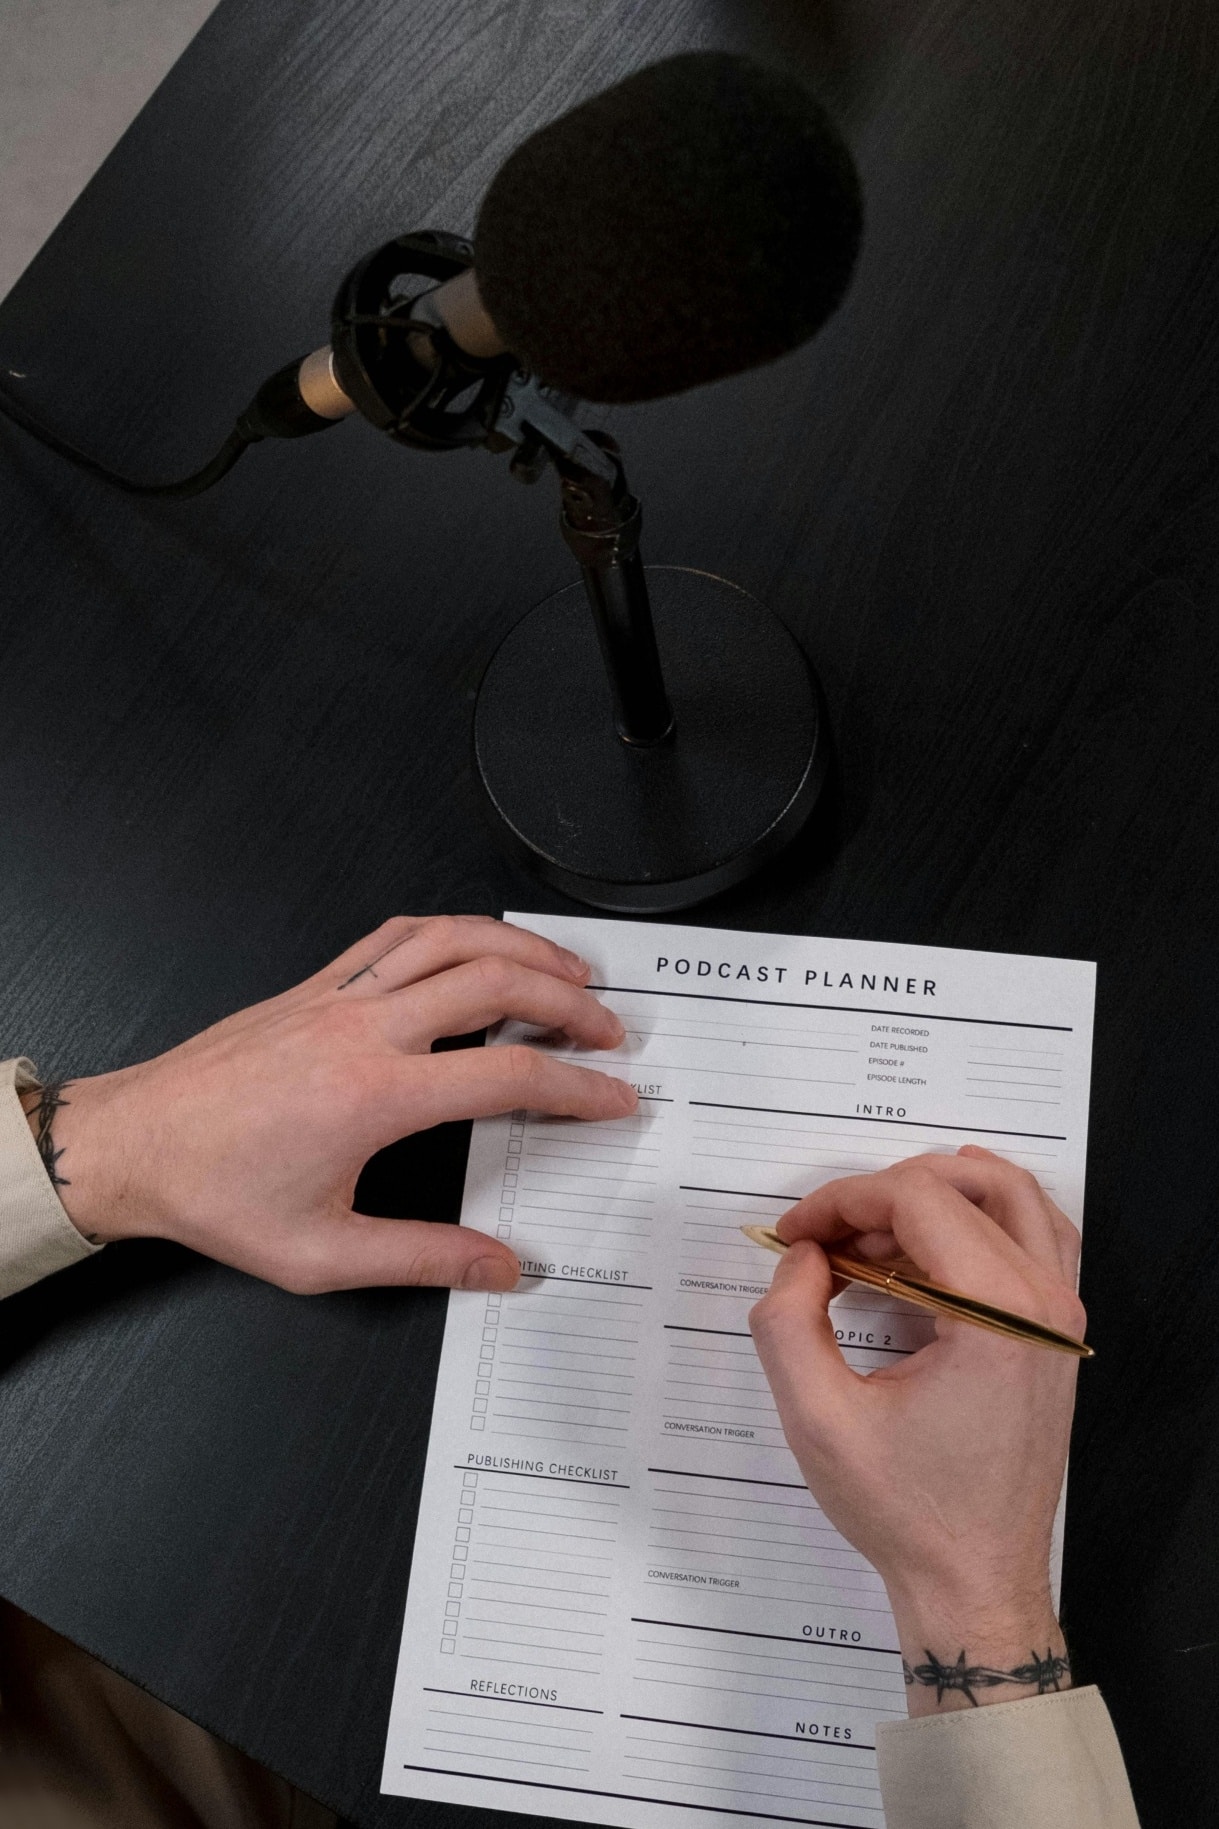
Each episode should have a tentative structure or script. Choose the format that best suits your style and topic. Generally, you either do regular content with the same cast, or invite a guest for each episode.
Your podcast can be a one-man show, but it’s better if you’re not doing it alone and there’s some form of dialogue.
4. Preparation and scripting
Thorough preparation for each episode ensures each one flows smoothly and has interesting content. Creating an outline or script can help keep the discussion on track. Some podcasters prefer to use detailed scripts, while others opt for a looser, more conversational approach. Choose a style that feels natural and right to you.
5. Editing and post production
Editing and post production is an integral part of podcasting. It gives you the chance to remove unwanted sounds, pauses, and errors to improve the overall quality of your podcast.

Adding music, sound effects, and other elements can help enrich the audio experience.
Most of the time, it’s not necessary to use special sound effects every few seconds, but having an opening and closing theme is nice. It gives the podcast a professional sound. If you don’t create your own music, you can use sound banks to purchase songs you like.
6. Marketing and promotion
Actively promote your podcast on social media and podcast platforms. Engage with your audience. Respond to posts on various platforms. if you make a video to go with your podcast, consider posting it on YouTube, either as a full recording, or edited clips to entice listeners to watch the entire podcast.
Podcast equipment
Let’s take a closer look at the key components needed to start a podcast, including how they are used and their purpose.
Microphone
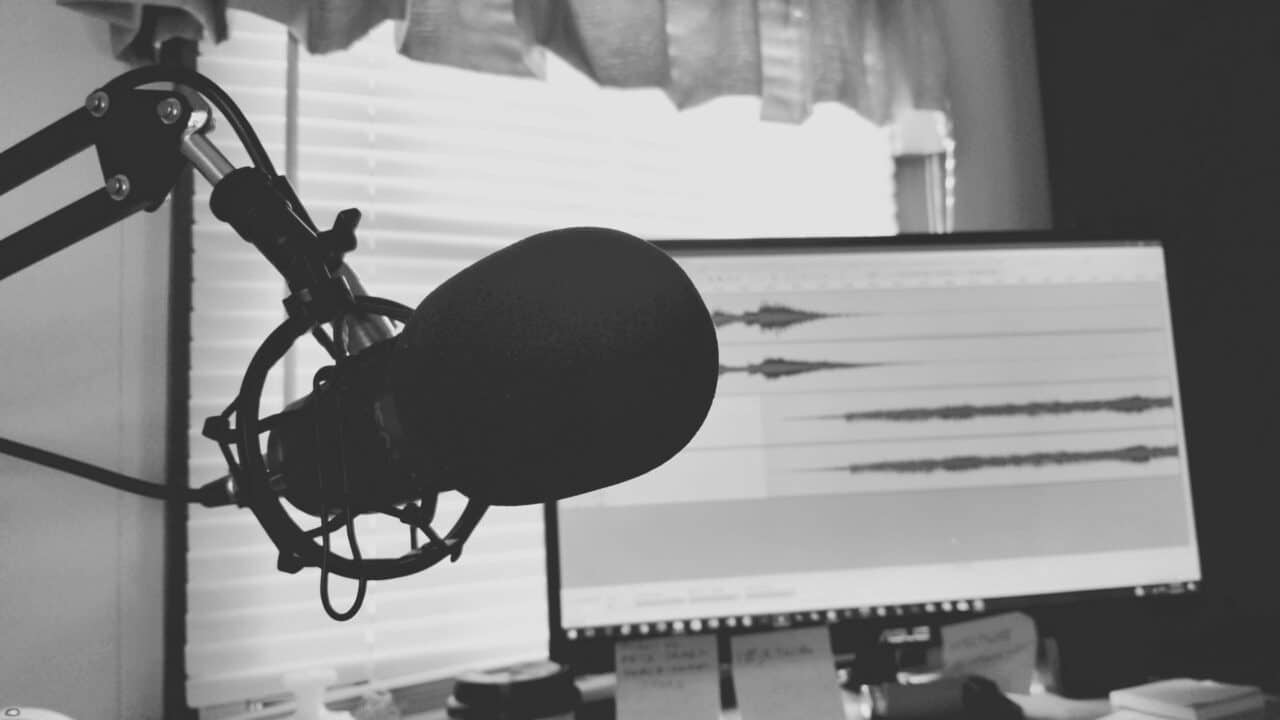
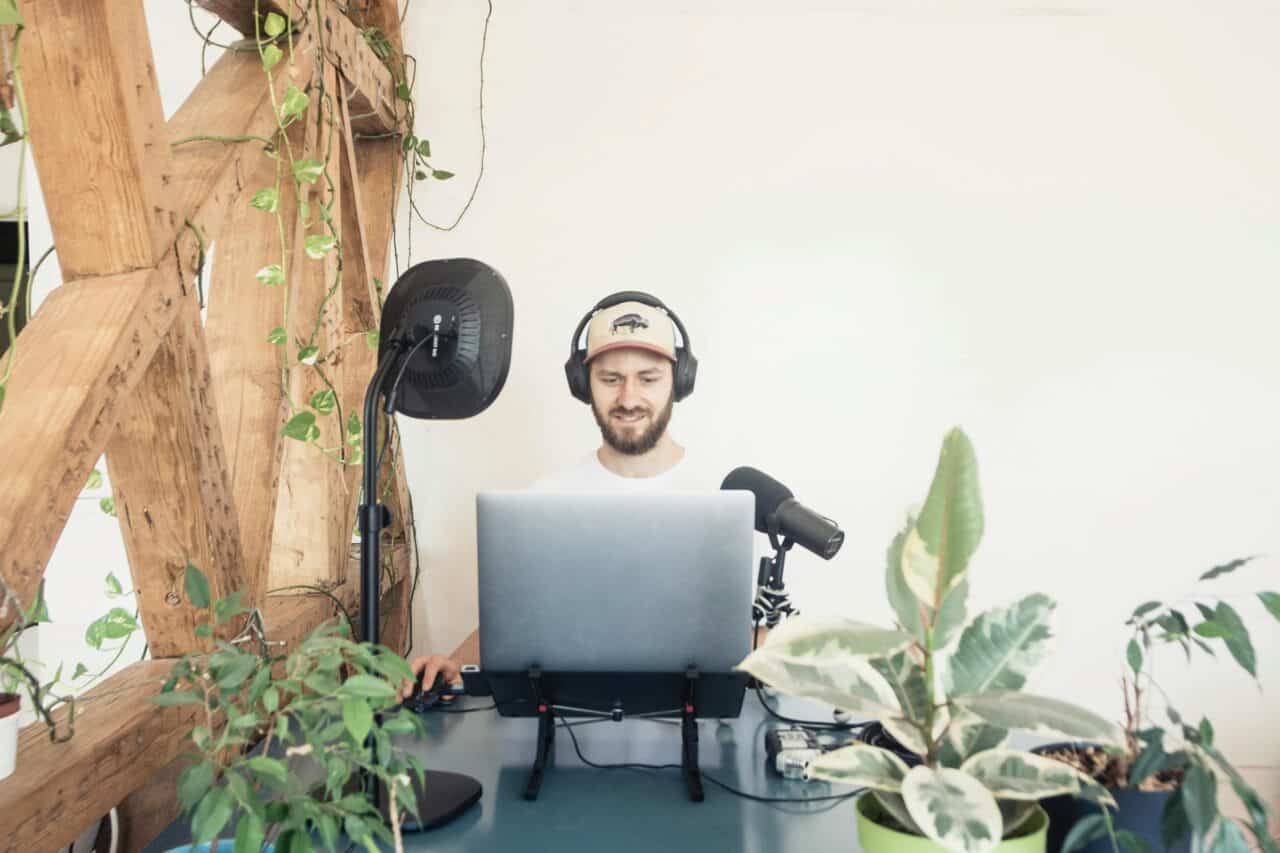
A microphone is a basic piece of equipment for any podcaster. Choosing the right model can fundamentally affect the quality of the audio recording. There are a few things to consider when choosing a microphone.
1. Types of microphones
- Dynamic microphones: These microphones are popular for podcasting due to their sturdiness and ability to work in noisy settings. They are less sensitive to subtle sounds, which can be an advantage in settings with a lot of distracting sounds.
- Condenser microphones: These microphones offer greater sensitivity and a wider frequency range, making them perfect for studio recording and controlled settings. They are great for capturing fine vocal details.
2. Microphone directionality
- Cardioid: This directional pattern is perfect for podcasts because it picks up sounds primarily from the front of the microphone and minimizes unwanted sounds from other directions. This means less ambient noise.
- Omnidirectional: Captures sounds from all directions, which can be useful if you only have one microphone and several people talking around it.
- Bidirectional (figure eight): These microphones pick up sound from the front and back but block sound from the sides, making them perfect for recording two people sitting across from each other.
3. Connectivity
- USB microphones: Offer simplicity and convenience since they can be directly connected to a computer without an additional audio interface.

These microphones are great for beginning podcasters because you just plug in and you’re good to go.
- XLR microphones: Require an external audio interface such as a sound card or mixing console to connect to a computer. XLR microphones provide higher sound quality and more flexibility in settings. They are a better option if you want to use two or more microphones.
When choosing a microphone for your podcast, consider the setting you’ll be recording in, the types of recordings you plan to make, and your budget. A quality microphone is important, but it won’t save the sound in a room with poor acoustics.
TIP: Watch out for unwanted noises like arms hitting the table and so on. These noises aren’t exactly welcome by the audience and only add to your post production work.
It’s also a good idea to get something to hold the microphones. The best are what’s called microphone arm stands. They aren’t the cheapest, so if you’re on a tight budget, a tabletop stand will suffice.

Avoid holding the microphone in your hand. Handling it can create unwanted sounds that add work to your post production.
Audio interface
If you decide to get an XLR microphone, you need an audio interface (external sound card). It converts the microphone signal from analog to digital format for recording on a computer. These devices also allow you to connect multiple microphones and instruments. They also offer better volume control and generally higher sound quality.
Headphones
You need headphones to monitor your sound while recording and editing. They give you control over the quality of the recording and help ensure no unwanted noises are present.
Recording and editing software
You need software where you can edit the audio, add music, sound effects, and other audio elements.
For example, Audacity is free and user-friendly software for working with audio. If you’re going to record your podcast with video, you need video editing software. This can be done using the Video module in Zoner Studio.
If you want to record a podcast with someone who’s not in the studio with you, you need an interface that allows you to link communication and records remotely. Tools like OBS or Streamlabs are good for this.
Soundproofing and sound insulation
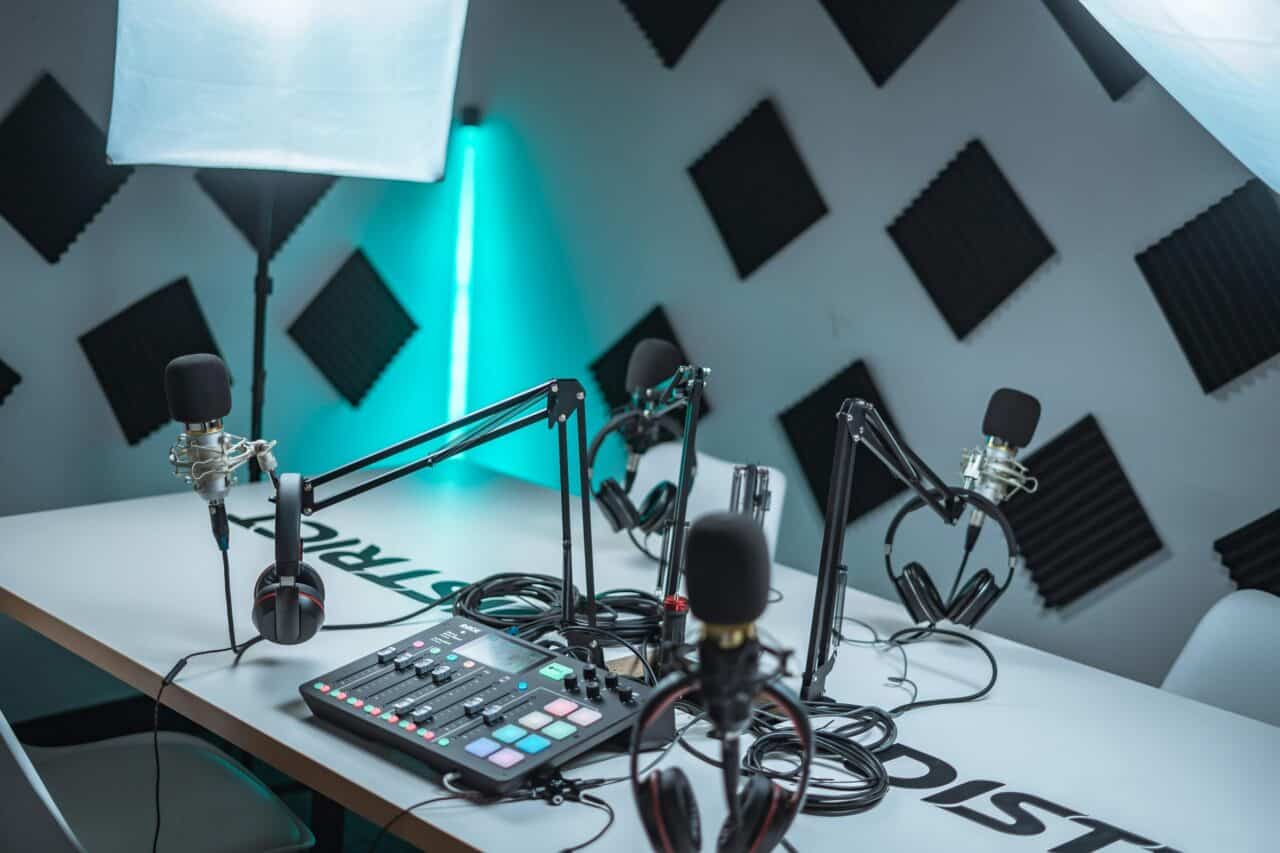
Acoustic panels and other sound insulation materials help minimize echo and outside noise, which is key to achieving a professional quality recording. Acoustic slats can also work and they are not only functional but also decorative.
Acoustic panels can be installed on walls, ceilings, and even studio floors to improve the overall acoustics of the space. A cheaper option is to put carpet on the floor and use fabric curtains that won’t reflect sound and create an echo.
Camera
If you also want your podcast to have video, good quality is essential. On the other hand, the content of your podcast is more important than visuals. A video camera or camera with manual mode can come in handy. You want your exposure to be consistent during the recording process. Any mirrorless camera, or even DSLR works well.
It’s important to keep in mind that some cameras that are designed more for photography typically have a recording limit of 20 or 30 minutes.
The choice of lens depends on the size of the room and the distance you are shooting from. There usually isn’t enough room indoors, so a lens with a focal length of around 18 or 24mm works just fine.
For better stability and image quality, it’s a good idea to mount the camera on a tripod. Plus, you don’t need to buy any specialized or extra sturdy tripods.
Lighting
Lights are an indispensable piece of equipment for any form of visual broadcasting, including video podcasts. You need a key light that’s the strongest and positioned to illuminate the faces and highlight facial features without harsh shadows. You can supplement with other fill lights that can fill the background, illuminate interiors, or illuminate the face from the other side.
- Studio lighting with a softbox provides consistent and intensive light perfect for video recording. However, due to their power, studio lights often have a cooling fan. The hum of the fan can distract from your audio content.
- LED panels are a pretty good option for quality lighting. They are quiet and compact. Also, using RGB lights, either as panels or light sticks, make your studio look more interesting.
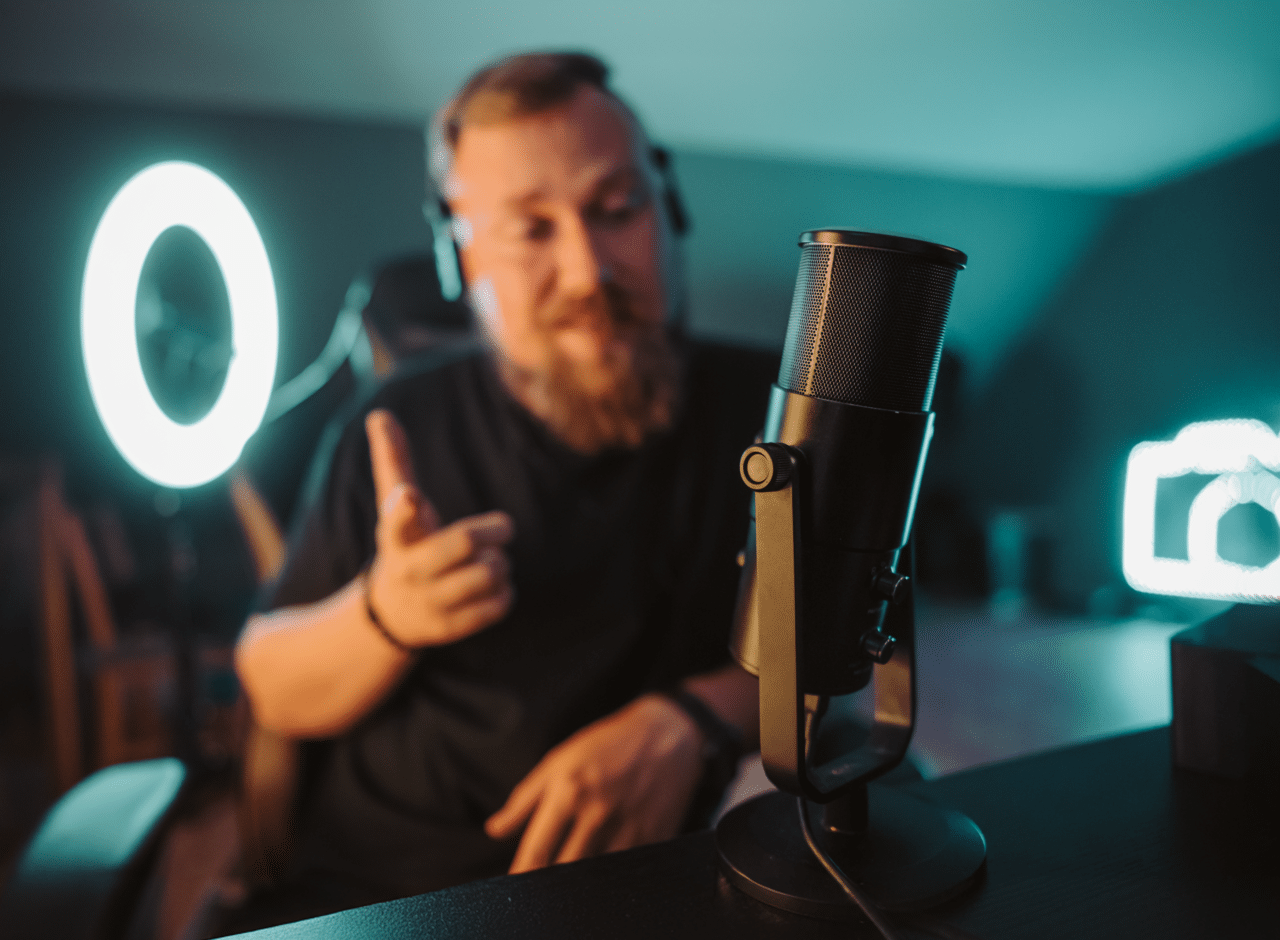
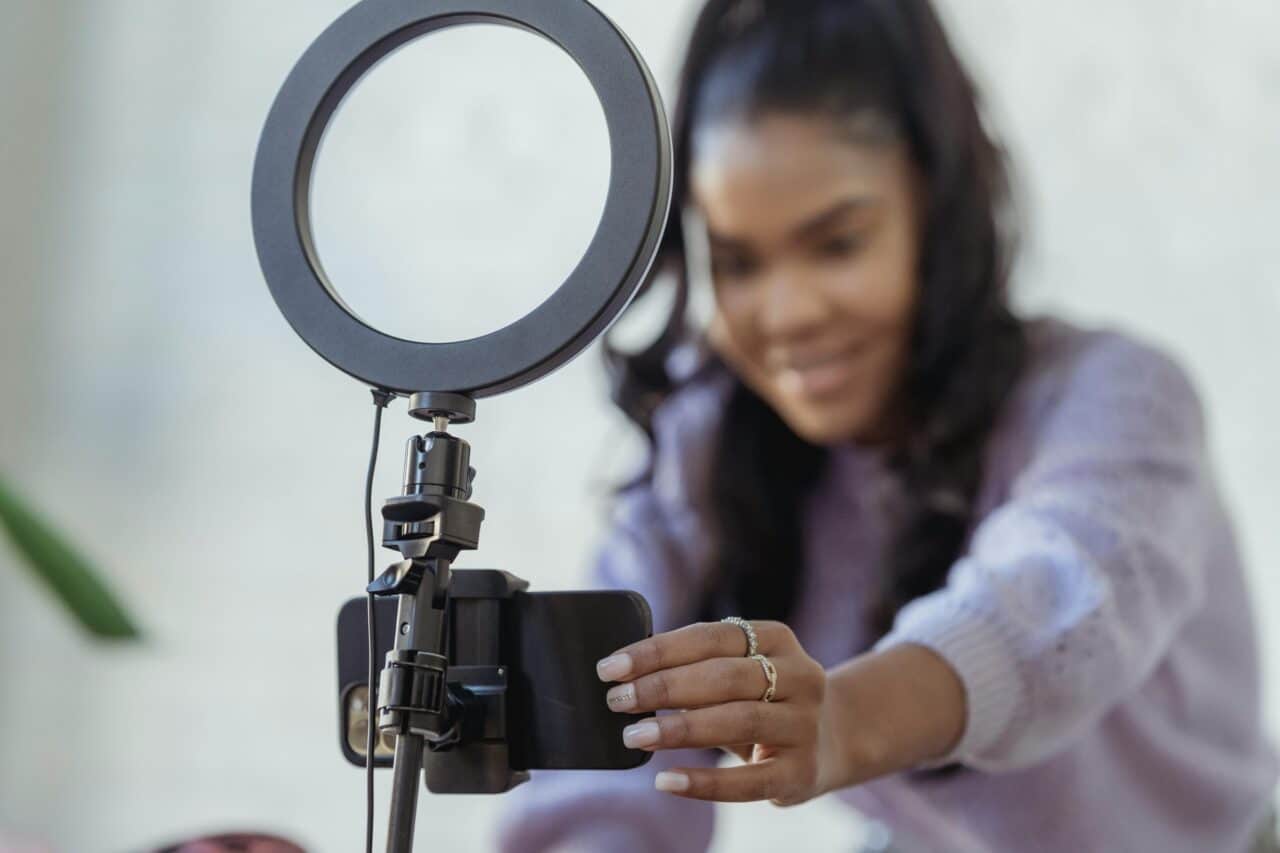
- Ring lights are especially popular with vloggers. They provide soft and even light that illuminates the face and reduces shadows. It lights up your face almost as well as an LED panel.
When it comes to lighting, you probably won’t need to worry about tripods since lights are usually sold in a set with a tripod.
Sharing your podcast with the world
There are plenty of options for how and where to upload your podcast. For video podcasts, YouTube is the first choice. For audio podcasts, Spotify and Apple Podcasts are the most popular. Upload your podcast to these platforms, add subtitles and descriptions, and you’re done. This method of uploading podcasts is free and easy.
A lot of podcasters want listeners to be able to find their podcast on multiple platforms at the same time. This is so every listener can listen on their favorite podcast app. In this case, they create an RSS feed. An RSS feed works by uploading the podcast to a single repository that you pay for and links the platforms. Some RSS feeds are Buzzsprout, Soundcloud, and many more.
You upload an episode just once and then it gets pushed out to all the connected apps like Apple Podcasts, Spotify, Google Podcasts, Overcast, Youradio Talk, and many more.
Ready to share your thoughts with the world? With this guide, you can start creating your very first podcast. Best of luck!
