Light Painting: Learn to Create Striking Night Photos
Light painting is one of the most creative photography techniques out there. All you need is a long exposure, a tripod, and an ordinary flashlight, and you can create glowing text, luminous orbs, or striking portraits. We’ll show you how to set up your camera, what gear to start with, and how to fine-tune your shots in post-production.
What you'll learn in this article
- What light painting actually is
- What basic conditions you need for a successful shot
- How to set up your camera — shutter speed, focal length, aperture, and ISO
- How to create glowing text, orbs, and scenes with a model
- How to work landscapes, architecture, or abstract compositions into your shots
- How to give your final photos a light touch in post-production
Light painting is a creative photographic discipline all its own, one that opens the door to images full of emotion, dynamism, and an atmosphere you simply can’t recreate any other way. I found my way into it through photographing the city at night and capturing light trails from passing cars. Later I started experimenting with an ordinary flashlight and discovered just how much a long exposure has to offer.
The basic rules of light painting
For me personally, the key principle — and at the same time the real challenge — is that the final image comes together in a single long exposure. No compositing in post, no multiple exposures stacked together. Clean, honest work done right there on location. It’s precisely that authenticity that gives you such an immense sense of satisfaction as a creator when it all comes together.

Complete darkness is an essential condition for this kind of shooting — without it, instead of magical light trails you’d end up with nothing but a blown-out white frame. You can occasionally get away with a strong ND filter, but that robs your lights of their intensity, so I wouldn’t recommend it as a regular approach.
Likewise, a tripod is your most faithful companion — in 99% of cases. That one percent of exceptions? For example, when you’re photographing a night cityscape with passing trams at an exposure of up to five seconds, using a camera with very good image stabilization. In that case, you can get a sharp shot even handheld.
How to set up your camera for light painting
Shutter speed is everything here. It can be a matter of seconds, or it can stretch into minutes, depending on what you’re creating. Use BULB mode, or a more modern feature like LiveTime (on OM System cameras), which lets you control the start and end of the exposure without the stress of counting down in your head. Remember: the night is long, and there’s no need to rush.
Focal length? Choose it based on the shot you’re going for, though I’d generally recommend wider focal lengths so you can include the surrounding context in your composition. Aperture? f/8 is the sweet spot. A narrower aperture (f/22) will strip your image of color and naturalness, while a wider one (f/1.2) will blur the background and undermine the overall effect.
And ISO? Always your camera’s native minimum — unless you’re shooting stars, in which case go with ISO 1000. That said, I’d always recommend basing your settings on your own experience with your specific camera, since sensor size also affects how these values behave.
What light sources to use
Now let’s look at the single most important part of light painting — the lights themselves. You don’t need to reach for professional gear right away. A classic handheld flashlight is a great place to start (and I’d strongly recommend one over a weak phone light), along with various LED wands or even inflatable light toys. And if you enjoy making things yourself, feel free to build your own semi-professional tool out of an LED strip and a plain stick.
How to write with light
The simplest technique is writing out letters — and even here, a few basic rules will make the result look genuinely professional. Try to keep even spacing between letters and keep them all a consistent size. A great trick that will save you a lot of work in post is to write the letters as mirror images. It takes a bit of practice, but you’ll get the hang of it quickly — letters like S or N are a special challenge.

How to create a light orb
Another technique that rightfully earns admiration is creating spheres of light — so-called orbs. The principle is simple, even if it’s a little hard to picture the first time: tie a light source (a flashlight, for example) to a piece of string about a meter long, and swing it in a vertical circle so that it passes through the same point near the ground on every rotation. At the same time, slowly rotate yourself in place around that same point. The combination of the two movements — the circle traced by the flashlight and your own rotation — renders a three-dimensional impression of a glowing sphere over the course of the long exposure.

You yourself must not appear in the frame, so it’s a good idea to wear dark clothing and keep moving constantly so your body doesn’t “burn into” the exposure. The easiest approach is to mark a fixed point on the ground — with a stone or a bag, for example — so you always know where to return to as you rotate.
Scenes with a model
If you have an LED wand on hand, and ideally a model too, you can move on to combined scenes — creating various light effects directly behind or around your subject. There are really no limits to your imagination here, but I’d recommend one essential rule: don’t redraw over an area you’ve already painted with light. Doing so risks the colors overpowering each other, and you’ll lose the original effect entirely.

If you want your model to appear sharp and free of artifacts on the hands or face, second-curtain flash sync works beautifully to “freeze” her perfectly. If you don’t have a flash on hand, a quick burst from a handheld flashlight pointed at your model will also work — as long as she doesn’t move so much as an inch during the exposure.
Read also:
Portraits Painted with Light: The Art of Light Painting, Step by Step
Portraits Painted with Light II: Working with Models, Posing, Lighting, and Colors
Landscapes and architecture
For lovers of landscape and architecture, there’s the option of combining light painting with the surrounding environment. Take a chosen composition featuring a monument — a lookout tower or a statue — and add an orb or a light effect involving a model. And to make the monument itself stand out, take a more powerful flashlight and sweep it across the surface of the structure like a paintbrush, lighting it exactly the way you envision it.

Abstract compositions and kaleidoscopes
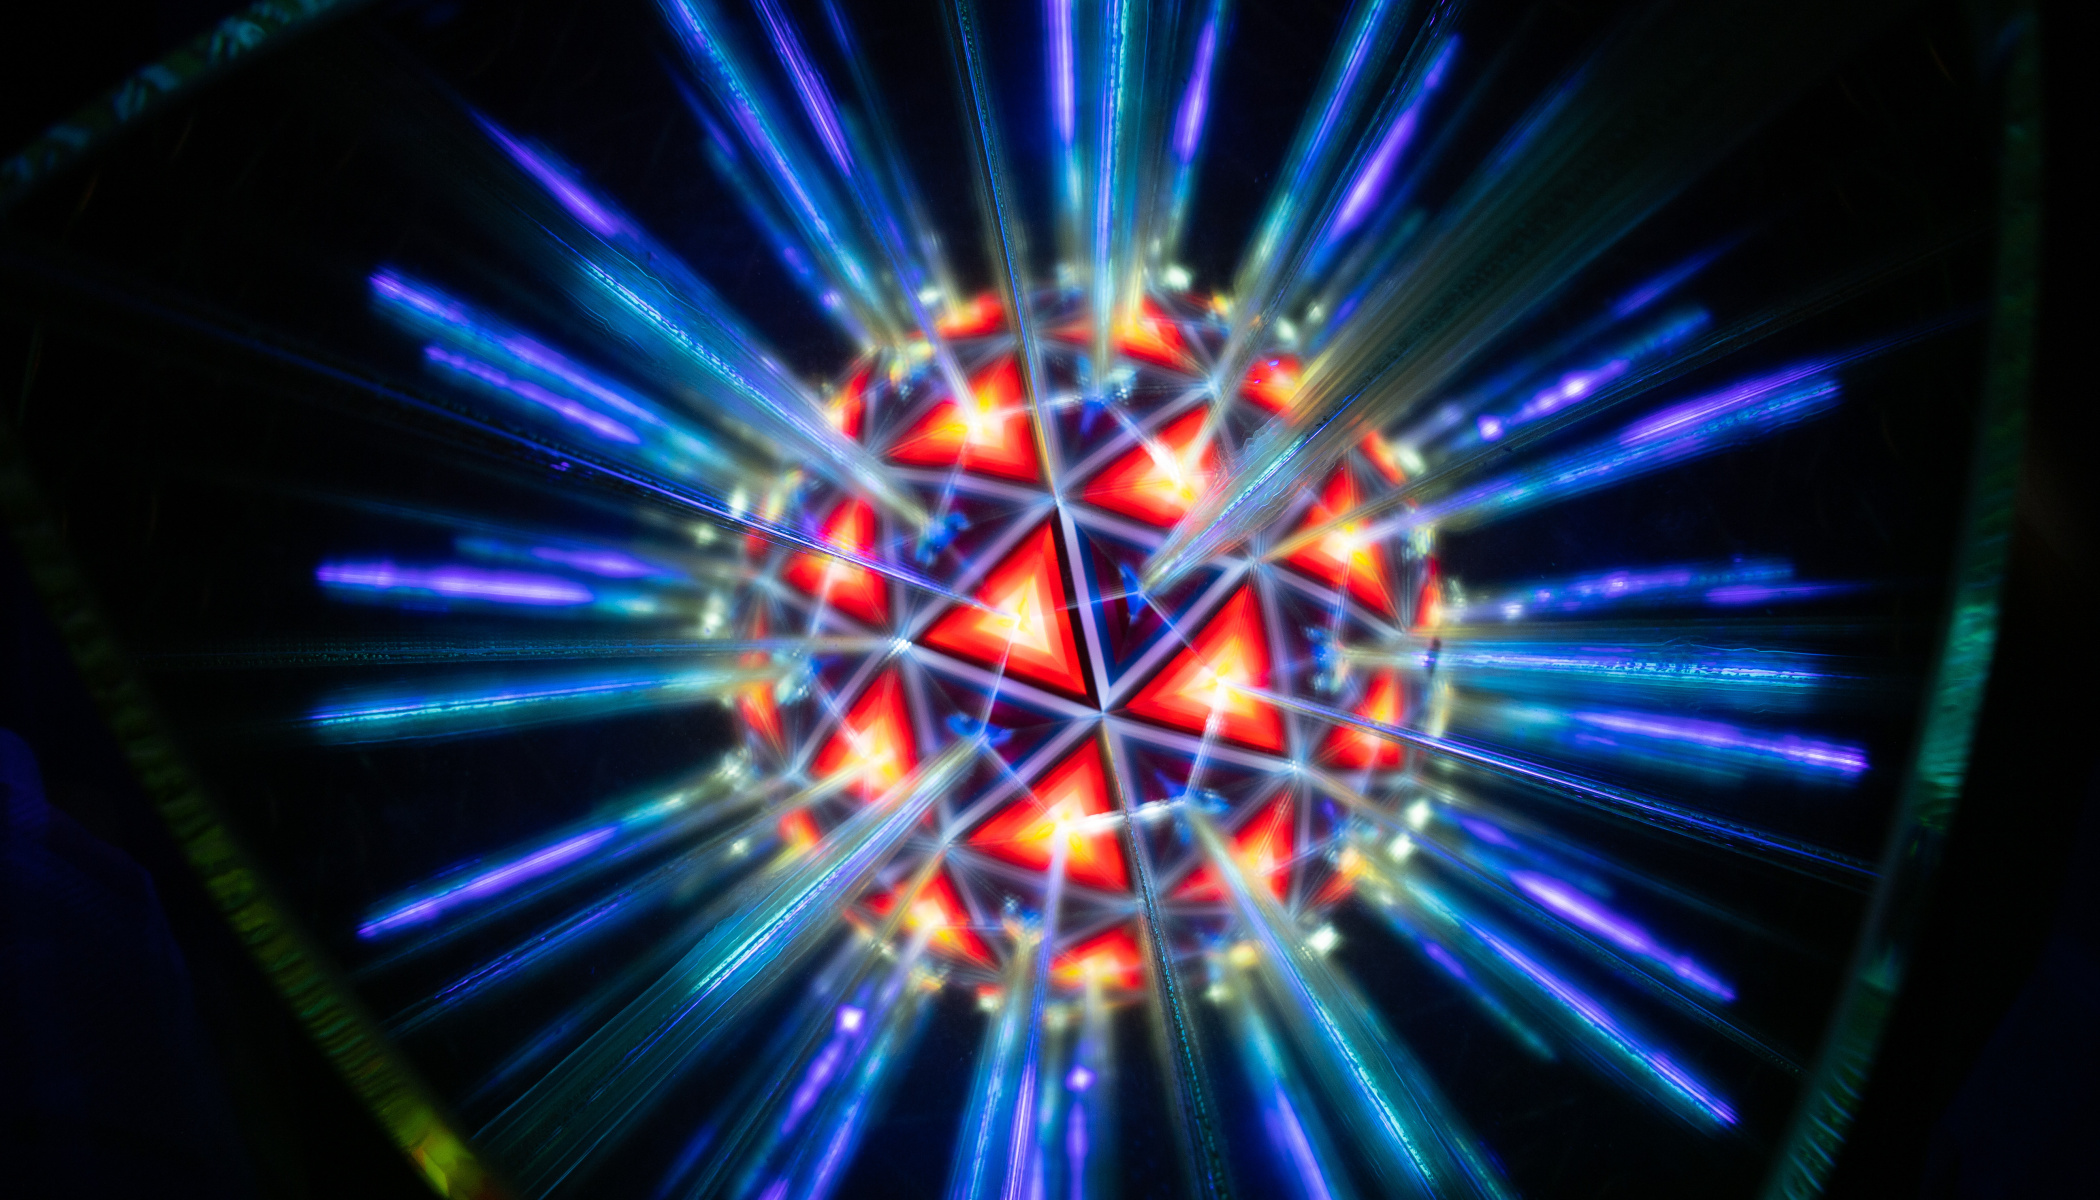
If you enjoy experimenting and lean toward abstraction, I’d recommend visiting a glazier and having three rectangular mirrors cut, with one of the shorter sides of each mirror roughly half the length of the other. Glue the mirrors together and you’ll end up with a kind of conical “kaleidoscope.” Using optical refraction, you can then achieve a fascinating sphere-within-the-image effect.

And if you bring colored acrylic sheets, patterned tablecloths, or images on a tablet into the mix, entirely new creative worlds full of color and geometry open up in front of you.


Post-production — a light touch to finish the piece
Like every photographic discipline, light painting calls for a certain amount of post-processing. But be careful — here the rule that the best photo is the one that comes together in the field applies doubly. Our goal should be for the final image to already be about 90% finished in-camera. Post-production shouldn’t be there to rescue the shot, only to elegantly polish the great work you’ve already done.
In my experience, just a few basic, non-invasive adjustments are all it takes. The first step is correcting blown highlights — these show up most often at the centers of orbs, where the light is most concentrated.
Another important step is working with the shadows. It often happens that dark areas you’d like to keep at least partially legible — background details, ground texture, or the outlines of trees, for instance — end up crushed all the way to black. Gently lifting the shadows (Shadows / Blacks) brings out these areas and gives the photo more depth and dimension, without disrupting the overall night-time atmosphere.
If you want to emphasize the atmosphere even further, you can reach for a simple AI sky mask. You can also gently adjust the overall white balance to better match your creative vision — cooler tones will emphasize the mystery of the night, while warmer tones will create a greater sense of safety and comfort.
Conclusion
Light painting isn’t just a technique — it’s a philosophy of patience, precision, and the joy of an immediate creative act. Every photo is a one-off original, and every attempt pushes you a little further. And that feeling of joy when you manage to capture exactly what you had in your head? It’s worth every minute spent standing in the dark with a flashlight in hand.
So go for it — light up your imagination, start painting, and enter. We’re looking forward to seeing what you create!
FAQ
What is light painting, and how long an exposure does it need?
Light painting is a photographic technique in which the final image is created in a single long exposure — with no compositing of multiple photos in post-production. The exposure can last anywhere from a few seconds to dozens of minutes, depending on what you’re trying to capture.
Is a tripod essential for light painting?
In most cases, yes — you’ll need one in roughly 99% of situations. The exception can be short exposures of a few seconds, shot with a camera that has effective image stabilization.
How do you create light orbs?
You need a handheld flashlight tied to a piece of string and a fixed point on the ground that will serve as the center of the sphere. Swing the light tool in one full circle above that point, and it will trace out the characteristic circular light shape.
What’s the ideal camera setup for light painting?
A manual BULB mode is recommended, along with an aperture around f/8 and your camera’s native minimum ISO — the exception being astrophotography, where a higher ISO, such as 1000, works better. Choose your focal length based on the shot, though a wider angle will help you capture the surrounding context of the scene as well.