Make a Smash With Your Flash!

Almost every camera has a built-in flash, and you can buy external flashes too. Where does a flash help? Where does it hurt? Read on to find out.
Want to learn the absolute basics of flash photography and how to handle some common situations? You’re reading the right page.
What does a flash do in auto mode?
Today’s flash systems are very advanced. No matter whether you’re using an integrated flash or something bigger, automated flash lets you work while it handles flash properly for you. It’s no small feat: using a flash right is about more than just firing it off and expecting great results. Getting the strength right is very important, and an automated system helps with handling precisely that issue.
Automation most frequently works via a TTL (Through The Lens) technique, where pressing the camera trigger fires off a weak flash, whose effect in the scene is then measured, with the actual picture and the real flash fire coming only after that analysis. These two firings follow so quickly after another that most people don’t even notice them.
The Right Strength
This complicated solution is needed because light intensity (not only for a flash, but in general) decreases sharply with distance from a light source. If a flash is providing enough light to a spot one meter away from the camera, then it’s providing 1/4 of enough light at two meters away and 1/16 at four meters. That’s why flashes need to fire at a quite precisely chosen strength, and it’s the above-mentioned weak flash fire that helps the camera choose that strength.
That’s also why it’s practically impossible to properly light a group of people standing at different distances using an in-camera flash. Some of them will look much too light, and some much too dark.
Also, even if you achieve proper lighting for the group, you almost never will get the background lit correctly.

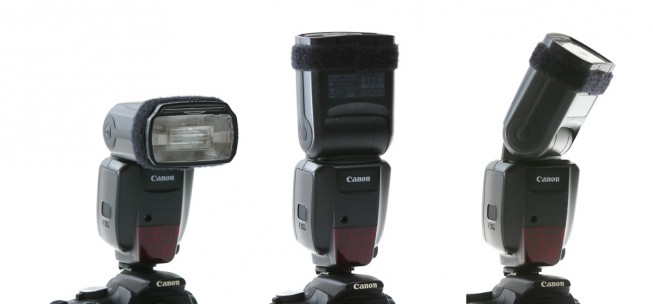
You can partially solve this problem by using an external flash. Point the flash towards the ceiling, and the reflected light will evenly and naturally light your surroundings.

But if you are taking pictures outdoors, not even an external flash will illuminate e.g. a cityscape background. So what do you do?
Foregrounds, Backgrounds, Together
There’s a technique called slow sync that combines light from a flash with a nice, long exposure. So you can use even say a 1-second exposure without fear of a blurred foreground, because the flash that will light the foreground will only fire briefly.
That helps you collect light from the background as well as the foreground. Although the subject in the foreground may be lightly blurred by the long exposure, the flash fire will “freeze” one pose for them, sharpening the picture. It won’t freeze the background, but light blurring won’t really hurt there anyway.

Canon 350D, Canon EF-S 18-55/3.5-5.6, 1/60 s and 1/8 s, F5.6, ISO 1600, focus 35 mm
Trouble with Motion
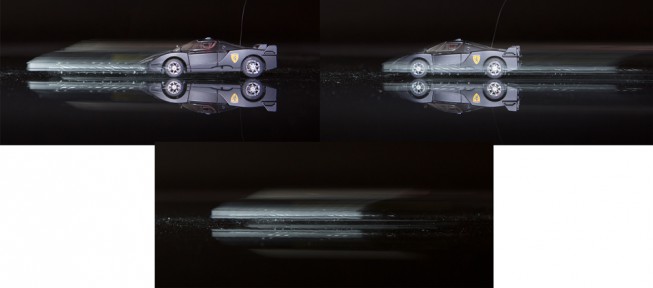
Motion can mean trouble in various photographic situations, and slow sync is one of them. Why? Because for a long exposure, the flash normally fires at the start and then spends a long time collecting surrounding light. If the photo’s subject is moving forward, then the subject will be visible as a sharp image, with a smooth series of “ghosts” in front of it. The image will give an impression of backwards motion. If you want the ghosting in back and the sharp subject in front, you need to have the flash not fire until the end of the exposure. The term for this is rear curtain sync.

Canon 5D Mark III, Canon EF 24-70/2.8, 0.25 s, F5.6, ISO 800, focus 42 mm
Flashes in Daytime
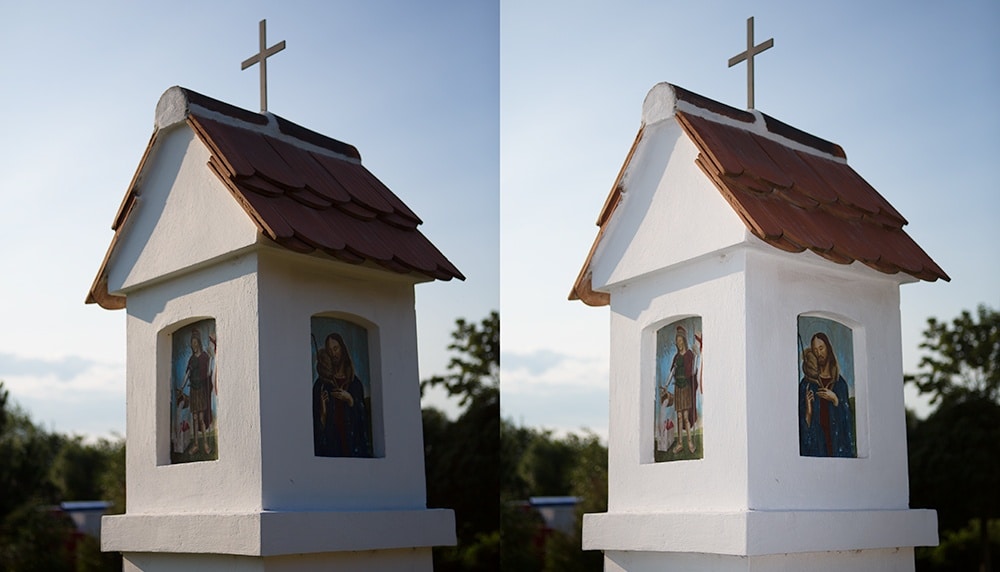
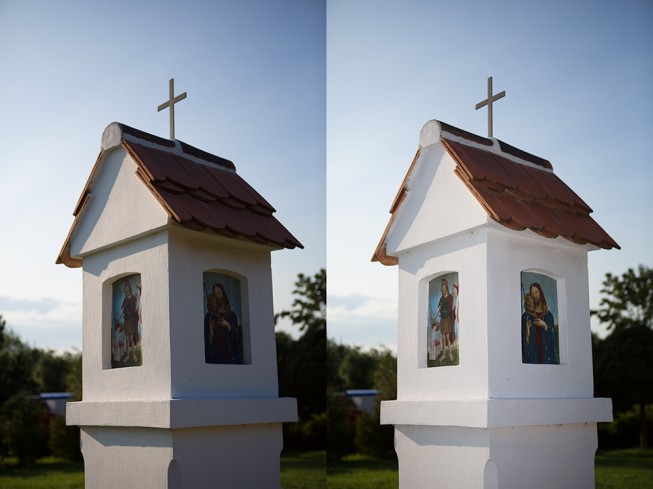
You may have seen photographers using a flash even under sharp sunlight. There’s a method to their madness. Sharp sunlight creates dark, sharp shadows. A flash can partially compensate for this. Because it optically “fills” the otherwise-dark areas, this trick is called “fill flash.”

Canon 5D Mark III, Canon EF 24-70/2.8, 1/2000 s, F2.8, ISO 100, focus 70 mm
Flash Limit
You may have noticed a “strange” surprisingly long lower limit to your exposure times when using a flash, for example 1/200 s. This is due to what’s called the x-sync limit. To pass this line, you need a flash with special technology (usin many short flashes instead of one long one). For some cameras this switching isn’t automatic, and so you have have to manually set “High Speed Sync (HSS)” mode.
I won’t go over x-sync time here in detail, as I’ve previously covered it in another article.
Hold the Salt!
Flash is a spice, but it doesn’t make everything nice. An internal flash’s light goes out practically straight from the lens, and makes everything flat and shadowless. It vastly changes the atmosphere—unfortunately, usually for the worse. So it’s important to work sensitively with a flash, and use it only where it’s unavoidable, or when you’re working with a special technique like the ones mentioned above. Often raising the ISO will give you a better photo than throwing a flash’s light into the mix.
Besides. Consider how much you dislike the sea of flashes firing at, say, the Olympic games. Do you want to be one of those people? And a normal flash won’t actually light the stadium anyway, so I can bet that most people in that situation were not using it on purpose—that it fired because their camera was in automatic mode. Don’t forget that turning off a flash is easy… usually it’s just one press of a button.
Where To?
If you want to learn more about using flash right, you can start right here on Zonerama! You’ll find for example a simple guide to reducing redeye, an in-depth technical article on remote firing, and one focused on portrait lighting. Why so many? Because work with light is one of a photographer’s most important skills!