Make Your Zoner Studio Even Better with Plugins
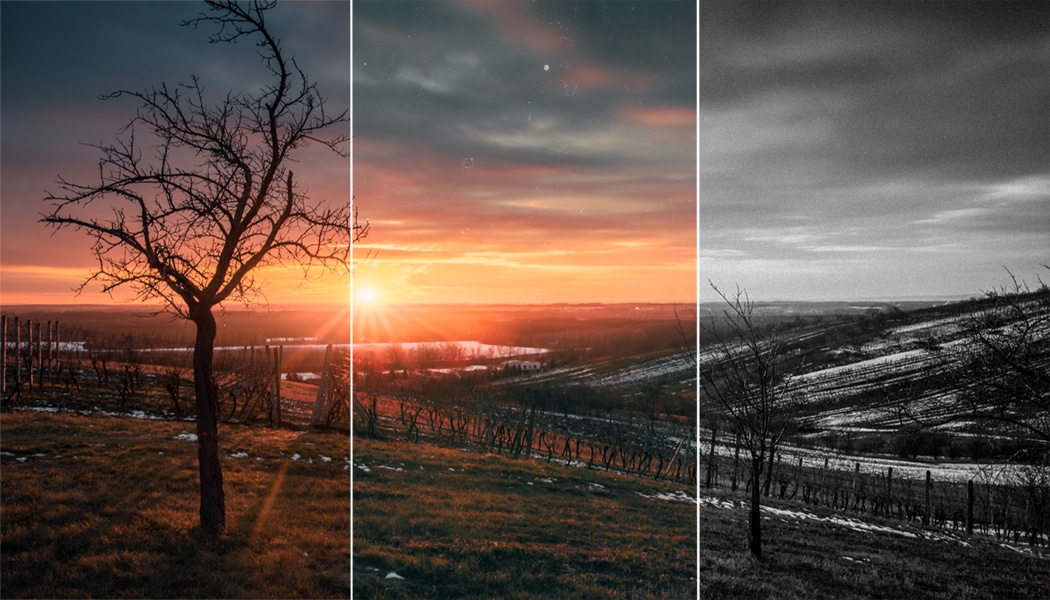
Already on its own, Zoner Studio offers a very wide variety of tools for photo editing. But in addition to its built-in tools, it also offers access to plugins. These expand its features and offer you even more ways to edit your photos. But—how do you install and work with plugins?
Zoner Studio lets you take advantage of a variety of color presets. But if these aren’t enough, and you’re seeking even more tools for swift photo editing, give plugins a try.
A plugin is software that serves to supplement other software and expand its functionality. In this article, we’ll take a detailed look at one of the most popular collections of plugins usable in Zoner Studio: the Nik Collection.
How Do You Install These Plugins?
The Nik Collection was originally a set of plugins by Nik Software. In 2012, this company was purchased by Google. Since 2017, the company has belonged to Dx0, and only a 64-bit version of the plugins is provided. Zoner Studio, meanwhile, only works with 32-bit plugins with an .8bf extension. Thus only the plugins’ older version from Google works in Zoner Studio. However, this version does have the advantage that you can download and use it for free.
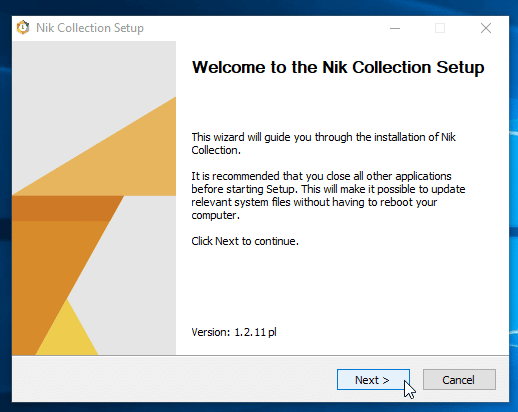
Download and run the .exe installer file, and click Next in the installer until you reach the end. None of the settings need to be changed during installation.
Integrate the plugins into Zoner Studio
To tell Zoner Studio which folder contains the plugins, use one of the following methods:
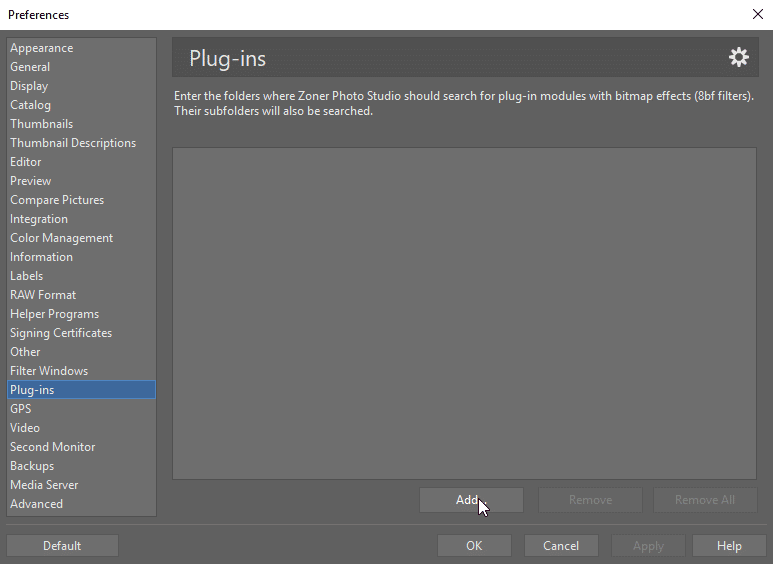
- Go to Menu > View > Preferences… (Ctrl+M) and then go to the Plugins preferences, or
- In the Editor, go to Menu > Effects > Plug-in Modules > Settings….
Both methods take you to the same window. In that window, click the Add button. Go to C: > Program files > Google on your disk. This location is home to the Nik Collection folder. Select that folder and click OK.
And You’re Ready to Edit
The plugins will only start working after you’ve restarted Zoner Studio. So close Zoner Studio, start it again, and you can get started editing.
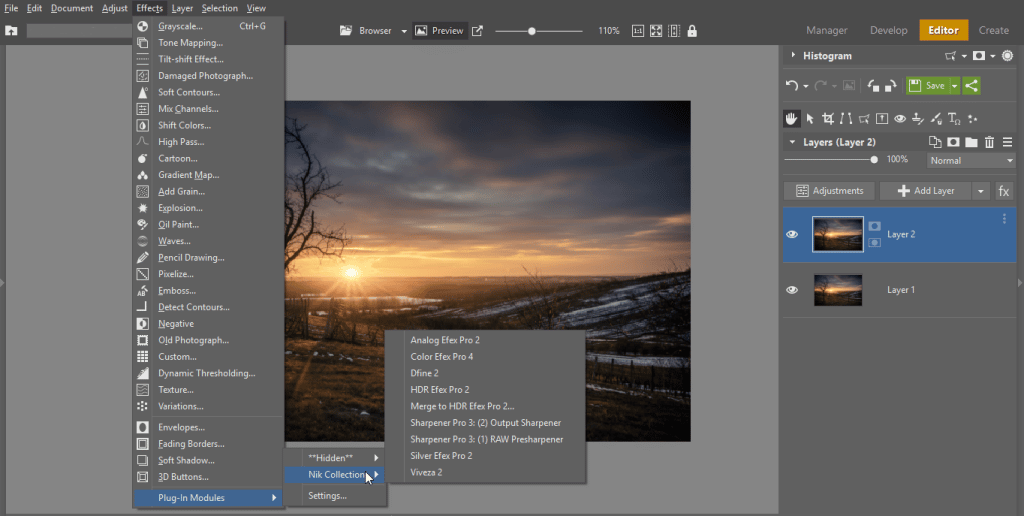
Open a photo in the Editor, roll down the Menu, go to Effects, and click Plug-In Modules. This rolls out a submenu with the individual plugins; to use one of them, click on it.
What Plugins Are in the Nik Collection?
- Analog Efex Pro – simulates a film look for photos
- Color Efex Pro – color filters and retouching tools
- Dfine – noise reduction
- HDR tools
- Sharpener Pro – sharpening tools
- Silver Efex Pro – a variety of tools for black-and-white conversion
- Viveza – desaturation or editing of just a selected part of a photo
After you choose a plugin, a separate window with a preview of your photo and with the plugin’s controls is shown.
The window’s left panel contains presets for the individual filters; use its right panel to fine-tune a specific filter. When you’re finished editing, go back to Zoner Studio.
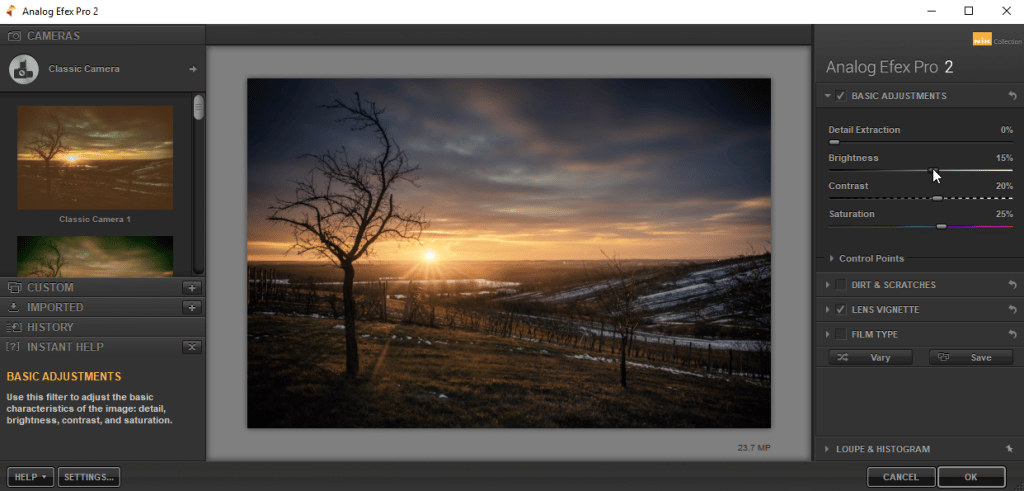
Tip: Try duplicating your layer with the photo first, and then using the plugin on the duplicate layer, instead of straight on the photo. That way, you can tone down the effect later on, or hide/show the layer to see a before-and-after for your effect.
Plugins Are Worth a Try!
While these filters aren’t a good fit for every photo, they’re definitely worth trying out.
Download Zoner Studio, try it free for 7 days, and give the Nik Collection or some other set of plugins a try. They just might help you find your own original look for your edits.
Warning: We cannot guarantee smooth operation of third party plug-ins. We are unable to ensure continuous compatibility. We prefer to focus on the continued improvement of our program.