Non-destructive Edits Save You Time and Disk Space
Non-destructive editing lets you edit photos without overwriting the original image data. This means you don’t need to save separate edited and unedited versions of your images as you work. It makes editing large batches of photos quicker and easier.
Destructive editing directly modifies the original image file. If a photo is repeatedly edited and saved, downstream data loss can degrade its quality over time.
That’s why non-destructive editing in Zoner Studio leaves the original image untouched. You can edit as much as you want, and the original file remains unchanged until you export or permanently save the adjustments.
Advantages of non-destructive editing:
- No loss of data.
- No need to create copies to preserve the original file.
- Resume editing at any time.
- No risk of losing your work if the computer suddenly shuts down.
Where to use non-destructive editing
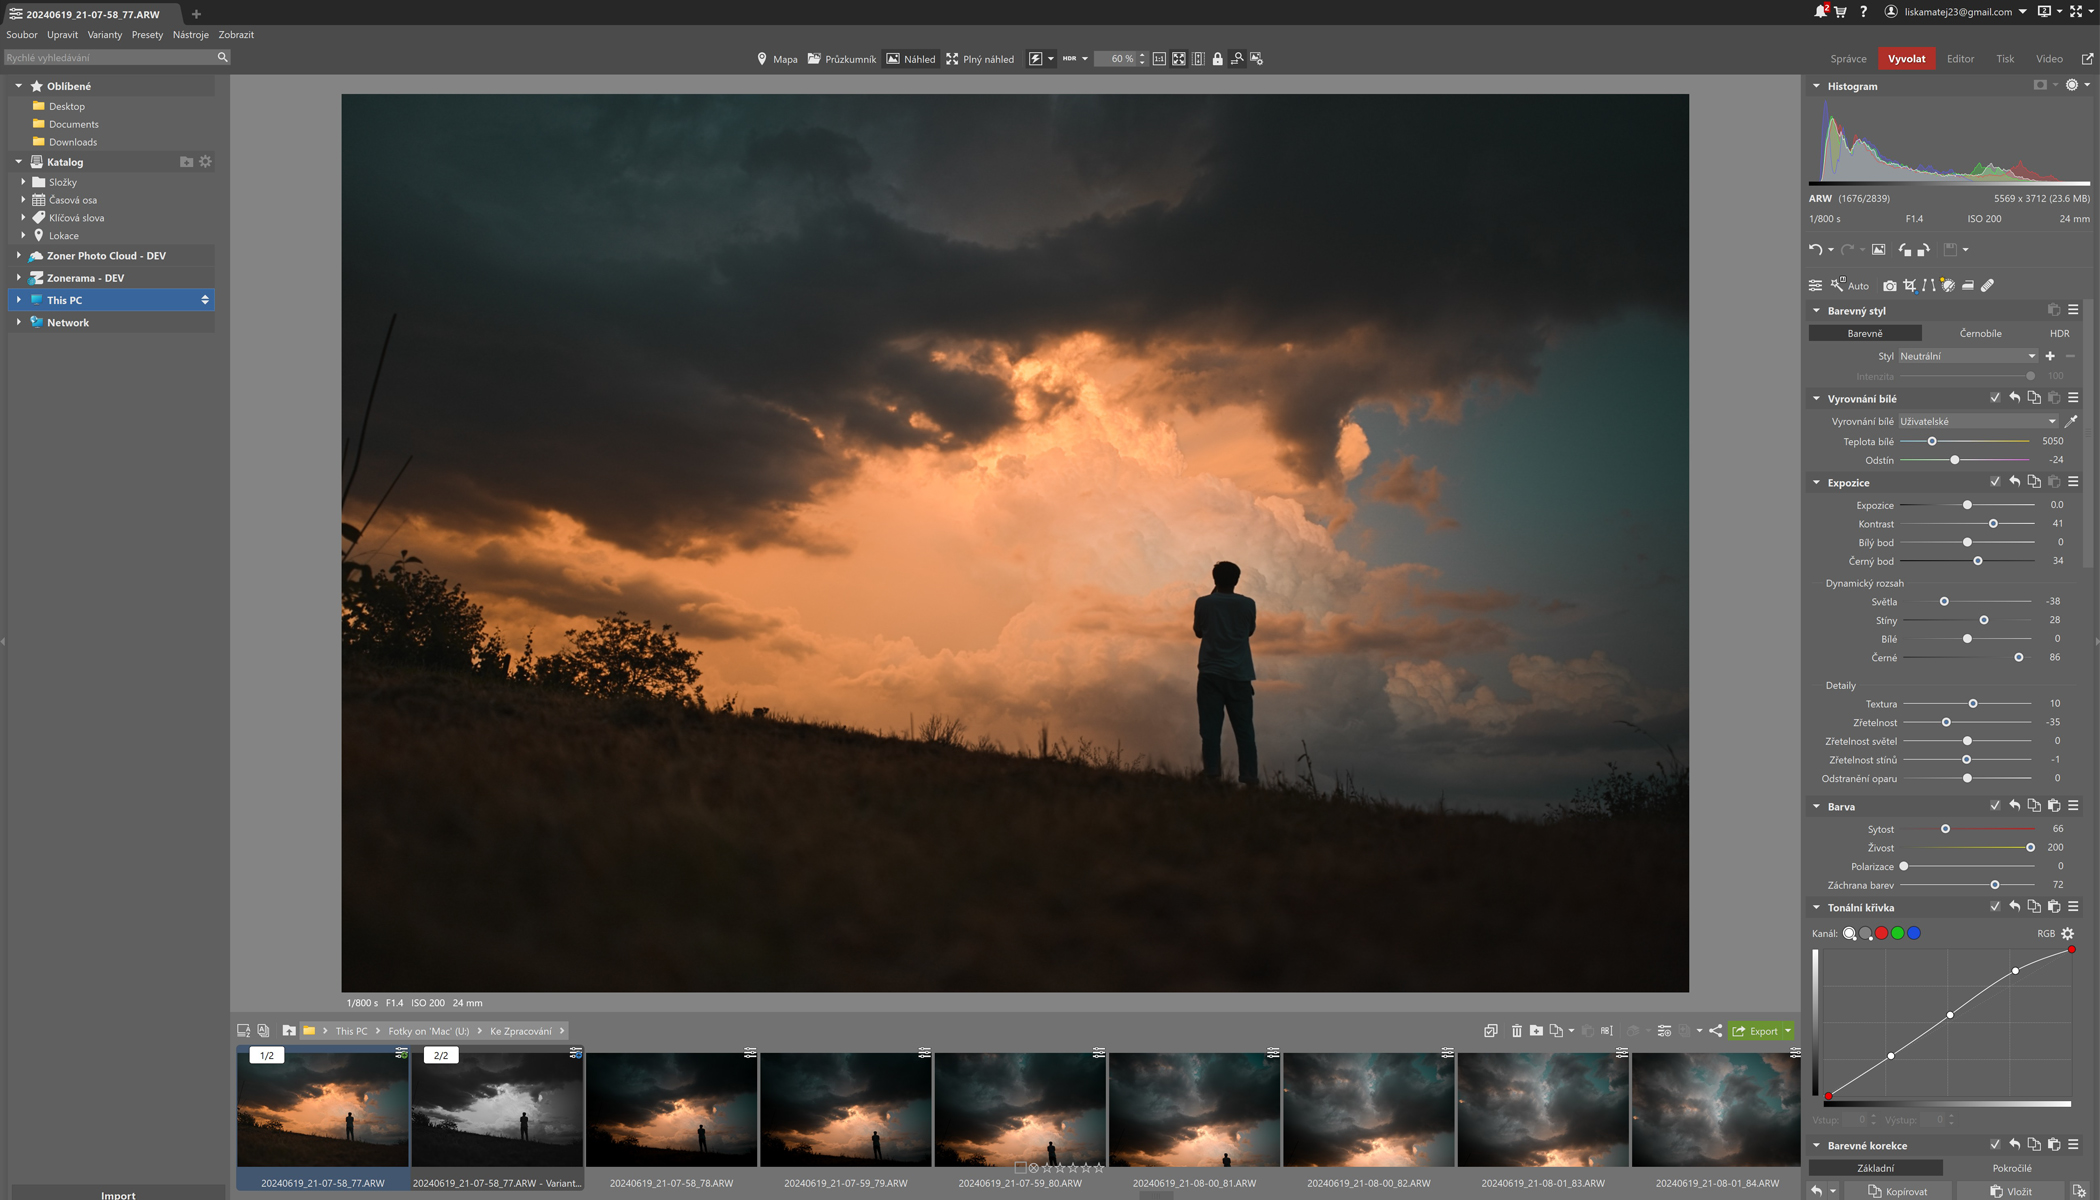
Non-destructive editing in Zoner Studio is available in the Develop module. When you switch to this module, you get all the important tools in one panel. Adjustments are made by moving sliders. To reset a setting to its default value, double-click the slider or the setting name.

How non-destructive editing works
Instead of modifying the original file, Zoner Studio saves your edits in a separate data file with the same name and the extension .data-Zoner Studio.
The size of these files is only several kilobytes and negligible compared to if you were to store each photo separately as an edited and unedited version.

Zoner Studio automatically saves your editing history so there’s no need to save as you go. If your laptop runs out of battery, you don’t lose any edits you made. When you return to the Develop module, you see the sliders exactly as you left them and you can pick up where you left off.
If you ever need to switch between non-destructive and destructive editing, you can do so in the right panel next to the Save icon.

Data files
Data files store all adjustments applied to photos. If you make adjustments, exit the Develop module, and later reopen the same file, the adjustments are preserved.
You can tell if a photo has been edited non-destructively in Zoner Studio by the icon with three horizontal sliders at the top of the image. When you hover over it, you can see a list of the adjustments you’ve made.
Edits are only visible in Zoner Studio
Non-destructive edits are only visible in Zoner Studio. If you copy photos without their data file, or open them on another computer that doesn’t have Zoner Studio, you won’t see the edits.
The same applies to printing or sharing online—you need to export the edited photos first.

It’s the same case if want to print photos or share them online. In these cases, you need to finish the photos in progress, meaning export them.
When you’re done editing, click the arrow next to the green Export button and choose the format based on how you’ll use the photos. If storage space isn’t an issue, select JPEG – Archival quality. If you want only web previews, choose the appropriate lower-quality option.

Then you need to choose where you want to export the photos and select the quality and other parameters.

You can export photos at any time, not just in the Develop module, but also in the Manager module. For example, when filtering specific photos for export.
Try virtual copies
If you’re not sure which adjustment looks best, try variants. Each variant acts as a separate file but doesn’t take up extra space on the hard drive. This makes it easy to compare different versions of the image such as color and black and white.

Edit RAWs and other formats
With non-destructive editing, you have access to all the changes you’ve made and can edit them at any time. Another great advantage of the Develop module is that it supports not only RAW, but also common formats like JPEG and TIFF.
Try Zoner Studio free for 7 days and see how non-destructive editing can save you time and storage space!